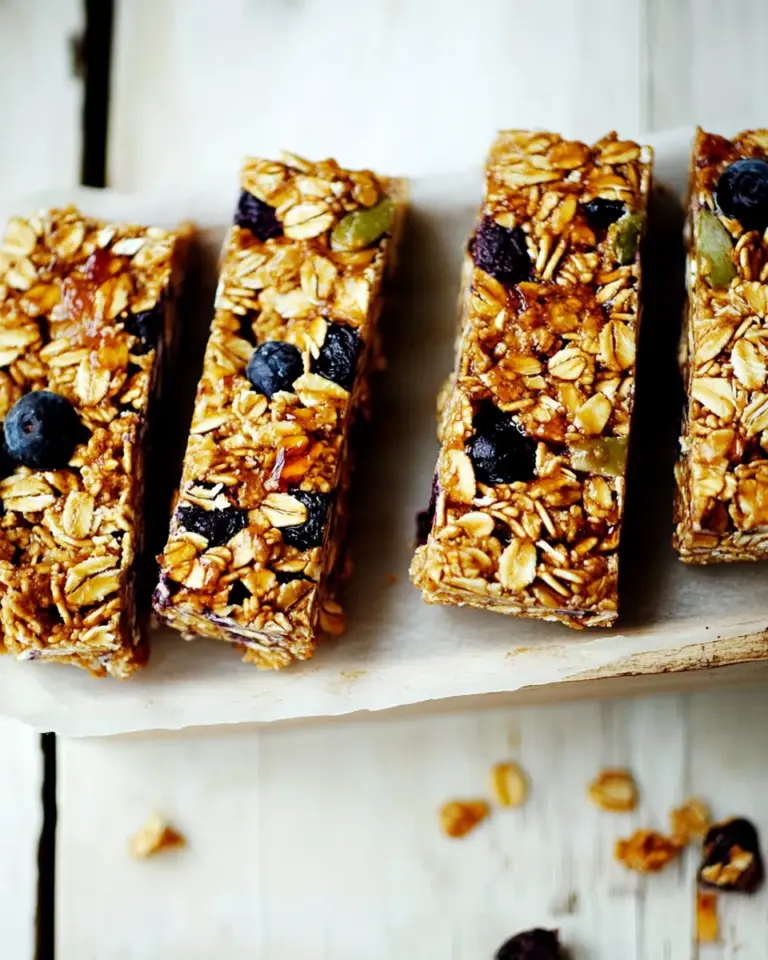
No Bake Energy Bites
These No Bake Energy Bites are the kind of snack I reach for when I need something simple, filling, and portable. They come together in one bowl (well, a food processor), require no oven time, and hold up well in the fridge. The texture is chewy and slightly crumbly, with just enough peanut butter to make them satisfying without being greasy.
I test a lot of small-batch recipes for the blog, and these bites live in heavy rotation because they’re predictable and forgiving. If the dates are soft and your peanut butter is well mixed, the mixture comes together quickly. If not, a few extra pulses and a short chill fixes most problems.
This post walks you through the ingredients, a step-by-step method using the exact directions I rely on, and troubleshooting tips so every batch turns out. No fuss, no special techniques—just reliable snacks you can make in an afternoon and eat all week.
Ingredient Breakdown

Ingredients
- 1 cup pitted dates — the natural sweetener and primary binder; use soft, pitted dates for easiest processing.
- 1/2 cup all‑natural peanut butter (or almond butter) — adds fat, flavor, and helps the dough hold together; all‑natural keeps the sugar content down.
- 1/4 cup rolled oats (certified gluten-free, if needed) — provides body and chew; use certified gluten‑free oats if you require it.
- 2 tablespoons ground flax or chia seeds — boosts fiber and acts as an additional binder to firm the mixture.
- pinch of salt — brightens the flavors and balances the sweetness from the dates.
From Start to Finish: No Bake Energy Bites
- Fit a food processor with the S‑blade. Add 1 cup pitted dates to the bowl.
- Process the dates until they break down and form a sticky ball.
- Add 1/2 cup all‑natural peanut butter (or almond butter), 1/4 cup rolled oats, 2 tablespoons ground flax or chia seeds, and a pinch of salt to the processed dates.
- Process again until the mixture becomes a cohesive, slightly crumbly dough that holds together when pressed, about 1–2 minutes. Stop and scrape down the sides of the bowl as needed.
- Press a small piece of the mixture between your fingers to check that it sticks together. If it still falls apart, process in short pulses until it holds.
- Use a tablespoon to scoop portions of dough, then roll each portion between your hands to form balls. Place the balls on a lined plate or baking sheet.
- Refrigerate the balls for about 1 hour to firm them up (they can be eaten immediately if you prefer).
- Store the energy bites in an airtight container in the refrigerator for up to one week.
Why No Bake Energy Bites is Worth Your Time

These bites take very little active time—most of the work is processing and rolling. You can measure everything, process, and roll a dozen bites in under 30 minutes. That makes them perfect for meal-prep windows, mid-afternoon hunger, or a quick breakfast on the go.
The ingredient list is short and pantry-friendly. Dates provide sweetness without refined sugar, peanut or almond butter supplies protein and healthy fats, oats add body, and seeds bring fiber. Together they create a balanced bite that keeps you satisfied between meals without a sugar crash.
Finally, they hold up in the fridge and travel well. Because they don’t need baking, you can make them year-round—no oven and no heating the kitchen. Small changes in technique let you tweak texture quickly, which is ideal when you want reliable results.
Flavor-Forward Alternatives

Keep in mind the recipe intentionally uses a minimal palette. Here are straightforward swaps and choices that shift flavor without adding complexity:
- Swap the peanut butter for almond butter — the difference is subtle but noticeable. Both are listed in the recipe, so choose what you prefer or what you have on hand.
- Use ground flax or chia seeds interchangeably. Either one will firm the bites and add fiber; they behave similarly in this ratio.
- Choose the dates you like. Softer Medjool-style dates process easier and give a slightly silkier texture; drier varieties will still work but may need a few extra pulses.
- Opt for certified gluten-free rolled oats when necessary. The oats’ role is texture, and using certified oats ensures the bites meet gluten-free needs.
Must-Have Equipment
- Food processor with S‑blade — essential for breaking down the dates and creating a cohesive dough.
- Tablespoon or small cookie scoop — speeds up portioning and keeps sizes even.
- Mixing spatula — useful for scraping the bowl between pulses.
- Lined plate or baking sheet — gives you a clean surface to place the rolled bites while they chill.
- Airtight container — for storage in the refrigerator to keep bites fresh up to a week.
- Measuring cups and spoons — accurate measures keep texture consistent.
Learn from These Mistakes
Common issues and quick fixes
- Dates won’t process into a ball: If the dates are dry or the processor struggles, add a couple of short pulses and scrape down the sides. Softer dates help; if yours are dry, let them soak in warm water for 10 minutes, drain, and then process.
- Dough falls apart: The recipe gives a small amount of oats and peanut butter. Check that you processed long enough—press a small piece between your fingers; if it doesn’t stick, pulse a few more times. The ground flax or chia also helps bind as it absorbs moisture.
- Dough is too sticky to roll: Chill the mixture briefly—10–15 minutes—to firm it slightly, or chill your hands with cool water before rolling. A short refrigeration step makes rolling much easier.
- Flavor feels flat: Even a tiny pinch of salt brightens the sweetness of the dates and rounds the peanut butter flavor. Don’t skip it unless you’re avoiding salt entirely.
Year-Round Variations
The base recipe is intentionally minimal so it adapts to seasons and pantry changes without introducing new ingredients. Here are ways to adjust how you serve or store the bites throughout the year:
- Summer: Make a batch in the morning and keep them chilled for quick porch snacks or picnic packs. They stay firm and refreshing straight from the fridge.
- Fall: Swap peanut butter for almond butter on a batch to get a slightly earthier flavor that pairs well with crisp weather and coffee.
- Winter: Because cold firms the mixture, these hold up especially well in cool months—prepare a larger batch and enjoy the firmer texture right out of the fridge.
- Spring: Use lighter, softer dates if you want a chewier center; the base method still applies and the bites remain portable for outdoor walks or gardening breaks.
Behind the Recipe
I developed this recipe to solve a common problem: a quick, healthy snack that doesn’t rely on pantry-exception ingredients or a long baking time. The combination of dates and nut butter is a classic for a reason — they balance each other and require minimal measuring. I kept quantities modest so the bites are dense and satisfying without being overly large or overly sweet.
When I test this recipe, I look for three things: easy processing in a standard home food processor, a dough that truly holds together, and a texture that’s enjoyable over several days in the fridge. This version hits all three consistently, which is why I keep returning to it for last-minute snacks or to pack for meetings and kids’ lunches.
Prep Ahead & Store
These bites are made for prepping ahead. Follow the timeline in the recipe: roll, place on a lined plate or baking sheet, and refrigerate for about 1 hour to firm. They can be eaten immediately if you prefer a softer bite, but chilling improves texture and handling.
Store finished bites in an airtight container in the refrigerator for up to one week. Keep them chilled between uses to maintain their shape and chew. If you need to take them on the go, pack them in a small insulated bag or cooler with an ice pack to preserve firmness during longer trips.
Popular Questions
Are these gluten-free? The bites can be gluten-free if you use certified gluten-free rolled oats; oats are the only ingredient that could introduce gluten. All other ingredients are naturally gluten-free.
Can I make these nut-free? The recipe calls for peanut butter or almond butter. If you need a nut-free version, choose a seed butter that has similar consistency—but keep in mind the recipe lists only peanut or almond butter, so test the texture if you substitute.
How long will they last? Stored in an airtight container in the refrigerator, they keep up to one week as noted in the recipe instructions. Letting them sit at room temperature for long stretches will soften them and may shorten shelf life.
What if my bites are crumbly? That usually means they need more processing to release the dates’ natural stickiness or a touch more peanut butter. Pulse the mixture in short bursts and press a small piece to test cohesion before rolling.
Can I make the mixture without a food processor? The food processor with the S‑blade is listed in the directions and is important for breaking down the dates efficiently. Without it, achieving the right texture will be much harder and more time-consuming.
Next Steps
Make a batch this afternoon and keep them in the front of the fridge so they’re the first thing you reach for. Track how you like the texture—if you prefer a firmer bite, chill longer; if you like it chewier, eat sooner. Save the recipe, try the almond butter swap on your next run, and share your results with friends who want a simple, no-bake snack option.
If you liked this recipe, pin it or save it to your meal-prep list. Small, consistent snacks like these make weekday eating easier and keep you satisfied between meals without complicated prep. Happy rolling.

No Bake Energy Bites
Ingredients
Equipment
Method
- Fit a food processor with the S‑blade. Add 1 cup pitted dates to the bowl.
- Process the dates until they break down and form a sticky ball.
- Add 1/2 cup all‑natural peanut butter (or almond butter), 1/4 cup rolled oats, 2 tablespoons ground flax or chia seeds, and a pinch of salt to the processed dates.
- Process again until the mixture becomes a cohesive, slightly crumbly dough that holds together when pressed, about 1–2 minutes. Stop and scrape down the sides of the bowl as needed.
- Press a small piece of the mixture between your fingers to check that it sticks together. If it still falls apart, process in short pulses until it holds.
- Use a tablespoon to scoop portions of dough, then roll each portion between your hands to form balls. Place the balls on a lined plate or baking sheet.
- Refrigerate the balls for about 1 hour to firm them up (they can be eaten immediately if you prefer).
- Store the energy bites in an airtight container in the refrigerator for up to one week.