No Bake Oatmeal Bars
These bars are the kind of recipe I reach for when I need something that feels homemade but requires almost no time. They hold together, satisfy a craving for something chewy and a little sweet, and they travel well. If you keep the three basic ingredients on hand, you can have a snack ready in under an hour, mostly hands-off.
There’s no oven fuss, no precise timing, and very few dishes. The texture is straightforward: oats coated in a peanut butter–maple syrup mixture, pressed, chilled, and sliced. They’re forgiving and predictable, which I love on busy mornings and for last-minute lunchbox additions.
I’ll walk you through exactly what to do, why the ratios work, and sensible swaps if you want to change the flavor. Practical tips, storage notes, and common mistakes to avoid are included so your batch comes out reliably every time.
What You’ll Need
Ingredients
- 3 cups rolled oats — gluten-free, if necessary; the base and main texture for the bars.
- 1 cup peanut butter* — See notes; provides fat, flavor, and the binding element.
- 1/2 cup maple syrup** — See notes; sweetens and thins the butter so it coats the oats evenly.
Cook No Bake Oatmeal Bars Like This
- Line an 8 x 8-inch pan with parchment paper, leaving an overhang on two sides; set aside.
- Combine the 1 cup peanut butter and 1/2 cup maple syrup in a microwave-safe bowl or small saucepan. If using a microwave, heat in 15–20 second bursts, stirring between bursts, until smooth and combined. If using the stovetop, warm over low heat, stirring constantly, until smooth and combined.
- Add the 3 cups rolled oats to the peanut butter–maple mixture and stir until all the oats are evenly coated and the mixture is homogeneous.
- Transfer the mixture to the lined pan. Use a spatula or the back of a spoon to spread it evenly, then press firmly and evenly into the pan to compact the mixture.
- Refrigerate for at least 30 minutes to firm up.
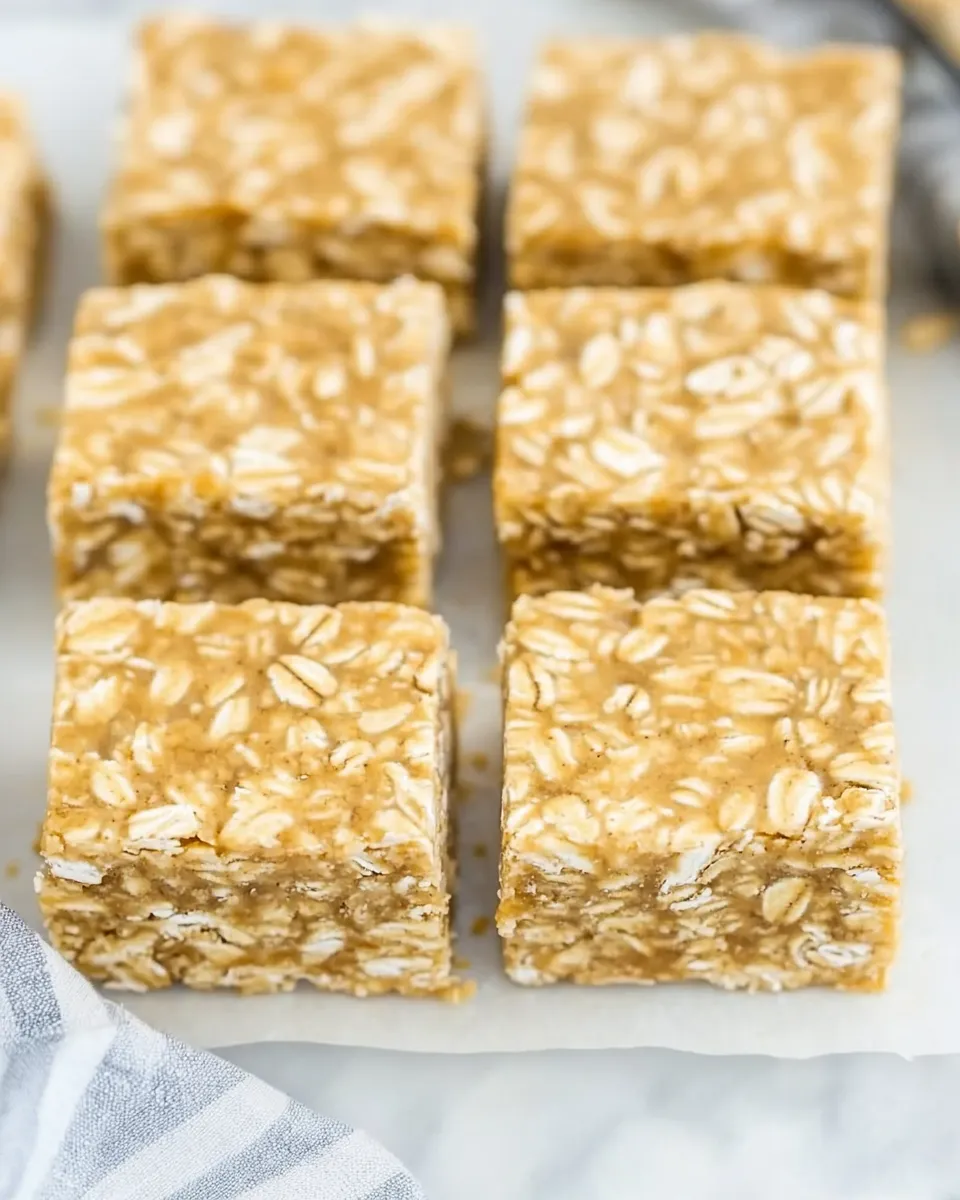
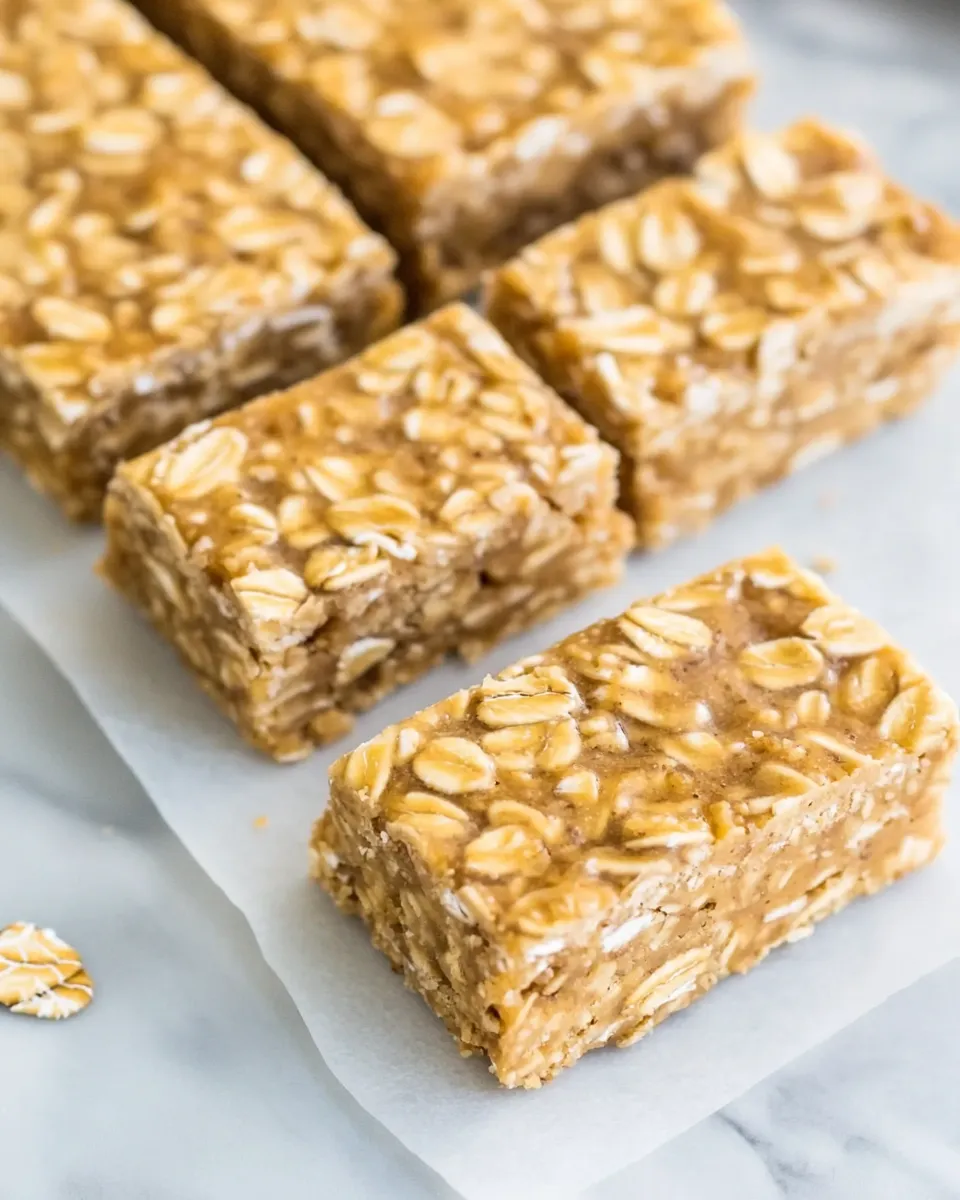
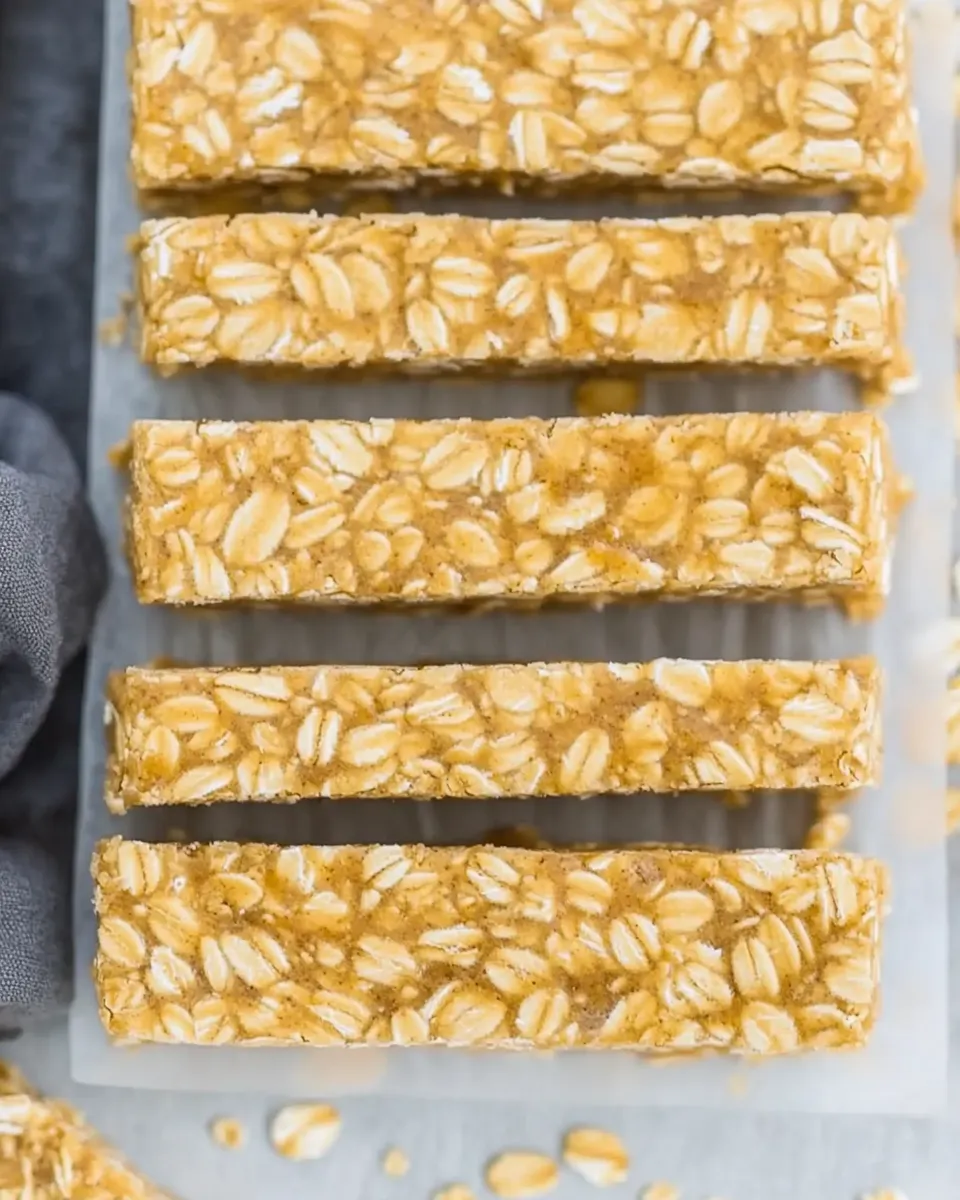
- Lift the chilled mixture from the pan using the parchment overhang and slice into bars. Store chilled.
Why This No Bake Oatmeal Bars Stands Out
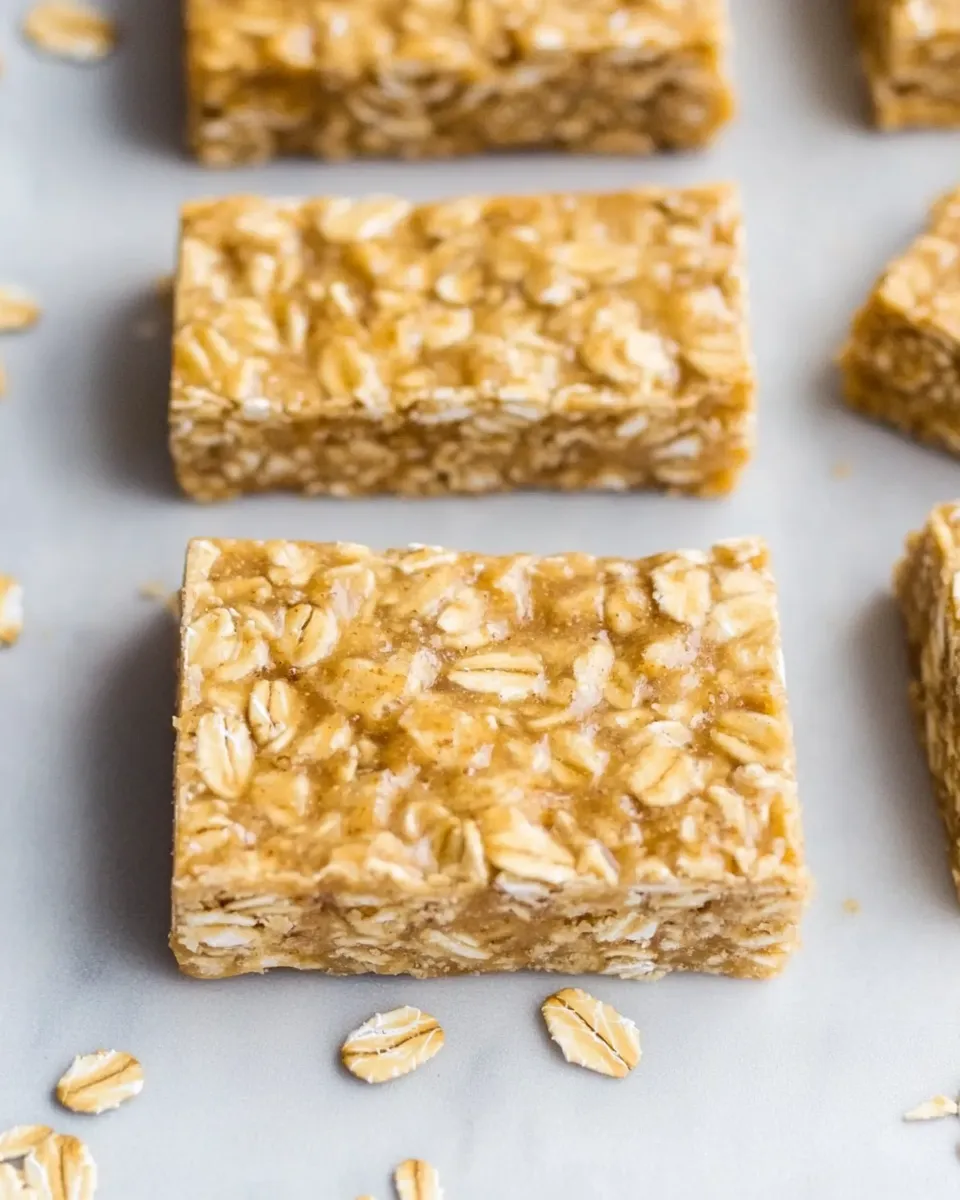
There’s a reason no-bake bars like this are staples: they hit texture and convenience without a long ingredient list. Rolled oats give chew and mouthfeel; the peanut butter supplies richness and acts as a binder; maple syrup sweetens and loosens the mix so it coats the oats. Together, those three elements form a balanced, cohesive bar that doesn’t crumble apart or turn rubbery.
Because nothing here requires baking, the bars keep the natural chew of the oats and the creamy quality of the nut butter. That matters if you want a snack that feels satisfying, not just sugary. The simplicity also makes the recipe forgiving — small variations in stirring or pressing won’t ruin the final product.
Flavor-Forward Alternatives
- Swap peanut butter for almond butter or cashew butter for a milder, nuttier profile.
- Use tahini or sunflower seed butter to make them nut-free while keeping the same binding effect.
- Replace maple syrup with honey for a different floral note (if not strictly vegan), or use brown rice syrup for a neutral sweetness.
- Stir in 1/4–1/2 cup mix-ins after coating the oats: chopped toasted nuts, seeds (flax, chia, sesame), or a few tablespoons of cocoa nibs for textural pops.
- Add a pinch of flaky sea salt on top after pressing to lift the sweetness and give a nice contrast.
Toolbox for This Recipe
- Packing pan: an 8 x 8-inch pan is specified; the size controls thickness and chilling time.
- Parchment paper: essential for easy removal and clean slices.
- Microwave-safe bowl or small saucepan: for gently warming the peanut butter and syrup.
- Spatula or back of a spoon: to spread and press the mixture evenly into the pan.
- Measuring cups: for accuracy with oats, peanut butter, and syrup.
- Sharp knife: for clean slicing after chilling; warm the blade briefly if you want smoother cuts.
Errors to Dodge
- Don’t skip lining the pan. Without parchment overhang you’ll fight to remove the slab cleanly.
- Avoid overheating the peanut butter. Heat gently — you want it pourable, not scorched. Burned peanut butter tastes bitter and will ruin the batch.
- Under-mixing leaves dry pockets of oats. Stir until the oats look uniformly coated; that’s your cue that the mixture is homogeneous.
- Press too lightly and the bars won’t hold together; press too hard and the texture becomes dense. Aim for firm, even pressure across the surface.
- Don’t skip the chill. Slicing warm or only slightly cooled bars causes squishing and uneven pieces; refrigeration sets the bars so they cut cleanly.
Seasonal Spins
- Autumn: Stir in a teaspoon of cinnamon and a pinch of ground nutmeg; fold in chopped dried apples or toasted pecans for a fall feel.
- Winter: Mix in a tablespoon of orange zest with the oats and a handful of dried cranberries for a bright counterpoint to the peanut butter.
- Spring: Keep it light with lemon zest and toasted almond slivers, or use sunflower seed butter with a sprinkle of poppy seeds.
- Summer: Press a thin layer of fruit jam or chocolate spread on top after chilling and return to fridge for a quick twist — slice cold for neater bars.
Cook’s Notes
Peanut Butter Texture
Natural peanut butter separates and can be grainier; stir well before measuring so the oil reincorporates. If your peanut butter is very stiff, warm it just enough to make it stirrable — the microwave bursts in the directions will handle that gently.
Syrup Choices and Stickiness
Maple syrup gives subtle maple flavor and a fluid consistency that helps coat the oats. Thicker sweeteners (like some nut butters or very thick honeys) may require more gentle warming to combine. If you must use a thicker sweetener, warm slightly longer and stir until homogeneous.
Scaling and Pan Size
An 8 x 8-inch pan produces bars of a convenient thickness. If you double the recipe, use a 9 x 13-inch pan and keep an eye on pressing uniformly so thickness remains similar. Thin slabs chill faster but may be less substantial as snacks.
Store, Freeze & Reheat
Store chilled. Kept in an airtight container in the refrigerator, the bars hold for about 1 week. Place parchment or wax paper between layers to prevent sticking.
To freeze: wrap the whole slab in parchment and then plastic wrap, or individually wrap bars and place in a freezer-safe container. Freeze up to 2–3 months. Thaw overnight in the fridge or at room temperature for an hour before eating.
Reheating isn’t necessary; they’re best chilled or at room temperature. If you prefer a softer bite, microwave a single bar for 8–12 seconds on a microwave-safe plate — just enough to soften without melting the structure.
Popular Questions
- Can I replace the peanut butter? Yes. Almond butter, cashew butter, sunflower seed butter, or tahini will work. Keep texture similar — creamy spreads make for better binding.
- Are these vegan? Yes, with the ingredients listed they are vegan-friendly. If you swap the maple syrup for honey, they are not vegan.
- Can I add chocolate? Absolutely. Fold in a few tablespoons of cocoa powder with the oats, or sprinkle mini chocolate chips on top after pressing and before chilling so they adhere to the surface.
- How do I get cleaner slices? Use the parchment overhang to lift the slab out, chill well, and run a sharp knife under hot water, dry it, and slice in a single steady pass.
- What oats should I use? Rolled oats are specified and give the best texture. Quick oats work but make the bars denser; steel-cut oats will not hydrate and won’t give the same result.
Bring It Home
This is a dependable recipe that rewards basic technique over showy ingredients. Keep the three items in your pantry and you can assemble satisfying snack bars any time. They travel, they store, and they welcome small twists — a handful of seeds, a zip of citrus, or a sprinkle of sea salt can transform them into something you’ll reach for again and again.
Make a batch tonight and keep a container in the fridge. They’ll show up when you need a quick breakfast on the run, a post-school snack, or a no-fuss treat to tuck into lunchboxes.
No Bake Oatmeal Bars
Ingredients
Equipment
Method
- Line an 8 x 8-inch pan with parchment paper, leaving an overhang on two sides; set aside.
- Combine the 1 cup peanut butter and 1/2 cup maple syrup in a microwave-safe bowl or small saucepan. If using a microwave, heat in 15–20 second bursts, stirring between bursts, until smooth and combined. If using the stovetop, warm over low heat, stirring constantly, until smooth and combined.
- Add the 3 cups rolled oats to the peanut butter–maple mixture and stir until all the oats are evenly coated and the mixture is homogeneous.
- Transfer the mixture to the lined pan. Use a spatula or the back of a spoon to spread it evenly, then press firmly and evenly into the pan to compact the mixture.
- Refrigerate for at least 30 minutes to firm up.
- Lift the chilled mixture from the pan using the parchment overhang and slice into bars. Store chilled.
Notes
Make a layered bar.Top the bars with a mixture of melted chocolate and peanut butter, then pour it over the oat mixture and let it set in the fridge.
Add dried fruit.Like raisins, dried cranberries, or dried blueberries.
Or experiment with different mix-ins.Like chopped-up chocolate, candy bars, M&Ms, or crushed cookies.
Swap the nut butter.Tryhomemade Nutella,protein cookie butter, or Biscoff cookie spread.