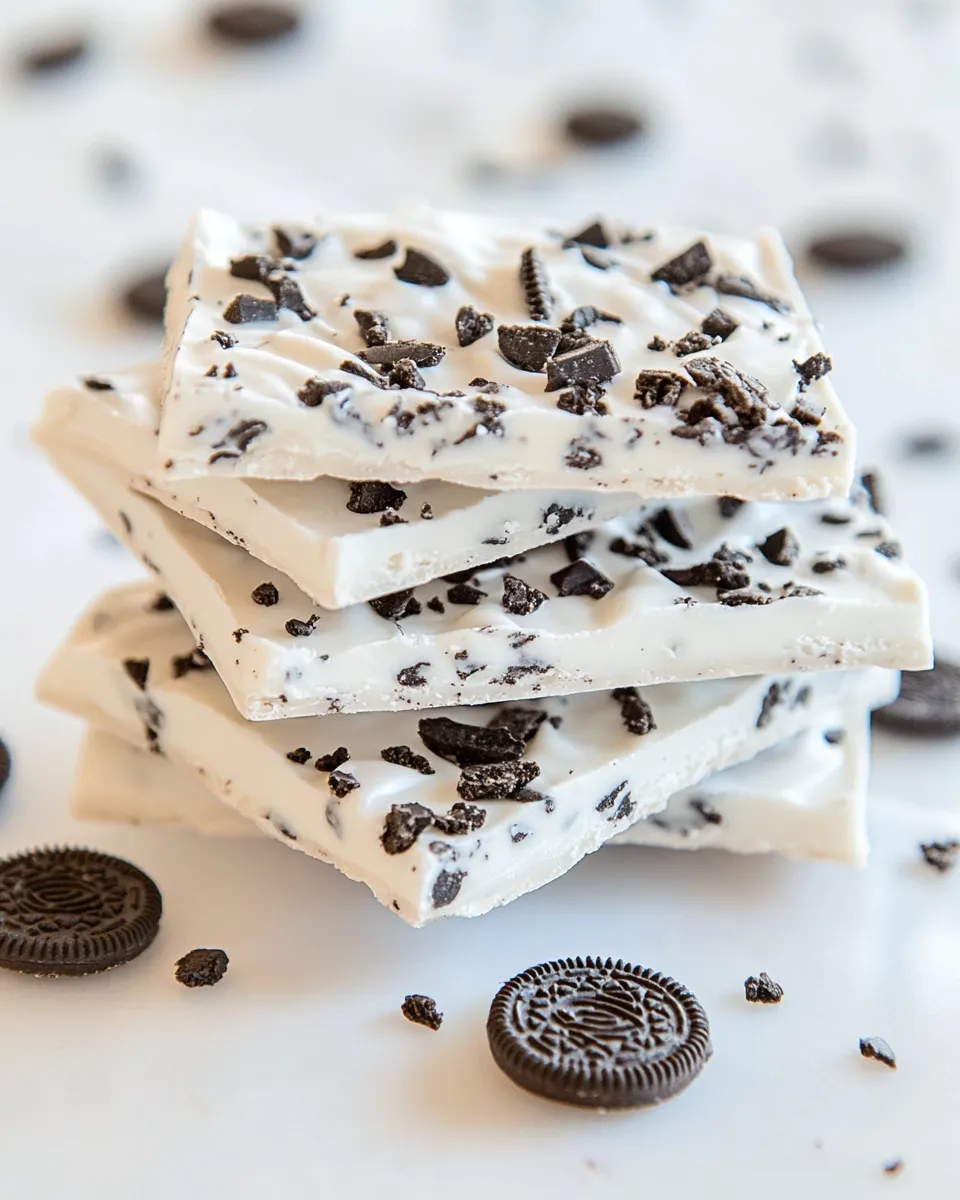
Oreo Cookie Bark
Oreo Cookie Bark is one of those recipes that feels indulgent yet refuses to be complicated. It’s just two main components—crushed Oreos and smooth vanilla candy coating—working together to make a crunchy, sweet slab you can snap into pieces and serve. If you want a make-ahead treat for a party, a quick gift for neighbors, or a lazy weekend dessert to satisfy a chocolate-and-cookie craving, this is it.
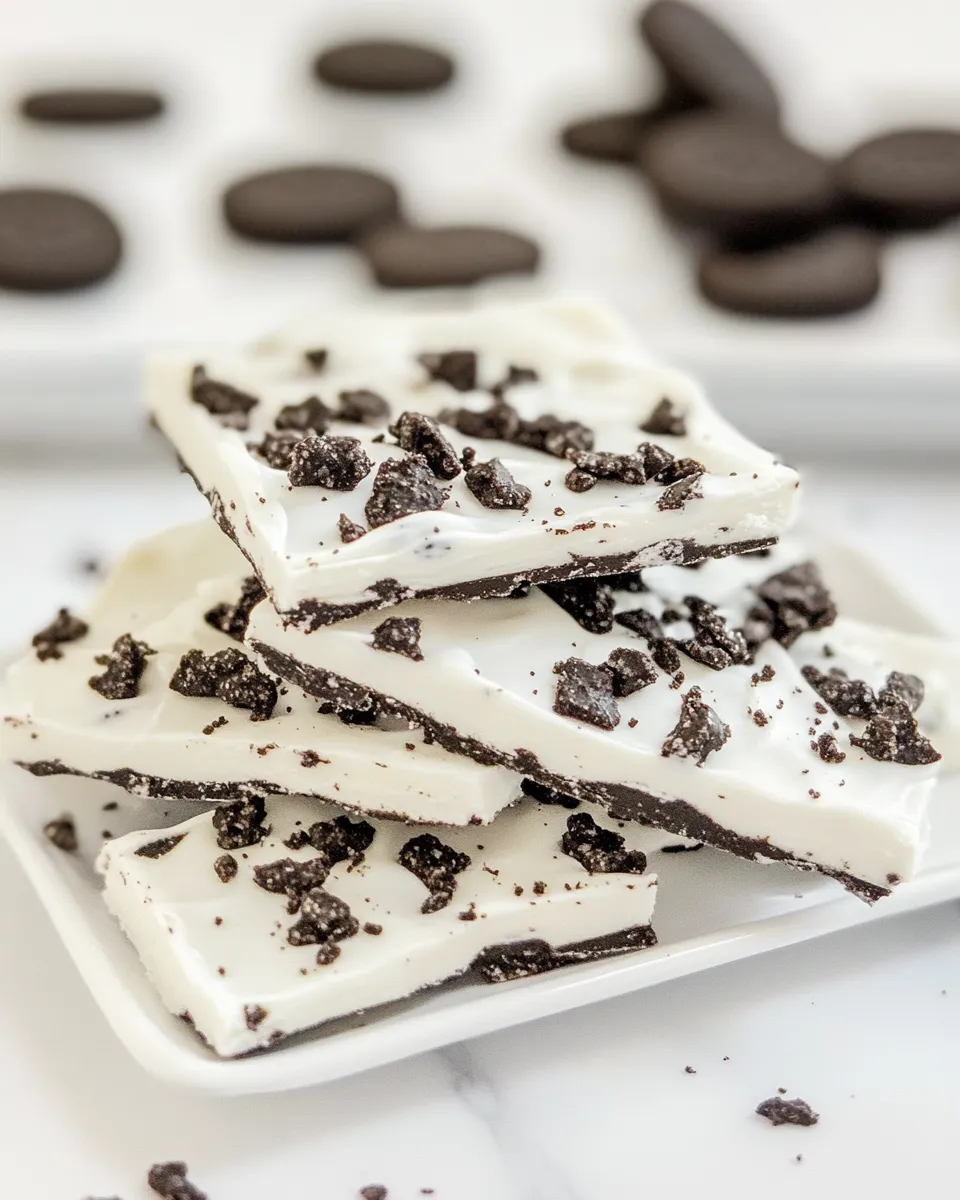
I like this recipe because it moves quickly and reliably. There’s no tempering, no tricky timing beyond working while the coating is warm, and the results are always crowd-pleasing. You’ll finish with 24 neat pieces, each with a good balance of cookie crunch and creamy coating.
Below you’ll find the exact ingredients and step-by-step directions, followed by notes, troubleshooting, and useful variations. Read once, prep, and then enjoy how simple a gorgeous homemade bark can be.
Ingredient Notes
Ingredients
- 24 Oreo cookies — coarsely crushed; these provide the crunchy, chocolate-cookie texture and classic Oreo flavor throughout the bark.
- 1 (16-ounce) package vanilla candy coating — melts into a smooth, sweet base that binds the crushed cookies and sets into a firm bark.
Oreo Cookie Bark: From Prep to Plate
- Line a 9 x 13-inch pan with parchment paper; set aside.
- Melt the 1 (16-ounce) package vanilla candy coating according to the package directions (for example, microwave in 30-second intervals, stirring between each, until smooth).
- Scoop 2 tablespoons of the melted vanilla candy coating into a small bowl and set it aside.
- Reserve 2 tablespoons of the 24 coarsely crushed Oreo cookies in a separate small bowl.
- Add the remaining crushed Oreos (24 cookies minus the reserved 2 tablespoons of crumbs) to the remaining melted candy coating and stir until the cookie pieces are evenly coated.
- Immediately spread the Oreo-and-candy mixture in an even layer in the prepared pan, working quickly before the coating sets.
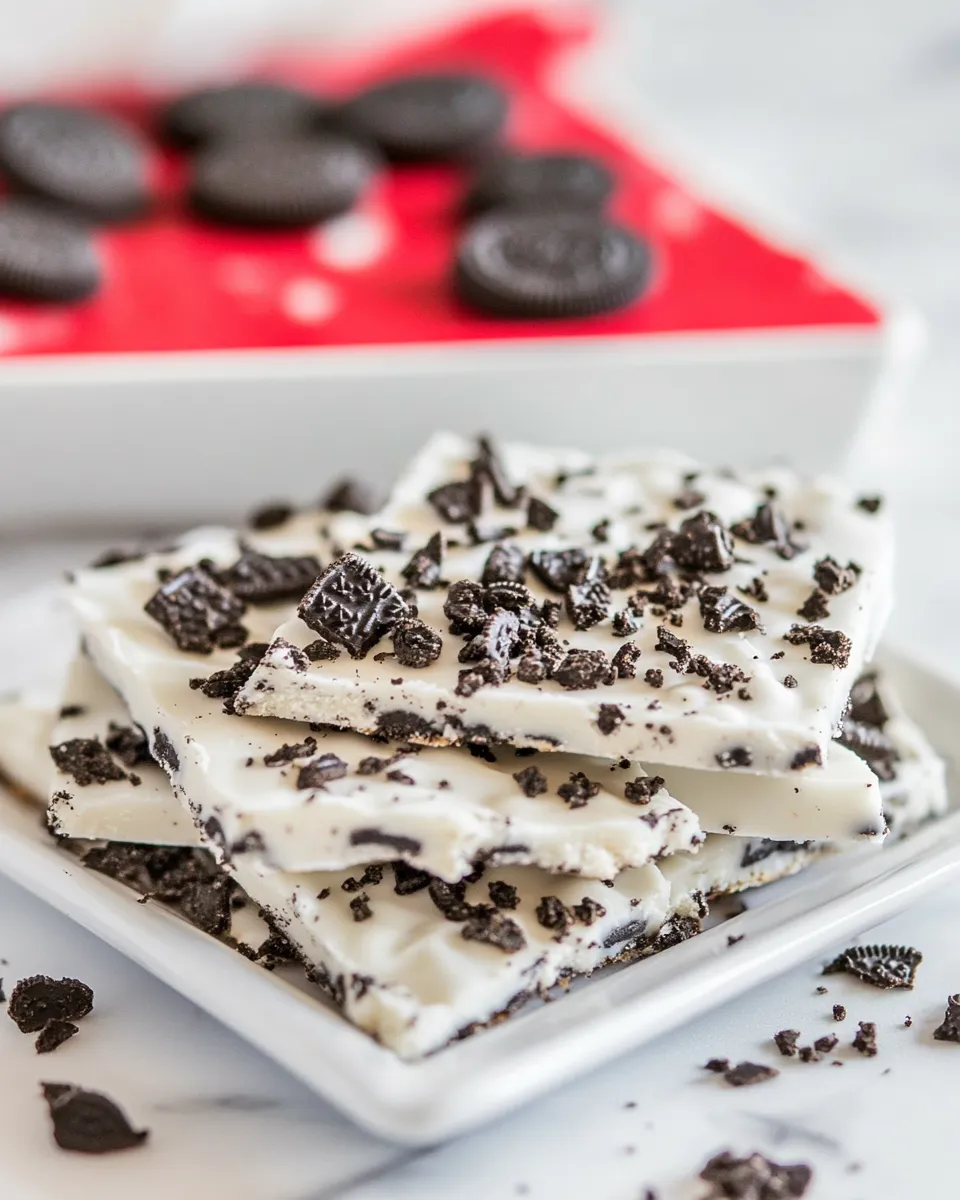
- Drizzle the reserved 2 tablespoons of melted candy coating over the top of the spread mixture, then sprinkle the reserved 2 tablespoons of Oreo crumbs evenly over the top.
- Let the bark cool completely until firm (you may refrigerate to speed this), then cut into 24 pieces with a sharp knife.
Why This Recipe Belongs in Your Rotation
It’s quick. From start to finish this comes together in under an hour if you let the bark chill rather than air-cool. The prep is mostly crushing and stirring, and you don’t need advanced skills. That makes it perfect for busy hosts or anyone who wants to make something impressive without fuss.
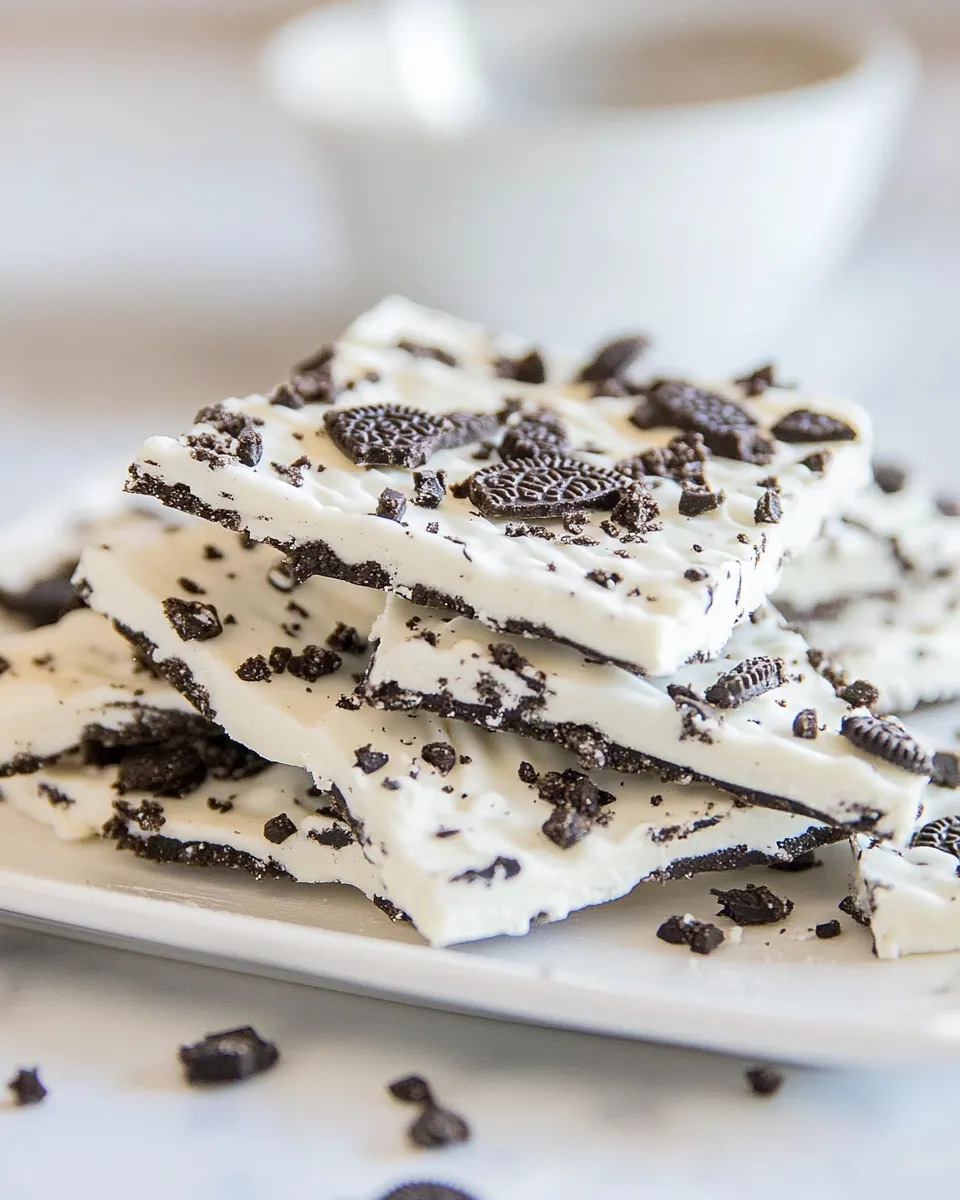
The flavor profile is universally appealing. Vanilla candy coating keeps the overall taste bright and lets the Oreos stand out. The texture contrast—crisp cookie in a smooth candy matrix—feels special despite the minimal ingredient list. Finally, the portions are easy to divide, which makes it a reliable option for gifting, bake sales, or packing into cookie tins.
Flavor-Forward Alternatives
- Stir in a pinch of instant espresso to the melted coating for a mocha twist—work quickly so the coating doesn’t set.
- Fold in a few chopped chocolate-covered toffee pieces for added chew and depth.
- Use half-and-half crushed chocolate wafer and golden Oreos for a two-tone appearance and slightly different crunch.
Recommended Tools
- 9 x 13-inch pan — the recipe is scaled to this size for even thickness and 24 pieces.
- Parchment paper — lines the pan and makes it easy to lift the bark out cleanly.
- Microwave-safe bowl or double boiler — follow package directions for melting the candy coating.
- Rubber spatula — helpful for scraping the coating and folding cookie pieces in without losing texture.
- Sharp chef’s knife — for clean cuts when portioning the set bark into 24 pieces.
Learn from These Mistakes
Common pitfalls and how to avoid them
- Waiting too long to spread the mixture: The coating sets quickly. Have your pan lined and nearby before you melt the coating so you can work immediately.
- Overheating the candy coating: Heat in short bursts and stir. Overheated candy can seize or become grainy, which hurts the texture of the bark.
- Using a pan that’s too small or too large: Too small and the bark will be thick and hard to cut into uniform pieces; too large and pieces will be thin and fragile.
- Skipping the reserved crumbs: The small reserve of crumbs and coating creates a visually appealing top layer and helps each piece look finished—don’t omit it.
In-Season Swaps
Because this is a pantry-forward recipe, “in-season” swaps are more about what’s on hand or what’s trending. For spring or summer gatherings, consider mixing in a handful of freeze-dried strawberry or raspberry pieces for bright, fruity pops. In fall, a touch of finely chopped toasted pecans or a light dusting of cinnamon over the top can shift the bark toward seasonal warmth.
If you find seasonal cookie varieties like holiday Oreos (mint, peanut butter, or flavored editions), they swap in seamlessly—just note that stronger-flavored Oreos will change the overall profile, so taste before you commit to a large batch.
Notes on Ingredients
Use the exact ingredients listed for the most predictable result: 24 Oreos and a full 16-ounce package of vanilla candy coating. The candy coating is formulated to melt smoothly and set firm without tempering, so it’s the practical choice here. If you try substituting melting chocolate or compound chocolate, expect small differences in mouthfeel and set time.
When crushing Oreos, aim for a mix of bite-size chunks and finer crumbs. Large chunks give satisfying texture; the finer crumbs help the mixture bind and hold its shape. Reserve the 2 tablespoons of crumbs as directed—those are for the decorative finish and a little textural contrast on the surface.
Leftovers & Meal Prep
Store the broken or cut pieces in an airtight container at room temperature for up to a week. If your kitchen is warm or humid, refrigerate the container to prevent softening; chilled bark firms up quickly when returned to room temperature for a few minutes before serving.
For gifting or longer storage, wrap pieces in parchment or cellophane and store in a cool, dry spot, or keep them in the refrigerator for up to two weeks. The bark also freezes well: lay pieces in a single layer between sheets of parchment in an airtight container, freeze, then transfer to a freezer-safe bag. Thaw at room temperature before serving.
Oreo Cookie Bark Q&A
Will different Oreos work?
Yes. Flavored Oreos will change the taste, often in a pleasing way. Keep in mind balance: strongly flavored cookies like mint will dominate, while classic Oreos give the familiar chocolate-cookie base the recipe intends.
Can I use white chocolate instead of vanilla candy coating?
You can use white chocolate but be aware it behaves differently than a candy coating. White chocolate may require careful melting (use low heat) and can be more prone to seizing if water gets in. The vanilla candy coating is recommended because it melts and sets predictably.
How do I get clean pieces when cutting?
Use a sharp chef’s knife and wipe it clean between cuts. If the coating is very firm, let the bark sit at room temperature for a few minutes so the knife slices smoothly instead of cracking the pieces.
What’s the best way to crush Oreos?
Use a sturdy zip-top bag and a rolling pin or the bottom of a heavy pan to gently crush them. For coarser pieces, pulse a few times in a food processor, but don’t over-process.
That’s a Wrap
This Oreo Cookie Bark is proof that simple ingredients handled thoughtfully make a confident dessert. Follow the eight clear steps, keep the two reserved tablespoons of coating and crumbs for the finishing touch, and you’ll end up with a snack that looks like you spent hours fussing over it—without the stress. Make a sheet for a holiday platter, a casual gift, or a quick sweet to brighten the week. Break it into pieces, share, and enjoy the smiles that follow.
Oreo Cookie Bark
Ingredients
Equipment
Method
- Line a 9 x 13-inch pan with parchment paper; set aside.
- Melt the 1 (16-ounce) package vanilla candy coating according to the package directions (for example, microwave in 30-second intervals, stirring between each, until smooth).
- Scoop 2 tablespoons of the melted vanilla candy coating into a small bowl and set it aside.
- Reserve 2 tablespoons of the 24 coarsely crushed Oreo cookies in a separate small bowl.
- Add the remaining crushed Oreos (24 cookies minus the reserved 2 tablespoons of crumbs) to the remaining melted candy coating and stir until the cookie pieces are evenly coated.
- Immediately spread the Oreo-and-candy mixture in an even layer in the prepared pan, working quickly before the coating sets.
- Drizzle the reserved 2 tablespoons of melted candy coating over the top of the spread mixture, then sprinkle the reserved 2 tablespoons of Oreo crumbs evenly over the top.
- Let the bark cool completely until firm (you may refrigerate to speed this), then cut into 24 pieces with a sharp knife.