Poached Eggs in the Microwave
Poaching an egg used to mean a pot of simmering water, a careful swirl and a nervous glance at the stove. This version skips the pan drama and gets you a tender poached egg in under two minutes using just your microwave. It’s quick, dependable and perfect for mornings when time and patience are in short supply.
I tested this method until I could do it with my eyes half closed. The trick is a gentle heat setting, a little vinegar in the water, and a tiny poke in the yolk to keep things calm. Follow the steps below exactly and you’ll consistently get a white that’s set and a yolk that’s soft or fully set depending on how many extra seconds you give it.
No fluff here—just clear, practical guidance so you can make a perfect poached egg, plate it, and move on with your day. I’ll cover equipment, common mistakes, low-carb options, storage, and a short Q&A so you can troubleshoot quickly.
What We’re Using
This technique leans on a few simple moves: enough water to submerge the egg, a splash of vinegar to help the white coagulate, and medium microwave power to cook gently. You don’t need fancy tools—just a microwave-safe bowl and a plate to cover.
Ingredients
- 1 egg — the star; fresh eggs hold together best.
- ⅓ cup of water — just enough to submerge the egg and transfer heat evenly.
- ½ tsp of vinegar — helps the egg white coagulate so you get a neat shape.
- Salt & pepper — simple seasoning to finish; add to taste.
Poached Eggs in the Microwave in Steps
- Pour 1/3 cup water into a microwave-safe bowl and stir in 1/2 tsp vinegar.
- Crack 1 egg into the bowl so the egg is submerged in the water.
- Poke a small hole in the yolk with a toothpick or cake tester.
- Cover the bowl with a microwave-safe plate and microwave at 50% power for 1 minute.
- Carefully remove the bowl (it will be hot) and check doneness. If the white is not fully cooked or the yolk is not set, return the covered bowl to the microwave and continue cooking at 50% power in 15-second intervals until the white is cooked through and the yolk is set.
- Remove the egg from the water, sprinkle with salt and pepper, and enjoy.
The Upside of Poached Eggs in the Microwave

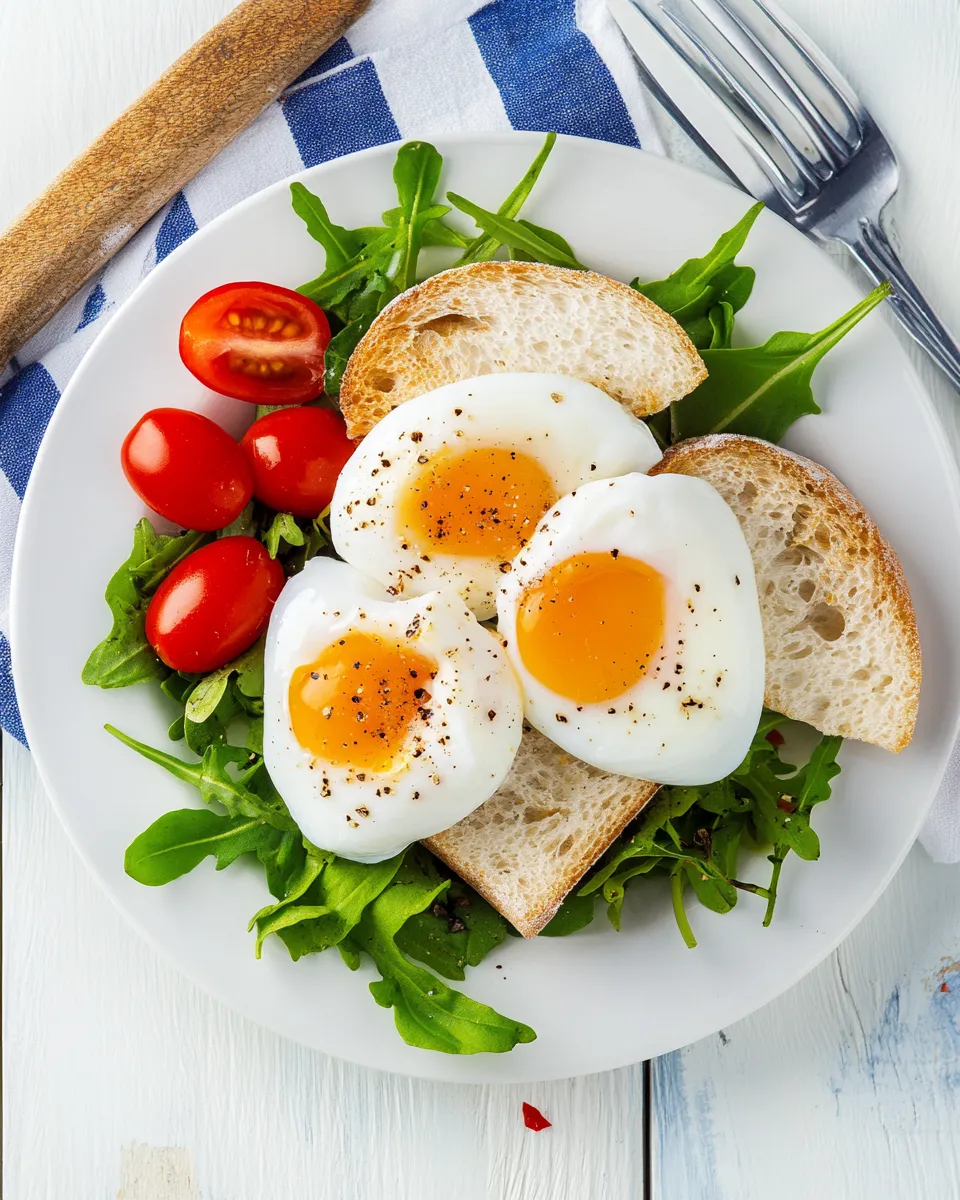
Speed is the obvious benefit. From bowl to plate in about a minute of cook time. That makes this a reliable weekday breakfast trick or a quick protein boost for salads and grain bowls.
It’s also lower-fuss and lower-mess than stove-top poaching. There’s no need to watch boiling water or manage a whirlpool. You get consistent results once you dial in your microwave’s power response to the 50% setting. Finally, this method produces a tender white and a yolk that’s easy to control by adding short extra bursts of heat.
Low-Carb/Keto Alternatives
- Use the poached egg as-is on a bed of sautéed spinach or avocado slices for a filling, low-carb meal.
- Top a halved roasted cauliflower or a large portobello mushroom with the egg for a hearty, keto-friendly plate.
- Swap out bread or English muffins for crisped cheese “toasts” (baked shredded cheese rounds) to keep it very low-carb.
Gear Up: What to Grab
- Microwave-safe bowl — deep enough to fully submerge the egg in ⅓ cup of water.
- Microwave-safe plate — to cover the bowl and trap steam during cooking.
- Toothpick or cake tester — to poke the yolk slightly and prevent small explosions.
- Tongs or a slotted spoon (optional) — for gentle removal if you prefer not to tip the water.
- Kitchen towel or oven mitts — the bowl will be hot after microwaving.
Frequent Missteps to Avoid
- Using too much power: microwaving at full power cooks too aggressively and can make the white rubbery or the egg explode. Always use 50% power for the initial minute and follow with short intervals if needed.
- Not enough water: if the egg isn’t submerged, the white cooks unevenly and the shape becomes ragged. Use ⅓ cup exactly for consistent coverage.
- Skipping the vinegar: vinegar helps the white set quickly and keeps it from feathering in the water. ½ tsp is all you need.
- Forgetting to poke the yolk: a small hole releases trapped air and prevents tiny bursts in the microwave. Use a toothpick or cake tester—only a small poke.
- Removing the cover too soon: the steam continues to cook the egg, and removing the plate immediately can cause the white to cling to the rim and tear. Lift the plate carefully after a quick check.
Substitutions by Diet
Poached eggs are naturally flexible across diets. Here are targeted swaps or pairings:
- Vegetarian: keep the ingredients the same and serve on whole-grain toast, roasted tomatoes, or sautéed greens.
- Vegan: this exact method uses eggs and vinegar; a vegan “egg” replacement won’t behave the same in the microwave. For plant-based options, consider silken tofu slices warmed gently instead of a poached egg.
- Gluten-free: serve over gluten-free bread, cauliflower hash, or salads—no ingredient swaps required.
- Low-sodium: skip the added salt at the end; rely on freshly cracked pepper or a squeeze of lemon if you use it.
Testing Timeline
Microwaves vary, so use this timeline as your baseline and adjust by short intervals. Check gently between steps.
- 0:00 — Bowl with ⅓ cup water + ½ tsp vinegar ready; crack in egg and poke yolk.
- 1:00 — Microwave at 50% power for 1 minute. Carefully remove and inspect the white and yolk.
- 1:15–1:45 — If white not fully set, return covered and microwave at 50% in 15-second bursts until the white is cooked through and yolk reaches your preferred firmness.
- Finish — Remove the egg from water, season, and serve immediately.
Make-Ahead & Storage
Poached eggs are best fresh. If you need to make them ahead:
- Cooling: plunge cooked eggs into an ice bath to stop cooking. This preserves texture for short-term storage.
- Reheating: gently rewarm refrigerated poached eggs in hot (not boiling) water for about 30–60 seconds. Avoid microwaving directly; it makes them tough.
- Storage time: keep the cooled poached eggs in an airtight container in the fridge for up to 48 hours. Texture degrades after that.
Reader Q&A
Q: My egg exploded in the microwave. What did I do wrong?
A: Most likely you either microwaved at too high a power, didn’t poke the yolk, or the egg wasn’t fully submerged. Always use 50% power, poke a small hole in the yolk, and ensure the egg sits under ⅓ cup of water.
Q: I want a runnier yolk. How many seconds should I shave off?
A: Start with the 1 minute at 50% power. If the white is cooked and the yolk is too firm, reduce follow-up intervals or check earlier. Microwaves vary—your ideal time might be 45–50 seconds initially, but test carefully.
Q: Can I poach multiple eggs at once?
A: You can, but they need to have space and enough water to fully submerge each egg. Cook times will increase and results may be less consistent. I recommend doing one egg at a time until you’re comfortable with your microwave.
Q: Can I use lemon juice instead of vinegar?
A: Lemon juice can aid coagulation, but vinegar is the tested swap in this method. If you use lemon juice, start with a similar small amount (about ½ tsp) and expect slight differences in flavor and behavior.
Let’s Eat
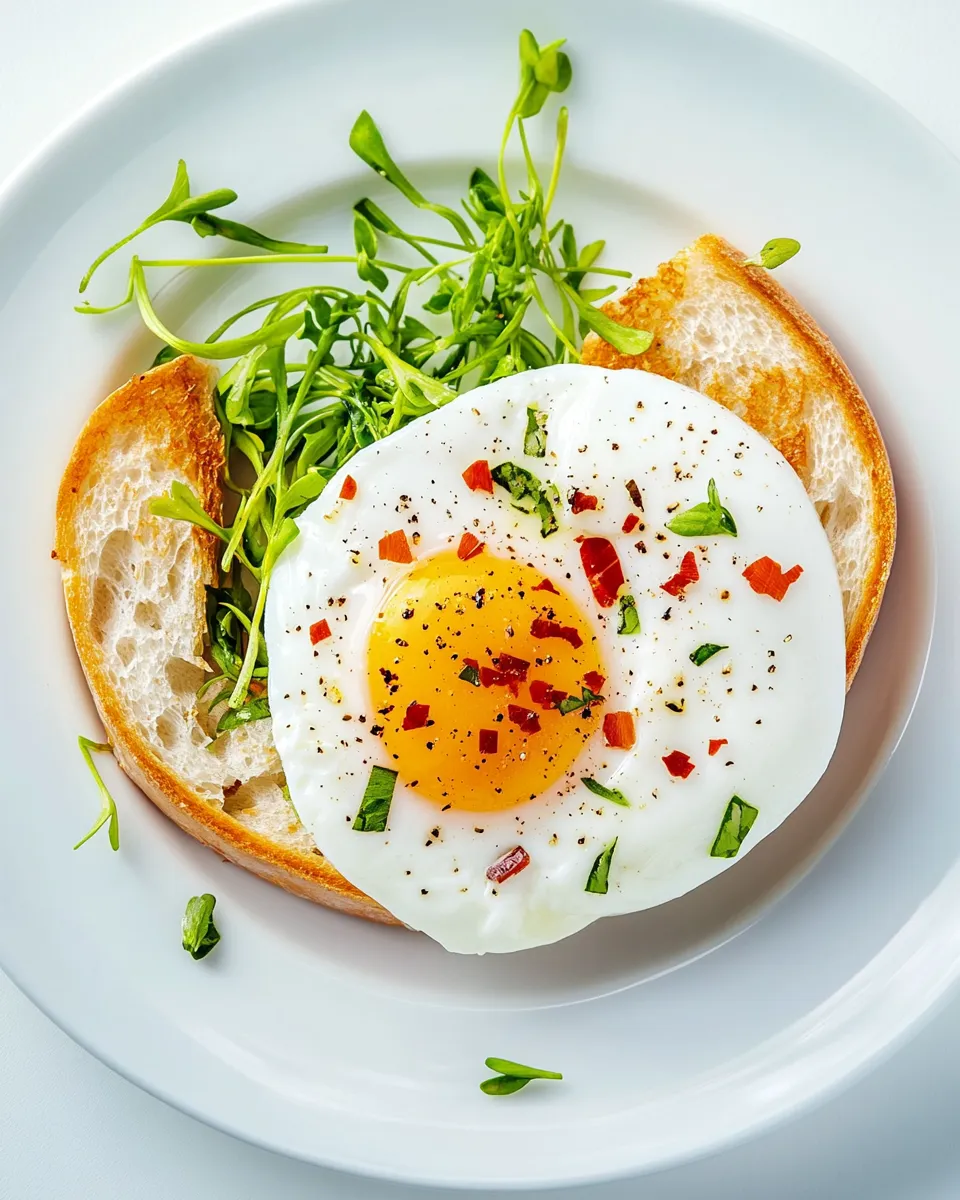
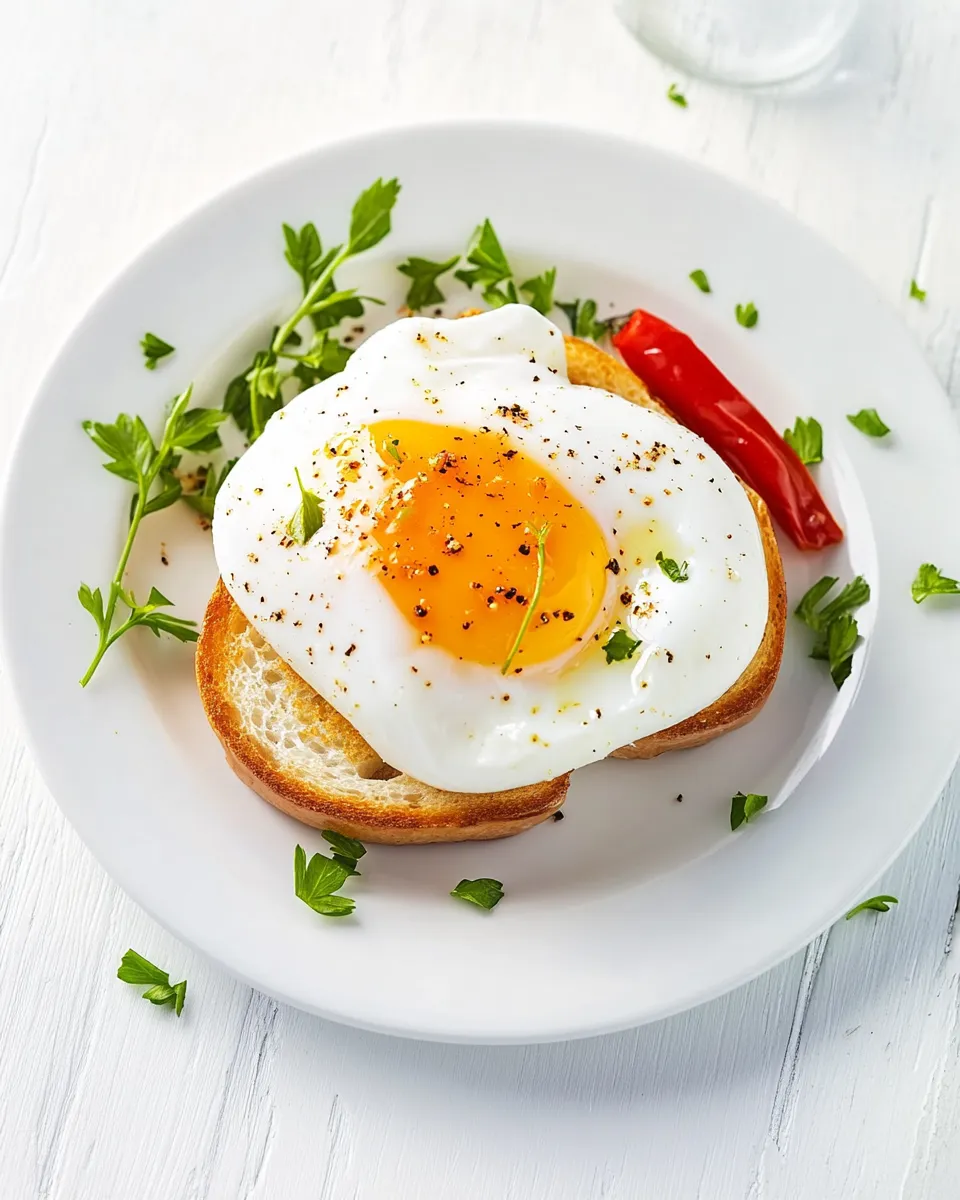
Lift the egg from the water with a slotted spoon or tip the bowl and slide it onto toast, a salad, or a grain bowl. Sprinkle with salt and pepper. If you like, add a drizzle of olive oil, a pinch of chili flakes, or a scattering of chopped herbs.
This microwave method isn’t just fast—it’s predictable once you know your appliance’s quirks. Use the exact amounts and the 50% power guideline, and you’ll have a reliable poached egg any morning of the week. Now plate one up and enjoy that perfectly tender white and luscious yolk.
Poached Eggs in the Microwave
Ingredients
Equipment
Method
- Pour 1/3 cup water into a microwave-safe bowl and stir in 1/2 tsp vinegar.
- Crack 1 egg into the bowl so the egg is submerged in the water.
- Poke a small hole in the yolk with a toothpick or cake tester.
- Cover the bowl with a microwave-safe plate and microwave at 50% power for 1 minute.
- Carefully remove the bowl (it will be hot) and check doneness. If the white is not fully cooked or the yolk is not set, return the covered bowl to the microwave and continue cooking at 50% power in 15-second intervals until the white is cooked through and the yolk is set.
- Remove the egg from the water, sprinkle with salt and pepper, and enjoy.