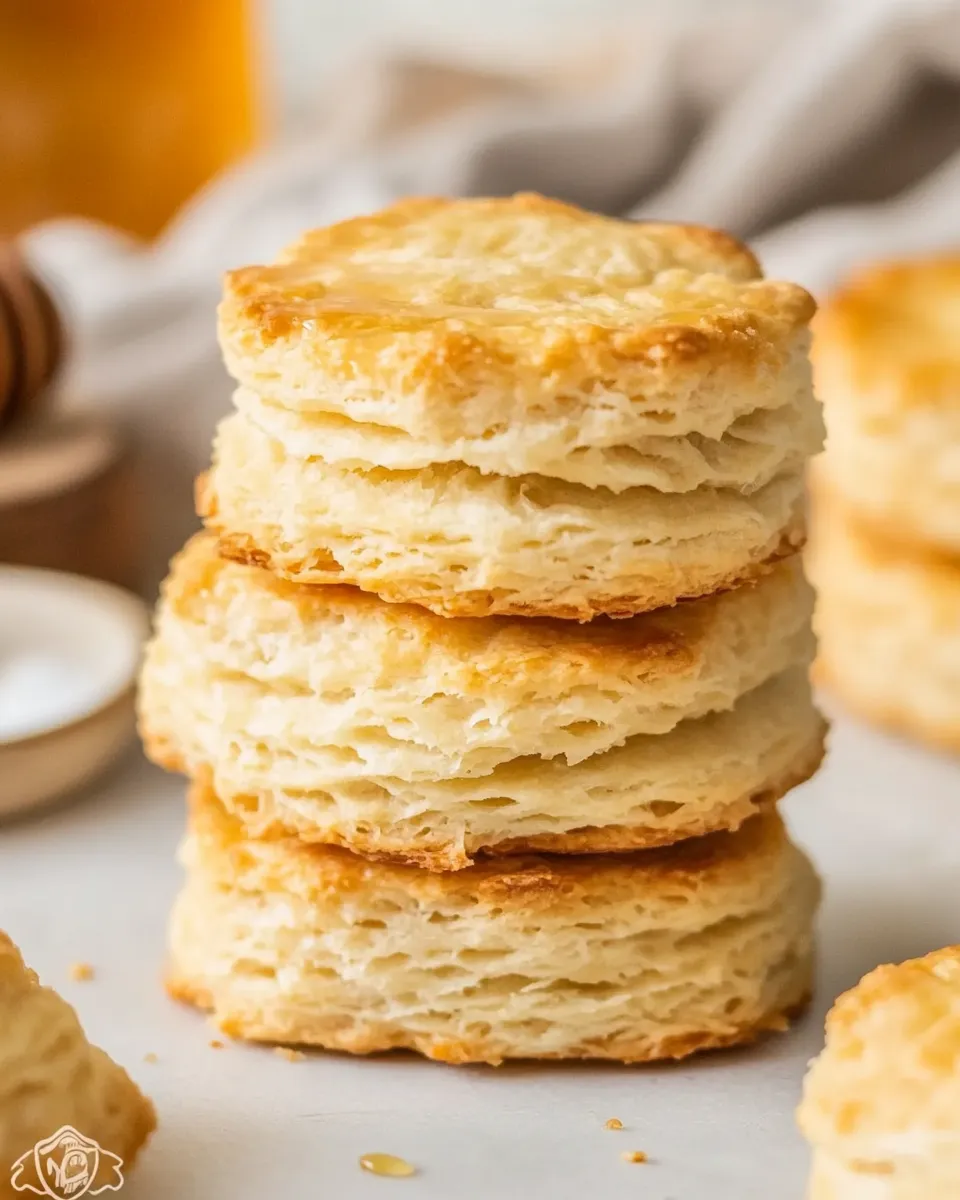
Simple Honey Biscuits
These honey biscuits are exactly the kind of recipe I reach for when I want something cozy without drama. They come together quickly from pantry staples, bake in about twelve minutes, and have a soft, layered crumb with a light, sweet honey note. They’re forgiving, which makes them perfect for an everyday treat or a last-minute guest.
I like to keep the process hands-off where it matters: cold butter, gentle handling, and a few folds to build those tender layers. The technique is straightforward, and once you’ve done the fold-and-press sequence a couple of times it becomes second nature. You’ll get consistent results even if you’re not a pastry pro.
Below you’ll find a clear ingredient list, step-by-step directions, troubleshooting notes, and storage tips. Read the directions through once before you start so everything — including the butter and milk — is at the right temperature. Let’s make biscuits.
The Ingredient Lineup
- 2 c flour (250 g) — The structure of the biscuit; measure by weight for consistency if you can.
- ½ c unsalted butter (one stick), very cold — Creates flaky layers; keep it very cold so it doesn’t fully incorporate into the flour.
- ¾ c whole milk — Adds moisture and tenderness; keep ice-cold until mixing to help the butter stay cold.
- 3 T honey — Sweetens and gives a subtle flavor note; whisked into the milk so it distributes evenly.
- 1 T baking powder — The leavening power for lift; make sure it’s fresh for best rise.
- 1 tsp sea salt — Enhances flavor; adjust only if you must, but stick to the recipe for balance.
Directions: Honey Biscuits
- Preheat oven to 425°F. Line a baking sheet with parchment paper. Put the unsalted butter in the freezer for at least 20 minutes and keep the whole milk ice cold until ready to use.
- In a medium bowl, whisk together the flour, baking powder, and sea salt until evenly combined.
- Grate the very cold butter into the dry ingredients using a box grater. If you don’t have a grater, cut the butter into small cubes and cut it into the flour with a pastry cutter or two knives. Toss to coat the butter with flour and then work it in until the butter pieces are about pea-sized—do not overwork.
- In a large measuring cup or small bowl, whisk the whole milk and honey together until the honey is incorporated.
- Pour the milk-and-honey mixture into the flour-and-butter mixture. Gently stir with a spatula or spoon until a shaggy, slightly chunky dough forms and most of the dry flour is moistened. Do not overmix.
- Turn the dough onto a lightly floured surface. Gather it into a rough rectangle. If sticky, dust lightly with flour. Gently press the dough out into a rectangle about 1 inch thick, fold it over onto itself, rotate 90°, press out again, and repeat the fold/press sequence a total of 4–5 times to build layers. Handle the dough gently.
- After the final fold, press the dough to about 1 inch in height. Use a biscuit cutter (press straight down without twisting) or another round cutter to cut biscuits. Place the cut biscuits on the prepared baking sheet (placing them close together will help them rise taller). Gather scraps, press gently once, and cut remaining biscuits.
- If desired, brush the tops lightly with a little cold milk or melted butter.
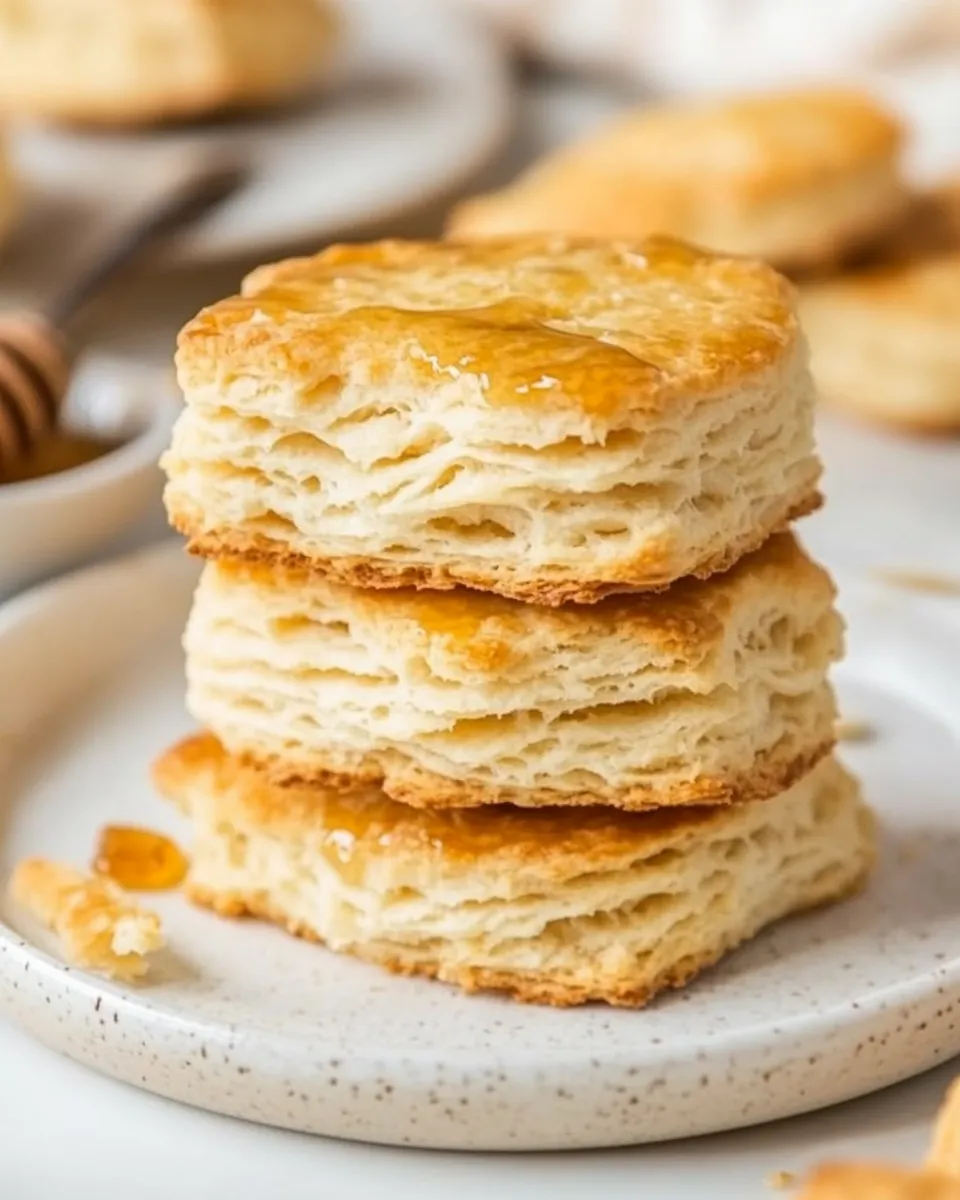
- Bake in the preheated oven for about 12 minutes, or until the tops are a very light golden brown. Remove from the oven and let cool on the baking sheet a few minutes before serving.
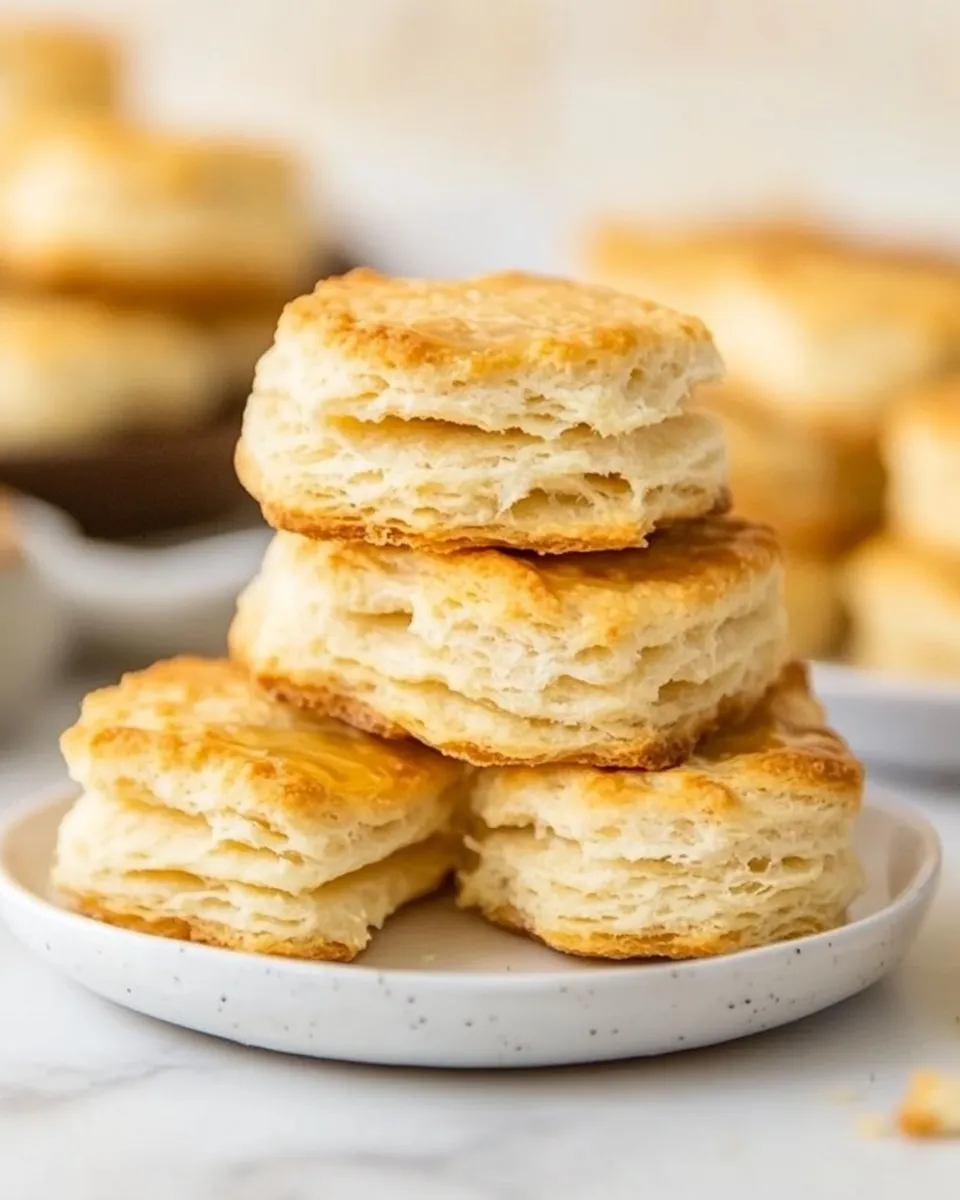
- Makes about 6–8 biscuits, depending on cutter size.
Why This Recipe is a Keeper
These Honey Biscuits strike a comforting balance: crisp-ish exterior, soft interior, and just enough honey to be interesting without being cloying. The short ingredient list keeps things simple, and the method encourages flaky layers without complicated laminating.
It’s fast. From preheated oven to finished biscuits is minutes of baking and very little hands-on time. The fold-and-press technique is the key to lift and texture, and it’s repeatable. Even when I’m short on time, I can get these on the table and they still impress.
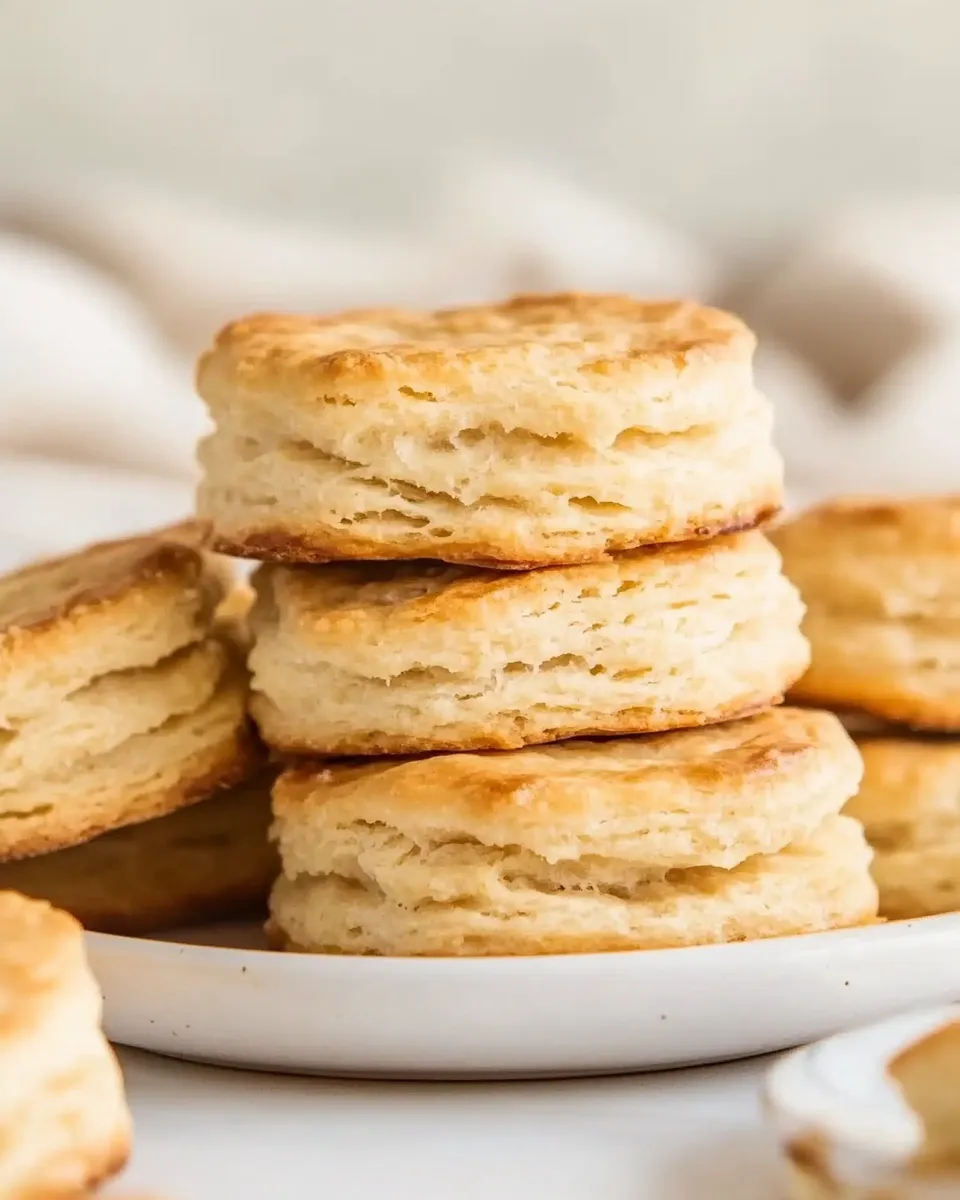
Finally, they’re versatile. Serve them warm with butter, as a side for soup, or split and drizzled with extra honey. They feel a bit elevated for everyday baking, and I reach for this formula when I want fast, reliably good biscuits.
Quick Replacement Ideas
- Unsalted butter — If you prefer, use salted butter and reduce the sea salt slightly. Keep the butter very cold regardless.
- Whole milk — If you need a swappable dairy, a slightly thicker milk (like half-and-half) will make a richer biscuit; thinner milk will give a lighter crumb. Keep the liquid cold.
- Honey — You can reduce the honey if you want a less sweet biscuit, but the amount in the recipe is balanced to add flavor without altering texture.
- Baking powder — If yours is old or inactive, replace it with fresh baking powder to preserve rise.
Must-Have Equipment
- Oven — preheated to 425°F for the correct rise and color.
- Baking sheet lined with parchment paper — prevents sticking and keeps bottoms even.
- Box grater or pastry cutter/two knives — for cutting very cold butter into the flour.
- Mixing bowls — one medium for dry ingredients and one small for the milk-and-honey.
- Biscuit cutter or round cutter — pressing straight down yields taller biscuits.
- Spatula or spoon — for gentle mixing so you don’t overwork the dough.
- Measuring cups and spoons — accurate measuring matters for predictable results.
Mistakes That Ruin Honey Biscuits
- Overworking the dough — mixing or kneading too much will develop gluten and make dense, tough biscuits. Stop when the dough is just cohesive and still slightly shaggy.
- Butter too warm — if the butter melts into the dough, you lose those pea-sized pockets that steam and create layers. Keep butter very cold and return to the freezer if it softens.
- Using warm milk — warm milk softens the butter prematurely. Use ice-cold milk straight from the fridge or add a few ice cubes to chill it briefly (remove before mixing).
- Twisting the cutter — twisting the cutter seals the edges and prevents lift. Press straight down and pull straight up.
- Not preheating the oven — a hot oven is crucial. Cold oven equals squat biscuits.
Seasonal Adaptations
These biscuits are a great canvas for seasonal serving ideas. In summer, serve warm with stone fruit preserves or a smear of whipped ricotta. In fall, pair them with roasted squash soup or offer maple butter on the side. During winter, a lick of spiced butter or a smear of citrus marmalade feels festive without changing the core recipe.
If you want to add texture at baking time, sprinkle a few lightly crushed nuts or a pinch of coarse sugar on the tops before baking for a simple seasonal flourish. Keep additions light so they don’t weigh the biscuits down.
Author’s Commentary
I make a batch of these when I want something homey and quick. The steps that most bakers worry about — the folds and the cold butter — are the ones that make this reliably good. Once I learned to stop fussing and to trust the process, my results improved immediately.
One personal habit: I freeze the butter until I’m ready to grate it. Grating is faster than cutting in and it creates excellent little flakes that translate into tender layers. If you’re working with kids or baking novices, the method is forgiving and teaches good technique without being fussy.
Store, Freeze & Reheat
- Room temperature — Store cooled biscuits in an airtight container for up to 2 days. They’ll remain soft but are best eaten the day they’re baked.
- Fridge — Refrigerate up to 4 days; warm gently before serving to restore tenderness.
- Freeze — Wrap cooled biscuits individually in plastic wrap and place in a freezer bag for up to 1 month. Thaw at room temperature and warm in a 350°F oven for 5–7 minutes.
- Reheat — For best texture, reheat in a 350°F oven for 5–10 minutes rather than the microwave, which can make them gummy. A quick 1–2 minute zap can be used in a pinch.
Honey Biscuits FAQs
-
Can I make the dough ahead?
Yes. After step 6, you can wrap the dough and refrigerate for up to 24 hours. Bring it back to a cold-but-pliable state before pressing and cutting. Chilling can slightly slow the oven rise but often improves flavor development.
-
Why grate the butter?
Grating very cold butter creates small, evenly distributed pieces that help produce distinct layers when baked. If you don’t have a grater, small cubes cut in and handled briefly will work; just keep the pieces cold and about pea-sized.
-
How big should my cutter be?
Use a cutter that yields 6–8 biscuits from the batch. Slightly larger cutters give a taller biscuit; smaller ones yield more biscuits but less height. Place biscuits close together on the sheet for taller sides.
-
Can I use a different sweetener instead of honey?
The recipe is written for honey. You can reduce or omit it for a less sweet biscuit, but replacing it with other liquid sweeteners will change both flavor and moisture. If you omit, check dough consistency and adjust carefully.
-
My biscuits browned too quickly on top. What happened?
Your oven may run hot or the rack could be too close to the top. Move the sheet to the middle rack and check the oven temperature with a thermometer if you’re unsure. Brushing with cold milk rather than melted butter can also reduce browning.
In Closing
These Honey Biscuits are a small, reliable pleasure: quick to make, easy to store, and adaptable to many meals. Follow the cold-butter, cold-milk rules and treat the dough gently, and you’ll be rewarded with tender, layered biscuits that feel a bit special without a lot of fuss.
Try the basic version a couple of times to get the folding rhythm. Once you’re comfortable, experiment with serving ideas and warm toppings. They’re a simple recipe that does a lot of work for you — and for me, that’s exactly what a weeknight recipe should do.
Simple Honey Biscuits
Ingredients
Equipment
Method
- Preheat oven to 425°F. Line a baking sheet with parchment paper. Put the unsalted butter in the freezer for at least 20 minutes and keep the whole milk ice cold until ready to use.
- In a medium bowl, whisk together the flour, baking powder, and sea salt until evenly combined.
- Grate the very cold butter into the dry ingredients using a box grater. If you don’t have a grater, cut the butter into small cubes and cut it into the flour with a pastry cutter or two knives. Toss to coat the butter with flour and then work it in until the butter pieces are about pea-sized—do not overwork.
- In a large measuring cup or small bowl, whisk the whole milk and honey together until the honey is incorporated.
- Pour the milk-and-honey mixture into the flour-and-butter mixture. Gently stir with a spatula or spoon until a shaggy, slightly chunky dough forms and most of the dry flour is moistened. Do not overmix.
- Turn the dough onto a lightly floured surface. Gather it into a rough rectangle. If sticky, dust lightly with flour. Gently press the dough out into a rectangle about 1 inch thick, fold it over onto itself, rotate 90°, press out again, and repeat the fold/press sequence a total of 4–5 times to build layers. Handle the dough gently.
- After the final fold, press the dough to about 1 inch in height. Use a biscuit cutter (press straight down without twisting) or another round cutter to cut biscuits. Place the cut biscuits on the prepared baking sheet (placing them close together will help them rise taller). Gather scraps, press gently once, and cut remaining biscuits.
- If desired, brush the tops lightly with a little cold milk or melted butter.
- Bake in the preheated oven for about 12 minutes, or until the tops are a very light golden brown. Remove from the oven and let cool on the baking sheet a few minutes before serving.
- Makes about 6–8 biscuits, depending on cutter size.
Notes
I have only used whole milk to make these so I cannot say whether another milk will be successful as of now.
Do not over bake your biscuits. The bottoms will be too hard and the inside can easily dry out. And who wants that??!