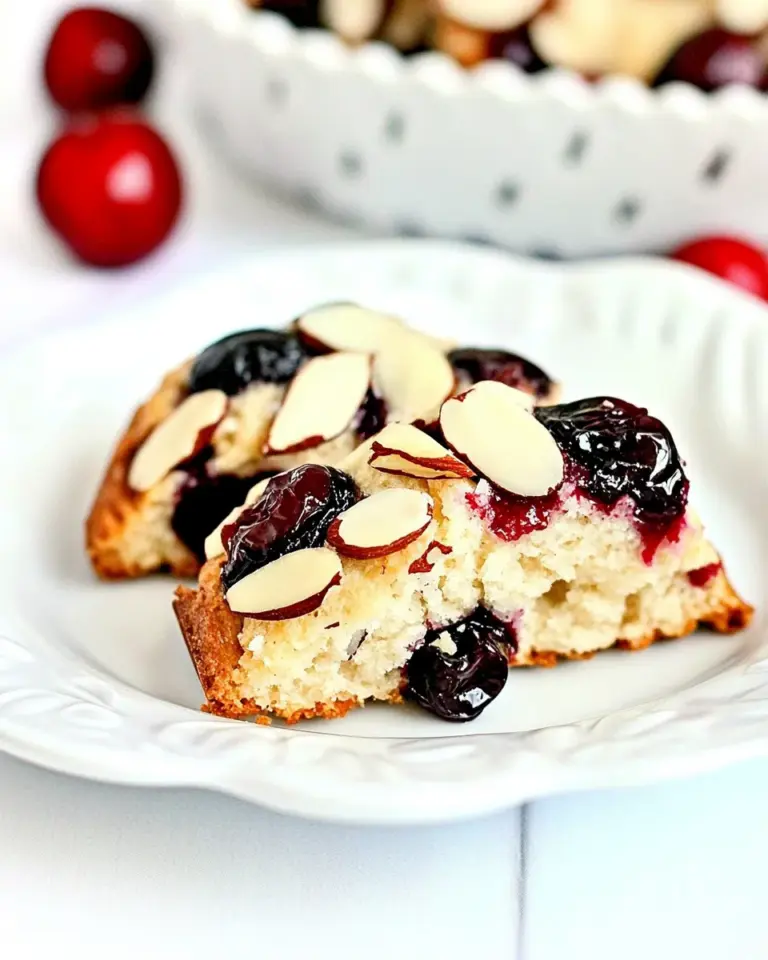
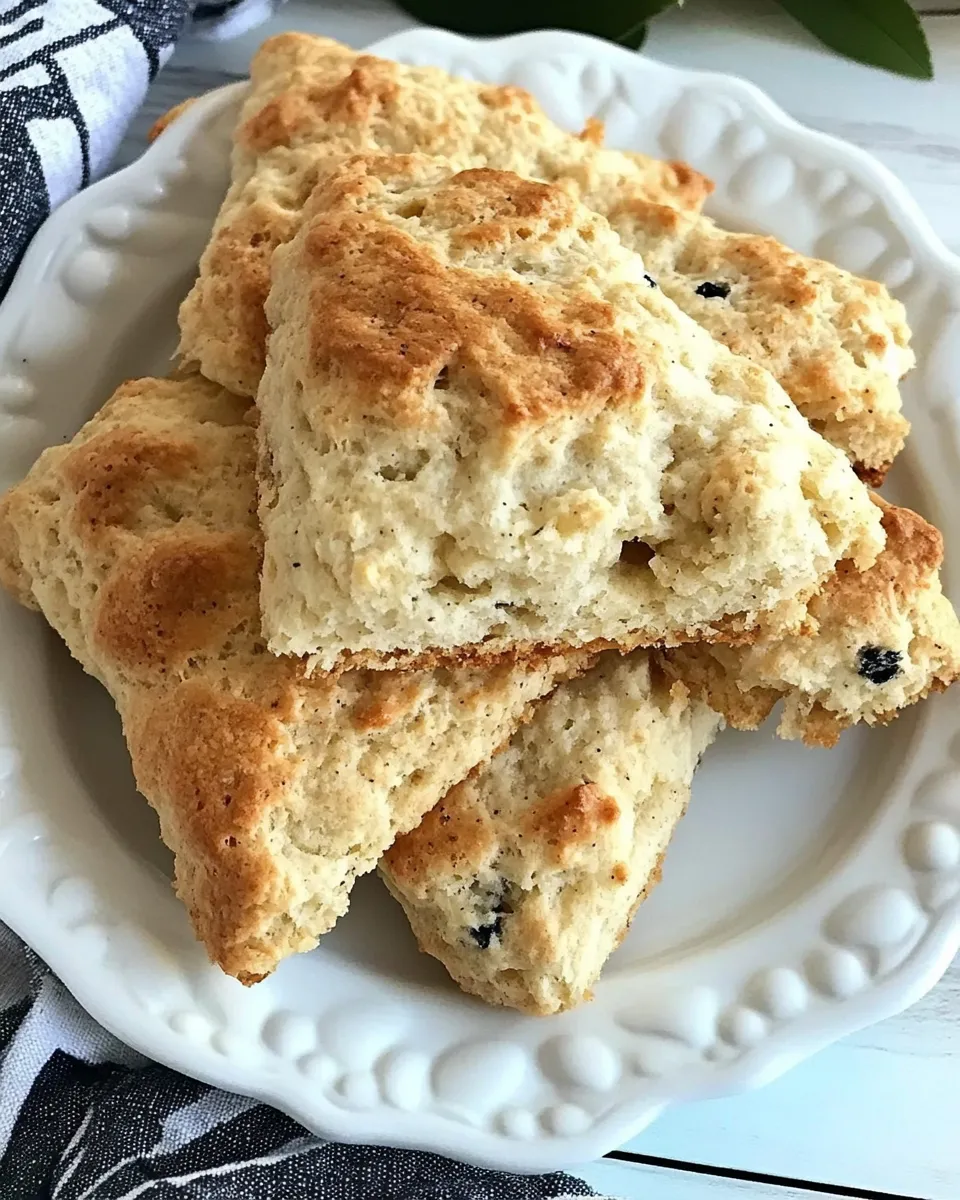
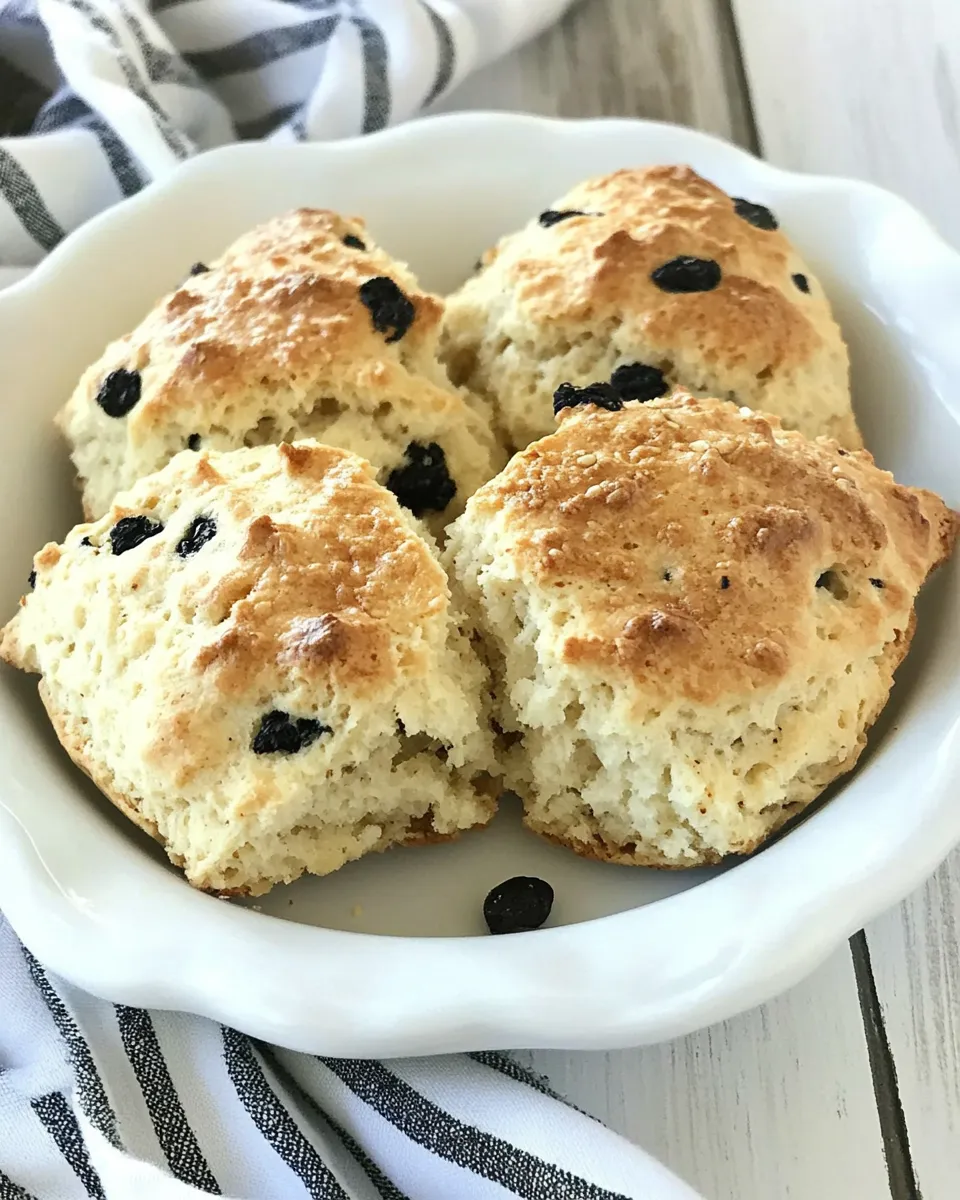
Spotted Dog Scones
There’s a simple pleasure in a warm scone studded with tiny jewels of fruit — the classic spotted dog scone delivers that comfort without fuss. I make these when I want something quick to pull from the oven for tea, a weekend brunch, or when friends pop by and a bakery run isn’t an option.
They’re forgiving. The dough comes together with just a fork or one hand shaped like a claw, and the recipe skips complicated laminating or chilling steps. Golden raisins and currants give the scones a gentle sweetness and texture, so you get pockets of chew and soft crumbs in every bite.
This post lays out the ingredients exactly as I use them, the method step by step, and practical tips that keep the results consistent. No elaborate staging — just honest scones you can rely on.
Ingredient Rundown
Ingredients
- 3⅔ cups all purpose flour — the base; provides structure and a tender crumb when handled gently.
- 1 teaspoon baking soda — the leavening agent that gives these scones lift and a light texture.
- 1 teaspoon salt — balances sweetness and strengthens flavor overall.
- 1 tablespoon granulated white sugar — a touch of sweetness on the background and helps with browning.
- ⅔ cup golden raisins — gives pockets of sweet, plump fruit throughout the scone.
- ½ cup currants — smaller bursts of sweetness and the “spots” this recipe is known for.
- 1 large egg — binds the dough and adds richness.
- 1⅔ cups buttermilk — hydrates the dough and reacts with the baking soda for tender lift and subtle tang.
Make Spotted Dog Scones: A Simple Method
- Preheat the oven to 450°F. Lightly dust a large baking sheet with flour and set it aside.
- Sift the all-purpose flour, baking soda, and salt into a large bowl. Stir in the granulated sugar, golden raisins, and currants until evenly distributed.
- In a separate bowl, beat the large egg and buttermilk together until combined.
- Make a well in the center of the dry ingredients and pour in the egg–buttermilk mixture. Using a fork or one hand shaped like a loose claw, mix from the center outward just until the dry ingredients are moistened. Do not knead or overmix—the dough should be soft but not wet and sticky.
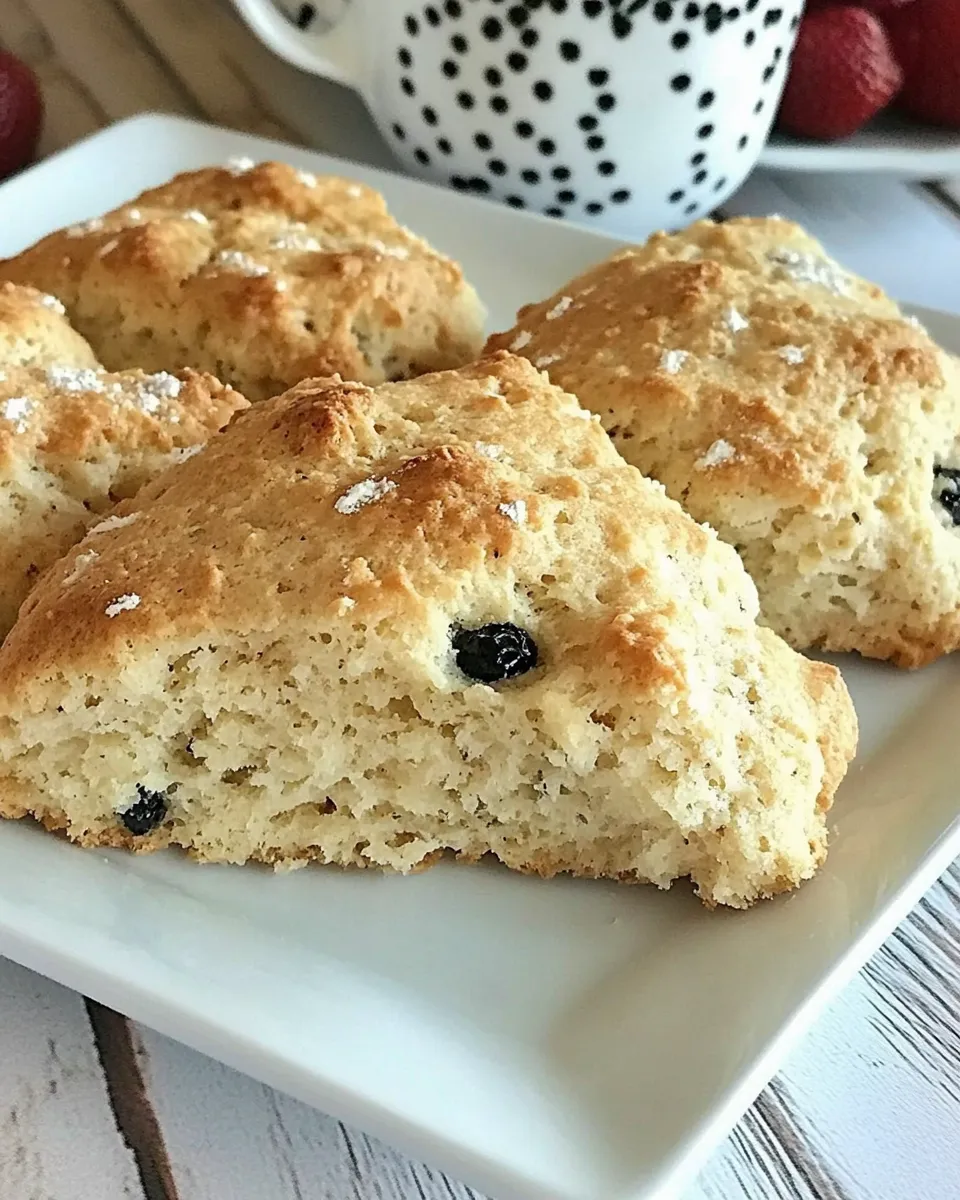
- Turn the dough out onto a lightly floured surface. Gently bring it together as needed, then pat or press it into a long, flat rectangle about 1 inch high.
- Cut the rectangle into mini scones. To make triangles, cut the rectangle into squares and then cut each square diagonally, or use a pizza cutter or knife to cut triangles directly.
- Transfer the scones to the prepared baking sheet, spacing them so they do not touch and pulling each slightly away from the others.
- Bake for 12 to 15 minutes, until the scones are golden on top and a skewer inserted into the center comes out clean.
- Let the scones cool on the baking sheet a few minutes, then serve warm (with butter and jam if desired). Reheat as needed in the microwave.
Top Reasons to Make Spotted Dog Scones
- Speed: The dough comes together quickly and bakes in about 12–15 minutes, so you’re never waiting long.
- Simplicity: No special techniques or chilling times are required — minimal tools, minimal fuss.
- Comfort factor: Warm scones with fruit pockets are universally comforting and pair well with tea or coffee.
- Adaptable portioning: The rectangle cutting lets you control scone size — make mini scones for a crowd or larger pieces for lingering breakfasts.
- Dependable results: The method tolerates light hands and slight variations without collapsing the texture.
What to Use Instead
- If you need fewer large fruit pieces, reduce the golden raisins slightly and rely more on the currants already in the recipe.
- If buttermilk isn’t your preference, any milk with a mild acidity will work; the important part is that it reacts with the baking soda for rise and tang.
- For a bit less sweetness, keep the granulated sugar as written but consider serving sparingly with spreads — the fruit already contributes sweetness.
- When currants are hard to find, you can rely more on the golden raisins called for in the ingredients to maintain texture and flavor.
Appliances & Accessories
- Oven set to 450°F — consistent temperature is essential for a quick rise and golden top.
- Large baking sheet — gives the scones space so they bake evenly and brown well.
- Sifter or fine-mesh sieve — for aerating the flour and dispersing baking soda and salt evenly.
- Large bowl and a separate small bowl — keeps wet and dry components organized.
- Fork or your hand in a loose claw — the recommended mixing tool; no stand mixer required.
- Pizza cutter or a sharp knife — for cleanly cutting the rectangle into triangles or squares.
- Cooling rack (optional) — helps scones cool without getting soggy on the bottom.
Steer Clear of These
- Overmixing the dough — this develops gluten and yields dense, tough scones. Mix just until moistened.
- Making the dough too wet — the recipe calls for a soft dough that’s not sticky; add only minimal flour to handle it if needed.
- Overcrowding the baking sheet — scones need space to brown evenly; give them a little air between each piece.
- Skipping temperature setup — an oven that’s not fully preheated can prevent proper rise and color.
- Cutting with a dull knife — ragged edges can compress the dough and affect texture; use a sharp blade or pizza cutter.
Make It Diet-Friendly
- To reduce overall sweetness, keep the sugar as listed (it’s modest) and rely on the fruit for most of the sweet notes. Serving with no-sugar spreads further cuts added sugar.
- Portion control is simple here — cut smaller pieces to lower per-serving calories without changing the recipe.
- Because the recipe uses modest amounts of sugar and fruit for flavor, it adapts well to careful portioning rather than major ingredient swaps.
- If you need lower-fat options for serving, choose lighter spreads rather than altering the scone’s structure; the recipe’s texture depends on the listed wet and dry ratios.
Behind the Recipe
Spotted dog scones are a classic tea-time item with a straightforward origin: small quick breads or scones studded with dried fruit have been a part of British and Irish baking traditions for generations. The nickname “spotted dog” comes from the look of the baked good — dark flecks of currants or raisins that resemble spots.
This recipe keeps that tradition intact while prioritizing a method that’s easy in a busy kitchen. The combination of baking soda and buttermilk gives the scones a gentle tang and lift. Working the dough lightly preserves tender crumbs, and cutting the rectangle into triangles is a straightforward, efficient way to portion the batch.
Make-Ahead & Storage
- Short-term: Let scones cool a few minutes on the baking sheet, then transfer to a plate and cover loosely. They keep well at room temperature for a day.
- Refrigeration: If you need to hold them longer, store in an airtight container for up to 2 days to prevent drying out.
- Freezing: Once fully cooled, place scones in a single layer on a sheet to freeze briefly, then transfer to a freezer bag for up to a month. Reheat gently before serving.
- Reheating: Microwave briefly for a few seconds to warm, or refresh in a low oven for a few minutes to bring back a bit of crispness on top.
Top Questions & Answers
- Why did my scones turn out dense? Most likely from overmixing. Stop as soon as the dough comes together; you want a soft but not sticky dough.
- Can I make larger scones? Yes. Cut larger pieces from the rectangle; watch bake time and test with a skewer until it comes out clean.
- My scones browned too quickly on top. Check oven temperature accuracy. Rotate the pan halfway through baking and place the sheet a rung lower if needed.
- Can I leave out the currants or raisins? You can reduce or omit them, but they provide both texture and the “spotted” character that defines this recipe.
- Should I brush with anything before baking? The recipe does not call for glazing; the scones brown nicely as written. A light brush of something would change the finish but is optional.
Bring It to the Table
Serve these warm and simple: a small pat of butter and a spoonful of jam are perfect partners. The scones work well with tea, coffee, or a late-morning beverage. For a relaxed gathering, stack a few on a plate and let guests help themselves — they’re sturdy enough to hold up to spreads and quick to reheat if you need to refresh them mid-service.
Because the dough is fast to make, they’re also ideal for unexpected company. Make the rectangle, cut, and bake while you tidy up — by the time you finish putting things in order, the kitchen will smell like hospitality, and the scones will be ready to share.

Spotted Dog Scones
Ingredients
Equipment
Method
- Preheat the oven to 450°F. Lightly dust a large baking sheet with flour and set it aside.
- Sift the all-purpose flour, baking soda, and salt into a large bowl. Stir in the granulated sugar, golden raisins, and currants until evenly distributed.
- In a separate bowl, beat the large egg and buttermilk together until combined.
- Make a well in the center of the dry ingredients and pour in the egg–buttermilk mixture. Using a fork or one hand shaped like a loose claw, mix from the center outward just until the dry ingredients are moistened. Do not knead or overmix—the dough should be soft but not wet and sticky.
- Turn the dough out onto a lightly floured surface. Gently bring it together as needed, then pat or press it into a long, flat rectangle about 1 inch high.
- Cut the rectangle into mini scones. To make triangles, cut the rectangle into squares and then cut each square diagonally, or use a pizza cutter or knife to cut triangles directly.
- Transfer the scones to the prepared baking sheet, spacing them so they do not touch and pulling each slightly away from the others.
- Bake for 12 to 15 minutes, until the scones are golden on top and a skewer inserted into the center comes out clean.
- Let the scones cool on the baking sheet a few minutes, then serve warm (with butter and jam if desired). Reheat as needed in the microwave.