Gather all your ingredients on the counter. It’s helpful to have everything ready before you start mixing.
In a mixing bowl, whisk together the 2 large eggs and 4 tablespoons of milk until well combined. Then, add the 5.3 oz container of vanilla Greek yogurt to the bowl. Stir until the mixture is smooth and creamy.
In a separate bowl, mix together 3/4 cup of all-purpose flour and 1 teaspoon of baking powder. Make sure there are no lumps in the flour.
Slowly add the dry ingredients to the wet mixture, stirring gently. Be careful not to overmix; it’s okay if there are a few small lumps. If the batter seems too thick, you can add a splash more milk until you reach your desired consistency.
Place your non-stick skillet or griddle over medium heat and add a small amount of coconut oil, light olive oil, or butter to coat the surface. Allow it to heat up until the oil is shimmering but not smoking.
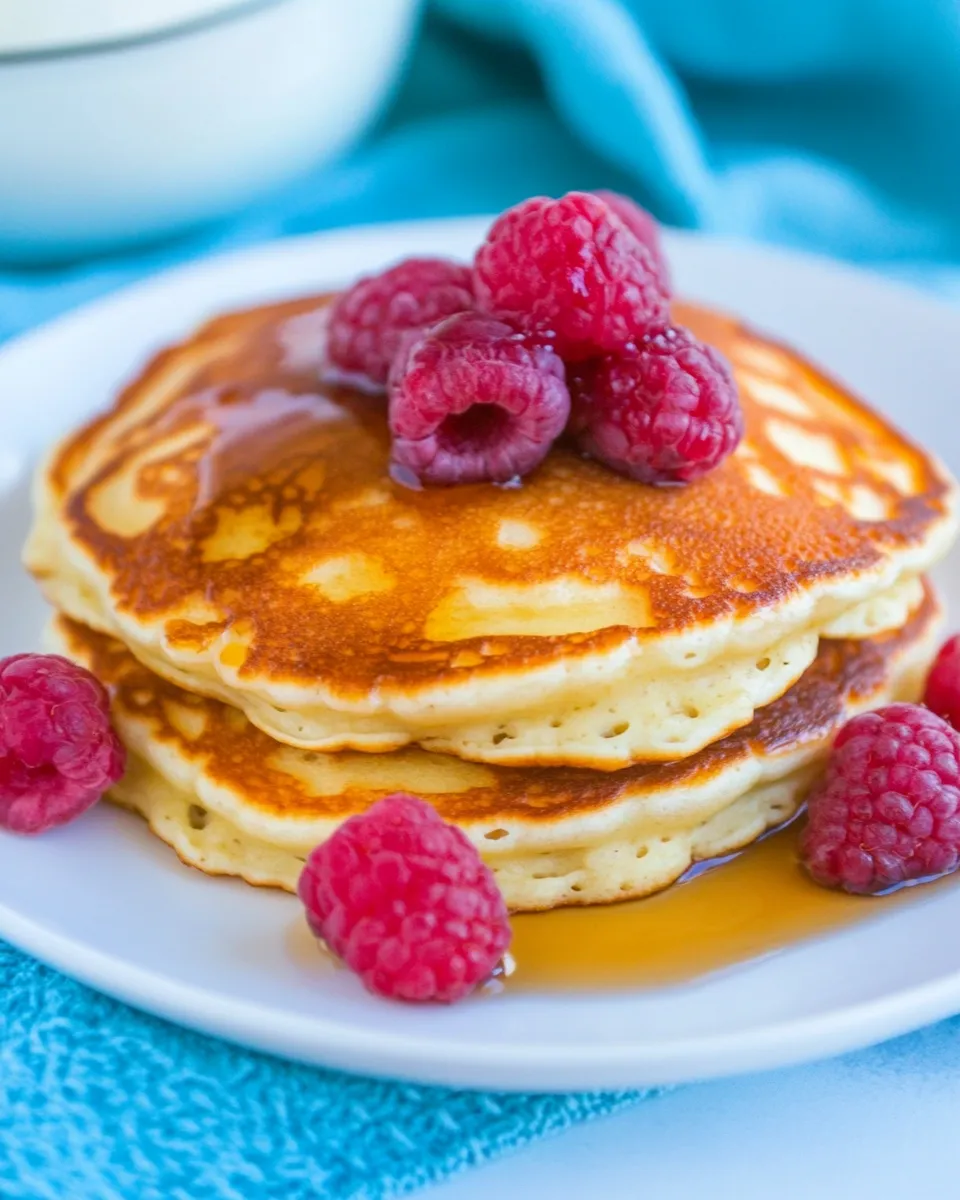
Using a ladle or measuring cup, pour about 1/4 cup of batter onto the skillet for each pancake. Cook for about 2-3 minutes, or until bubbles form on the surface and the edges look set. Flip the pancakes and cook for an additional 1-2 minutes until golden brown.
Remove the pancakes from the skillet and keep them warm in a low oven while you cook the remaining batter. Serve warm with your favorite toppings!