Ingredients
Equipment
Method
Instructions
- In the bowl of a stand mixer fitted with the paddle attachment (or a large mixing bowl and a handheld electric mixer), add 1 cup softened unsalted butter, 3/4 cup granulated sugar, and 1/2 cup packed light brown sugar. Cream on medium-high speed until light and fluffy, about 4 minutes. Stop and scrape down the sides of the bowl.
- Add 2 large room-temperature eggs and 1 tablespoon vanilla extract. Beat on medium speed until fully combined, about 2 minutes. Scrape down the sides and bottom of the bowl.
- In a separate large bowl, whisk together 2 3/4 cups all-purpose flour, 2 teaspoons cornstarch, 1 teaspoon baking powder, 1/2 teaspoon baking soda, 2 teaspoons ground cinnamon, and 1/2 teaspoon kosher salt until evenly mixed.
- With the mixer running on low, gradually add the dry ingredients to the wet ingredients. Mix just until the flour mixture is fully incorporated and no streaks of dry flour remain. Do not overmix.
- Line two baking sheets with parchment paper or silicone baking mats. Using a large cookie scoop or a spoon, portion the dough into even mounds (about 3 tablespoons of dough each for a large cookie; you can make them smaller if you prefer). Place the mounds on the prepared sheets, leaving about 2 inches between each cookie.
- Press each dough mound down until it is about 1/4 inch high.
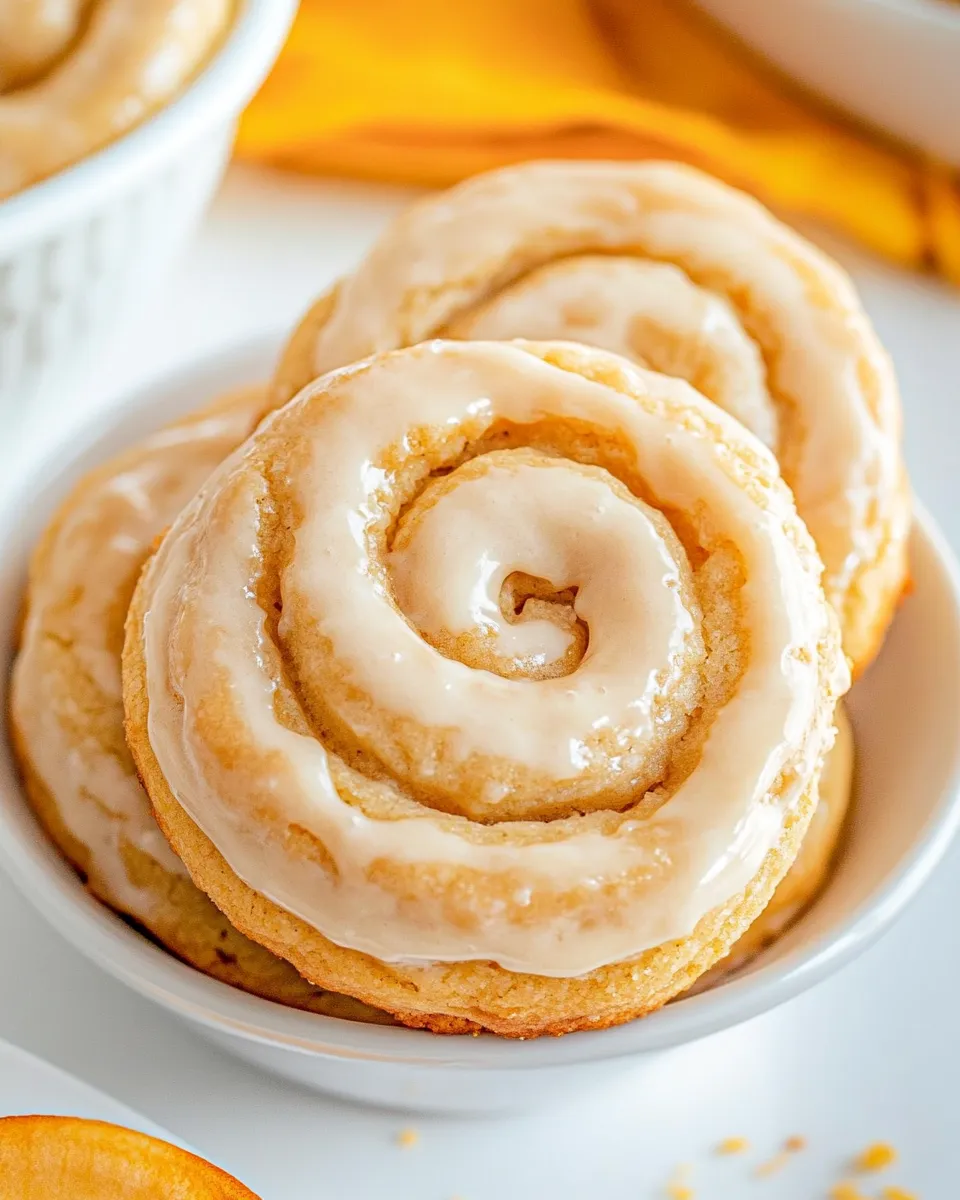
- Using the back of a dinner knife or a chopstick, make a spiral swirl on the top of each cookie: start in the center and gently drag outward in a single spiral motion to create a visible swirl pattern.
- Chill the shaped cookies: place the baking sheets in the freezer for 10 minutes or in the refrigerator for 45–60 minutes. If you do not have room for full baking sheets, place the formed cookies on a plate or tray to chill. Do not skip chilling.
- While the cookies are chilling, preheat the oven to 350°F (177°C).
- Bake the cookies on the center rack for 13–15 minutes, or until the edges are just starting to turn lightly golden. For best results, bake one sheet at a time and rotate the sheet once halfway through baking. Start checking before the minimum time if your cookies are smaller.
- Remove the cookies from the oven and allow them to cool on the baking sheet for about 10 minutes. Then transfer the cookies to a wire rack to cool completely.
- While the cookies cool, make the glaze: in a large mixing bowl, add 1/4 cup softened unsalted butter, 1 cup confectioners’ sugar (sift if lumpy), 2 tablespoons honey, and 2 tablespoons milk. Whisk until smooth and fully combined. (You may use a handheld mixer if you prefer.)
- Once the cookies are completely cool, use a pastry brush to evenly brush the glaze over the top of each cookie.
- Allow the glaze to set fully before serving.
Notes
Notes
Storage
– Cookies will keep airtight at room temp for 5-7 days, or in the freezer for 3-4 months. If you want to freeze unbaked cookie dough balls, they'll also keep for 3-4 months in the freezer. Simply bake off as many as desired at a future date. You don't need to thaw them before baking. They can go straight from freezer to oven; simply add a couple minutes to the overall baking time. I find freezing unbaked cookie dough better and tastier than freezing actual baked cookies, but it's up to you.