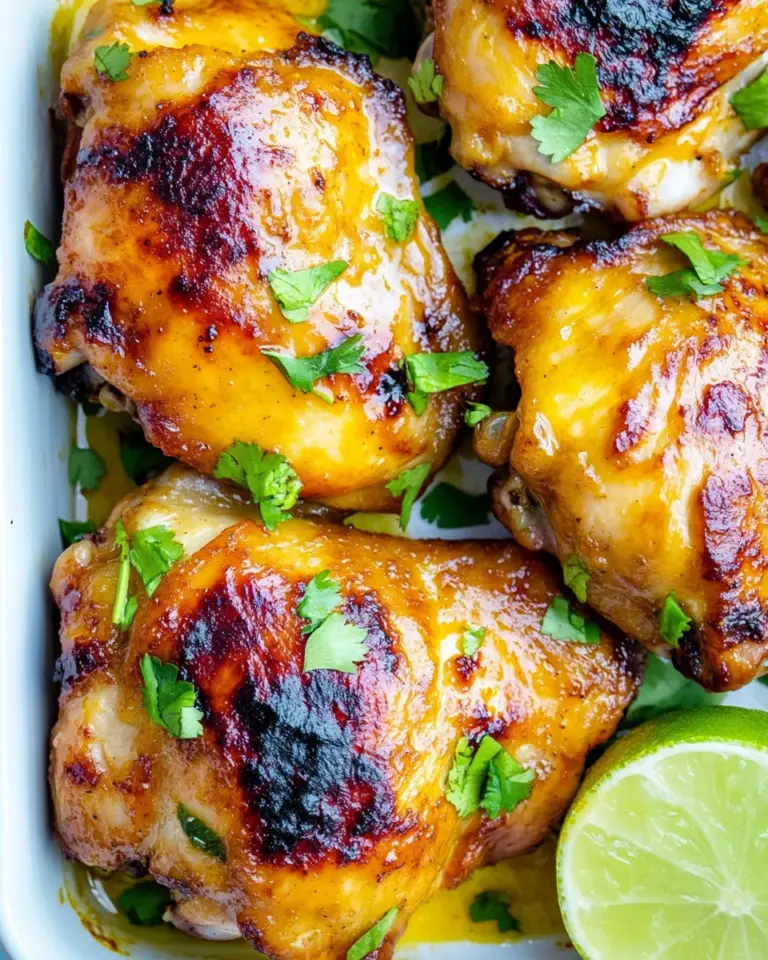
Baked Cornflake Chicken
There’s something irresistibly nostalgic about a crunchy, golden chicken that comes together with pantry staples and a little hands-on love. This Baked Cornflake Chicken is exactly that: crisp, flavorful, and easy enough for a weeknight dinner yet pretty enough for guests. It bakes in the oven for a lighter finish compared with frying, and the cornflake crust gives it that satisfying crunch kids and adults both adore.
This recipe is built around simple ingredients you likely already have: boneless skinless chicken breasts for lean protein, crushed cornflakes for a buttery crunch, a bright blend of Italian seasoning, garlic salt, and black pepper for savory notes, and eggs plus melted butter to bring everything together and help the crumbs adhere. The result is a tender interior with a crisp, golden exterior.
Below you’ll find a full ingredient list, a clear step-by-step method rewritten for clarity, tips to make the best baked cornflake chicken, serving suggestions, and easy variations so you can customize the dish to your family’s preferences.
Ingredients
- 1½ pounds boneless skinless chicken breasts
- 3 cups cornflakes
- 1½ teaspoons Italian seasoning
- 1 teaspoon garlic salt
- ¼ teaspoon black pepper
- 2 large eggs, beaten
- ¼ cup (½ stick) butter, melted
Equipment
- Baking sheet
- Parchment paper or a nonstick baking mat (optional)
- Shallow bowls or pie plates for dredging
- Rolling pin or food processor (to crush cornflakes)
- Meat thermometer (optional, but helpful)
- Wire rack (optional, for extra crispiness)
Step-by-step Instructions
The directions below follow the original order but have been rewritten into clear, simple steps. Read through once before starting so everything is prepped and ready.
- Preheat the oven to 400°F (200°C). Position a rack in the middle of the oven. Line a baking sheet with parchment paper or a nonstick baking mat, or lightly grease the sheet if you prefer.
- Place the cornflakes in a large resealable bag or a shallow bowl. Crush them into coarse crumbs using a rolling pin, the bottom of a heavy glass, or pulse them briefly in a food processor. Aim for mostly fine crumbs with some small flakes for texture. Transfer the crushed cornflakes to a shallow bowl.
- Add the Italian seasoning, garlic salt, and black pepper to the crushed cornflakes. Stir or toss until the spices are evenly distributed throughout the crumbs.
- In a separate shallow bowl or pie plate, beat the two large eggs until smooth. In another small bowl, combine the melted butter with a tablespoon or two of water if you prefer it thinner; this makes it easier to brush. Set both the egg and butter mixtures near your dredging station.
- If the chicken breasts are thick, place each breast between two pieces of plastic wrap or in a resealable bag and gently pound them with a meat mallet or rolling pin until they are an even thickness, about ½ to ¾ inch. This ensures even cooking. Leave thinner breasts as-is.
- Working one piece at a time, dip a chicken breast into the beaten eggs, coating it completely and letting any excess drip off. Then press the egg-coated chicken into the seasoned cornflake crumbs, flipping and pressing down so the crumbs adhere to all sides. For a thicker crust, press on a second time so the crumbs form a well-adhered layer.
- Place the coated chicken breasts on the prepared baking sheet. Repeat the egg-and-crumb process with the remaining chicken pieces. If you like, set the coated pieces on a wire rack over the baking sheet to promote airflow and extra crispness.
- Lightly brush or drizzle the melted butter over the tops of each crusted chicken breast. The butter helps the crust brown and adds flavor. If you prefer to keep things lower in fat, you can spritz the pieces lightly with cooking spray instead.
- Bake in the preheated oven for 18–22 minutes, depending on the thickness of the breasts. Rotate the baking sheet halfway through baking to encourage even browning. The chicken is done when the crust is golden and an instant-read thermometer inserted into the thickest part registers 165°F (74°C).
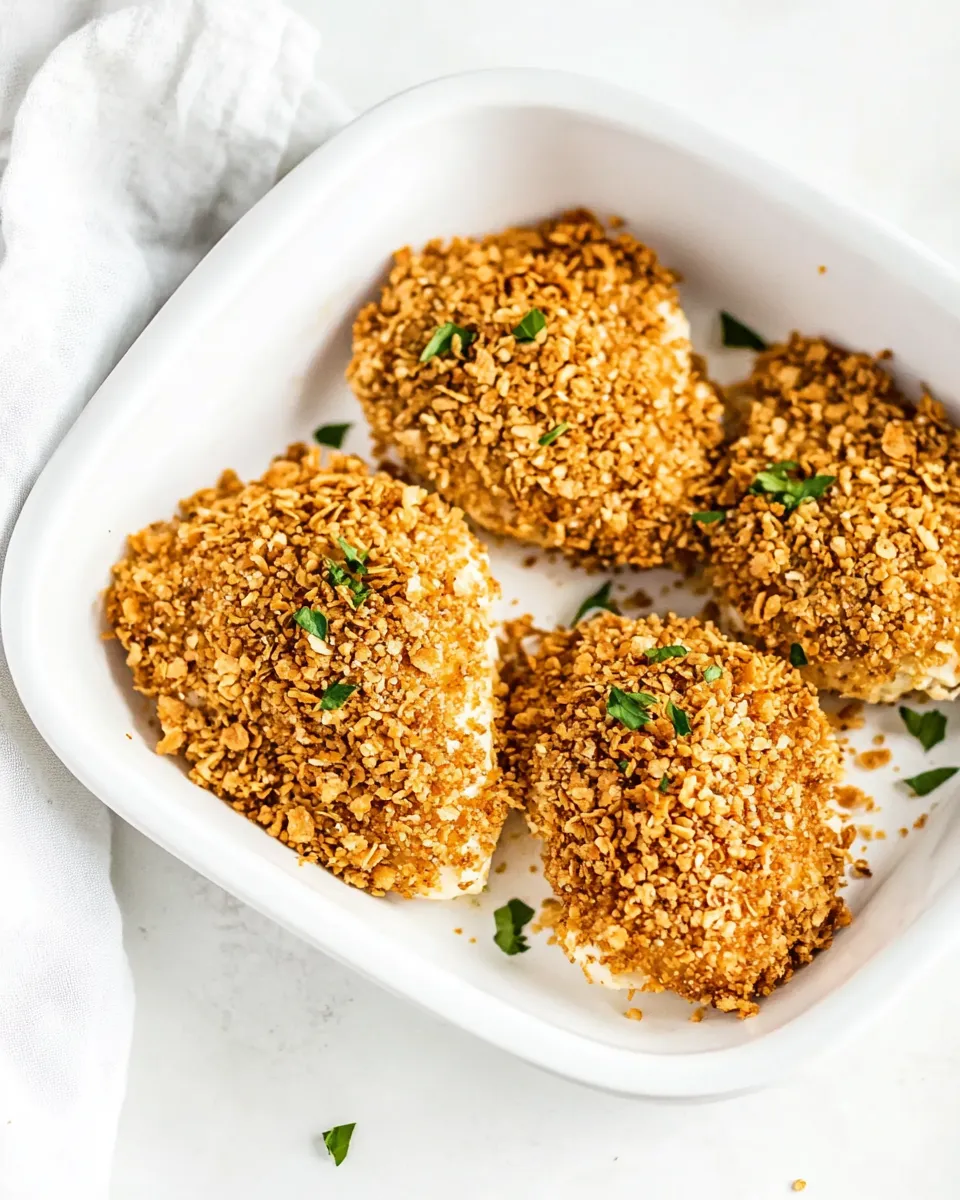
- Remove the chicken from the oven and let it rest for 3–5 minutes before serving. Resting helps the juices redistribute for a more tender bite and allows the crust to set slightly so it maintains its crisp texture when cut.
Tips for Success

- Even thickness = even cooking. Pounding the breasts to a uniform thickness prevents overcooking thin edges while waiting for the center to finish.
- Don’t skip the butter. Brushing melted butter promotes deep golden color and gives the cornflake crust great flavor. For a lighter finish, use a light coating of cooking spray instead.
- Crunch level. Pulse the cornflakes for a few seconds in a food processor for finer crumbs, or leave larger flakes for a chunkier crunch. Either approach works; it’s a matter of texture preference.
- Make-ahead tip. Coat the chicken and arrange it on the baking sheet, then cover and refrigerate up to 24 hours before baking. Bring to room temperature about 15 minutes before you bake.
- For extra crispiness, bake the chicken on a wire rack set over the baking sheet so hot air circulates under the pieces.
Serving Suggestions
This baked cornflake chicken is versatile and pairs well with simple sides that complement its crunchy coating and savory flavor. Try serving it with:
- Mashed potatoes or a baked sweet potato for comfort-food vibes.
- A crisp green salad with a lemony vinaigrette to cut through the richness.
- Steamed green beans, roasted broccoli, or sautéed green peas for bright, fresh color.
- Warm dinner rolls or crusty bread to sop up any juices.
Flavor Variations
- Spicy cornflake chicken: Add ½ teaspoon cayenne pepper or 1 teaspoon smoked paprika to the cornflake mixture for a subtle heat and smoky depth.
- Herbed lemon crust: Add 1 teaspoon lemon zest and a tablespoon of chopped fresh parsley to the cornflake mix for a fresh, citrusy note.
- Parmesan boost: Stir ¼ cup finely grated hard cheese into the cornflake crumbs for a savory, nutty flavor in the crust.
- Gluten-free option: Use certified gluten-free cornflakes, and confirm any additional seasonings are labeled gluten-free.
Make it Ahead and Reheat
To prepare in advance, coat the chicken as directed and keep it covered in the refrigerator for up to 24 hours before baking. After baking, cool completely and store in an airtight container for up to 3 days. Reheat in a 350°F (175°C) oven for 8–12 minutes until heated through and the crust is crisp again. Avoid microwaving if you want to keep the coating crunchy.
Why This Works
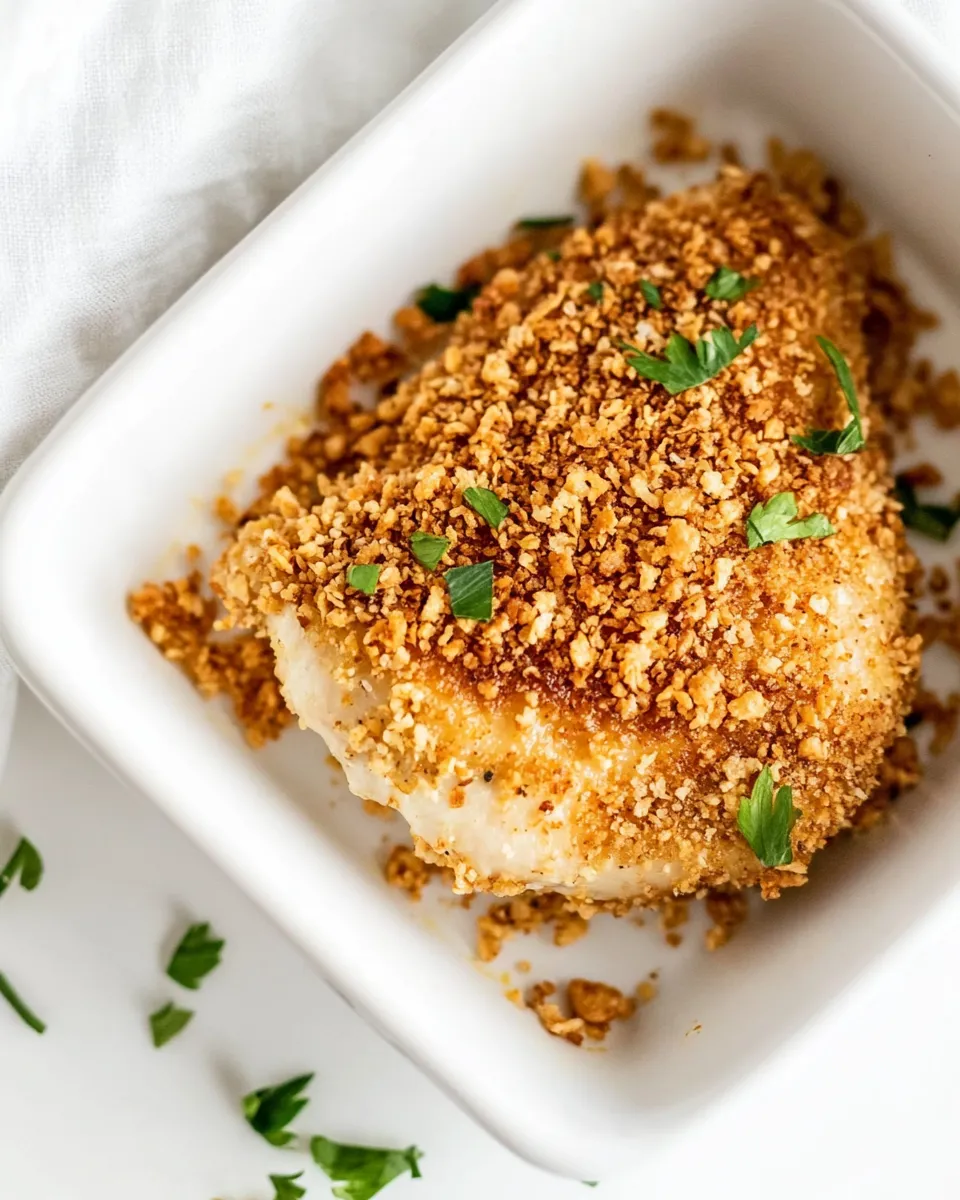
The combination of egg and melted butter creates a tacky surface for the crushed cornflakes to adhere to, which helps form an even, golden crust. Italian seasoning and garlic salt provide a balanced savory profile that complements the natural flavor of chicken without overpowering it. Baking at 400°F encourages the crust to brown and crisp without drying the meat, especially when breasts are pounded to an even thickness.
Nutrition Snapshot (approximate)
Per serving (based on four servings): calories will vary depending on exact chicken size and whether you use the full melted-butter amount or a lighter spray. The recipe provides a balanced source of protein with a moderate amount of fat from the butter and a crunchy, low-carb crust compared with traditional flour-breaded fried chicken.
Common Questions
Can I use chicken thighs instead? Yes. Boneless skinless chicken thighs will work — they’re slightly more forgiving and remain very juicy. Adjust baking time: thighs may need a few extra minutes depending on thickness.
Can I freeze coated chicken before baking? Yes. After coating, place the pieces on a baking sheet and freeze until solid, then transfer to a freezer bag for up to 1 month. Bake from frozen, adding 6–8 minutes to the baking time and checking doneness with a thermometer.
My crust fell off. How do I keep it on? Make sure the eggs are beaten well and that the chicken is properly coated. Press the crumbs firmly onto the egg-coated chicken and let the coated pieces rest on the baking sheet for 5–10 minutes before baking so the coating adheres. Brushing on a thin layer of melted butter helps seal the crust while baking.
Final Notes
This Baked Cornflake Chicken is a reliable, family-friendly recipe that turns everyday ingredients into something special. It’s crisp, comforting, and easily adjustable — a go-to when you want a simple dinner that still feels like a treat. Keep the ingredient list handy, follow the step-by-step instructions, and you’ll have golden, crunchy chicken that’s juicy inside and perfect alongside your favorite sides.
Ready to bake? Preheat your oven, crush those cornflakes, and enjoy the satisfying crunch of homemade baked chicken that everyone will ask for again.
Baked Cornflake Chicken
Ingredients
Equipment
Method
- Preheat the oven to 400°F (200°C).
- Place the cornflakes in a large zipper bag or food processor and crush into coarse crumbs. Transfer to a bowl and stir in the Italian seasoning, garlic salt, and black pepper.
- Whisk the eggs in a separate shallow bowl until smooth.
- Pat the chicken breasts dry with paper towels. Working one at a time, dip each breast into the beaten eggs, then press both sides firmly into the cornflake mixture so the chicken is evenly coated. Repeat pressing if needed to fully adhere the crumbs.
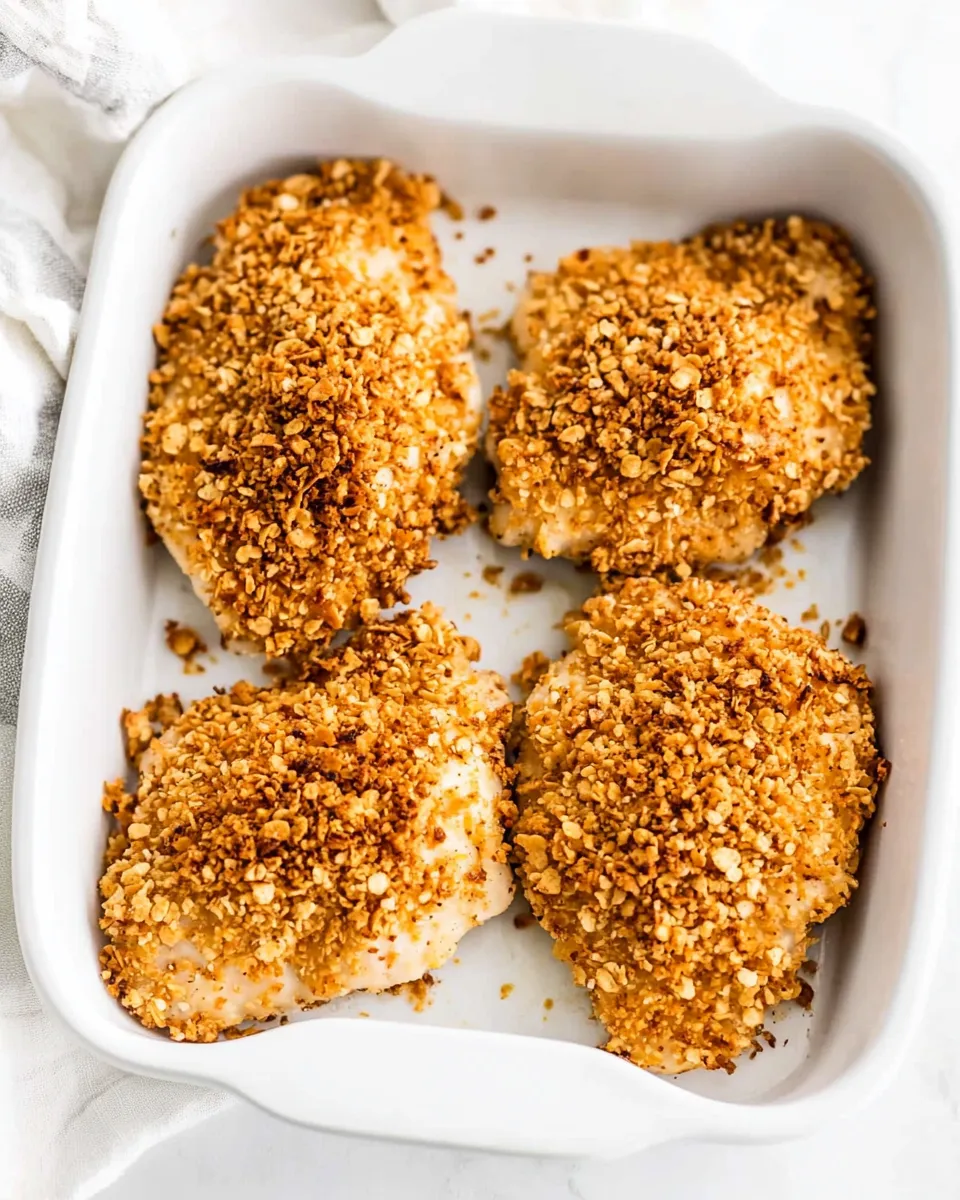
- Arrange the coated chicken in a greased 9x13-inch baking dish or on a rimmed baking sheet. Drizzle the melted butter evenly over the tops of the chicken pieces.
- Bake for 25 to 30 minutes, or until the chicken reaches an internal temperature of 165°F (74°C) and the coating is golden and crisp.
- Remove from the oven and let rest a few minutes before serving.
Notes
- Use certified gluten-free cornflakes for a gluten-free version.