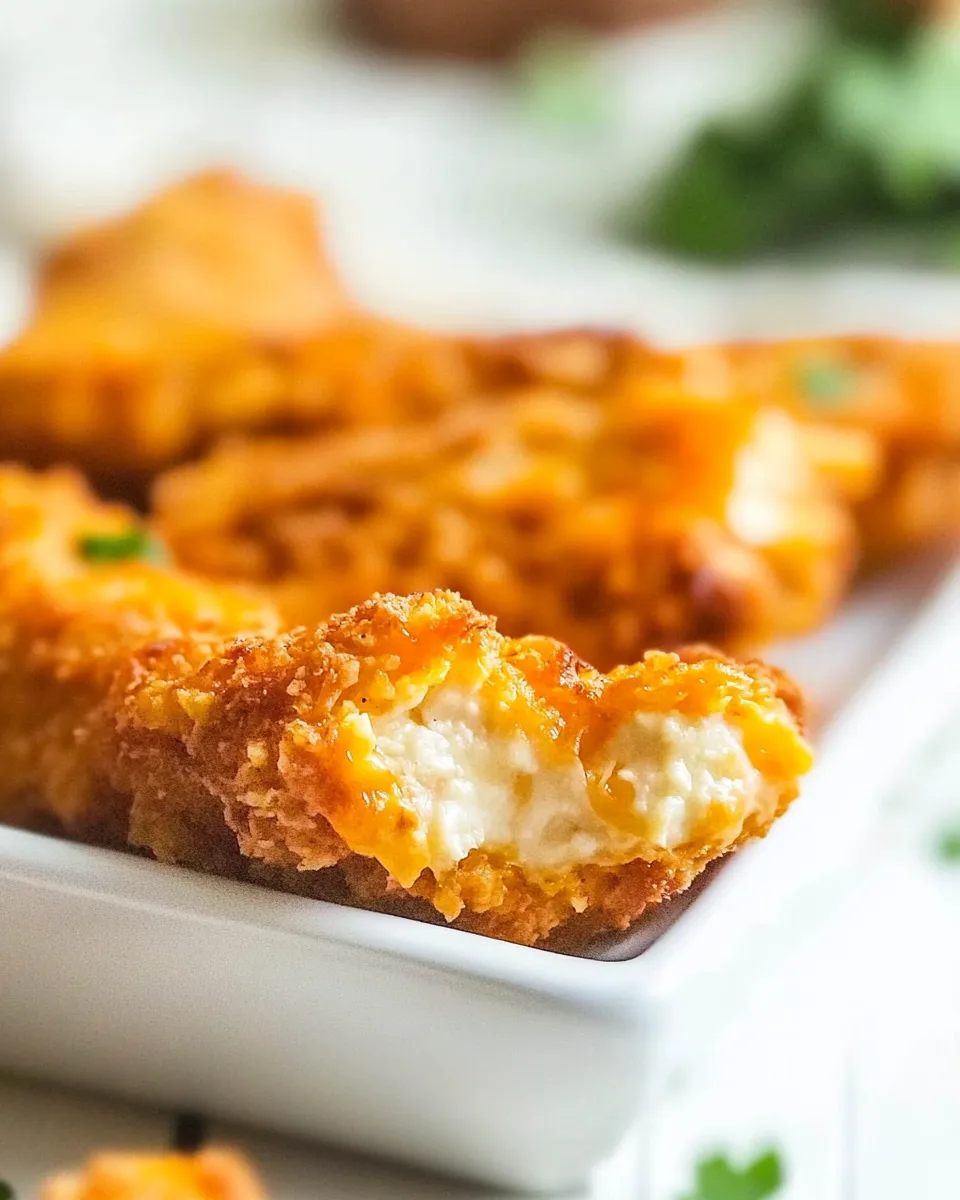
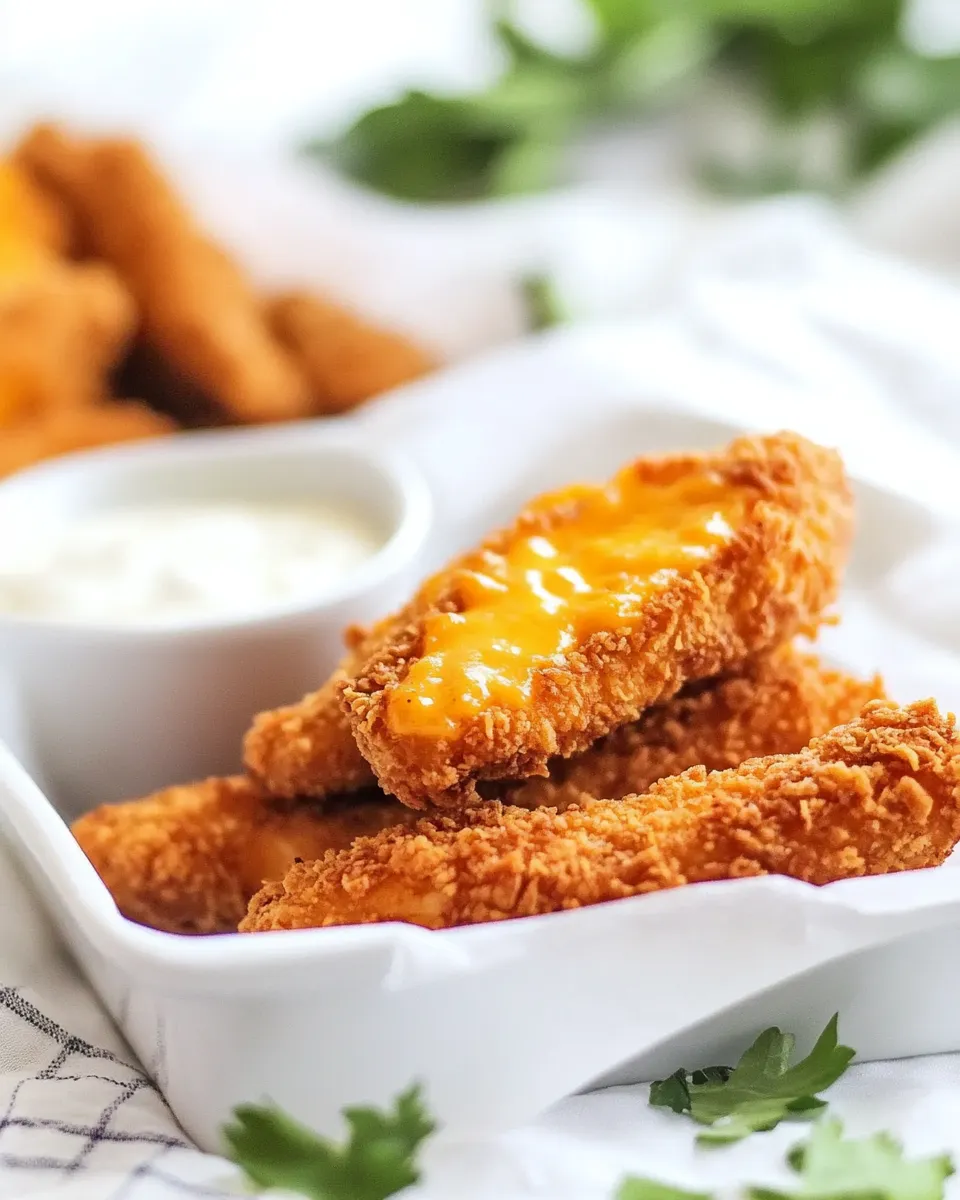
Cheese Nips Crusted Chicken Tenders
There’s something inherently joyful about a crunchy, cheesy coating around a hot, tender piece of chicken. These Cheese Nips Crusted Chicken Tenders are exactly that—an irresistible, savory snack or weeknight dinner that bakes to golden-brown perfection. The crust is made from crushed Cheese Nips (or a similar cheezy cracker, if you prefer), and a simple sour cream-and-butter wash helps the crumbs cling and to crisp up without frying. The technique is straightforward, the ingredient list is short, and the result is pure comfort with a little spark of nostalgia.
This recipe yields a plateful of crunchy tenders that pair beautifully with everything from a bright green salad to roasted vegetables, and they make party-friendly finger food for casual gatherings. Below you’ll find an ingredient list, step-by-step instructions rewritten for clarity, tips for success, serving ideas, and storage suggestions so you can make these Cheese Nips Crusted Chicken Tenders with confidence.
What you’ll need

- 12 chicken tenders
- 1 cup sour cream
- 3/4 cup butter, melted
- 3 cups Cheese Nips or Cheez-It, crushed
Quick notes on ingredients
The ingredient list is intentionally simple. Use tenderloins labeled as chicken tenders for even cooking and a consistent size. Sour cream creates a tangy, creamy layer that helps the cracker crumbs adhere. Melted butter adds richness and encourages browning. For the crust, you can use a classic Cheese Nips or Cheez-It-style cracker—crush them finely enough to cover the tenders but leave a little texture for crunch.
Kitchen tools
- Baking sheet
- Parchment paper or cooking spray
- Shallow dishes or pie plates for coating
- Food-safe gloves or tongs (optional)
- Plastic bag and rolling pin or a food processor for crushing crackers
- Instant-read thermometer (optional, for checking doneness)
Step-by-step instructions
Follow these rewritten steps to produce reliably crispy Cheese Nips Crusted Chicken Tenders. The directions keep the same order as the recipe’s original intent but are clarified for home cooks.
- Preheat and prepare the pan. Preheat your oven to 400°F (200°C). Line a baking sheet with parchment paper or lightly grease it so the tenders won’t stick.
- Crush the crackers. Place 3 cups Cheese Nips or Cheez-It, crushed into a large resealable plastic bag or a food processor. If using a bag, press out excess air and crush the crackers with a rolling pin until they are a coarse, even crumb—some small pieces are fine for texture. Pour the crushed crackers into a shallow dish to form your coating station.
- Combine the wet coating. In a separate shallow dish, whisk together 1 cup sour cream and 3/4 cup butter, melted until well combined and smooth. The mixture should be fluid enough to coat each tender; if it thickens after sitting, stir again before use.
- Coat the chicken tenders. Working one at a time, dip each of the 12 chicken tenders into the sour cream–butter mixture, ensuring all sides are covered. Allow any excess to drip off briefly so you don’t create clumps.
- Press into the crushed crackers. After coating in the wet mixture, transfer the tender to the crushed crackers. Press gently but firmly on all sides so the crumbs adhere and form an even crust. Place the coated tender on the prepared baking sheet. Repeat this process with the remaining tenders, arranging them in a single layer and leaving space between each piece so hot air can circulate.
- Bake until golden and cooked through. Bake the tenders in the preheated oven for approximately 15–20 minutes, depending on the thickness of your tenders. They should be golden brown and crisp on the outside. For accuracy, check the internal temperature with an instant-read thermometer—chicken should reach 165°F (74°C). If you don’t have a thermometer, slice one open to confirm there’s no pink center and the juices run clear.
- Finish and rest. Once cooked, remove the baking sheet from the oven and let the tenders rest for 3–5 minutes. This short rest helps the juices redistribute and the crust firm up slightly so it doesn’t fall off when handled.
- Serve. Serve the tenders warm with your choice of dipping sauces—classic choices include honey mustard, ranch, or a spicy aioli. They’re also lovely on a bed of greens or alongside roasted vegetables for a balanced plate.
Tips for a crisp, even crust
- Crush your crackers to a consistent size: not so fine they become powder, and not so chunky that they won’t stick. A coarse meal gives great texture.
- Pat excess wet mixture off before pressing into the crumbs. Too much moisture can make the crust soggy.
- Arrange tenders evenly spaced on the baking sheet so hot air circulates and each piece browns uniformly.
- If you want extra crunch, place the rack in the upper third of the oven for the final 3–4 minutes of baking to encourage more browning on top—watch carefully so they don’t burn.
- If making ahead, you can coat the tenders and refrigerate them uncovered for up to 4 hours before baking; this helps the coating set and can improve adhesion during baking.
Flavor variations and add-ins
These Cheese Nips Crusted Chicken Tenders are a terrific canvas for small flavor tweaks. Try any of the following:
- Add a teaspoon of smoked paprika or garlic powder to the crushed crackers for deeper savory notes.
- Fold a tablespoon of finely chopped fresh herbs (like parsley or chives) into the sour cream mixture for brightness.
- For a little heat, stir 1–2 teaspoons of sriracha or cayenne into the wet mixture before coating.
- Mix 1/4 cup grated Parmesan into the crushed crackers for an extra layer of umami and sharpness.
Serving suggestions
These tenders pair beautifully with simple sides. Consider serving them with:
- A crisp green salad dressed with lemon vinaigrette to cut the richness.
- Oven-roasted potatoes or sweet potato wedges for a hearty plate.
- Coleslaw for a cool, crunchy contrast.
- A trio of dipping sauces such as honey mustard, ranch, and a zesty tomato-based ketchup.
Storage and reheating
Leftovers keep well for 2–3 days in the refrigerator in an airtight container. Reheat in a 375°F (190°C) oven for 8–10 minutes, or until warmed through and the crust is crisp again. Avoid microwaving when possible, as it will soften the crust.
Notes on quantities and consistency
The recipe’s balance of 1 cup sour cream and 3/4 cup butter, melted provides a rich, tacky coating that helps the 3 cups Cheese Nips or Cheez-It, crushed adhere to 12 chicken tenders. If your tenders are larger or thicker than typical grocery-store tenderloins, expect the baking time to increase slightly. Conversely, very thin tenders may finish on the shorter end of the suggested time range.
Why this method works
The sour cream adds tang and moisture, while the melted butter encourages browning and helps the crumbs toast nicely in the oven. Using a cracker like Cheese Nips or Cheez-It gives an immediately familiar, cheesy flavor and a crisp texture reminiscent of fried chicken without the extra oil. Baking keeps things lighter but still satisfyingly crunchy when you follow the adhesion and baking tips above.
Frequently asked questions
Can I use a different cracker? Yes. If you prefer, substitute a similar cheezy cracker. Make sure to crush to a comparable texture so the coating behaves the same in the oven.
Can I air-fry these? Yes. Place tenders in a single layer in the air fryer basket and cook at 375°F (190°C) for about 8–12 minutes, flipping halfway, until the internal temperature reaches 165°F (74°C) and the crust is golden. Times vary by air fryer model.
Is it okay to freeze after baking? Yes. Cool completely, then freeze in a single layer on a baking sheet until firm. Transfer to a freezer bag. Reheat in a hot oven (400°F / 200°C) from frozen for 12–15 minutes, checking that the interior is fully heated.
Final thoughts
These Cheese Nips Crusted Chicken Tenders are simple to pull together and deliver maximum comfort with minimal fuss. With only four ingredients and a short hands-on time, they’re an excellent option for busy weeknights, kid-friendly dinners, or casual entertaining. The crispy, cheesy exterior and juicy chicken inside hits a nostalgic sweet spot while remaining versatile enough to dress up with herbs, spices, or a variety of dipping sauces. Give them a try the next time you want crunchy, cheesy chicken without the hassle of frying—these tenders are almost guaranteed to disappear fast.

Cheese Nips Crusted Chicken Tenders
Ingredients
Equipment
Method
- Preheat the oven to 375°F (190°C). Lightly grease a baking dish or line a rimmed baking sheet.
- Place the Cheese Nips or Cheez-It crackers in a large zip-top bag and crush with a rolling pin until coarse crumbs form, or pulse in a food processor for 1–2 minutes without overprocessing.
- Pour the crushed crackers into a shallow bowl or plate for breading.
- Spoon the sour cream into a separate shallow bowl. Dip each chicken tender into the sour cream, coating both sides evenly.
- Press each sour-cream-coated chicken tender into the crushed cracker crumbs, coating both sides thoroughly; shake off any excess crumbs and place tenders in the prepared baking dish in a single layer.
- Drizzle the melted butter evenly over the coated tenders to help them brown.
- Bake at 375°F (190°C) for 25–30 minutes, or until the crust is golden and the chicken reaches an internal temperature of 165°F (74°C).
Notes
- Use a food processor for finer crumbs or a bag and rolling pin for a coarser crust.
- Do not overprocess the crackers or the crumbs may become too powdery.
- Arrange tenders in a single layer so they crisp evenly.