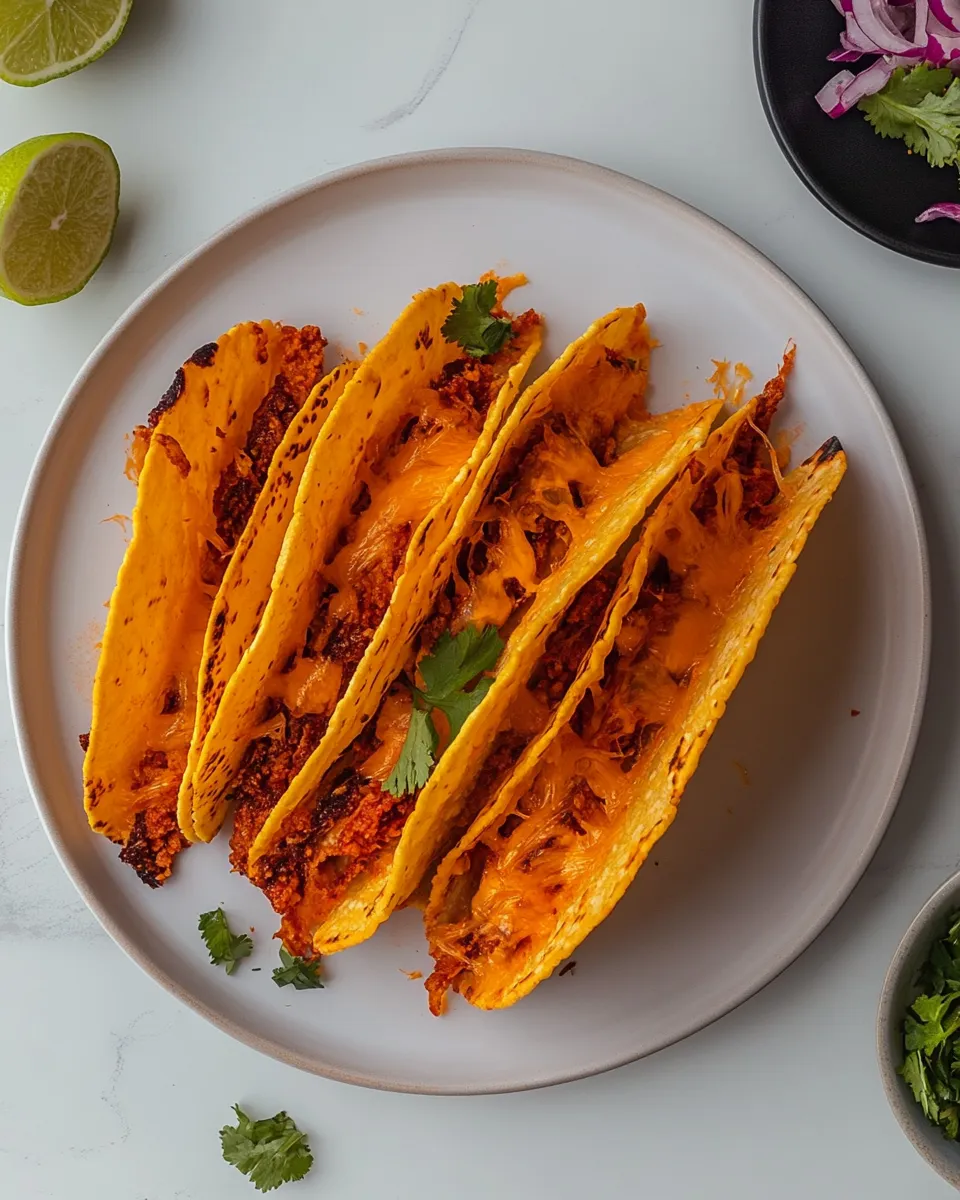
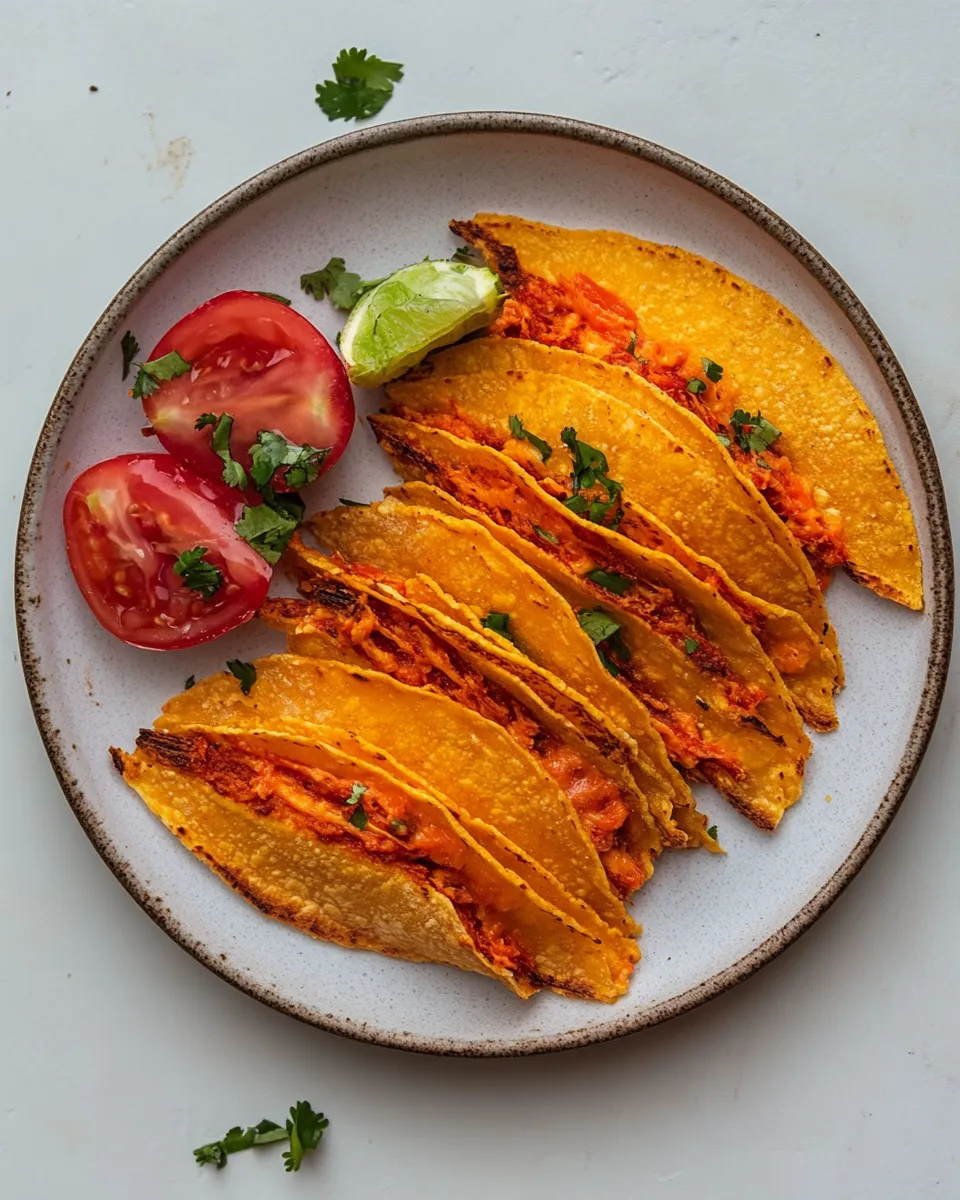
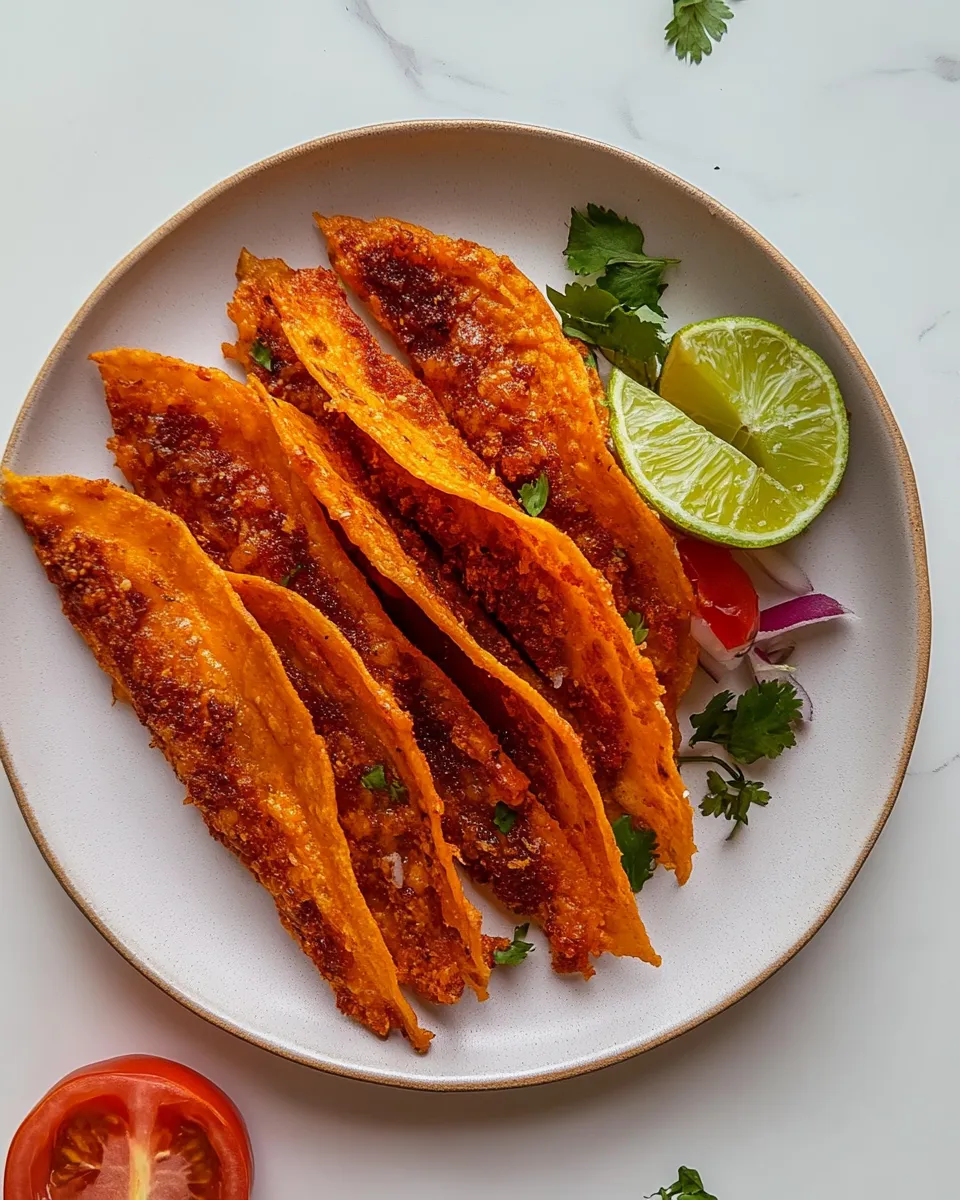
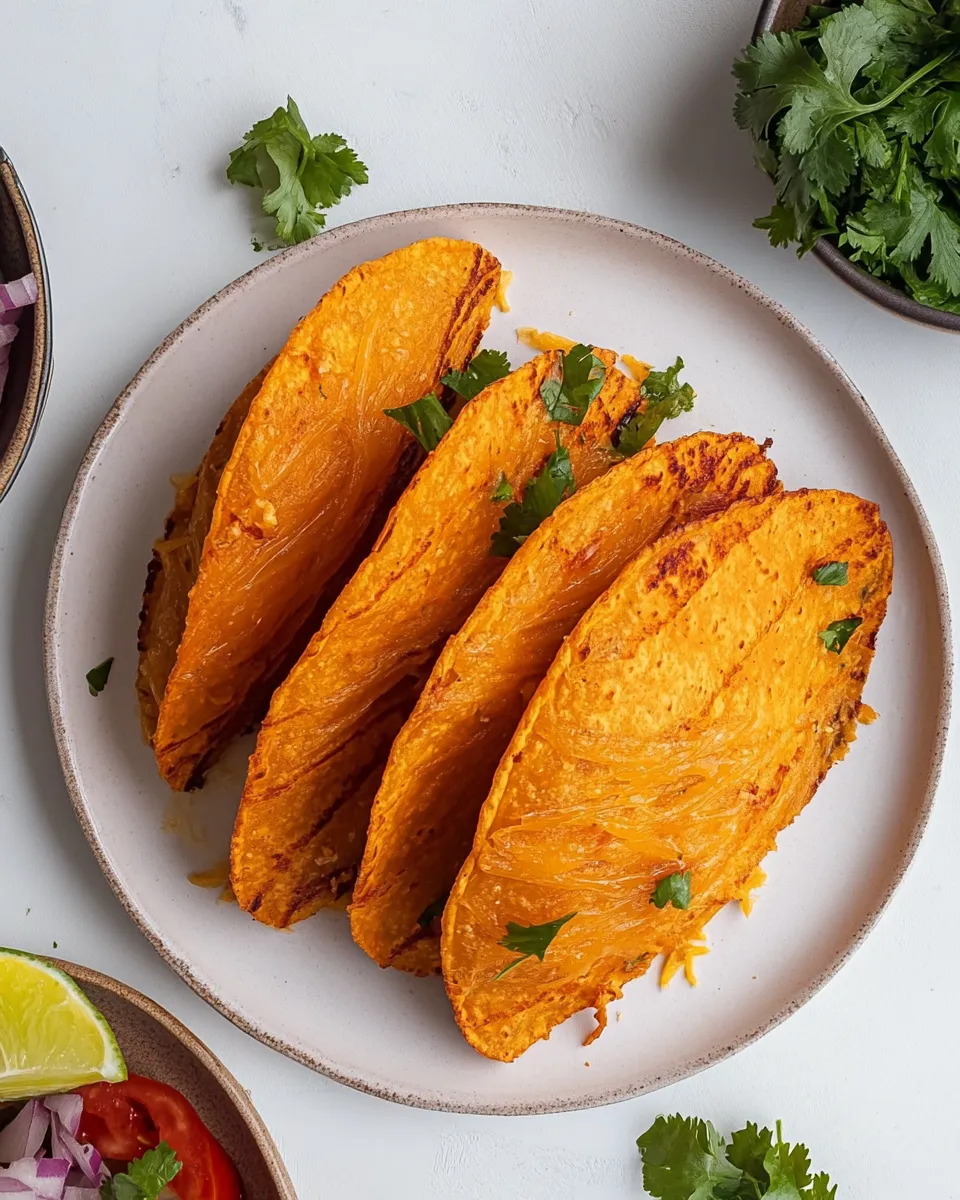
Cheese Taco Shells
There’s something ridiculously satisfying about a taco shell you can eat end-to-end without a tortilla in sight. These Cheese Taco Shells turn sharp cheddar into a golden, crisp cradle for all your favorite fillings. They’re quick, flavorful, and perfect for weeknight dinners or a party platter. I used 2cups sharp shredded cheddar cheese to make the shells, which bake up into sturdy, lacy cups that hold up to salsa, greens, and juicy fillings.
Why you’ll love these Cheese Taco Shells
- Fast: The shells take only minutes to prepare and bake.
- Crunchy and cheesy: That 2cups sharp shredded cheddar cheese crisps into a perfect, savory shell.
- Versatile: Fill them with ground beef, chicken, roasted vegetables, beans, or a fresh salad.
- Make-ahead friendly: You can bake shells in advance and store them for a few days; they’ll stay crisp if stored properly.
Ingredient checklist
Use the exact ingredient amounts below to match the recipe and produce consistent shells.
- 2cups sharp shredded cheddar cheese
- Optional: chopped fresh cilantro or finely chopped scallions for garnish
- Optional: lime wedges and your choice of taco fillings (shredded lettuce, pico de gallo, cooked protein, guacamole, hot sauce)
Equipment
- Baking sheet
- Parchment paper or silicone baking mat
- Large spoon or small ladle
- Wooden spoon handle or oven-safe glass jar to shape shells
- Cooling rack
Step-by-step method
Below you’ll find the directions rewritten into clear, step-by-step instructions so you can reproduce these shells exactly as intended. The ingredient list is the authority for amounts, and the process follows the original sequence while clarifying each step.
- Preheat the oven to 400°F (200°C). Line a baking sheet with parchment paper or a silicone baking mat so the cheese doesn’t stick.
- Measure out 2cups sharp shredded cheddar cheese and have it ready. Using the precise amount ensures the cheese melts and crisps properly without burning.
- Spoon small, even mounds of shredded cheddar onto the prepared baking sheet. Space each mound about 2–3 inches apart to allow the cheese to spread as it melts. Aim for roughly 2 tablespoons of cheese per mound for medium-sized shells; adjust slightly to make larger or smaller cups, but keep the total cheese amount the same.
- Gently flatten each mound with the back of a spoon or the bottom of a small glass so the cheese is evenly distributed into flattened discs. Keeping them uniform helps the shells bake and crisp evenly.
- Bake in the preheated oven for 5–8 minutes, watching closely. The cheese is done when the edges turn golden brown and the center is bubbling. Oven times vary, so check at 5 minutes and then every minute until the desired color appears.
- Remove the baking sheet from the oven. Working quickly (but carefully — the cheese will be hot), use the handle of a wooden spoon or the neck of an oven-safe glass jar to gently lift and drape each melted cheese disc over the utensil to form a taco shell shape. If a disc breaks, it can still be used as a crispy garnish or pressed back together while warm.
- Allow the shaped shells to cool for about 1–2 minutes so they set into a crisp, durable form. Transfer them to a cooling rack to finish cooling completely; this preserves their crunch.
- If you’re making shells ahead, let them cool fully, then store them in an airtight container at room temperature for up to two days. To refresh and crisp slightly before serving, place them in a warm oven for a few minutes.
- Fill the shells with your preferred fillings. Try shredded lettuce, pico de gallo, cooked and seasoned ground meat or shredded chicken, sliced avocado, or a dollop of sour cream. Garnish with chopped cilantro or scallions and serve with lime wedges.
Tips for success
- Use freshly shredded cheddar — pre-shredded cheese can contain anti-caking agents that may affect melting and crisping.
- Work quickly when shaping the shells. Cheese sets fast as it cools, so have your shaping tool ready before the cheese comes out of the oven.
- If you want extra lacy edges, distribute each mound so the center is slightly thicker and the edges are thinner before baking.
- To make uniform shells, weigh the cheese mounds on a kitchen scale; roughly 2 tablespoons per shell is a good starting point.
- If a shell cracks while shaping, press it gently back together while warm or use the broken pieces as crunchy taco topping.
Filling ideas
These Cheese Taco Shells are a great vehicle for a wide range of fillings. Below are a few combinations that pair especially well with sharp cheddar:
- Classic ground beef: Sauté ground beef with onion, garlic, and your favorite taco seasoning. Top with shredded lettuce, pico de gallo, and a squeeze of lime.
- Shredded chicken: Slow-cooked or rotisserie-style shredded chicken tossed with a smoky chipotle sauce, topped with avocado and fresh cilantro.
- Veggie-friendly: Roasted sweet potato cubes, black beans, corn, and pickled red onions, finished with a drizzle of yogurt-based dressing.
- Seafood twist: Quick-seared fish or shrimp seasoned with lime and chili powder, topped with crisp slaw and a cilantro-lime crema.
- Breakfast option: Scrambled eggs, sautéed peppers, and a little hot sauce for a crunchy morning taco.
Serving and storage
Assemble the shells just before serving for the best texture — fillings with a lot of moisture can soften the shells over time. If you plan to prepare elements ahead:
- Store cooled, unfilled shells in an airtight container at room temperature for up to two days.
- Keep wet components (salsas, guacamole, shredded lettuce) in separate containers and add them to each shell right before serving.
- Re-crisp shells briefly in a warm oven for a minute or two if they’ve softened slightly during storage.
Nutrition snapshot
The main ingredient, 2cups sharp shredded cheddar cheese, provides the rich flavor and crunch that make these shells so fun. Nutrition will vary based on fillings, but expect a higher protein and fat profile from the cheese shell, balanced by fresh vegetables when used as toppings.
Frequently asked questions
Can I use a different cheese? Yes. While this recipe calls for 2cups sharp shredded cheddar cheese for a classic flavor and ideal melt, you can experiment with other cheeses. Choose varieties that melt and crisp well, such as Monterey Jack or a blend of cheddar and Colby. Avoid high-moisture fresh cheeses that won’t crisp.
How large should each cheese mound be? Aim for around 2 tablespoons of shredded cheese per shell. That yields medium-sized shells perfect for standard taco fillings. Make larger shells by slightly increasing the amount per mound, keeping the total cheese equal to 2cups.
Why didn’t my shells crisp? If the cheese melts but stays gummy, your oven temperature may be too low or the cheese used may contain additives that affect melting. Ensure you use freshly shredded cheddar and maintain a hot oven around 400°F (200°C).
Final thoughts
These Cheese Taco Shells are an effortless way to elevate taco night. They’re crisp, full of sharp cheese flavor, and endlessly adaptable. Once you’ve mastered the simple technique—mound, bake, and shape—you’ll find yourself reaching for them whenever you want a crunchy, cheesy vessel for dinner or a party snack. With 2cups sharp shredded cheddar cheese as the base, you’ll get consistent results that taste like a celebration in every bite.
Happy baking and filling—may your next taco night be extra crunchy and totally irresistible.
Cheese Taco Shells
Ingredients
Equipment
Method
- Preheat the oven to 400°F (200°C) and line a baking sheet with parchment paper.
- Measure 1/4 cup of shredded cheddar cheese and place it on the prepared sheet; flatten into a circle about 5 inches (12 cm) across. Repeat, leaving space between circles (about 3 per sheet).
- Bake for 6–8 minutes, until edges are brown and crispy and centers are still slightly soft.
- Remove from the oven and let cool on the sheet for 2–3 minutes until the cheese firms but is still pliable.
- Carefully lift each cheese disk with a spatula and drape it over a rolling pin, wooden spoon handle, or similar cylinder to form a taco shell; hold in place until it cools and hardens.
- Allow shells to cool completely so they crisp fully before filling.
Notes
- Use finely shredded cheese for even melting.
- Work quickly when shaping, while cheese is still pliable.
- Do not overcrowd the baking sheet to ensure proper browning.