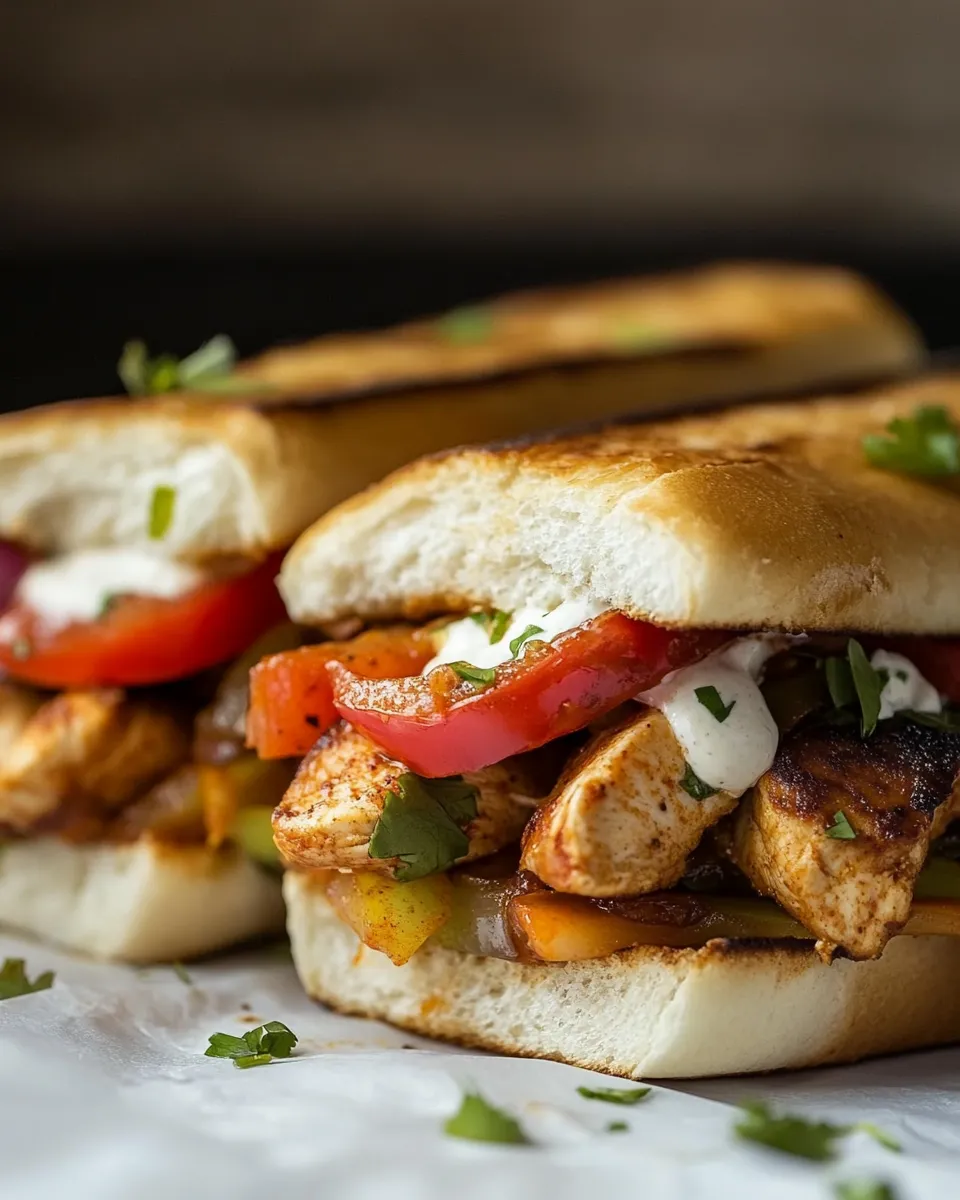
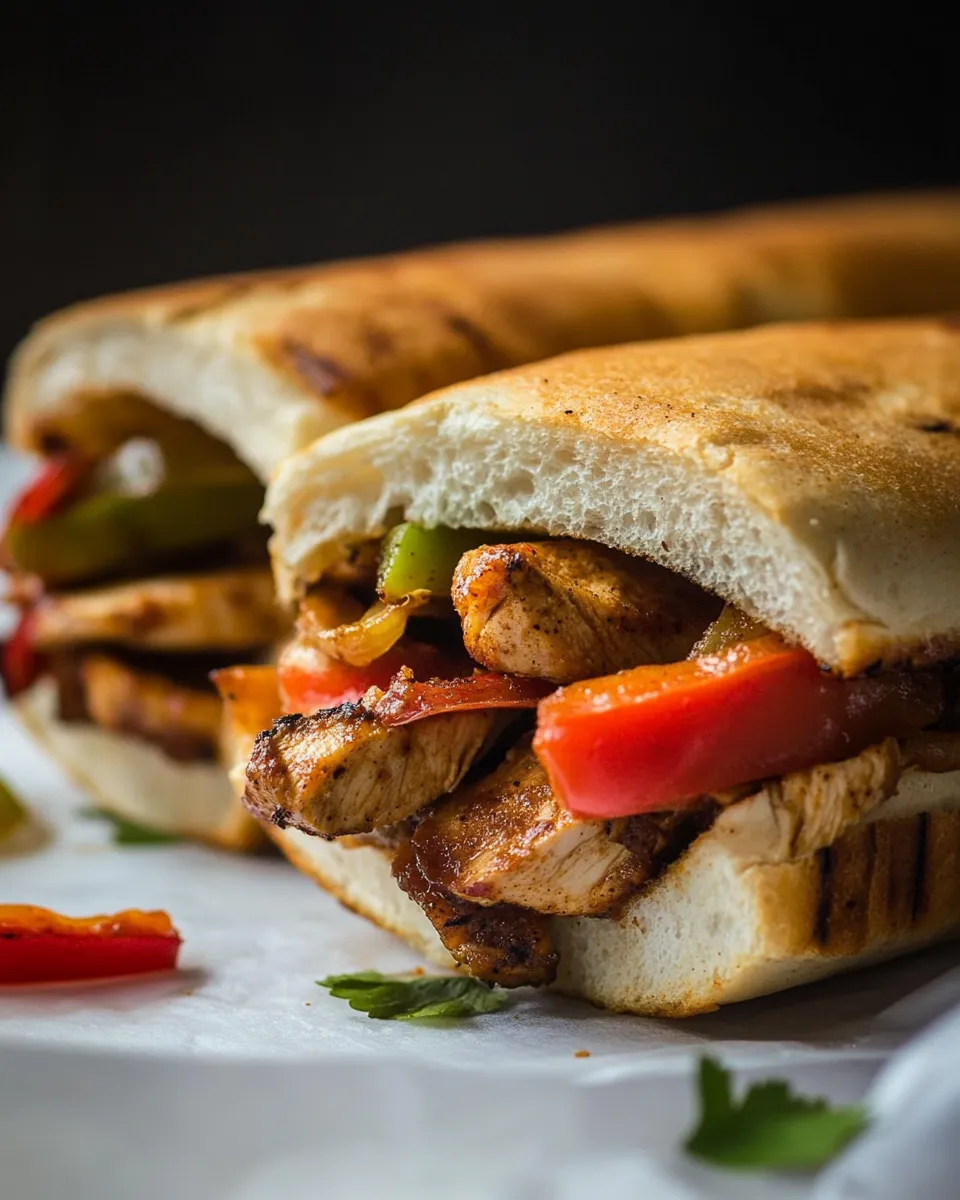
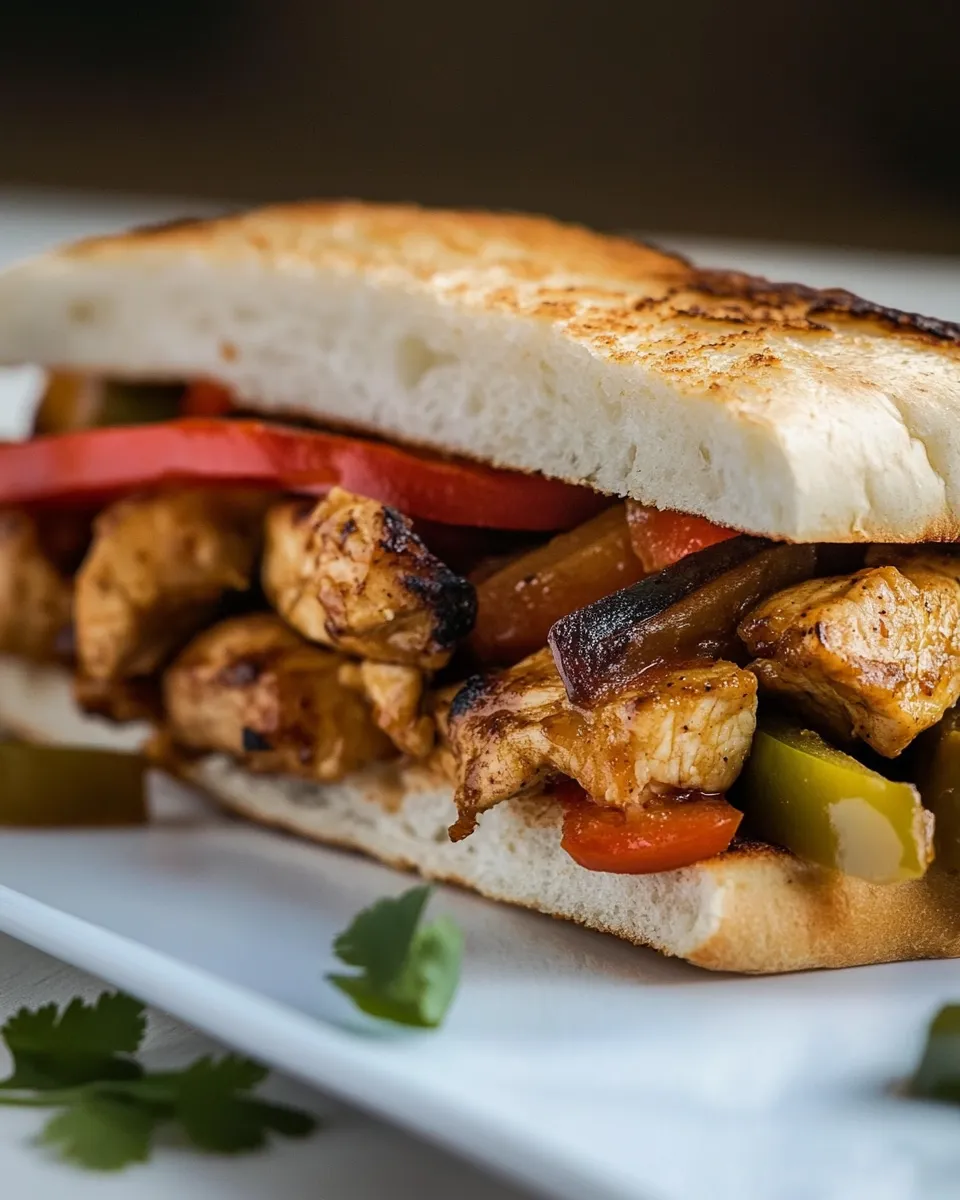
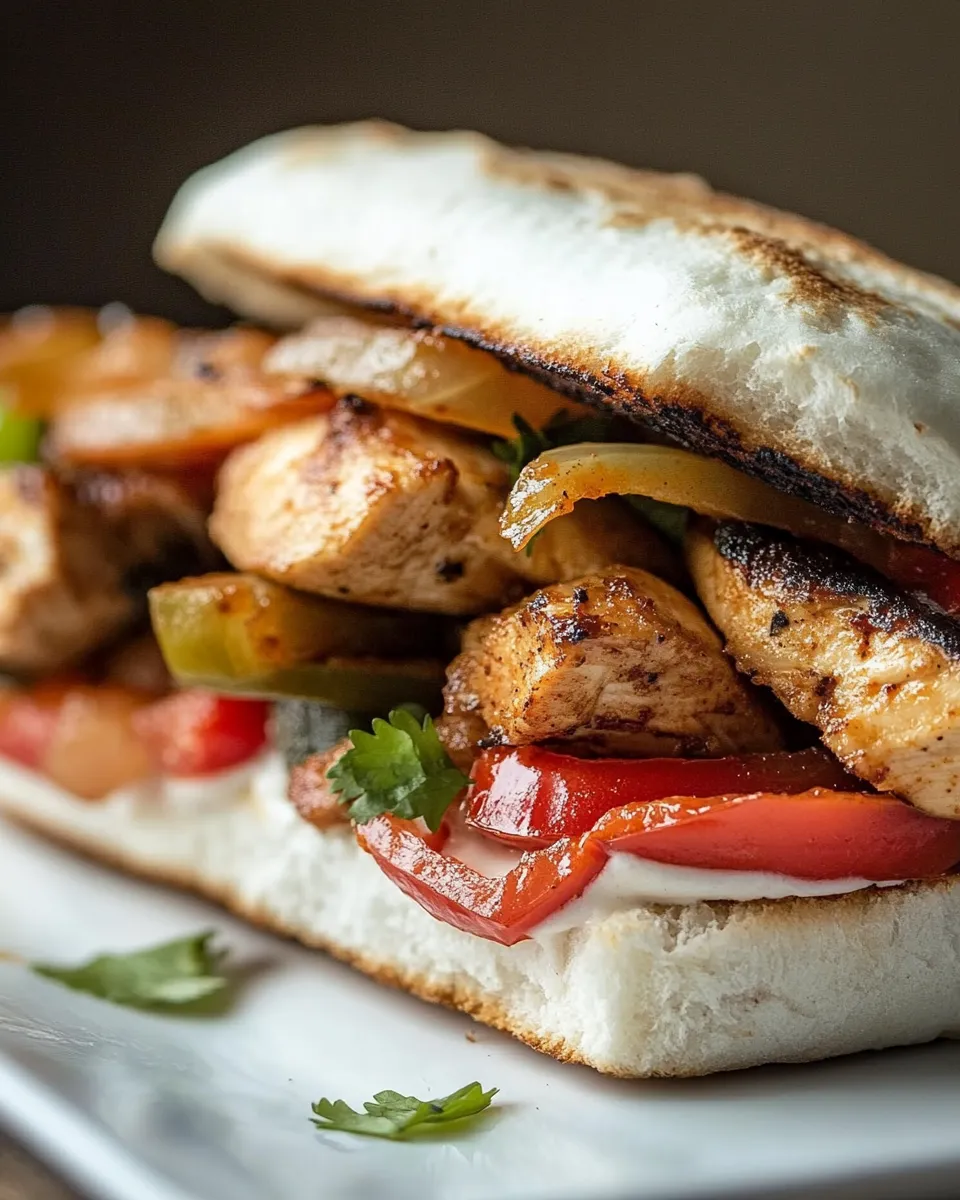
Chicken Fajita Sandwiches
If you love the bright, sizzling flavors of fajitas but want something handheld, these Chicken Fajita Sandwiches are the answer. They’re simple, satisfying, and perfect for a quick weeknight dinner or a casual weekend lunch. Think tender seasoned chicken, sweet sautéed peppers and onions, melty Havarti cheese, and a few dollops of creamy salsa or sour cream—stuffed between your favorite slices of bread. The result is a warm, crunchy, and creamy sandwich that captures everything great about fajitas, without the extra fuss.
This recipe uses 2 cups chicken fajitas (click for recipe), 8 slices bread (use your favorite bread), 4 slices Havarti cheese, and optional salsa and sour cream. The sandwich comes together fast because the chicken and vegetables are already prepared; you only need to assemble and warm everything so the cheese melts and the bread gets nicely toasted.
Why you’ll love these sandwiches
- Fast assembly: With prepped chicken fajitas, each sandwich is just a few minutes to finish.
- Balanced textures: Crunchy toasted bread complements tender chicken and soft, melty cheese.
- Built-in versatility: Use any bread you like and add salsa or sour cream to taste.
- Family friendly: Kids and adults alike appreciate the familiar fajita flavors in a neat, sliceable form.
Ingredients
- ▢2 cups chicken fajitas (click for recipe)
- ▢8 slices bread (use your favorite bread)
- ▢4 slices Havarti cheese
- ▢salsa (optional)
- ▢sour cream (optional)
Make-ahead and swaps
If you want to make this even quicker, cook a larger batch of chicken fajitas and refrigerate or freeze the extra portion. Reheat the chicken and veggies in a skillet when you’re ready to assemble sandwiches. For a lighter version, swap Havarti for a lower-fat melter, or choose a heartier bread for more texture. If you prefer a touch of heat, choose a spicy salsa or add a pinch of crushed red pepper to the chicken before warming.
Equipment
- Large nonstick or cast-iron skillet
- Spatula or tongs
- Cutting board and knife (if you want to chop additional toppings)
- Plate lined with paper towel (optional, for draining)
Step-by-step instructions
Below are clear, step-by-step directions that follow the ingredient list precisely and keep the same overall order as the original recipe. Amounts are unchanged from the ingredient list.
- Heat a large skillet over medium heat. If your chicken fajitas were stored refrigerated, add them to the skillet to warm through. If they are room temperature, simply warm for a shorter time.
- Once the skillet is hot, add the 2 cups chicken fajitas in an even layer so the pieces warm and any peppers and onions can re-soften. Stir occasionally for even heating. Cook for about 3 to 5 minutes, or until the chicken is hot and vegetables are tender.
- While the chicken fajitas are warming, arrange 4 slices of your chosen bread on a clean work surface. Place one slice of Havarti cheese on each of these slices. The four slices of Havarti cheese are distributed evenly—one slice per sandwich.
- When the chicken fajitas are hot, divide the 2 cups of chicken fajitas into four equal portions and spoon one portion atop the Havarti cheese on each bread slice. Make sure to spread the filling so each sandwich will have a balanced amount of chicken, peppers, and onions.
- If using salsa or sour cream, add a small spoonful of salsa or a dollop of sour cream on top of the chicken on each sandwich now. These are optional, so add them only if you prefer the extra moisture and flavor.
- Top each assembled slice with the remaining 4 slices of bread, creating four sandwiches total (two slices of bread per sandwich). Press gently so the filling is secure.
- Return the skillet to medium-low heat and, if desired, add a small pat of butter or a light brush of oil to the exterior sides of the sandwiches for better browning. Place two sandwiches in the skillet without overcrowding. Cook for about 2 to 3 minutes per side, pressing lightly with a spatula, until the bread is golden brown and the Havarti cheese has melted. Repeat with the remaining two sandwiches.
- Once both sides are golden and cheese is melted, transfer the sandwiches to a cutting board. Let them rest for 1 minute, then slice each sandwich in half on the diagonal or down the middle, as you prefer.
- Serve immediately with extra salsa and sour cream on the side for dipping or spreading.
Notes and tips
- If your chicken fajitas are very juicy, drain them slightly on a plate lined with paper towel before assembling so the bread doesn’t become soggy.
- To get extra-crispy bread, toast the bread slices lightly before adding cheese and filling, then finish in the skillet to melt the cheese and warm the filling.
- Havarti melts beautifully and creates a creamy texture—if you don’t have Havarti, any semi-soft melting cheese can be substituted.
- These sandwiches are customizable: add sliced avocado, pickled jalapeños, or a handful of fresh cilantro for bright contrast.
Serving suggestions
Serve Chicken Fajita Sandwiches with a fresh green salad, tortilla chips, or a simple side of roasted potatoes. A crisp, citrusy slaw pairs nicely, offering a cooling counterpoint to the warm, savory filling. For a heartier meal, pair two sandwiches with a bowl of soup or a cup of warm beans.
Storage
Leftovers can be kept in an airtight container in the refrigerator for up to 2 days. Reheat gently in a skillet over low heat or in a toaster oven to maintain the bread’s texture and to re-melt the cheese. Avoid microwaving if you want to keep the bread from becoming too soft.
Recipe summary
This recipe makes four sandwiches using 2 cups chicken fajitas (click for recipe), 8 slices bread (use your favorite bread), and 4 slices Havarti cheese, with optional salsa and sour cream for serving. Warm the chicken, assemble the sandwiches with cheese and optional toppings, then toast in a skillet until golden and melty. Quick to make, easy to customize, and endlessly satisfying, these Chicken Fajita Sandwiches turn a favorite Tex-Mex filling into a portable, family-friendly meal.
Final thought
These sandwiches are proof that great flavors don’t require a complicated process. A little prep and a few minutes in a skillet transform prepped fajita chicken into something that feels special: melty cheese, charred bread, and vibrant pepper-and-onion bites all come together in every single mouthful. Perfect for busy nights, relaxed lunches, or feeding a hungry crowd—enjoy every warm, cozy bite of your Chicken Fajita Sandwiches.
Chicken Fajita Sandwiches
Ingredients
Equipment
Method
- Preheat a panini maker according to the manufacturer's instructions, or heat a skillet over medium heat and lightly butter one side of each slice of bread.
- Lay out 4 slices of bread, buttered side down if using a skillet. Divide the 2 cups of cooked chicken fajitas evenly among the 4 slices.
- Top the chicken on each slice with one slice of Havarti cheese, then place the remaining bread slices on top to form sandwiches.
- Grill the sandwiches in the panini maker for 3–4 minutes, or cook in the skillet 2–3 minutes per side, pressing gently, until the bread is golden and the cheese is melted.
- Remove sandwiches, slice if desired, and serve with salsa or sour cream on the side if using.
Notes
- Total time includes making the chicken fajitas.