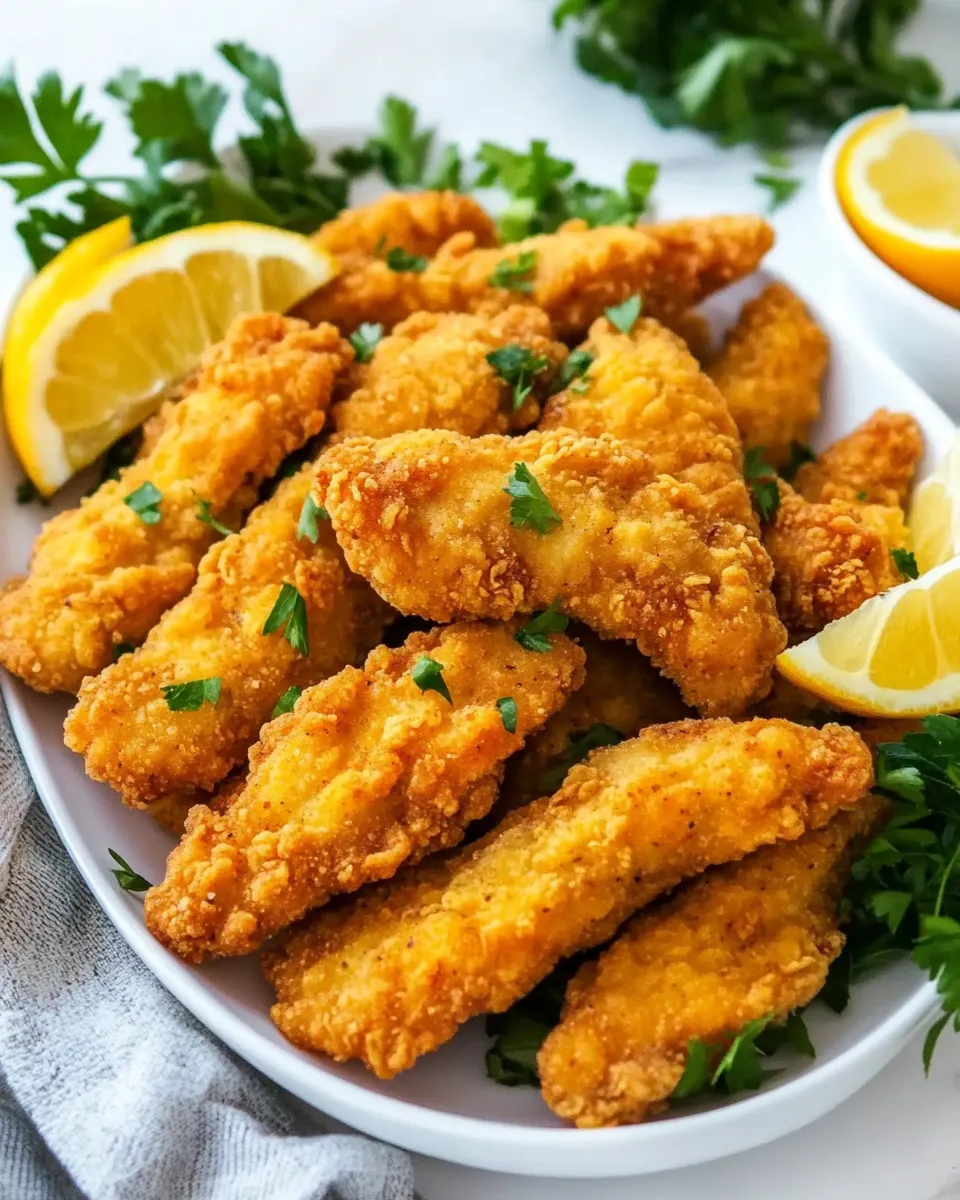
Chicken Fingers
These Chicken Fingers are crisp on the outside, juicy inside, and layered with bright, tangy sauce for dipping. Think comfort-food nostalgia updated for weeknight dinners and casual entertaining. With a simple flour coating and a punchy sauce made from pantry staples, this recipe comes together quickly and reliably. The method below keeps things straightforward: dredge, dip, fry, and finish with a zesty sauce that balances heat, sweetness, and acidity. Read on for tips, timing, and a clear, step-by-step guide so your Chicken Fingers come out picture-perfect every time.
Why this version works
The coating is all-purpose flour seasoned with a straightforward blend of salt, pepper, garlic and onion powders, dried oregano, sweet paprika, and a touch of cayenne. That combination gives a savory backbone while allowing the sauce to shine. The dipping mixture uses eggs and honey mustard to help the flour adhere, and the sauce is a lively mix of hot sauce, ketchup, honey mustard, minced garlic, lemon juice, and warming spices. The result is a classic finger-food feel with a confident, balanced flavor profile.
Ingredients
- 2 lbs boneless chicken breasts, cut into strips (size and thickness of your choice)
- 2 cups all-purpose flour
- 1 teaspoon salt
- 1 teaspoon black pepper
- 1 teaspoon garlic powder
- 1 teaspoon onion powder
- 1 teaspoon dried oregano
- 1/2 teaspoon sweet paprika
- 1/4 teaspoon cayenne spice (or to taste)
- 2 eggs (or 1 extra large egg)
- 2 tablespoons honey mustard
- 2 garlic cloves, minced
- 1/4 cup hot sauce (or to taste) optional
- 3 tablespoons ketchup
- 2 tablespoons lemon juice
- 1/2 teaspoons salt
- 1/2 teaspoon black pepper
- 1/2 teaspoon dried oregano
- 1/2 teaspoon paprika
- 1 teaspoon onion powder
- 1 teaspoon garlic powder
Equipment
- Medium mixing bowls
- Shallow pan or baking sheet for dredging
- Whisk and fork
- Large skillet or deep fryer
- Tongs or a slotted spoon
- Paper towels or a wire rack
- Instant-read thermometer (optional but helpful)
Prep tips
- Slice the chicken breasts into uniform strips so they cook evenly; aim for pieces about 1/2 to 3/4 inch thick so the exterior gets crisp before the center dries out.
- Set up a dredging station: seasoned flour in one shallow dish and the egg mixture in another. Having everything laid out keeps the process fast and prevents soggy coating.
- If you prefer a crunchier crust, double-dip the strips: flour, egg, then flour again. This recipe works well either way.
- Maintain medium-high oil temperature for frying; too cool makes greasy chicken, too hot burns the coating before the inside cooks.
Rewritten Step-by-Step Directions
- Prepare the chicken: Pat 2 lbs boneless chicken breasts dry with paper towels. Cut the breasts into strips of the size and thickness you prefer, aiming for even pieces so they cook uniformly.
- Make the seasoned flour: In a shallow dish or wide bowl, combine 2 cups all-purpose flour, 1 teaspoon salt, 1 teaspoon black pepper, 1 teaspoon garlic powder, 1 teaspoon onion powder, 1 teaspoon dried oregano, 1/2 teaspoon sweet paprika, and 1/4 teaspoon cayenne spice. Whisk the mixture so the spices are evenly distributed.
- Whisk the egg wash: In a separate bowl, beat 2 eggs (or 1 extra large egg) with 2 tablespoons honey mustard until smooth. Add the 2 minced garlic cloves and stir to combine. This mixture will help the flour adhere and add flavor to the crust.
- Set up your dredging station: Place the seasoned flour on one plate or shallow tray and the egg wash in another. Work in batches so the coating stays crisp and your chicken pieces don’t overcrowd the pan.
- Dredge the chicken strips: Take each chicken strip and lightly press it into the seasoned flour, shaking off excess. Dip the floured strip into the egg wash, making sure it’s fully coated, then return it to the flour for a final coating. Press gently so the flour adheres evenly. Place the coated strips on a clean tray while you finish the rest.
- Heat the oil: Pour enough neutral oil into a large skillet or deep fryer to give the chicken pieces about 1/2 to 1 inch of oil depth. Heat over medium-high until the oil reaches roughly 350°F (175°C). If you don’t have a thermometer, test by dropping a small pinch of flour into the oil — it should sizzle and bubble steadily without burning immediately.
- Fry the chicken: Working in a single layer and in batches, carefully place the coated strips into the hot oil without crowding. Fry for about 3–4 minutes per side, flipping once, until the coating is golden brown and the interior reaches 165°F (74°C). Adjust time slightly for thicker or thinner strips. Use tongs or a slotted spoon to transfer cooked strips to a wire rack or paper towels to drain.
- Keep warm between batches: If making multiple batches, keep finished strips on a wire rack in a 200°F (95°C) oven to stay warm and crisp while you fry the remaining chicken.
- Make the dipping sauce: In a small bowl, whisk together 1/4 cup hot sauce (optional, add to taste), 3 tablespoons ketchup, 2 tablespoons lemon juice, 1/2 teaspoons salt, 1/2 teaspoon black pepper, 1/2 teaspoon dried oregano, 1/2 teaspoon paprika, 1 teaspoon onion powder, and 1 teaspoon garlic powder. Taste and adjust the hot sauce or lemon juice to reach the balance of heat and tang you prefer.
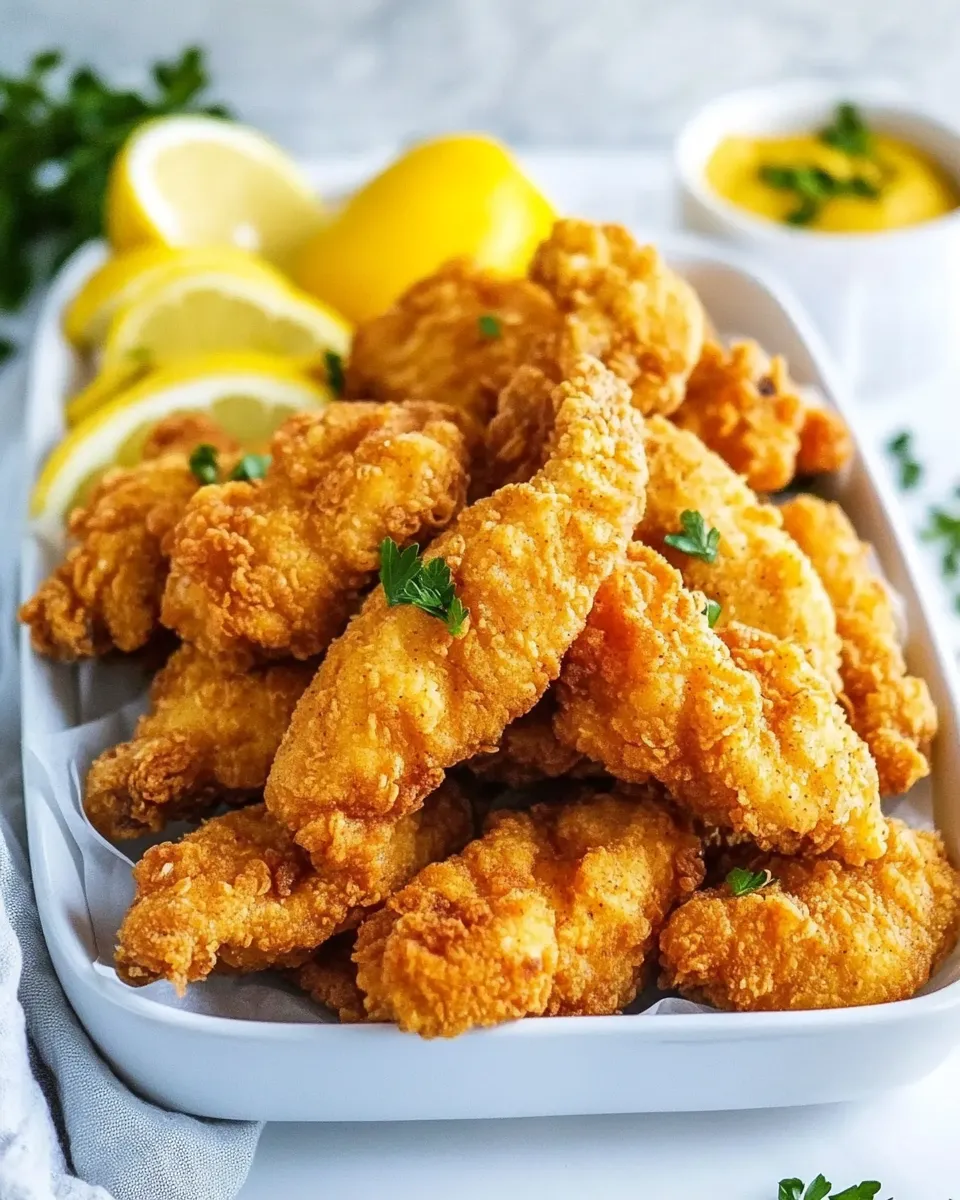
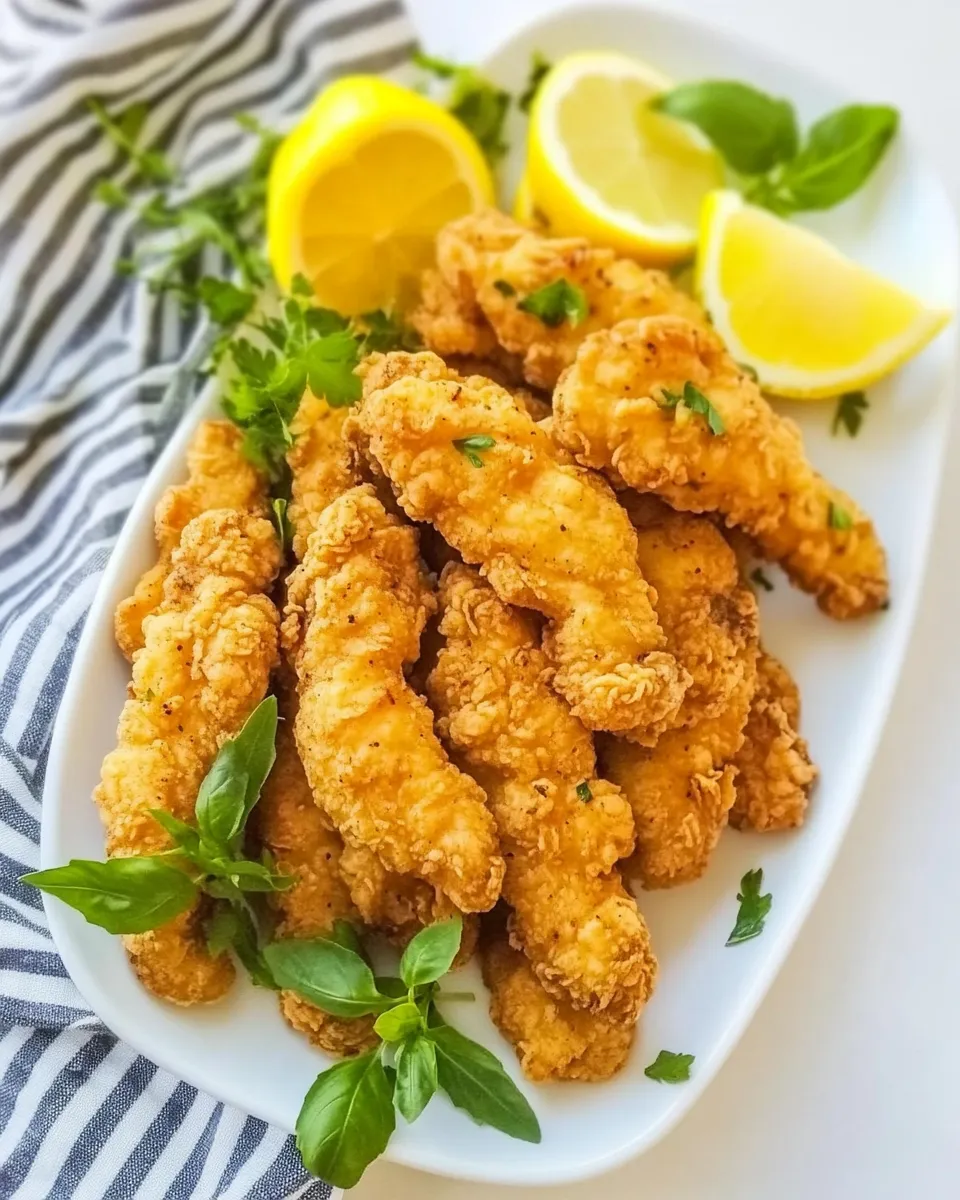
- Serve: Arrange the hot Chicken Fingers on a platter with the dipping sauce on the side. Garnish with lemon wedges or chopped fresh herbs if desired. Enjoy immediately for the best texture: crisp exterior and juicy center.
Timing
Hands-on prep time is about 15–20 minutes. Frying takes roughly 10–15 minutes total depending on batch size and strip thickness. Plan for about 30–40 minutes from start to serving for a single kitchen run.
Flavor variations and swaps
- If you like more heat, increase the cayenne in the flour or the hot sauce in the dipping sauce. Reduce either for milder palates.
- For a herbed kick, add 1–2 teaspoons freshly chopped parsley or thyme to the flour mixture.
- Want a sweeter sauce? Stir in 1 tablespoon honey or maple syrup into the sauce to round out the acidity.
- Want an oven-baked option? Place the coated strips on a parchment-lined sheet, spray lightly with oil, and bake at 425°F (220°C) for 15–18 minutes, flipping halfway, until golden and cooked through.
Serving suggestions
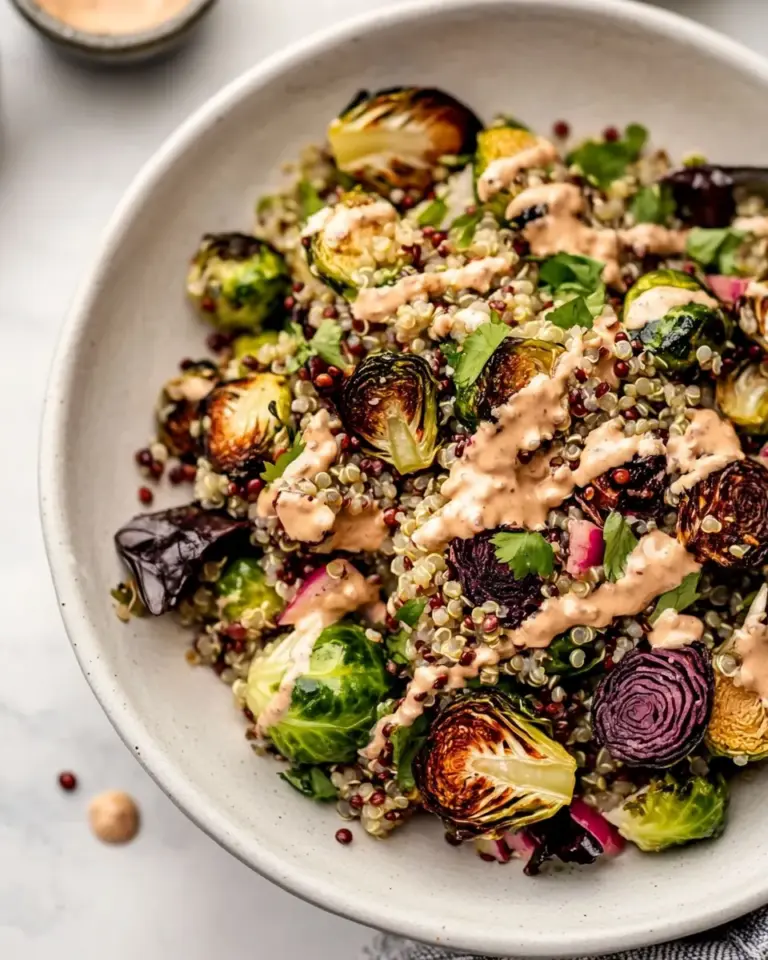
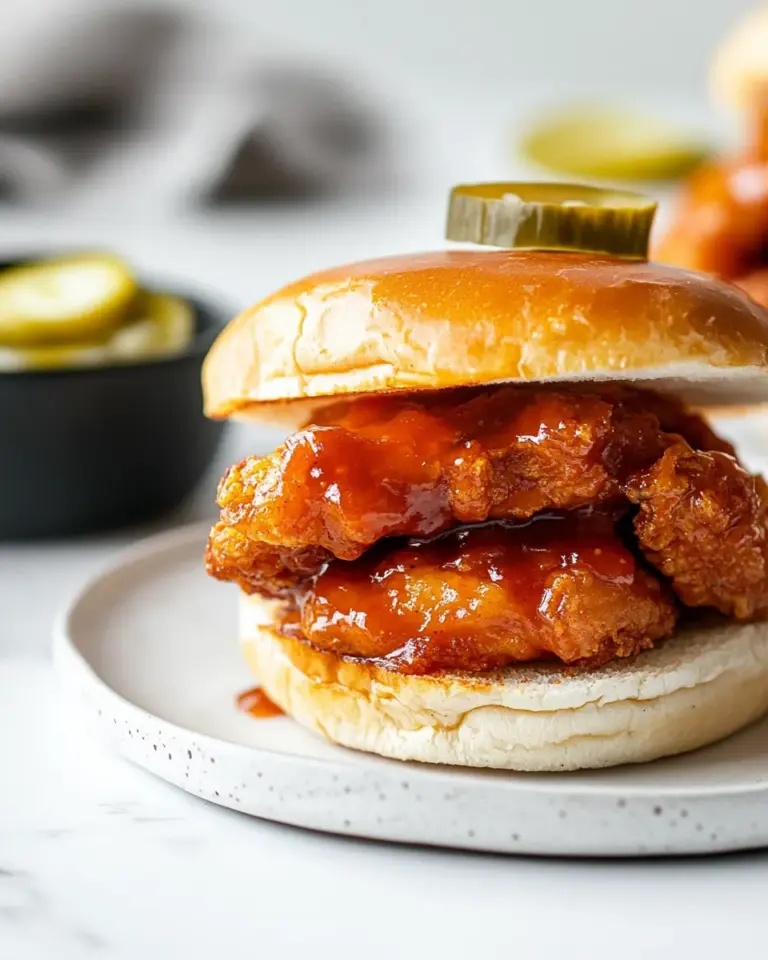
These Chicken Fingers pair beautifully with simple sides: crispy fries, a crunchy slaw, steamed green beans, or a fresh mixed salad. They’re also great chopped and tossed into wraps, salads, or grain bowls for a casual lunch or meal prep.
Storage and reheating
- Refrigerate leftover chicken in an airtight container for up to 3 days. Keep the sauce separate.
- To reheat and revive crispness, place the strips on a wire rack set over a baking sheet and warm in a preheated 375°F (190°C) oven for 8–10 minutes.
- The sauce can be stored in the fridge for up to 5 days; give it a quick stir before serving.
Notes and troubleshooting
- If the coating falls off during frying, the oil was either too hot or the strips were dredged with too much excess flour before dipping into the egg wash. Shake off excess flour and press the coating gently so it adheres.
- Greasy chicken usually means the oil was too cool. Maintain an even temperature around 350°F (175°C) and allow the oil to come back to temperature between batches.
- For an even crispier crust, try adding a tablespoon of cornstarch to the seasoned flour or using panko breadcrumbs for a final coating layer.
Final thoughts
There’s something truly comforting about the simple pleasure of chicken fingers: tender meat, satisfying crunch, and a bright sauce that pulls it all together. This recipe keeps the technique approachable while delivering bold flavor thanks to a well-seasoned flour and a balanced dipping sauce. Whether you’re feeding a crowd or carving out a quick weeknight dinner, these Chicken Fingers are built to please—crispy, juicy, and easy to love.

Chicken Fingers
Ingredients
Equipment
Method
- In a wide bowl combine 2 cups all-purpose flour with 1 tsp salt, 1 tsp black pepper, 1 tsp garlic powder, 1 tsp onion powder, 1 tsp dried oregano, 1/2 tsp sweet paprika and 1/4 tsp cayenne; mix well to make the flour mix.
- In a separate bowl whisk 2 eggs with 2 tbsp honey mustard, 2 minced garlic cloves, 3 tbsp ketchup, 2 tbsp lemon juice and (optional) 1/4 cup hot sauce until combined to make the egg mixture.
- Trim and pat dry the 2 lb boneless chicken breasts, then cut into strips of your preferred size and thickness.
- Coat each chicken strip lightly in the flour mix, shaking off any excess.
- Dip the floured chicken strips into the egg mixture, ensuring an even coating.
- For the final dredge, combine 1/2 tsp salt, 1/2 tsp black pepper, 1/2 tsp dried oregano, 1/2 tsp paprika, 1 tsp onion powder and 1 tsp garlic powder with some additional flour (use remaining flour as needed), then press each egg-coated strip into this flour so it gets a good, even coating.
- Heat oil in a deep fryer to 375°F (190°C) or heat oil in a heavy pot over medium-high heat until it reaches about 350–375°F; do not overcrowd the oil.
- Fry the chicken strips in batches—3 pieces at a time if using a pot—for about 3–5 minutes in a fryer or 5–8 minutes on the stovetop per batch, depending on thickness, until golden brown and cooked through (internal temperature 165°F/74°C).
- Remove the cooked chicken fingers with tongs and drain briefly on paper towels.
- Serve hot with your choice of dipping sauces.
Notes
- Use boneless chicken breast for best results.
- Double dredging (flour, egg, flour) gives a crisp coating.
- Fry in small batches to maintain oil temperature.
- Cook until internal temperature reaches 165°F (74°C).
- Drain on paper towels to remove excess oil.
- You can air-fry at 375°F for about 5 minutes as an alternative.