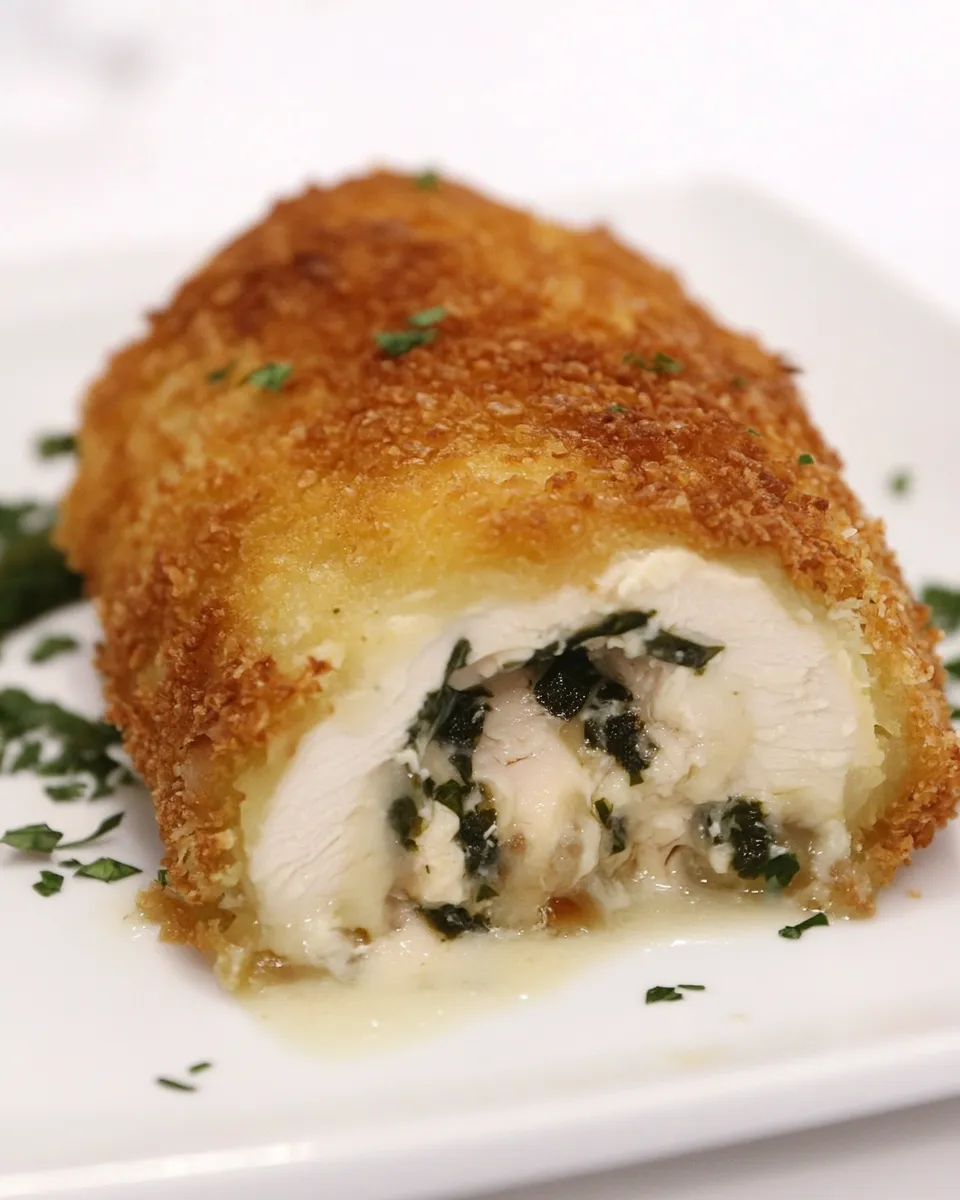
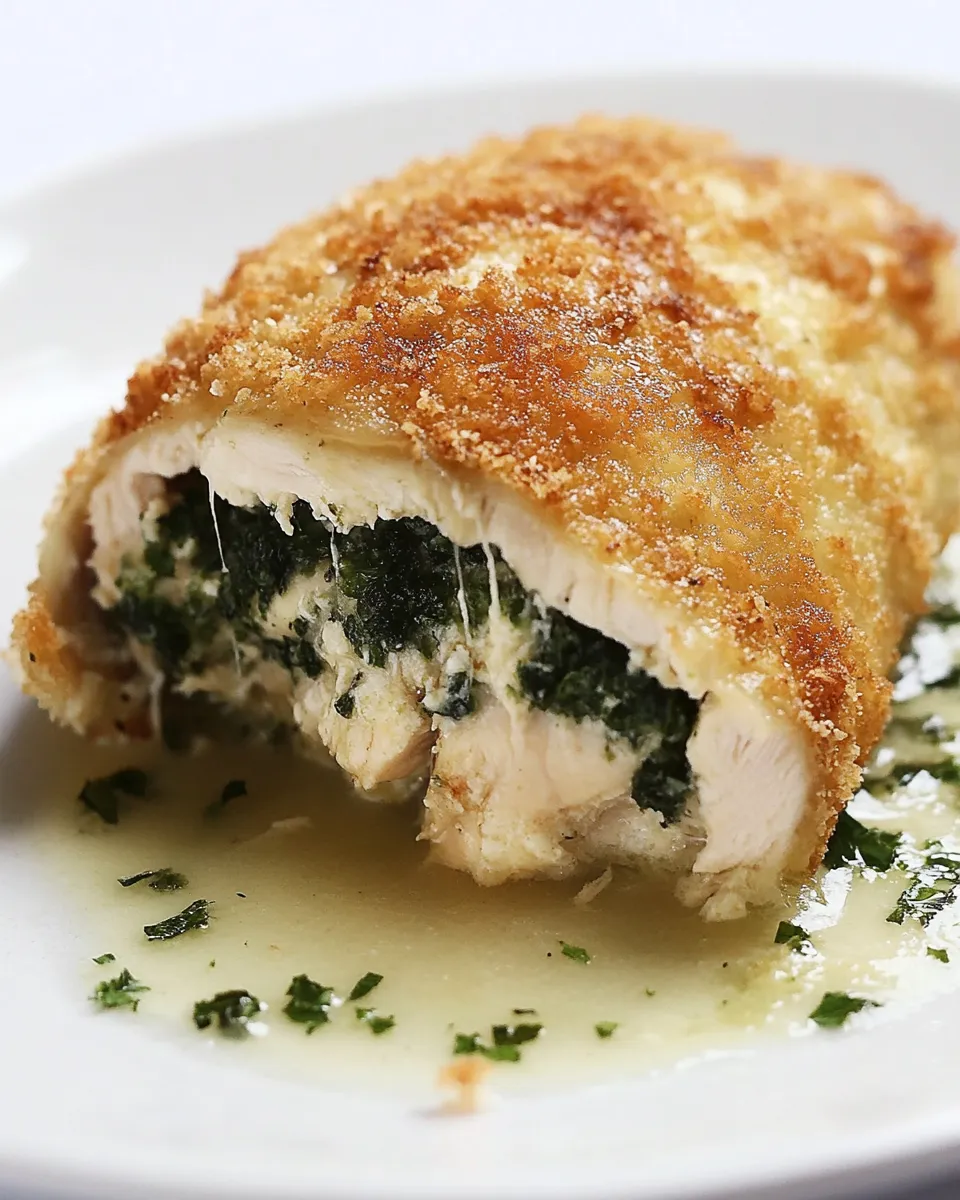
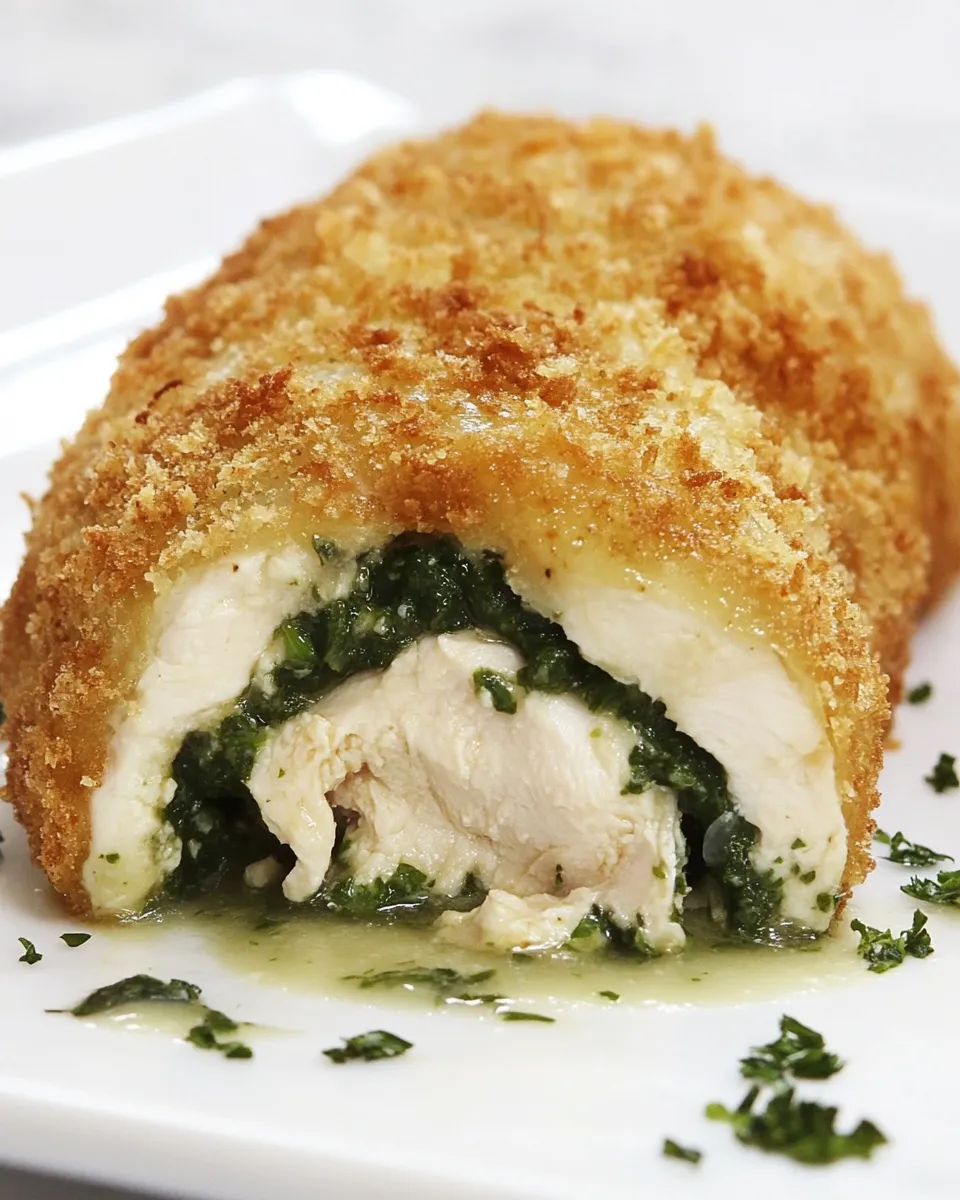
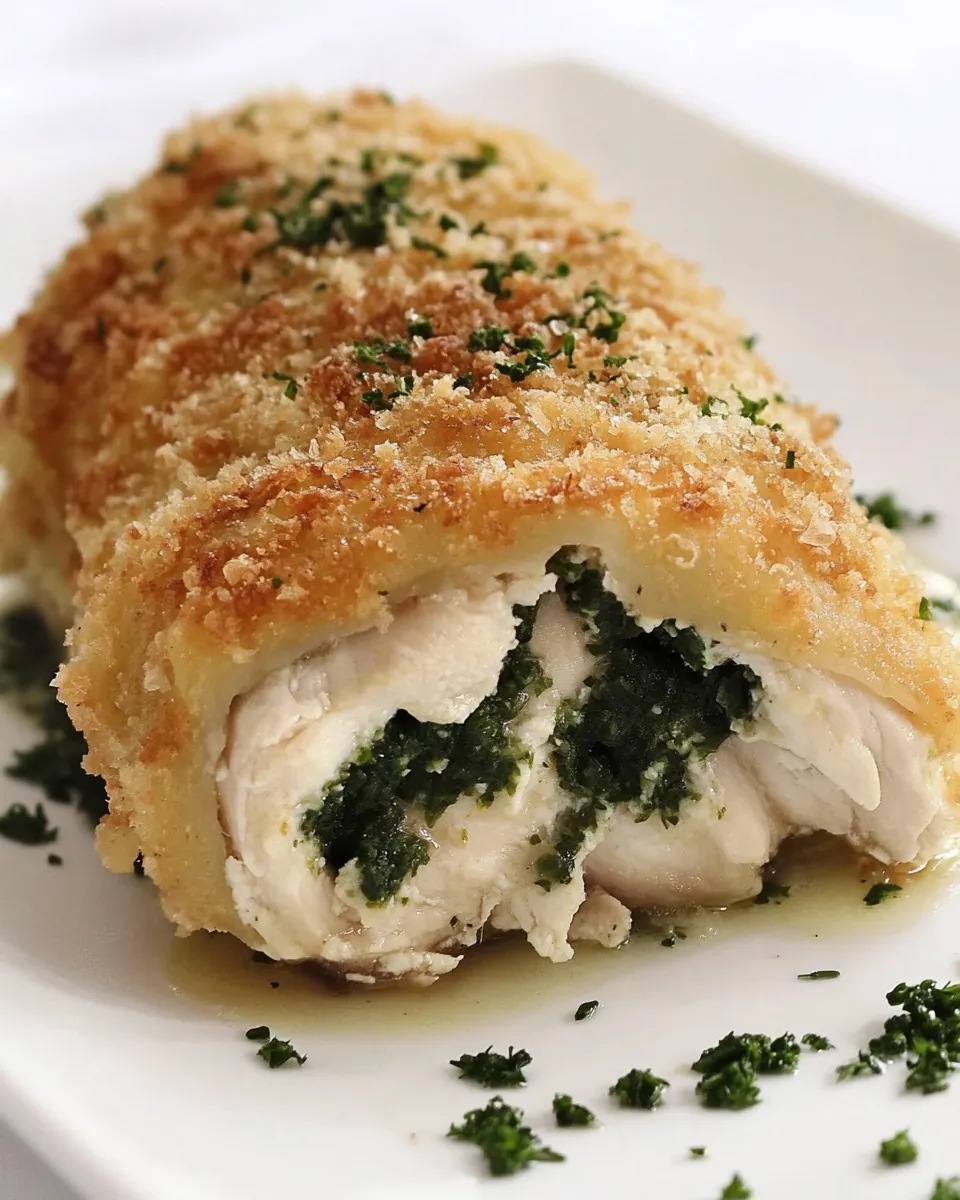
Chicken Kiev
There’s something wonderfully comforting about a golden, crisp exterior that gives way to a buttery, garlicky center. This Chicken Kiev recipe uses four small boneless skinless chicken breasts and a simple herb butter that melts into the meat as it cooks. The result is elegant enough for company yet straightforward enough for a weeknight. Follow the step-by-step instructions below to achieve perfectly sealed, juicy chicken with a crunchy panko crust.
Why this version works
This approach keeps things simple and reliable. We form a flavorful parsley-garlic butter, flatten the breasts to an even thickness, encase the butter, and use a three-step breading station (flour, egg, panko) to create a sturdy crust. The key is chilling the assembled breasts so the butter stays inside while the exterior browns to a deep golden color. A squeeze of lemon-pepper seasoning brightens the finished dish for a balanced bite.
Ingredients
- 4 small boneless skinless chicken breasts
- 6 tablespoons unsalted butter, softened
- 1 1/2 tablespoons fresh parsley, chopped
- 2 cloves garlic, minced
- 1 teaspoon lemon-pepper seasoning
- 3/4 cup all-purpose flour
- 1 teaspoon salt, plus more to taste
- 2 large eggs, beaten
- 2 cups panko breadcrumbs
- Oil for frying – enough to coat the bottom of a large skillet to about 3/4 inch deep
- Fresh parsley, chopped (for garnish)
Equipment
- Large cutting board
- Meat mallet or heavy skillet
- Plastic wrap or parchment
- Bowls for flour, eggs, and breadcrumbs
- Large skillet
- Tongs and a slotted spatula
- Baking sheet or plate for chilling
- Thermometer (optional but helpful)
Prep the herb butter
Start by making the butter so it has time to cool slightly and firm up when chilled. In a small bowl, combine 6 tablespoons softened unsalted butter, 1 1/2 tablespoons chopped fresh parsley, 2 cloves minced garlic, and 1 teaspoon lemon-pepper seasoning. Use a fork to mash everything together until evenly combined. Taste and adjust the 1 teaspoon of salt if you like—remember there is additional salt used later in coating and finishing.
Divide the butter mixture into four equal portions. Roll each portion into a small log or mound and place them on a piece of plastic wrap or parchment. Wrap tightly and refrigerate until firm, at least 15–20 minutes. If the butter becomes too hard, let it sit at room temperature a couple of minutes before using so it is pliable enough to shape inside the chicken.
Flatten and season the chicken
Place one chicken breast between two sheets of plastic wrap or in a large resealable bag and gently pound with a meat mallet or heavy skillet to an even thickness, about 1/4 to 1/2 inch. Even thickness ensures quick, even cooking and makes it easier to seal the butter inside. Repeat with the remaining breasts.
Season both sides of each flattened breast with a little of the 1 teaspoon salt, dividing it among the pieces. A light, even sprinkle is enough; you can add more salt to taste after cooking.
Assemble the Kievs
Place one softened butter portion near the center of a flattened breast. Fold the short sides of the breast over the butter, then roll or fold the breast tightly to fully enclose the butter, creating a neat parcel. Make sure seams are pressed firmly so the butter is sealed inside. Repeat with the other three breasts.
If needed, use a small toothpick to hold seams closed while breading, or tuck the edges under to minimize gaps. Place the assembled breasts on a baking sheet or plate and refrigerate for at least 15 minutes to firm the butter and help the breading adhere during frying.
Set up the breading station
Arrange three shallow bowls or plates in a row. Place 3/4 cup all-purpose flour in the first bowl and season it lightly with a pinch of salt. Beat 2 large eggs in the second bowl until smooth. Place 2 cups panko breadcrumbs in the third bowl.
Take one chilled chicken parcel and dredge it first in the flour, turning to coat all sides and shaking off any excess. Then dip into the beaten eggs, allowing any excess to drip off. Finally, press into the panko breadcrumbs, coating thoroughly on all sides and pressing gently so the crumbs adhere well. Place the breaded piece back on the baking sheet and repeat with the remaining pieces.
Fry the Chicken Kiev
Pour oil into a large skillet to a depth of about 3/4 inch—enough to come up the sides of the breast without fully submerging it. Heat the oil over medium heat until shimmering but not smoking. To test, drop a few panko crumbs in; they should sizzle on contact.
Working in batches if necessary, carefully add the breaded chicken breasts to the hot oil seam-side down. Cook without moving them for about 3–4 minutes, until the bottom is a deep golden brown. Use tongs to turn each piece and fry the other sides, about 3–4 minutes per side. Total frying time will vary by thickness, but aim for an internal temperature of 165°F (74°C) at the thickest part when checked with an instant-read thermometer.
If the crust browns too quickly before the chicken reaches temperature, lower the heat slightly and cover the skillet for a minute or two to finish cooking through. Conversely, if the oil is not hot enough, the crust will be soggy—adjust heat to maintain a steady, moderate sizzle.
Drain and rest
Transfer the cooked Chicken Kiev to a wire rack or paper-towel-lined plate to drain any excess oil. Let the pieces rest for a few minutes before serving; this helps the juices redistribute and gives the butter inside a chance to settle without leaking out too quickly.
Serve
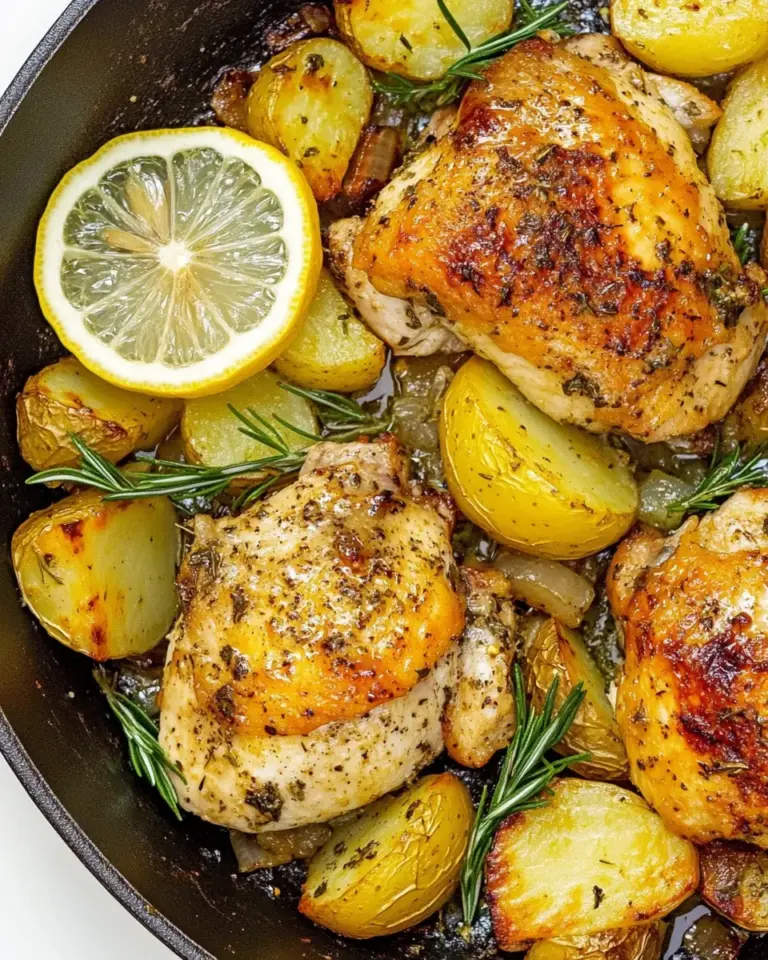
Serve the Chicken Kiev hot, garnished with chopped fresh parsley for brightness. A simple side of steamed vegetables, mashed potatoes, or a crisp green salad complements the rich, herby butter beautifully. Slicing carefully across the top will reveal the molten center—take care when cutting as the butter will be hot.
Troubleshooting and tips
- To prevent butter leakage, chill the assembled Kievs well before breading and frying. Cold butter holds together during the initial high heat of frying.
- If your chicken breasts are thicker than small size, pound them evenly thinner or use a meat thermometer to ensure they reach 165°F (74°C).
- Panko gives an extra-crispy crust, but if you prefer a finer crumb, you can pulse panko briefly in a food processor.
- Maintain consistent oil temperature. Too hot will burn the crust; too cool will make it greasy. Adjust the heat to keep a steady sizzle.
- For a lighter finish, you can finish the breaded Kievs in a 375°F oven for 8–10 minutes after browning to ensure they’re cooked through without excess oil.
Make-ahead and storage
You can assemble the butter parcels and wrap them in the chicken up to a day ahead, keeping them covered in the refrigerator. Breaded, un-fried Kievs can also be chilled for a short time before frying. For leftovers, refrigerate in an airtight container and consume within 2–3 days. Reheat gently in an oven at 350°F until warmed through and the crust regains crispness.
Final notes
These Chicken Kievs are a celebration of texture and flavor—the crunchy panko, the savory chicken, and the bright herb-garlic butter that becomes the star when it melts into the meat. With a few simple steps and a little patience during assembly, you can make a restaurant-worthy dish right at home. Garnish with the remaining chopped fresh parsley and enjoy.
Rewritten Step-by-Step Directions
- Make the herb butter: In a small bowl, combine 6 tablespoons softened unsalted butter, 1 1/2 tablespoons chopped fresh parsley, 2 cloves minced garlic, and 1 teaspoon lemon-pepper seasoning. Mix until uniform. Divide into four portions, shape each into a small log or mound, wrap, and refrigerate until firm (at least 15–20 minutes).
- Flatten the chicken: Place each of the 4 small boneless skinless chicken breasts between plastic wrap and gently pound to an even thickness of about 1/4–1/2 inch. Season both sides with the 1 teaspoon salt, divided among the breasts.
- Assemble Kievs: Place one portion of the chilled herb butter near the center of a flattened breast. Fold the short sides over the butter and roll or fold to fully enclose it, pressing seams firmly. Repeat for all breasts. Refrigerate the assembled breasts for at least 15 minutes to firm the butter.
- Prepare breading station: Place 3/4 cup all-purpose flour in the first shallow bowl, 2 large beaten eggs in the second, and 2 cups panko breadcrumbs in the third.
- Bread the chicken: Dredge each chilled parcel in flour, shaking off excess. Dip into the beaten eggs, then press into panko so the crumbs adhere evenly. Place breaded pieces on a tray and keep chilled if necessary while you finish the rest.
- Heat the oil: Pour oil into a large skillet to a depth of about 3/4 inch. Heat over medium until shimmering. Test by dropping a few panko crumbs in—the oil should sizzle.
- Fry the Kievs: Carefully add the breaded chicken, seam-side down, and cook undisturbed about 3–4 minutes until the bottom is deep golden. Turn and brown the remaining sides, about 3–4 minutes per side. Aim for internal temperature of 165°F (74°C). If the crust browns too fast, lower heat; if cooking too slowly, increase slightly.
- Drain and rest: Transfer cooked Kievs to a wire rack or paper-towel-lined plate to drain. Rest a few minutes so juices settle and the butter stops spouting when cut.
- Serve: Garnish with chopped fresh parsley and serve hot with your choice of sides.
Enjoy your Chicken Kiev—crispy outside, luxuriously buttery inside, and brightened with parsley and lemon-pepper for a balanced, satisfying meal.
Chicken Kiev
Ingredients
Equipment
Method
- Place a chicken breast on a cutting board and, using a sharp knife, cut horizontally through the thickest part almost to the opposite edge to create a pocket; open like a book to make an even, thin piece. Repeat with remaining breasts.
- In a small bowl, combine the softened butter, 1 1/2 tablespoons chopped parsley, minced garlic, and lemon-pepper seasoning until smooth and well blended.
- Divide the herb butter into four portions (about 1 1/2 tablespoons each) and place one portion in the center of each opened chicken breast. Fold the chicken over and press the edges firmly to seal the filling inside.
- Set up three shallow dishes: mix the flour with 1 teaspoon salt in the first, beat the eggs in the second, and place the panko in the third.
- Dredge each stuffed chicken breast in the seasoned flour, shaking off excess, dip into the beaten eggs, then press evenly into the panko breadcrumbs to coat both sides.
- Heat oil in a large skillet over medium heat until it reaches about 350°F (or is hot but not smoking). Add the breaded chicken and fry 4 to 5 minutes per side, or until golden brown and cooked through.
- Remove the chicken from the skillet and drain briefly on paper towels. Sprinkle with chopped fresh parsley and serve immediately.
Notes
- Use a thermometer to ensure oil is about 350°F for even frying.
- Seal edges well to prevent butter leakage while frying.
- Adjust cooking time if using larger chicken breasts.
- Pat chicken dry before stuffing for better adhesion.