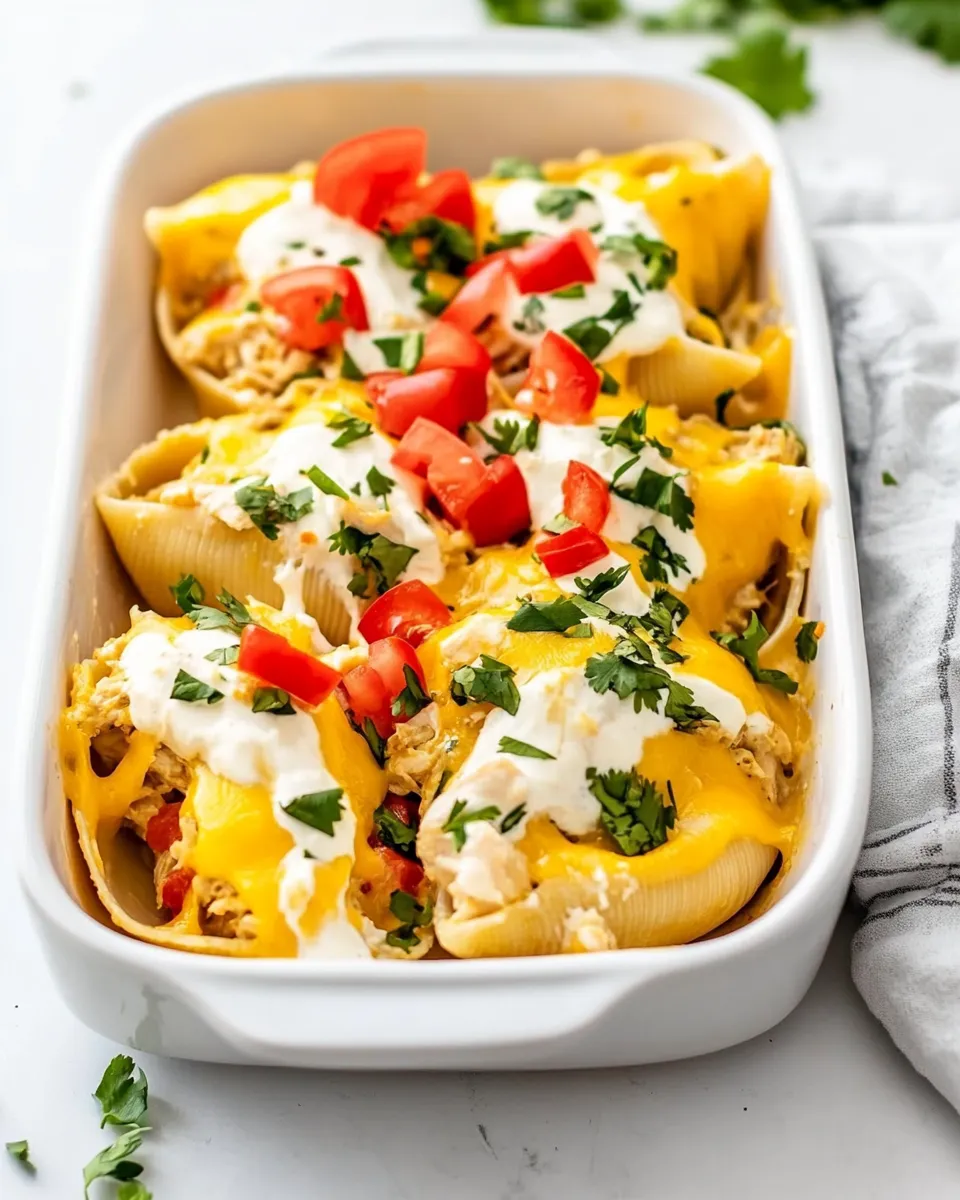
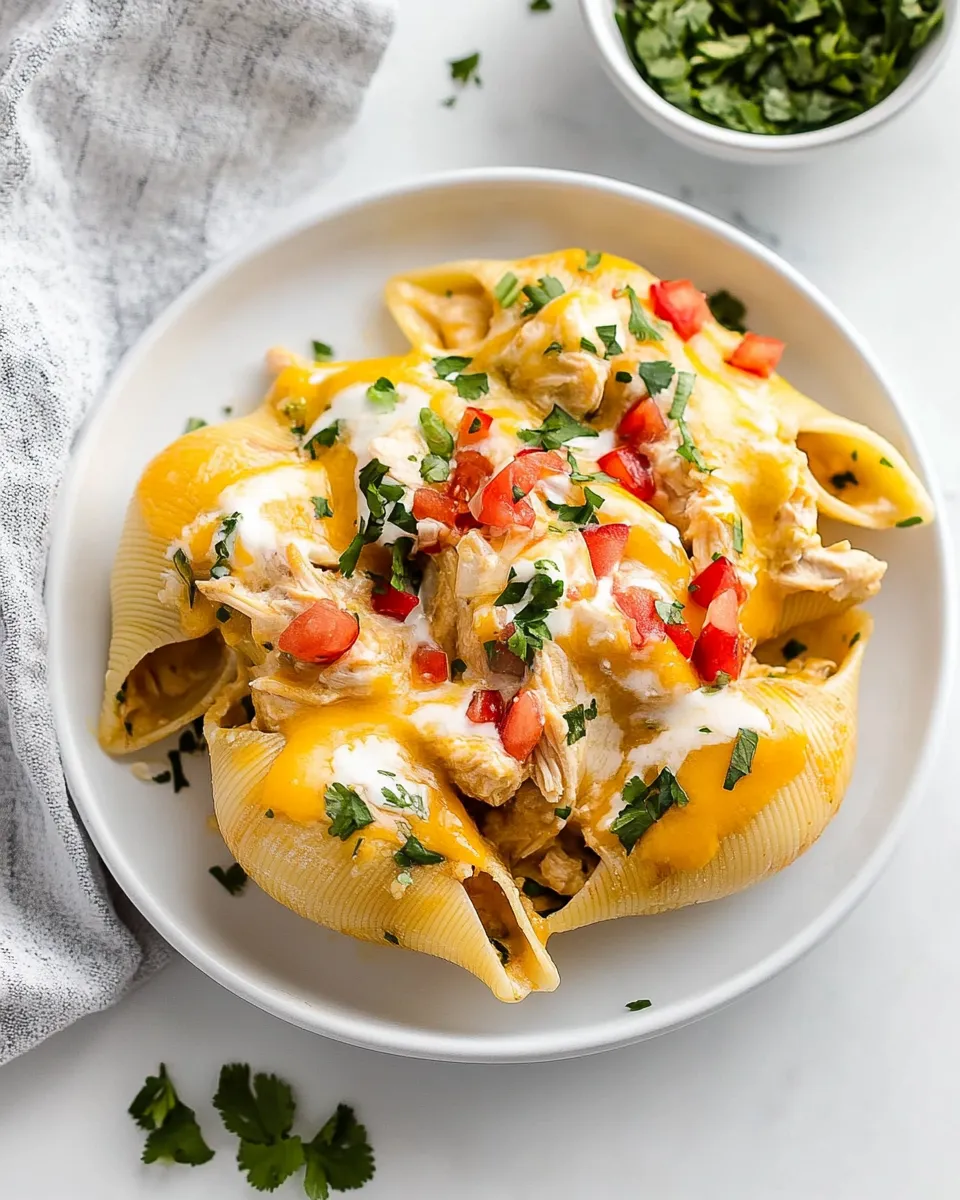
Chicken Mexican Stuffed Shells
Comfort food gets a fiesta makeover with this cozy, crowd-pleasing Chicken Mexican Stuffed Shells recipe. Big pasta shells are filled with a creamy, tangy chicken mixture, piled into a baking dish, smothered with salsa and cheese, and baked until bubbly and golden. It’s perfect for weeknight dinners, meal prep, or a potluck where you want something familiar but with bold flavor. The filling comes together quickly, and the recipe uses pantry-friendly ingredients with a fresh finish of sour cream, cherry tomatoes, and cilantro at the end.
Why you’ll love this version
There are a few reasons this Chicken Mexican Stuffed Shells recipe will become a go-to:
- Big shells make an impressive presentation without much effort.
- The cream cheese base creates a silky, rich filling that gets pockets of savory chicken and sweet corn in every bite.
- Taco seasoning and salsa give the dish familiar Tex-Mex flavors without needing a long spice list.
- It’s easy to scale up for a crowd or portion out for meals during the week.
Ingredients
Follow the ingredient list exactly for the best balance of creaminess, spice, and texture.
- ▢12 ounces jumbo pasta shells (1 box)
- ▢3 cups chopped rotisserie chicken (*)
- ▢2 tablespoons taco seasoning
- ▢12 ounces cream cheese (1½ bricks, room temperature**)
- ▢4 green onions (sliced)
- ▢1 cup frozen corn (thawed)
- ▢1 cup salsa (***)
- ▢2 cups shredded Mexican cheese blend (divided)
- ▢sour cream
- ▢cherry tomatoes
- ▢fresh cilantro
Notes on ingredients
If you usually reach for store-bought rotisserie chicken, choose a prepared bird that fits your personal preferences. For the cheese, a Mexican blend melts beautifully; if you prefer more cheddar or Monterey Jack, a 50/50 swap works. Room-temperature cream cheese mixes more smoothly into the filling, so take it out of the fridge about 20–30 minutes before you start.
Make-ahead and storage
This dish reheats beautifully. Assemble ahead and refrigerate for up to 24 hours before baking, or freeze fully assembled (tightly wrapped) for up to 2 months. When baking from frozen, add 15–20 extra minutes to the baking time and cover the dish with foil for the first portion of baking so the cheese doesn’t over-brown.
Equipment
- Large pot for boiling pasta
- Slotted spoon or tongs
- Mixing bowls
- 9×13-inch baking dish (or similar)
- Spoon and rubber spatula
Step-by-step Instructions
The directions below are rewritten into clear, numbered steps that follow the original order and use the exact ingredient names and amounts from the ingredient list.
- Preheat your oven to 350°F (175°C). Lightly grease a 9×13-inch baking dish and set it aside.
- Bring a large pot of salted water to a boil. Add 12 ounces jumbo pasta shells and cook until the shells are al dente—tender but still slightly firm to the bite—following the package time as a guide. Stir occasionally to prevent sticking.
- When the shells are done, drain them in a colander and rinse briefly with cold water to stop the cooking. Arrange the drained shells on a baking sheet or tray in a single layer so they don’t clump together while you prepare the filling.
- In a medium mixing bowl, add 12 ounces cream cheese that is at room temperature. Use a rubber spatula or electric mixer to soften it until smooth and creamy.
- Add 3 cups chopped rotisserie chicken to the cream cheese. Sprinkle in 2 tablespoons taco seasoning and mix until the seasoning is evenly distributed and the chicken is coated. The cream cheese will bind the filling together.
- Fold in 4 green onions (sliced) and 1 cup frozen corn that has been thawed. Stir until these add-ins are evenly incorporated into the chicken and cream cheese mixture.
- Reserve 1 cup salsa for topping the shells. Spoon the remaining salsa into the cream cheese and chicken mixture and stir until everything is combined and evenly mixed.
- Spread half of the 2 cups shredded Mexican cheese blend across the bottom of the prepared baking dish to create a cheesy bed for the stuffed shells.
- Working one shell at a time, spoon roughly 2–3 tablespoons of the chicken mixture into each shell. Place each filled shell, filling-side up, into the baking dish on top of the layer of shredded cheese. Continue until all shells are filled and arranged in the dish.
- Once the shells are in place, pour the reserved 1 cup salsa evenly over the top of the shells, using the back of a spoon to distribute it if needed. Sprinkle the remaining shredded Mexican cheese blend evenly over the salsa-covered shells.
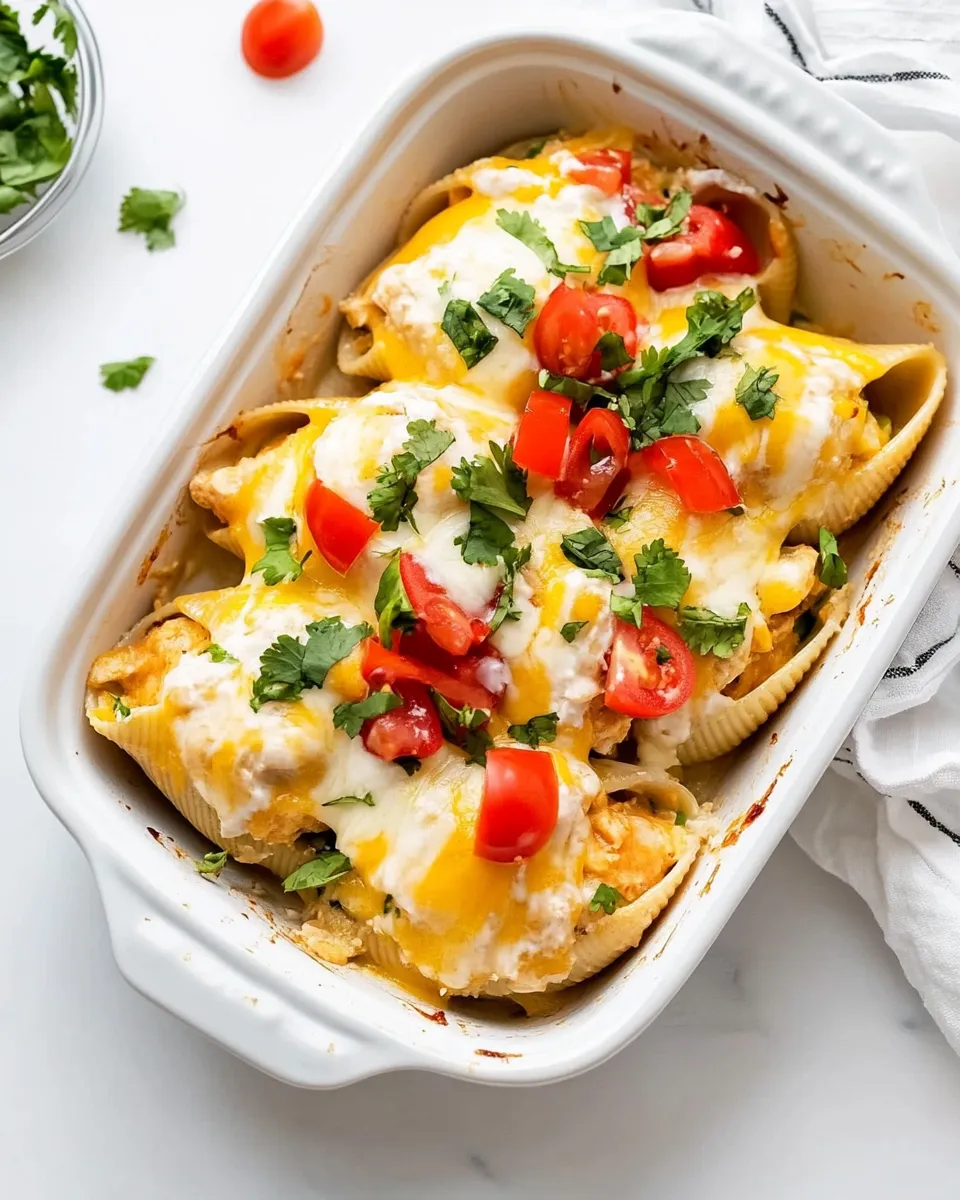
- Cover the baking dish loosely with foil and bake in the preheated oven for 20 minutes. After 20 minutes, remove the foil and continue baking for an additional 5–10 minutes, or until the cheese is melted and bubbly and the edges of the salsa are bubbling gently.
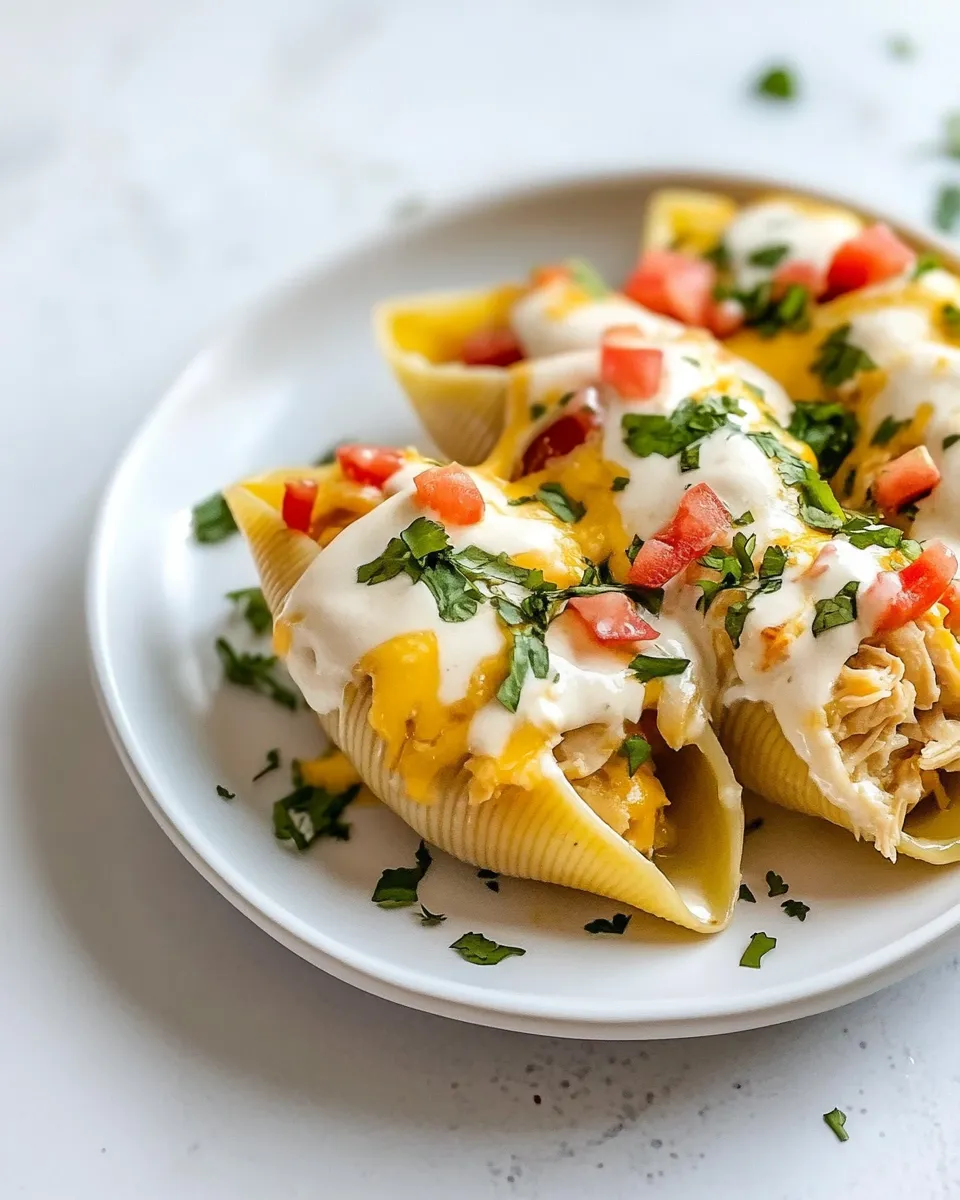
- Remove the baking dish from the oven and let it rest for 5 minutes to set. Spoon dollops of sour cream over the shells or serve it on the side for guests to add their own. Top with halved cherry tomatoes and a scattering of fresh cilantro for brightness and color.
- Serve warm. Leftovers can be refrigerated in an airtight container for up to 3–4 days and reheated in the oven or microwave until heated through.
Serving suggestions
These Chicken Mexican Stuffed Shells pair well with a crisp green salad or a simple slaw to cut through the richness. Add a side of lime wedges for a bright squeeze that livens up each bite. For extra heat, offer sliced jalapeños or a drizzle of hot sauce on the side.
Troubleshooting
- If the filling seems too stiff, stir in a tablespoon or two of milk or more salsa until you reach a spreadable consistency.
- If your shells tear while stuffing, spoon a little extra filling into the torn shell and tuck it into the dish; covering them with salsa and cheese helps keep everything in place while baking.
- To prevent undercooked centers, be sure your shells are just al dente when boiled; they will finish cooking in the oven.
Flavor tips and variations
Make the recipe your own with one of these quick swaps:
- For a smoky note, add 1–2 teaspoons of smoked paprika to the filling along with the taco seasoning.
- For a lighter version, swap half of the cream cheese with plain Greek yogurt; the texture will be tangier but still creamy.
- Mix in black beans instead of or in addition to corn for added fiber and heartiness.
- Top with avocado slices just before serving for creaminess and freshness.
Why this works
The balance of textures and flavors is what makes these shells so satisfying. Cream cheese creates a stable, silky filling that clings to tender shredded chicken. Taco seasoning and salsa provide bright, familiar Tex-Mex flavor without overwhelming the dish. Corn and green onions add sweetness and crunch, while the melted cheese layer gives a gooey finish that brings everything together.
Final thoughts
If you love a cozy casserole that shows up to the table looking and tasting like you spent hours in the kitchen, these Chicken Mexican Stuffed Shells are the answer. They’re easy to assemble, feed a crowd, and reheat wonderfully for leftovers. The recipe strikes a happy medium between comfort and freshness—cheesy, creamy, and bright in equal measure. Grab a big spoon, invite friends or family, and enjoy a warm plate of shells loaded with bold, satisfying flavor.
Quick reference — Recipe at a glance
Prep time: 20 minutes (plus 20–30 minutes for boiling shells and baking)
Cook time: 25–30 minutes
Serves: About 6
Ingredients recap:
- 12 ounces jumbo pasta shells (1 box)
- 3 cups chopped rotisserie chicken
- 2 tablespoons taco seasoning
- 12 ounces cream cheese (1½ bricks, room temperature)
- 4 green onions (sliced)
- 1 cup frozen corn (thawed)
- 1 cup salsa
- 2 cups shredded Mexican cheese blend (divided)
- Sour cream, cherry tomatoes, fresh cilantro for topping
Follow the numbered instructions above for best results. Happy cooking—and enjoy every cheesy, chicken-filled bite of these Chicken Mexican Stuffed Shells!
Chicken Mexican Stuffed Shells
Ingredients
Equipment
Method
- Preheat the oven to 350°F (175°C) and grease a 9x13-inch baking dish.
- Bring a large pot of salted water to a boil and cook the jumbo shells until al dente according to package instructions; drain and rinse under cold water to stop cooking, then set aside to cool slightly.
- In a large bowl, combine the chopped rotisserie chicken, taco seasoning, room-temperature cream cheese, sliced green onions, thawed corn, salsa, and ½ cup of the shredded Mexican cheese; mix until evenly combined.
- Stuff each cooled pasta shell with the chicken mixture and arrange the filled shells in the prepared baking dish in a single layer.
- Sprinkle the remaining 1½ cups shredded Mexican cheese evenly over the filled shells.
- Bake for 15–20 minutes, or until the filling is warmed through and the cheese is melted and bubbly.
- Remove from the oven and garnish with sour cream, halved cherry tomatoes, and fresh cilantro as desired; serve warm.
Notes
- Let shells cool before stuffing to avoid burning your hands.
- Hold each shell firmly when stuffing to prevent tearing.
- You can freeze the unbaked assembled dish for up to 1 month.
- Thaw overnight before baking if frozen.
- Nutritional information does not include optional toppings.