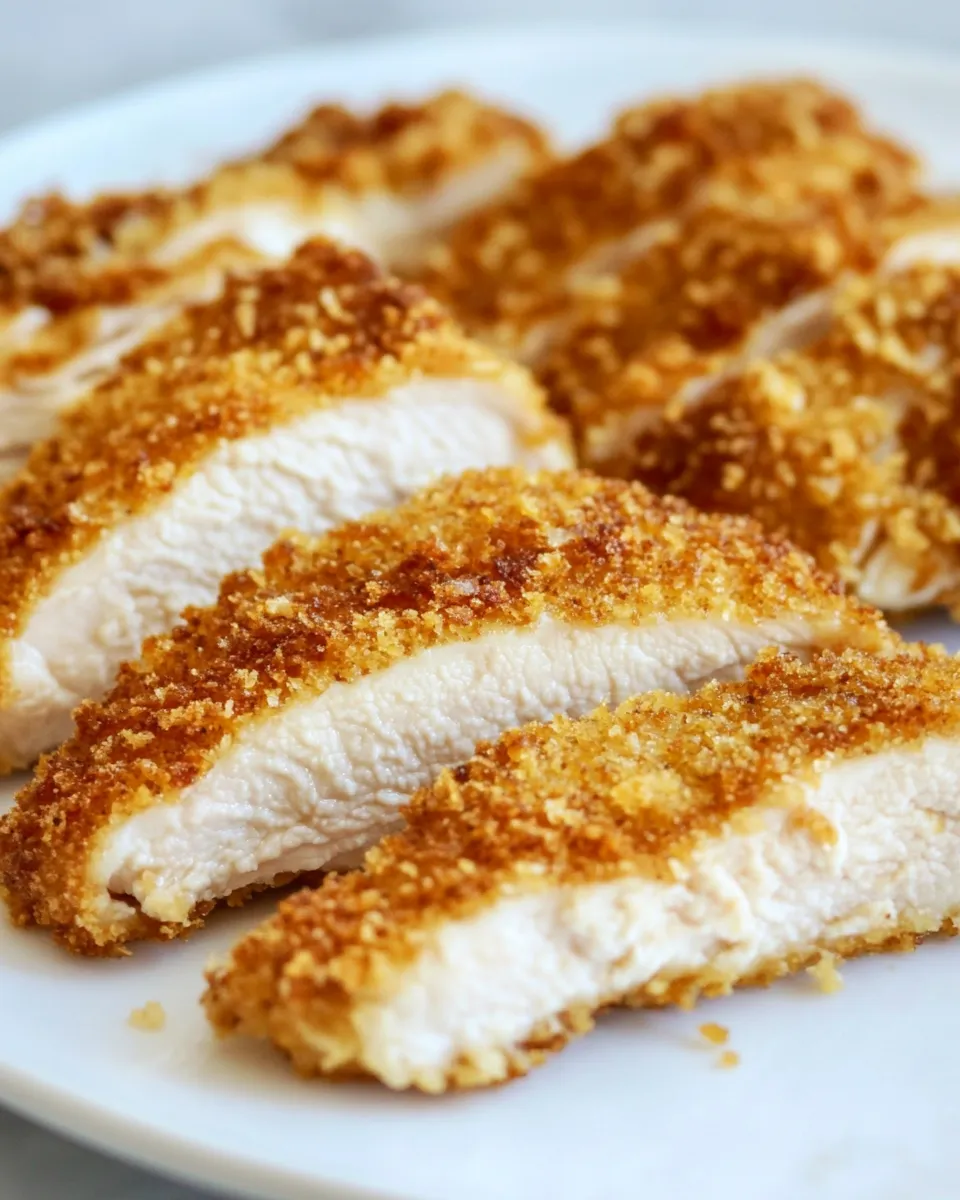
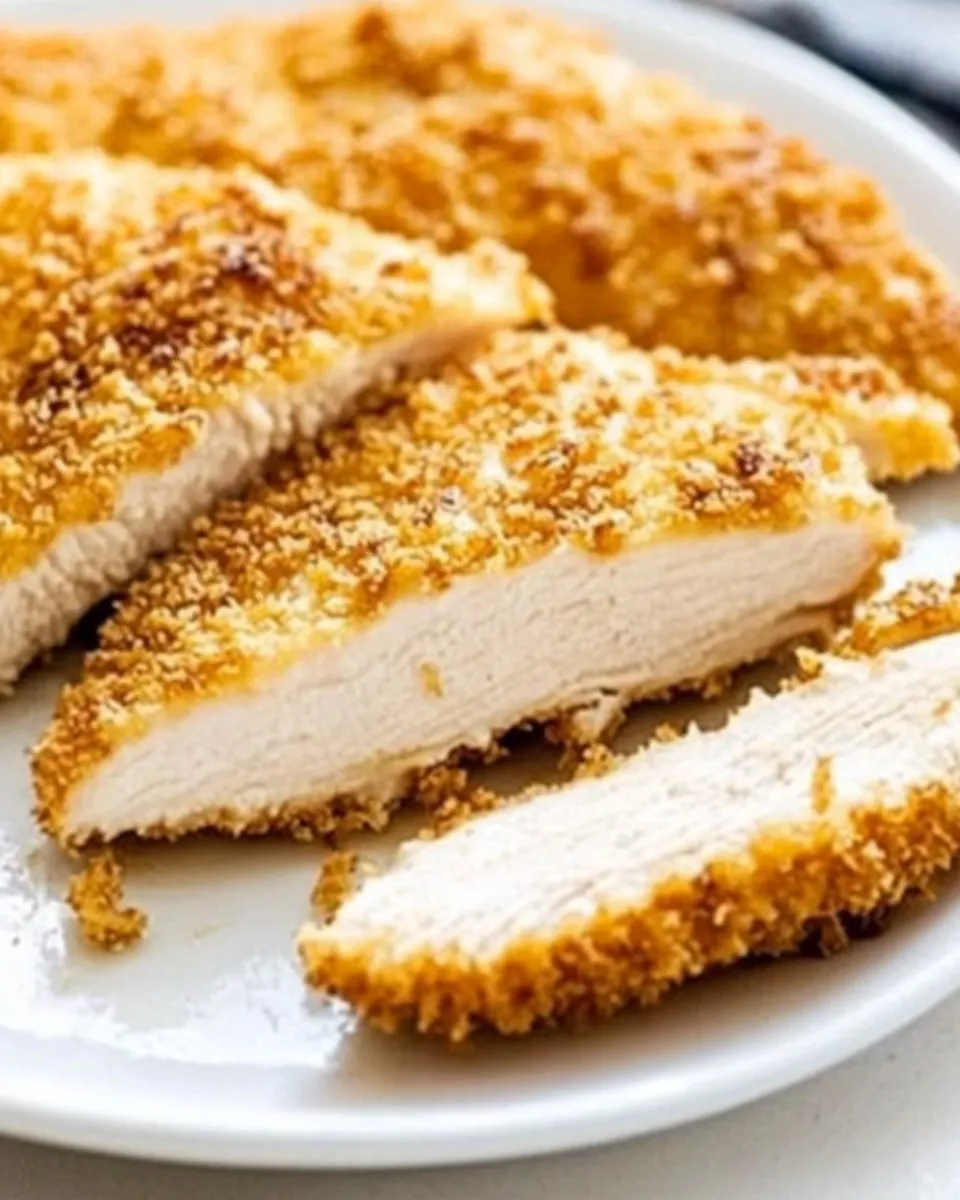
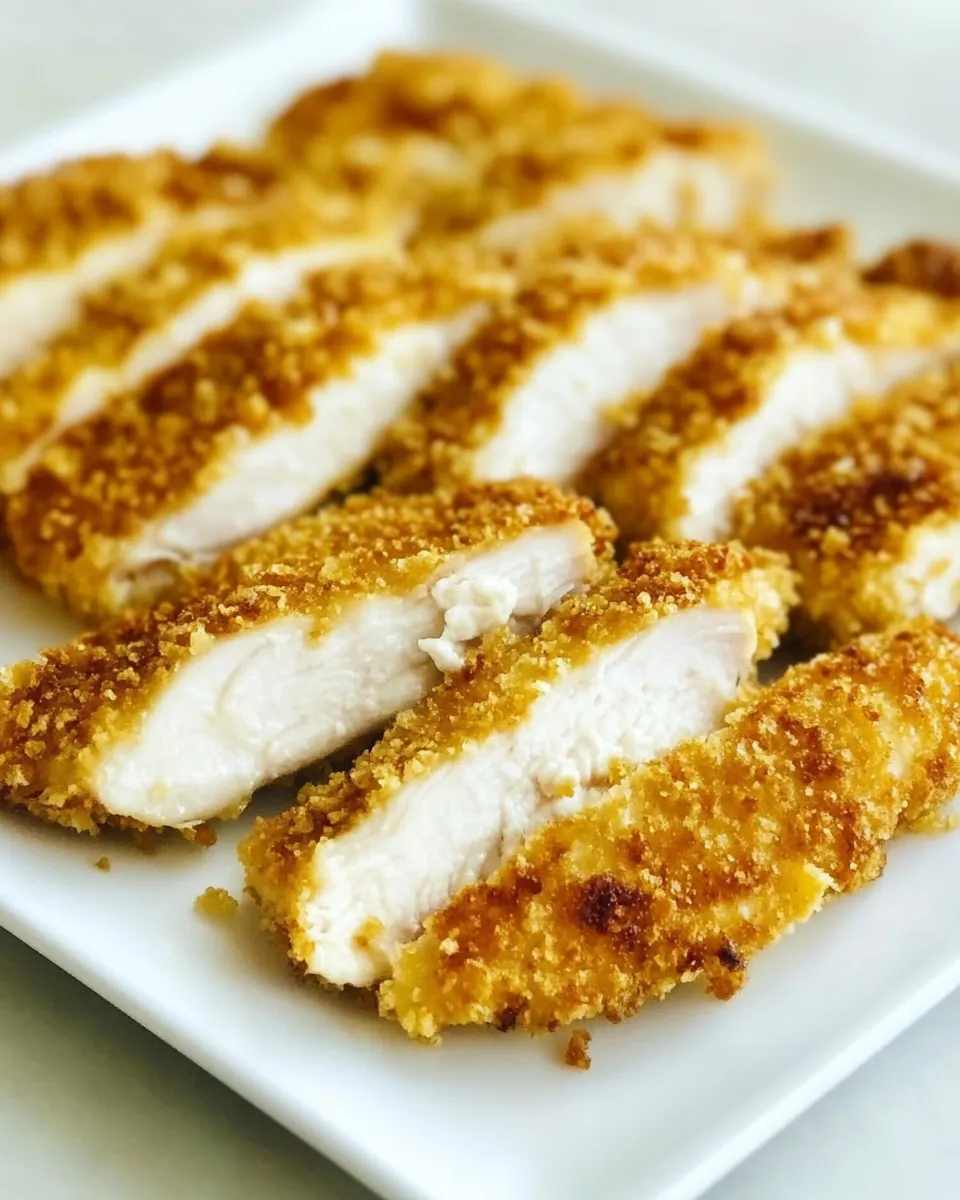
Crispy Oven Baked Chicken Katsu
If you love the satisfying crunch of classic fried cutlets but want something a little lighter and easier to make at home, this Crispy Oven Baked Chicken Katsu is the answer. With a simple pantry- and fridge-friendly ingredient list and a tangy homemade sauce, it’s a weeknight winner. The meat stays juicy, the coating gets wonderfully crisp, and cleanup is a breeze thanks to the oven method and a light mist of avocado oil.
Why you’ll love this recipe
- Quick to prep — just a few minutes to pound and bread the chicken.
- Large crunch factor without deep-frying — the oven creates a golden crust that’s surprisingly close to the original texture.
- Versatile — serve with rice, salad, in a sandwich, or on top of shredded cabbage for a classic presentation.
- Made with clear, straightforward ingredients you likely already have.
Ingredients
- 2 boneless skinless chicken breasts
- 1/2 teaspoon kosher salt
- 1/4 teaspoon ground black pepper
- 1/4 cup all-purpose flour
- 1/4 cup whole-wheat panko breadcrumbs
- 1 egg, large
- 1 tablespoon water
- avocado oil spray
- 1 1/2 tablespoons ketchup
- 2 tablespoons Worcestershire sauce
- 1 tablespoon soy sauce (low sodium is fine)
- 1 tablespoon mirin
- 1 tablespoon granulated sugar
- 1/2 teaspoon Dijon mustard (optional)
Equipment
- Baking sheet with a wire rack (or a parchment-lined baking sheet if you don’t have a rack)
- Meat mallet or heavy skillet for pounding
- Three shallow bowls or plates for the breading station
- Tongs
- Small bowl for the sauce
Prep and timing
- Active time: about 20 minutes
- Cook time: 15–20 minutes
- Serves: 2 as a main course
Flavor notes
The coating uses whole-wheat panko for extra texture and a nuttier flavor profile. The sauce balances sweet, tangy, and savory elements with ketchup, Worcestershire, soy sauce, mirin, and sugar. If you like a touch of heat, a pinch of cayenne or a squirt of sriracha stirred into the sauce works beautifully.
Step-by-step directions
Follow these rewritten, clear steps to make this Crispy Oven Baked Chicken Katsu exactly as written with the same ingredient amounts.
- Preheat your oven to 425°F (220°C). Position a rack in the center. If you have a wire rack, place it on a baking sheet; otherwise line the baking sheet with parchment and you can cook the chicken directly on it.
- Prepare the chicken: Trim any excess fat from the 2 boneless skinless chicken breasts. Place one breast at a time between two sheets of plastic wrap or in a zip-top bag. Use a meat mallet or the flat side of a heavy skillet to gently pound the chicken until it is about 1/2-inch thick and even. Repeat with the second breast.
- Season both sides of the pounded chicken breasts with 1/2 teaspoon kosher salt and 1/4 teaspoon ground black pepper, dividing evenly between the pieces.
- Set up a breading station with three shallow bowls or plates: put 1/4 cup all-purpose flour in the first, whisk together 1 large egg and 1 tablespoon water in the second, and place 1/4 cup whole-wheat panko breadcrumbs in the third.
- One at a time, dredge each seasoned chicken breast in the flour, shaking off any excess so the surface is lightly coated.
- Next, dip the floured breast into the egg mixture, making sure it’s fully coated so the breadcrumbs will adhere.
- Press the egg-coated breast into the whole-wheat panko breadcrumbs so the surface is evenly covered. Gently press the crumbs into the chicken with your hands to help them stick. Repeat the flour-egg-panko process with the second breast.
- Arrange the breaded breasts on the prepared wire rack set over the baking sheet (or directly on the parchment-lined sheet if not using a rack), leaving some space between them so the hot air can circulate and crisp the coating.
- Lightly spray the top of each breaded breast with avocado oil spray. This helps them brown and crisp in the oven without deep-frying.
- Bake in the preheated 425°F (220°C) oven for 15–20 minutes, flipping the breasts once halfway through the cooking time for even crisping. The chicken is done when the crust is golden and the internal temperature reaches 165°F (74°C). If you like extra color, you can broil for 1–2 minutes at the end, watching closely so the crumbs don’t burn.
- While the chicken bakes, make the sauce: In a small bowl combine 1 1/2 tablespoons ketchup, 2 tablespoons Worcestershire sauce, 1 tablespoon soy sauce, 1 tablespoon mirin, 1 tablespoon granulated sugar, and 1/2 teaspoon Dijon mustard (if using). Whisk until fully combined and the sugar dissolves. Taste and adjust balance—add a touch more sugar if you want it sweeter, or a splash more soy if you prefer it saltier.
- When the chicken reaches 165°F (74°C), remove the breasts from the oven and let them rest for 3–5 minutes. Resting keeps the juices locked in and makes slicing neater.
- Slice the rested cutlets into strips against the grain and serve immediately with the sauce on the side for dipping or drizzled on top. Pair with steamed rice, shredded cabbage, a simple green salad, or pickled vegetables for a complete meal.
Tips for success
- Even thickness is key — pounding the breasts to 1/2-inch ensures they cook quickly and evenly without drying out.
- Don’t skip the flour step; it helps the egg adhere evenly so the panko forms a full, crunchy crust.
- Use a wire rack if you have one. Elevation keeps the bottom from getting soggy and allows hot air to crisp the entire surface.
- Watch the cooking time closely. Because breasts are pounded thin, they’ll finish fast. Use an instant-read thermometer to avoid overcooking.
- Feel free to swap or add spices to the panko — a pinch of garlic powder, smoked paprika, or toasted sesame seeds are lovely additions.
Serving suggestions
- Serve the sliced cutlets over steamed white or brown rice with a drizzle of the sauce.
- Make a katsu sandwich: place sliced chicken on soft bread with shredded cabbage and extra sauce for an irresistible lunch.
- For a lighter plate, pair with a crisp green salad or quick cucumber and radish salad tossed with rice vinegar and a pinch of sugar.
Make-ahead and storage
- Cooked chicken katsu is best eaten the same day for maximum crispness. To reheat, place slices on a baking sheet and warm at 375°F (190°C) for 8–10 minutes to revive the crust.
- Store any leftovers in an airtight container in the refrigerator for up to 3 days. Keep sauce separately to prevent the crumbs from softening.
Final notes
This Crispy Oven Baked Chicken Katsu gives you that iconic, craveable texture with minimal fuss. The method is forgiving, the sauce is customizable, and the whole recipe is approachable for cooks of any skill level. Once you try it, you’ll find yourself coming back to this simpler, lighter take on a beloved classic again and again.

Crispy Oven Baked Chicken Katsu
Ingredients
Equipment
Method
- Preheat the oven to 400°F (200°C). Place an oven-safe wire rack on a rimmed baking sheet and set aside; line the sheet with parchment if you prefer not to use a rack.
- Halve each chicken breast lengthwise to make two thin cutlets (about 4 total). If pieces are uneven, gently pound the thicker parts to an even thickness for uniform cooking.
- Season both sides of each chicken piece with the kosher salt and black pepper.
- Place the flour in one shallow dish and the panko in a second shallow dish. In a bowl, whisk the egg with 1 tablespoon water until combined.
- Working one piece at a time, dredge the chicken in flour, shake off excess, dip into the egg wash, then press firmly into the panko so breadcrumbs adhere to both sides.
- Arrange the breaded chicken on the prepared rack or parchment-lined sheet. Lightly spray both sides of each piece with avocado oil spray.
- Bake for 20–25 minutes, flipping once halfway through if not using a rack, until the internal temperature reaches 165°F (74°C) and the crust is golden and crisp.
- Meanwhile, whisk together ketchup, Worcestershire sauce, soy sauce, mirin, granulated sugar, and Dijon mustard (if using) in a small bowl until smooth.
- Serve the chicken katsu hot with the sauce on the side or spooned over the cutlets for serving.
Notes
- Pounding chicken to an even thickness ensures even cooking.
- Use a wire rack for crisper results.
- Check doneness with an instant-read thermometer.
- Mirin adds mild sweetness; omit if unavailable.