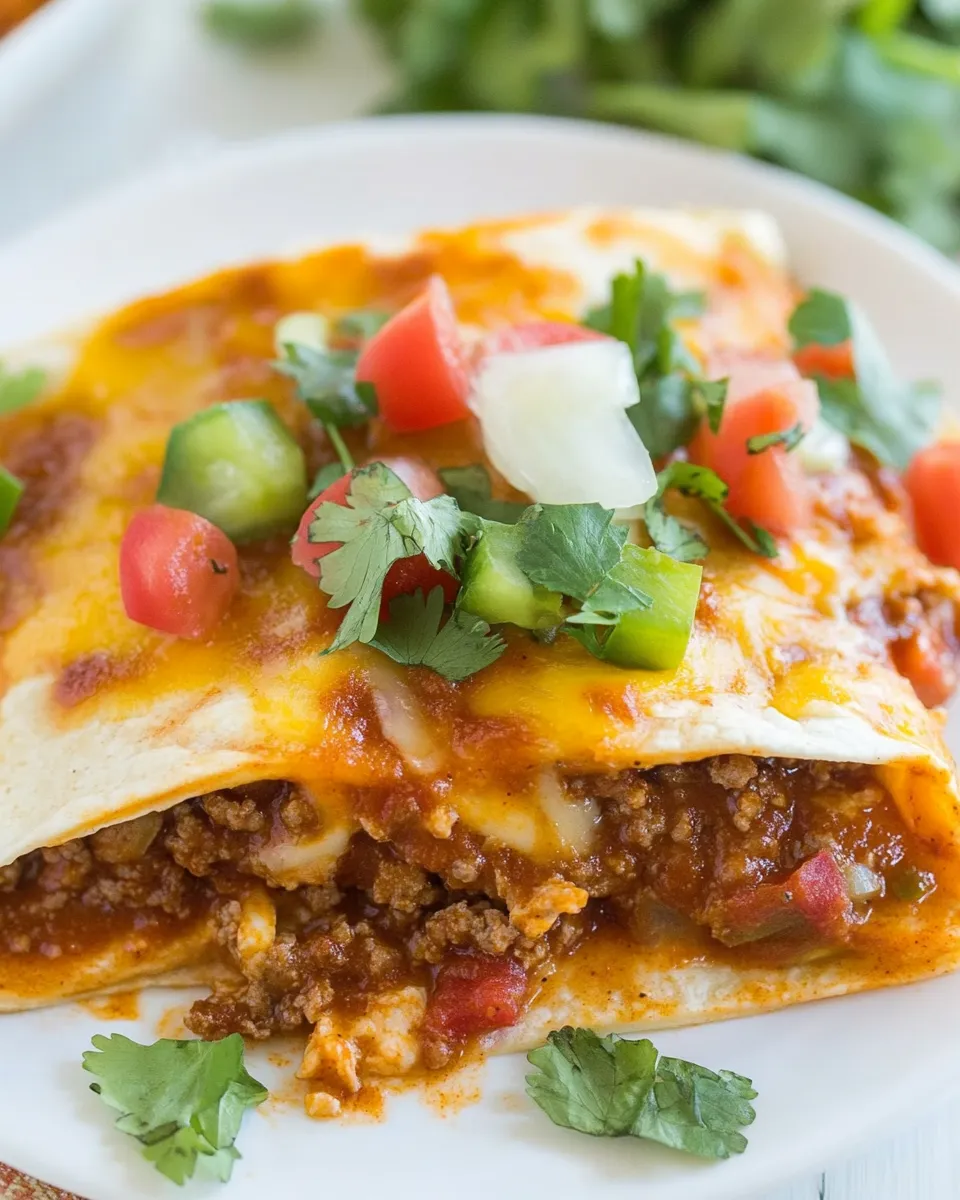
Flat Ground Beef Enchiladas
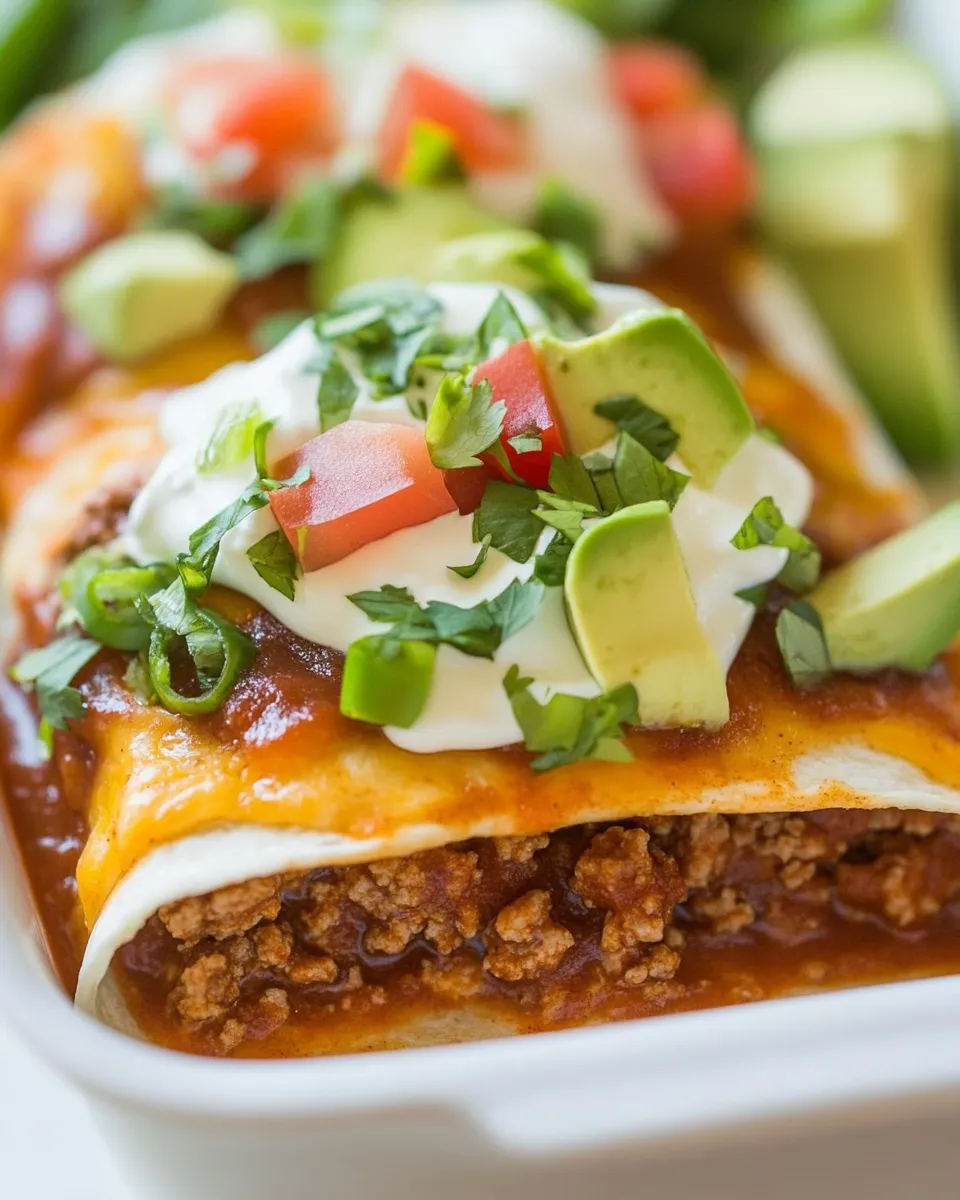
These Flat Ground Beef Enchiladas bring together bold, comforting flavors with a fast, weeknight-friendly assembly. Using 1 1/2 lb. lean ground beef, a quick sauté of onion and garlic, and 2 1/2 cups of bright homemade enchilada sauce, the filling is spooned onto small corn tortillas, stacked flat, and baked until bubbly and golden. Topped with shredded Colby Jack, slices of ripe avocado, diced tomato, cooling sour cream, chopped cilantro, and scattered black olives, this recipe balances savory, tangy, and creamy textures perfectly.
Why you’ll love these enchiladas
The method here keeps the process streamlined: instead of tightly rolling each tortilla, the filling is layered flat for a quicker, fuss-free assembly that still yields a cheesy, saucy casserole everyone will fight over. The ingredients are straightforward and pantry-friendly, and the result feels homemade without a lot of active time. Because the dish uses lean ground beef, you get great meaty flavor without excess grease, and the shredded Colby Jack melts into gooey strings that bind everything together.
Ingredients
- 1 1/2 lb. lean ground beef
- 1/2 large onion, diced
- 3 cloves garlic, minced
- 2 1/2 cups Homemade Enchilada Sauce*
- 12 to 15 small corn tortillas
- 3 tbsp vegetable oil
- 2 cups Colby Jack cheese, shredded
- avocado, sliced
- tomato, diced
- sour cream
- cilantro, chopped
- black olives, sliced
*If you prefer not to make the sauce from scratch, a quality store-bought enchilada sauce that matches these flavors works fine. The recipe below assumes you will use 2 1/2 cups of that sauce.
Equipment
- Large skillet
- Wooden spoon or spatula
- 9×13-inch baking dish (or similar size)
- Small bowl for warming tortillas
- Cheese grater (if shredding your own)
- Aluminum foil
Preparing ahead
You can make the enchilada sauce in advance and refrigerate it for up to 3 days. The ground beef mixture can be cooked and cooled, then stored in the fridge for a day, making dinner assembly nearly instant. For busy nights, warm the tortillas just until pliable and layer directly.
Step-by-step instructions
Follow these steps exactly as written for a reliable, delicious result. The directions are rewritten for clarity and to reflect the ingredient list precisely.
- Preheat the oven to 375°F (190°C). Lightly oil a 9×13-inch baking dish or spray it with nonstick cooking spray and set aside.
- Prepare the tortillas so they are soft and pliable. Wrap the 12 to 15 small corn tortillas in a slightly damp kitchen towel and microwave them for 30 to 45 seconds, or warm them in a dry skillet over medium heat for about 15 to 20 seconds per side. Keep them covered so they stay warm while you assemble.
- Heat a large skillet over medium-high heat. Add 3 tbsp vegetable oil and swirl to coat the bottom of the pan.
- Add the 1/2 large diced onion to the hot oil. Sauté, stirring occasionally, until the onion begins to soften and turn translucent, about 3 to 4 minutes.
- Add 3 cloves garlic, minced, to the skillet with the onion. Stir and cook for 30 seconds to 1 minute, until fragrant but not browned.
- Add 1 1/2 lb. lean ground beef to the skillet. Use a wooden spoon or spatula to break the meat into small pieces. Cook, stirring and breaking apart as needed, until the beef is no longer pink and is evenly browned, about 6 to 8 minutes. If any excess liquid accumulates, continue cooking until it mostly evaporates.
- Pour 2 1/2 cups Homemade Enchilada Sauce into the skillet over the cooked beef. Stir to combine, ensuring the beef and onions are evenly coated in the sauce. Simmer the mixture for 2 to 3 minutes so flavors meld and the filling is heated through. Remove the skillet from heat.
- Assemble the enchiladas in the prepared baking dish. Spread about 1/2 cup of the enchilada sauce across the bottom of the dish to prevent sticking and to create a saucy base.
- Working one tortilla at a time, place a warmed small corn tortilla flat in the dish. Spoon a generous 2 to 3 tablespoons of the beef and sauce mixture down the center of the tortilla. Sprinkle a small handful of shredded Colby Jack (about 2 tablespoons) over the meat if you like extra cheese inside.
- Instead of rolling, lay the filled tortilla flat in a single layer. Continue with the remaining tortillas, arranging them flat in the dish in rows. You should fit 12 to 15 small corn tortillas in layers; overlap slightly if needed to create an even casserole surface. Reserve any leftover filling for topping between layers or to spoon over the top.
- Once all the tortillas are arranged flat, pour the remaining enchilada sauce evenly over the top of the tortillas. Use the back of a spoon to spread the sauce so it seeps into the edges and covers the surface fully.
- Sprinkle 2 cups Colby Jack cheese, shredded, evenly over the sauced tortilla surface. Make sure the cheese covers the dish so it melts into a uniform topping.
- Cover the baking dish loosely with aluminum foil. Bake in the preheated 375°F oven for 15 minutes to allow the filling to heat through and the flavors to marry.
- After 15 minutes, remove the foil and continue baking uncovered for an additional 8 to 10 minutes, or until the cheese is melted, bubbly, and beginning to brown in spots.
- Remove the baking dish from the oven and let it rest for 5 minutes. This short rest helps the casserole set, making it easier to serve neat portions.
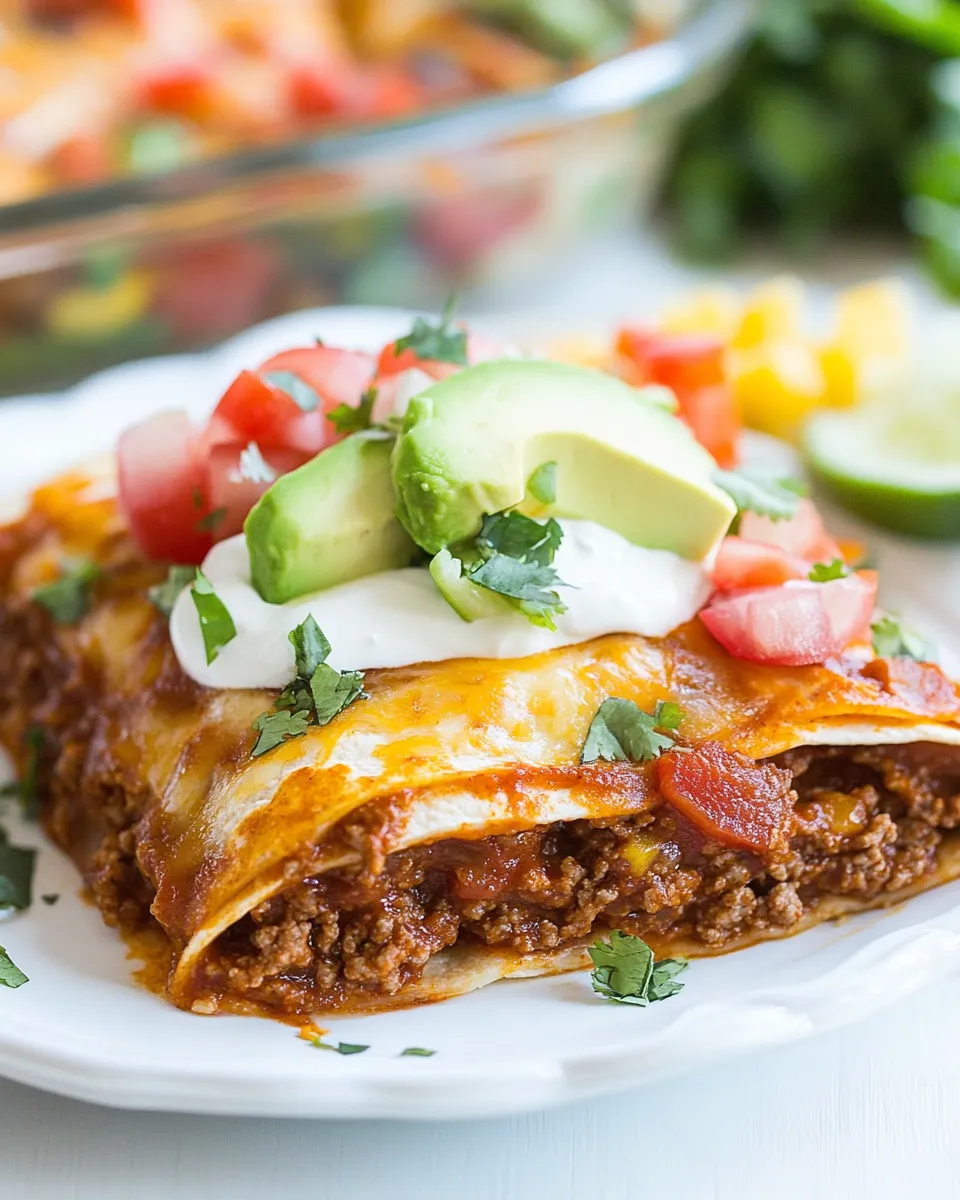
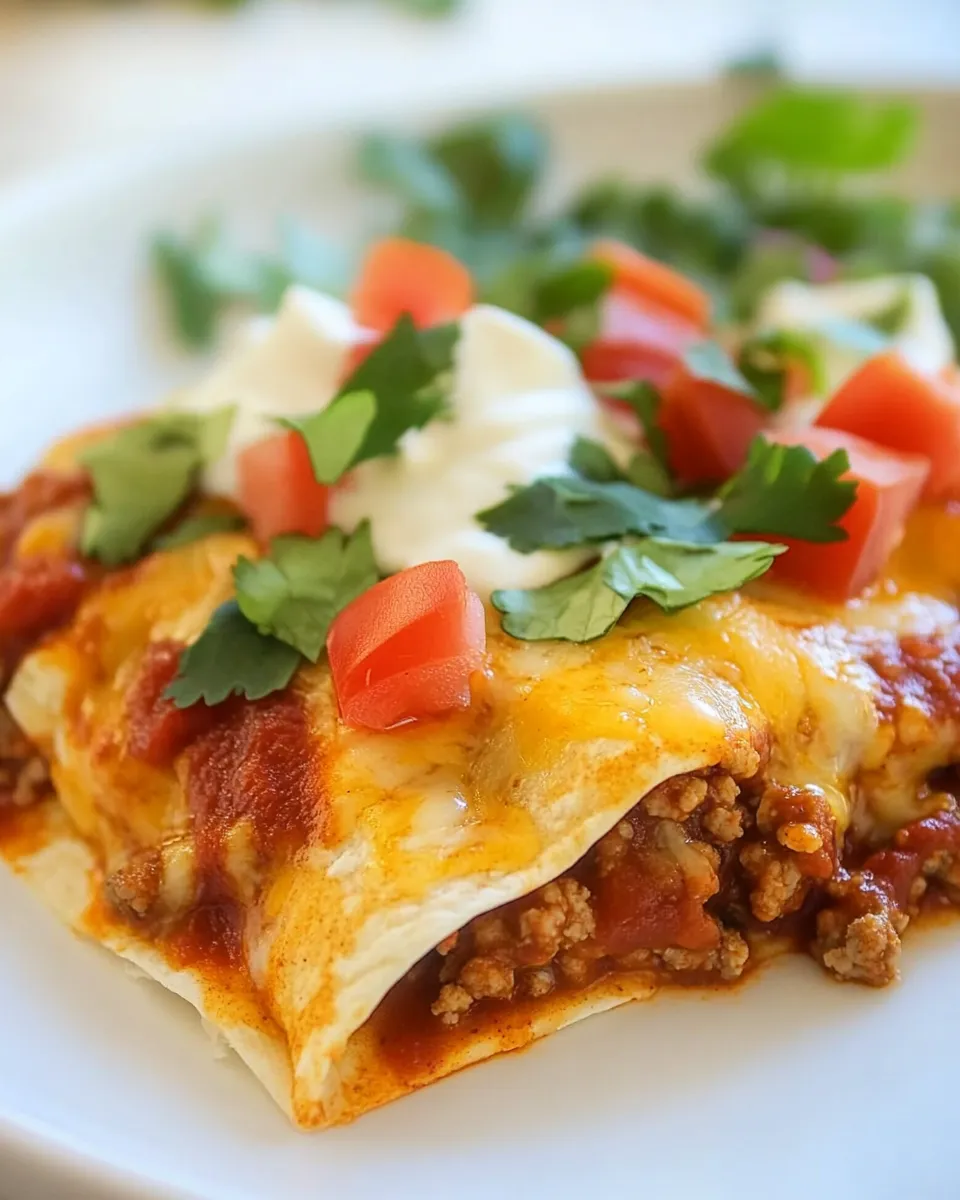
- Top the enchiladas before serving: arrange sliced avocado, diced tomato, dollops of sour cream, chopped cilantro, and sliced black olives over the baked dish. Serve hot, scooping generous portions so each plate gets a mix of beef, sauce, melted cheese, and fresh toppings.
Tips for success
- If your tortillas dry out while warming, wrap them in a damp towel until ready to use. Soft tortillas fold more easily and absorb sauce better.
- Use lean ground beef as stated; it gives meaty flavor without excess oil. If you choose a fattier blend, drain any excess fat before adding the sauce.
- For a spicier edge, add a pinch of chili powder or a few dashes of hot sauce to the beef mixture while it simmers in the enchilada sauce.
- To keep the dish vegetarian-friendly, substitute the ground beef with a plant-based ground crumble that behaves similarly when cooked, and follow the same steps.
- Leftovers keep well in the refrigerator, covered, for up to 3 days. Reheat in the oven at 350°F until warmed through to retain the best texture.
Serving suggestions
These Flat Ground Beef Enchiladas are satisfying on their own, but a few sides elevate the meal beautifully. Try a crisp green salad with lime vinaigrette, a scoop of cilantro-lime rice, or warmed refried beans. For a crowd, set out extra sour cream and sliced jalapeños so guests can customize their plates.
Nutritional notes
Using lean ground beef keeps this dish protein-packed and relatively lower in fat than some traditional versions. Corn tortillas offer a slightly lighter base than flour tortillas. Adding fresh toppings like avocado and tomato contributes beneficial fats, fiber, and vitamins, rounding this comfort meal into something both indulgent and balanced.
Make it your own
The beauty of this recipe is how forgiving it is. Swap Colby Jack for Monterey Jack, cheddar, or a Mexican blend if you prefer. Add sautéed bell peppers with the onion for extra color and sweetness. For a smoky element, stir in a spoonful of chipotle in adobo to the enchilada sauce. However you tweak it, the flat layering technique keeps dinner simple and satisfying every time.
Final notes
These Flat Ground Beef Enchiladas are designed for flavor, ease, and family-friendly appeal. From the aromatic sauté of onion and garlic through the saucy, cheesy bake, each step focuses on straightforward techniques and bold results. Make a pan for a weeknight dinner and enjoy the leftovers that taste even better the next day.
Flat Ground Beef Enchiladas
Ingredients
Equipment
Method
- Heat a large skillet over medium-high heat. Add the ground beef, diced onion, and minced garlic; cook, breaking up the meat with a wooden spoon, until the beef is no longer pink.
- Drain any excess fat from the skillet, return the pan to the stove, pour in the enchilada sauce, stir to combine, and simmer about 10 minutes.
- While the beef simmers, heat a second skillet over medium-high heat and add the vegetable oil.
- When the oil is hot, fry the corn tortillas one at a time (or a few if the pan fits without overlapping) about 1 minute per side until lightly golden; transfer to a paper towel–lined plate to drain.
- Assemble each flat enchilada by scooping some of the meat mixture onto a fried tortilla, sprinkling with shredded Colby Jack cheese, and adding desired toppings such as sliced avocado, diced tomato, sour cream, cilantro, and sliced black olives.
- Serve immediately while warm.
Notes
- If using canned enchilada sauce, add 1 tbsp chili powder when adding the sauce to the beef.
- If using canned sauce, add 1 tsp ground cumin when adding the sauce to the beef.
- If using canned sauce, add 1 tsp garlic salt when adding the sauce to the beef.