Foolproof Hard-Boiled Eggs
There’s something quietly satisfying about cracking open a perfectly cooked egg: a bright, glossy yolk that’s tender but not chalky, and a white that slips cleanly from the shell. If you’ve ever wrestled with rubbery yolks, stubborn shells, or eggs that peel like a sad sticker, you’re not alone. After testing a few approaches and leaning on simple science, this Foolproof Hard-Boiled Eggs method delivers consistently great results—especially when you use eggs that are at least a week old. The little step of adding ½ teaspoon baking soda to the cooking water helps the shells release with minimal fuss, and the rest is easy rhythm: a gentle boil, a quick ice bath, and patient peeling. Read on for why this works, useful tips, and a clear, step-by-step recipe you can rely on every time.
Why this method works
Eggs that are a week or more old peel more easily than very fresh eggs, because over time the egg white loses a small amount of moisture and the pH of the egg changes slightly. That shift means the membrane that clings to the shell is less tenacious. Adding ½ teaspoon baking soda to the cooking water raises the pH of the water a touch as well, helping the white contract away from the inner shell and making peeling far simpler. Combined with an immediate ice bath, which stops the cooking and firms the white, this approach makes peeling almost painless and consistently produces a tender, fully set yolk—no green rings, no chalkiness.
What you’ll need
- Eggs (preferably over a week old) — as many as you’d like to cook
- ½ teaspoon baking soda
- Cold water — enough to cover the eggs in the pot and to fill an ice bath
- Ice — for the ice bath
- A medium to large saucepan with a lid
- A slotted spoon or tongs
- A bowl for the ice bath
Simple tips before you start
- Use eggs that have been refrigerated for at least a week. Older eggs peel more easily than very fresh ones.
- Arrange eggs in a single layer in the pot so they cook evenly. Crowding can lead to cracked shells.
- Add the baking soda to the cooking water before heating—this helps raise the pH and improves peeling.
- An ice bath is non-negotiable. It halts the cooking instantly so the yolks stay tender and the whites firm.
- When peeling, start at the wider end where the air pocket usually sits; it gives you an easy edge to lift.
Foolproof Hard-Boiled Eggs — Step-by-step recipe
Yield: As many eggs as you place in the pot. Time: About 20–30 minutes total depending on the number of eggs and cooling time.
Ingredients
- Eggs (preferably over a week old) — as many as you’d like to cook
- ½ teaspoon baking soda
- Cold water — enough to cover the eggs in the pot
- Ice — for the ice bath
Directions
- Place the eggs in a single layer in a medium to large saucepan. Do not stack the eggs; they should sit comfortably without pressing into each other.
- Add cold water to the pot until the eggs are covered by about 1 inch (2.5 cm) of water. This ensures even cooking and prevents the eggs from jostling too much.
- Sprinkle ½ teaspoon baking soda into the water, distributing it evenly around the eggs. The baking soda will dissolve and slightly raise the water’s pH to aid in peeling.
- Put the pot over medium-high heat and bring the water to a rolling boil. Keep an eye on the pot so it doesn’t boil over; reduce the heat slightly if needed to maintain a steady boil.
- Once the water reaches a full rolling boil, cover the pot with a lid and immediately remove it from the heat. Leaving the pan off the burner traps heat and finishes cooking the eggs gently without overcoagulating the yolk.
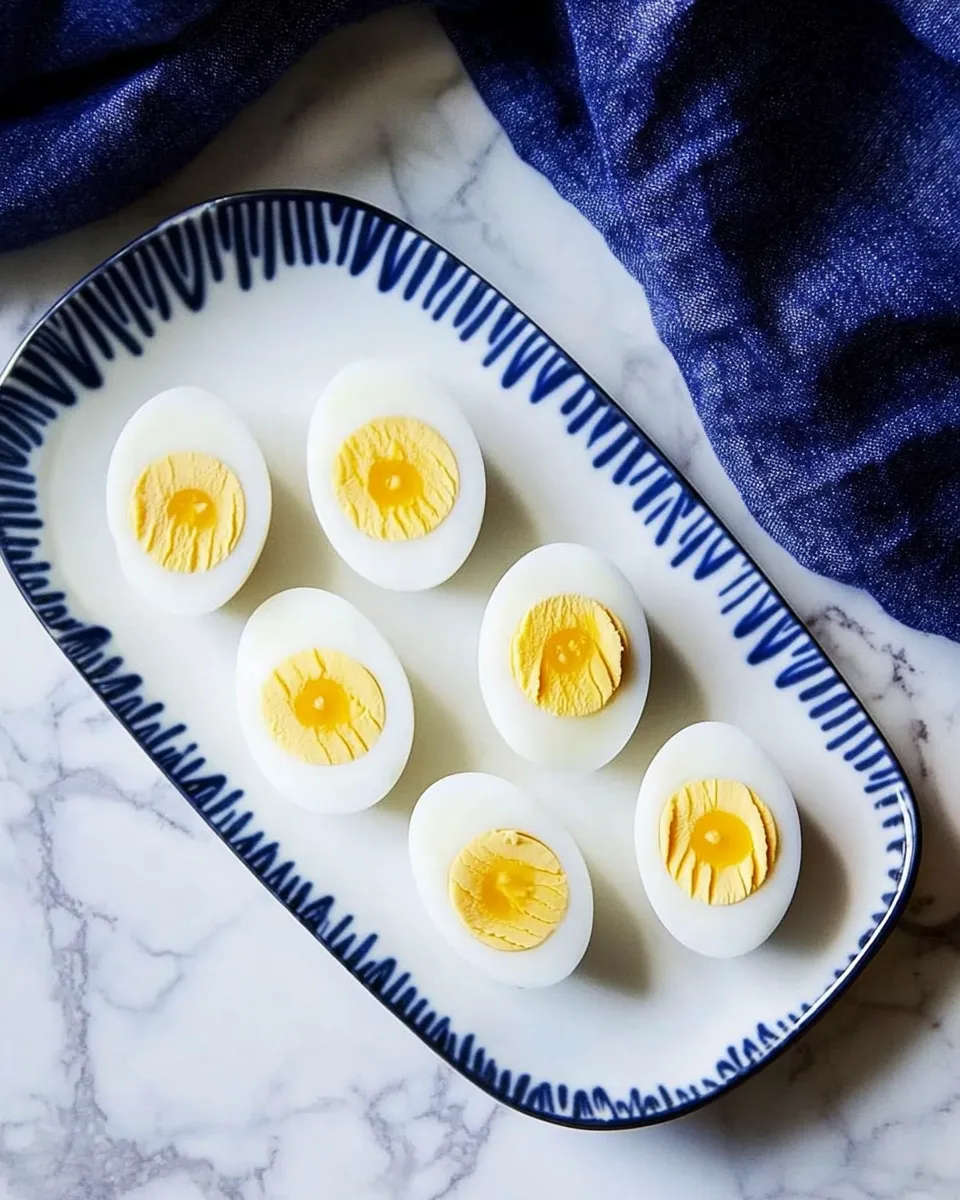
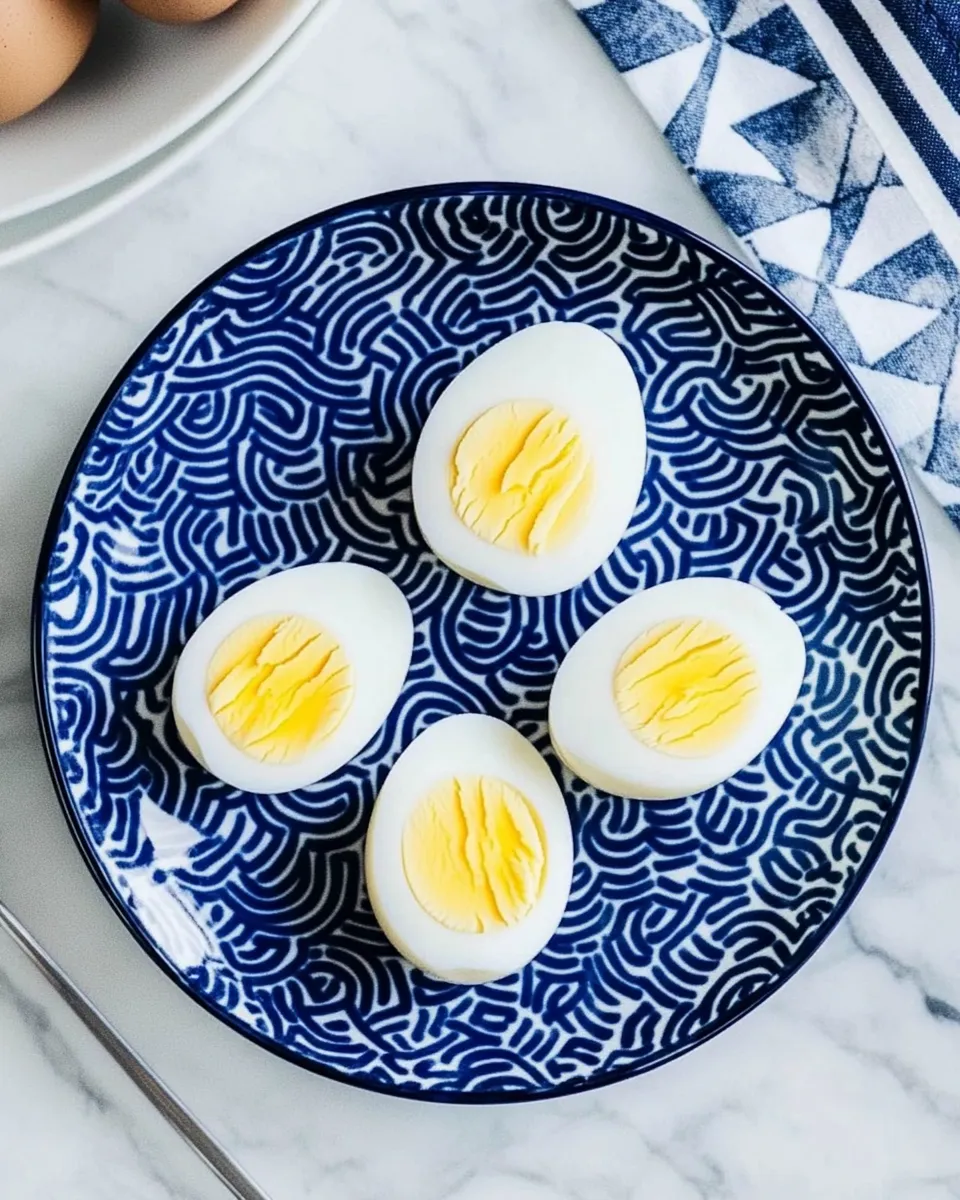
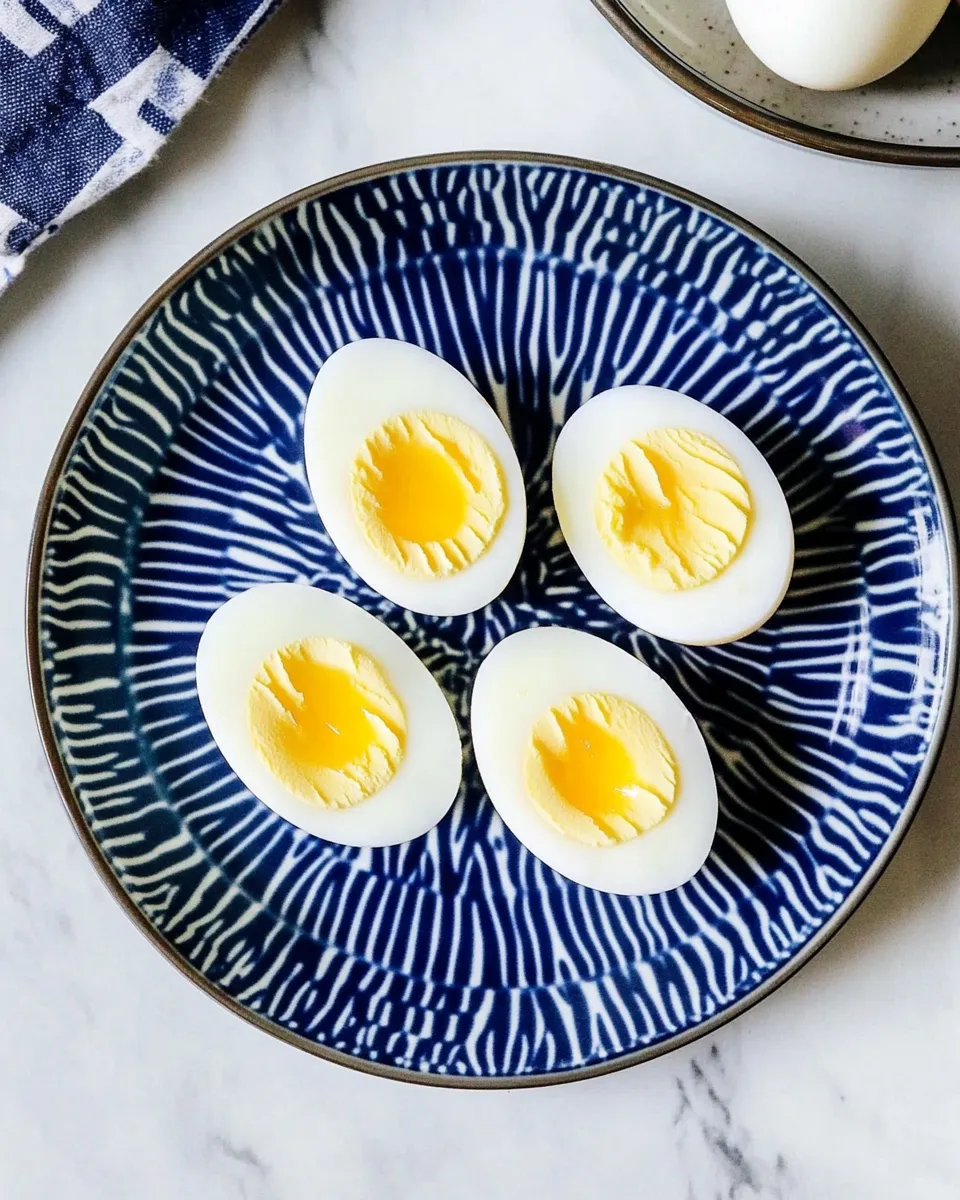
- Let the eggs sit in the hot water, covered, for 10–12 minutes. Ten minutes yields a firm white and a creamy, fully set yolk; twelve minutes gives a slightly firmer yolk without any green or dry texture. Choose the time that matches your preferred yolk consistency.
- While the eggs are resting, prepare an ice bath: fill a large bowl with cold water and add plenty of ice. The ice bath should be ready before you transfer the eggs so they cool immediately.
- Using a slotted spoon or tongs, transfer the eggs from the hot water to the ice bath. Submerge them fully and let them chill for at least 5–10 minutes. This stops the cooking instantly and helps the egg white contract slightly away from the shell for easier peeling.
- When the eggs are fully cooled, gently tap each egg on a hard surface to crack the shell all over, then roll it lightly to loosen the shell. Start peeling at the wider end where the air pocket is typically located; this gives you a helpful edge to begin removing the shell.
- If you run into stubborn bits of shell, peel the egg under cool running water or peel it while holding it in the water to help wash away tiny fragments and slide the shell off more cleanly.
- Store any unpeeled eggs in the refrigerator in a covered container for up to one week. Peeled eggs will keep for about five days when stored in a covered container with a damp paper towel to keep them from drying out.
Serving ideas and uses
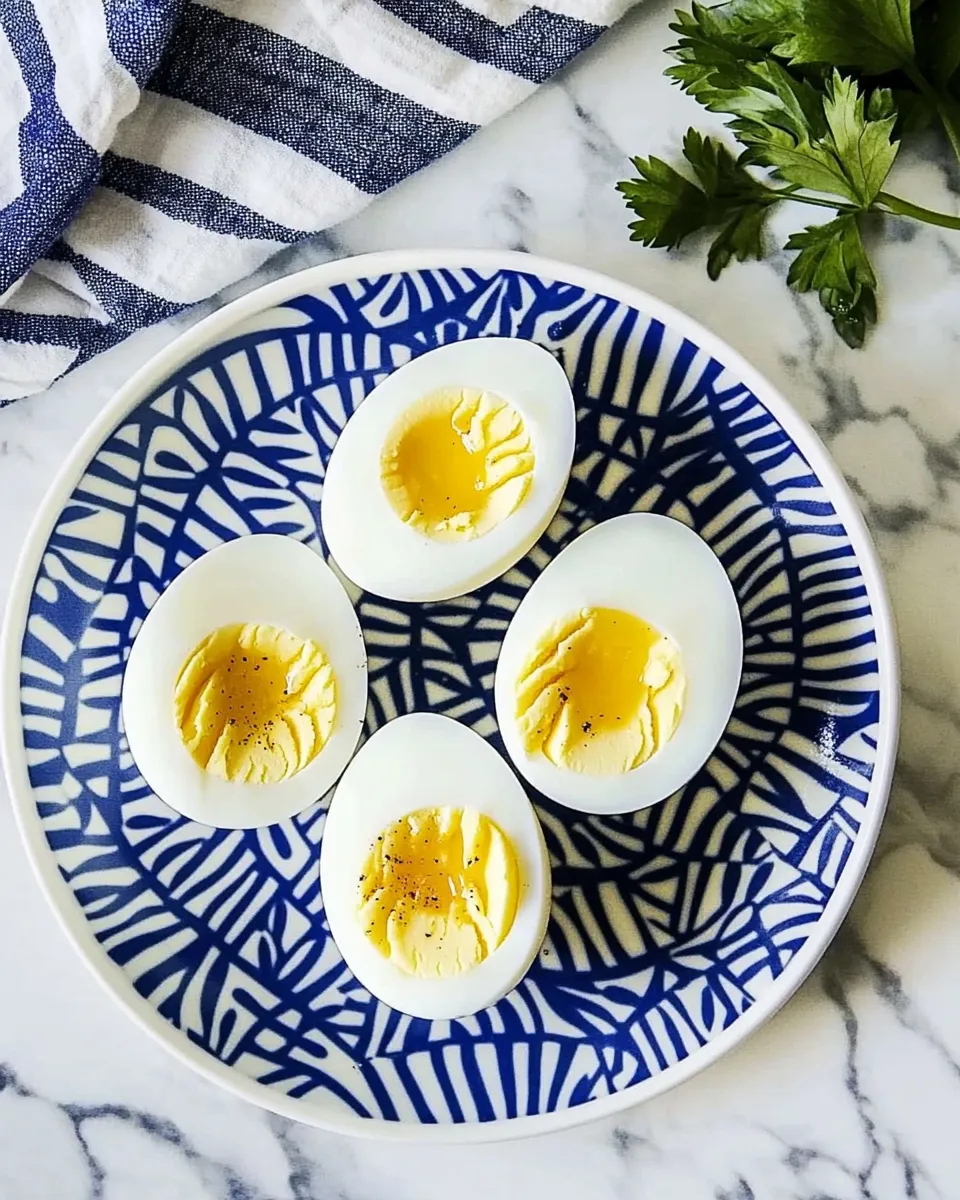
Once you’ve mastered this Foolproof Hard-Boiled Eggs technique, they’re a versatile building block for many meals and snacks. Try them halved with a sprinkle of flaky salt and freshly cracked pepper; slice one over a salad for protein and richness; mash with a little yogurt and mustard for a lighter egg salad; or chop and add to grain bowls and sandwiches. They’re also perfect for meal prep—make a batch on Sunday and use them all week for breakfasts, lunches, or quick snacks.
Troubleshooting
- Green yolk edges: This occurs when eggs are overcooked or held in hot water for too long. Stick to the 10–12 minute range and use the ice bath immediately to prevent this.
- Shells that won’t peel: Make sure you used eggs that are at least a week old and that you added ½ teaspoon baking soda to the boiling water. Start peeling at the wider end and try peeling under cool running water if pieces cling stubbornly.
- Rubbery yolks: That’s a sign of overcooking. Reduce the sitting time in the covered pot by one or two minutes on your next batch.
- Cracked shells after heating: Lay eggs in the pot gently and avoid high, aggressive heat at the start. Bringing water up to a boil over medium-high heat helps prevent violent collisions and cracking.
Why older eggs are better for boiling
Very fresh eggs can be tricky because the inner membrane tightens to the shell, making peeling a chore. As eggs age, carbon dioxide slowly escapes through the shell, raising the pH inside the egg and making the inner membrane less sticky. That natural change, combined with the small pH boost from adding ½ teaspoon baking soda to the cooking water, makes for eggs that peel cleanly and look pretty on the plate.
Make-ahead and storage
Hard-boiled eggs are a true meal-prep hero. Cook a large batch and use them throughout the week for quick breakfasts, protein-rich snacks, or salad toppers. Store unpeeled eggs in a covered container in the refrigerator for up to one week. If you peel them in advance, keep them in a container with a damp paper towel to prevent drying and use within five days.
Wrapping up
Perfect hard-boiled eggs are such a small, satisfying win in the kitchen. With a few thoughtful steps—using eggs that are at least a week old, adding ½ teaspoon baking soda to the cooking water, timing the cook carefully, and plunging the eggs into an ice bath—you’ll get consistent, easy-to-peel eggs every time. This Foolproof Hard-Boiled Eggs method is simple, fast, and dependable. Keep it in your back pocket for breakfast prep, salad assembly, or whenever you want a dependable batch of perfectly cooked eggs.
Now that you have the technique, make a double batch and stash them in the fridge. You’ll find so many little ways to enjoy them, and the peeling will feel almost effortless. Happy cooking!
Foolproof Hard-Boiled Eggs
Ingredients
Equipment
Method
- Sterilize a pin and, while the eggs are still in the carton, pierce the flatter (bottom) end of each egg just through the shell; do not puncture into the interior.
- Place the pierced eggs in a single layer in the bottom of a medium saucepan and evenly sprinkle with 1/2 teaspoon baking soda.
- Cover the eggs with cold water by about 1 inch and insert the tip of a probe thermometer into the water.
- Heat over medium-high until the thermometer alarm reaches 209°F (just before boiling). When the water reaches that temperature, let it boil for 1 minute.
- Immediately remove the saucepan from the heat, cover, and let the eggs sit undisturbed for 8–10 minutes, depending on desired yolk firmness.
- While the eggs rest, prepare an ice bath in a medium bowl (ice and cold water).
- Use a slotted spoon to transfer the eggs to the ice bath and let them sit for 5 minutes.
- Peel each egg under cold running water, return peeled eggs to the ice bath, and discard shells. Keep eggs in the ice bath until completely chilled.
- Store chilled eggs in an airtight container in the refrigerator.
Notes
- Older eggs peel more easily than very fresh eggs.
- Piercing the flatter end helps prevent cracking during cooking.
- Baking soda raises pH and aids peeling.
- Use an ice bath to stop cooking and firm the whites.