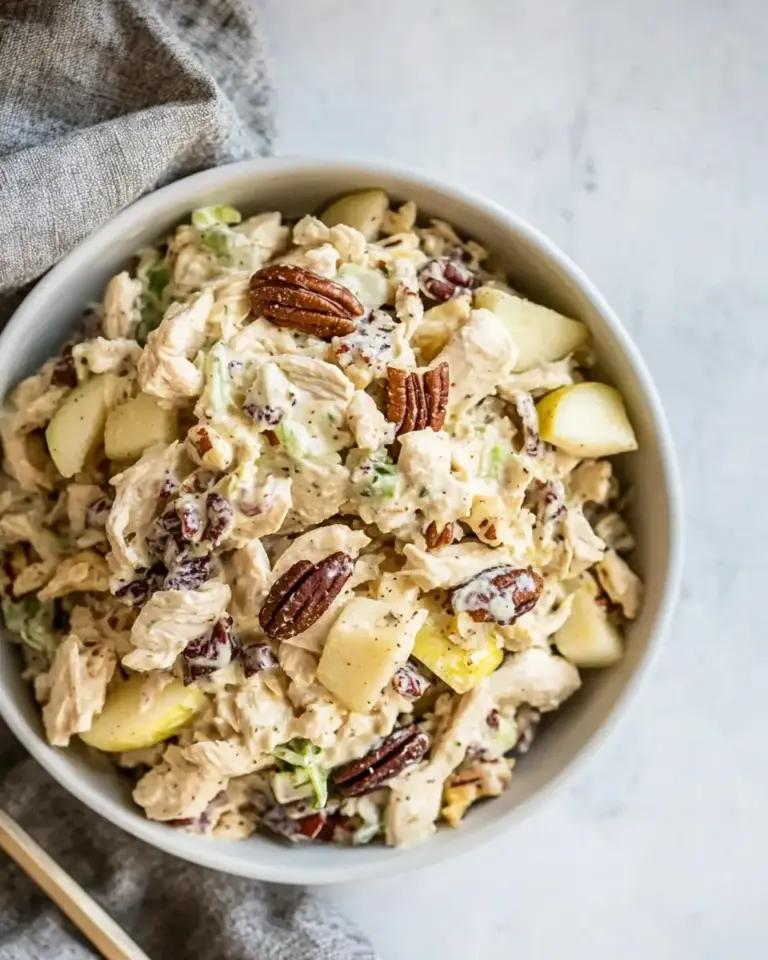
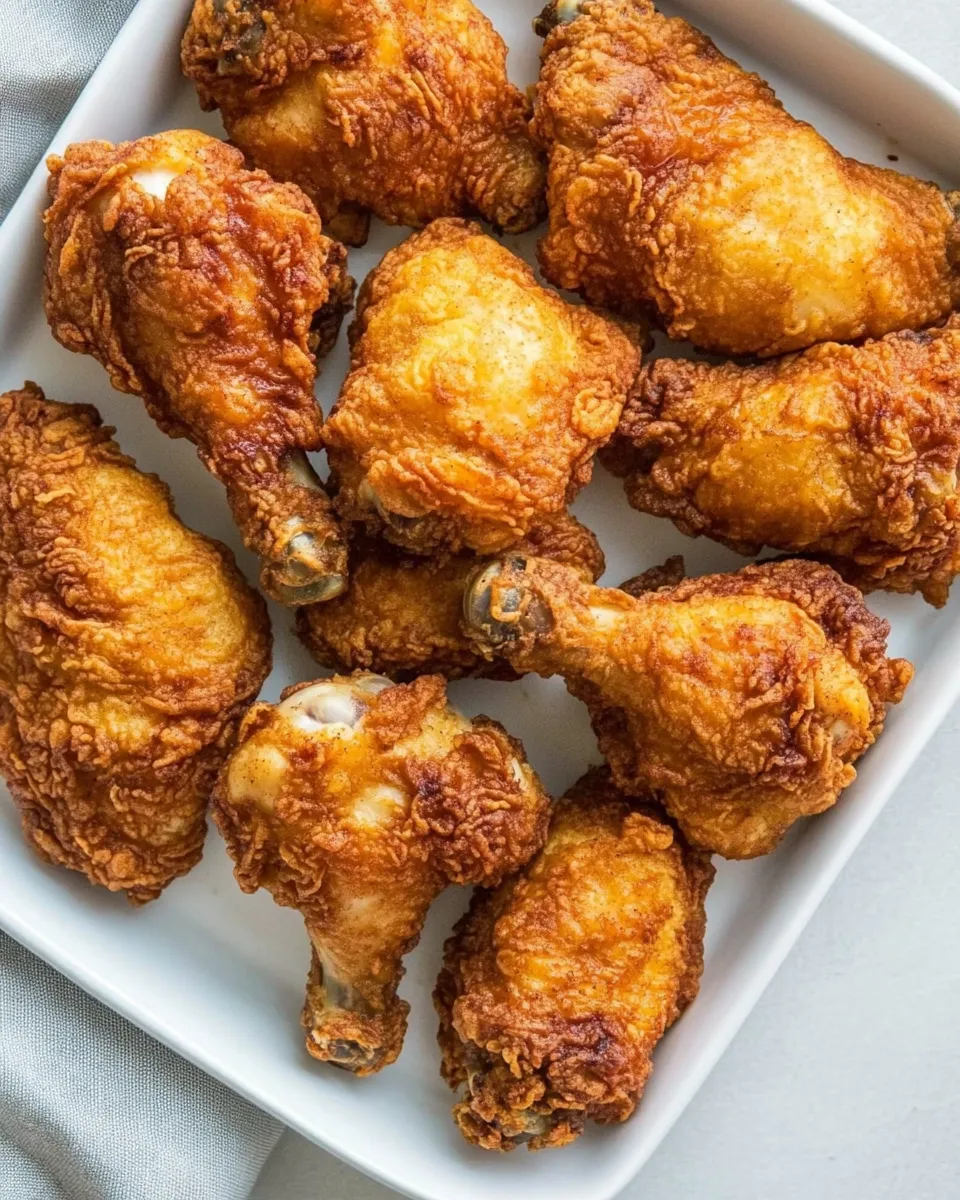
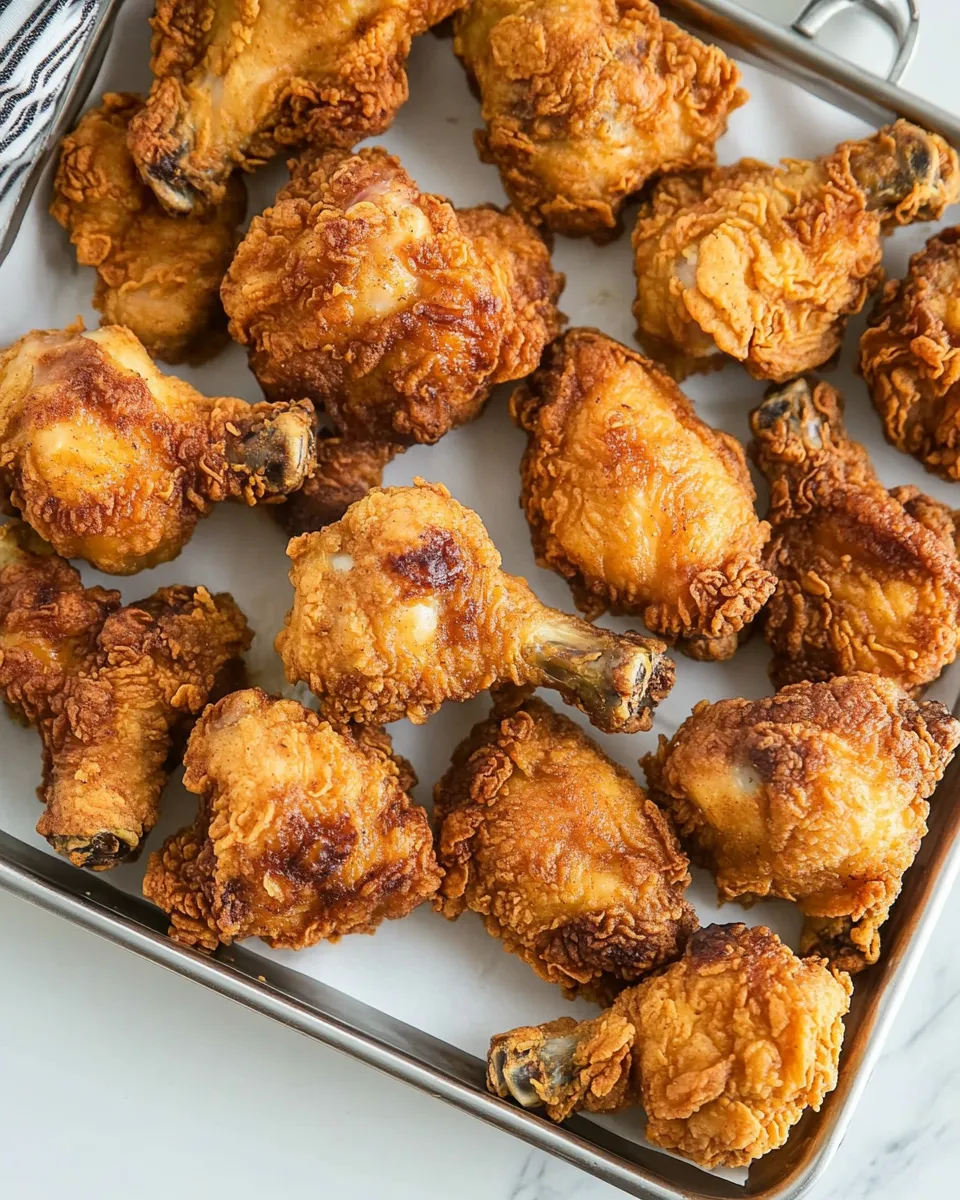
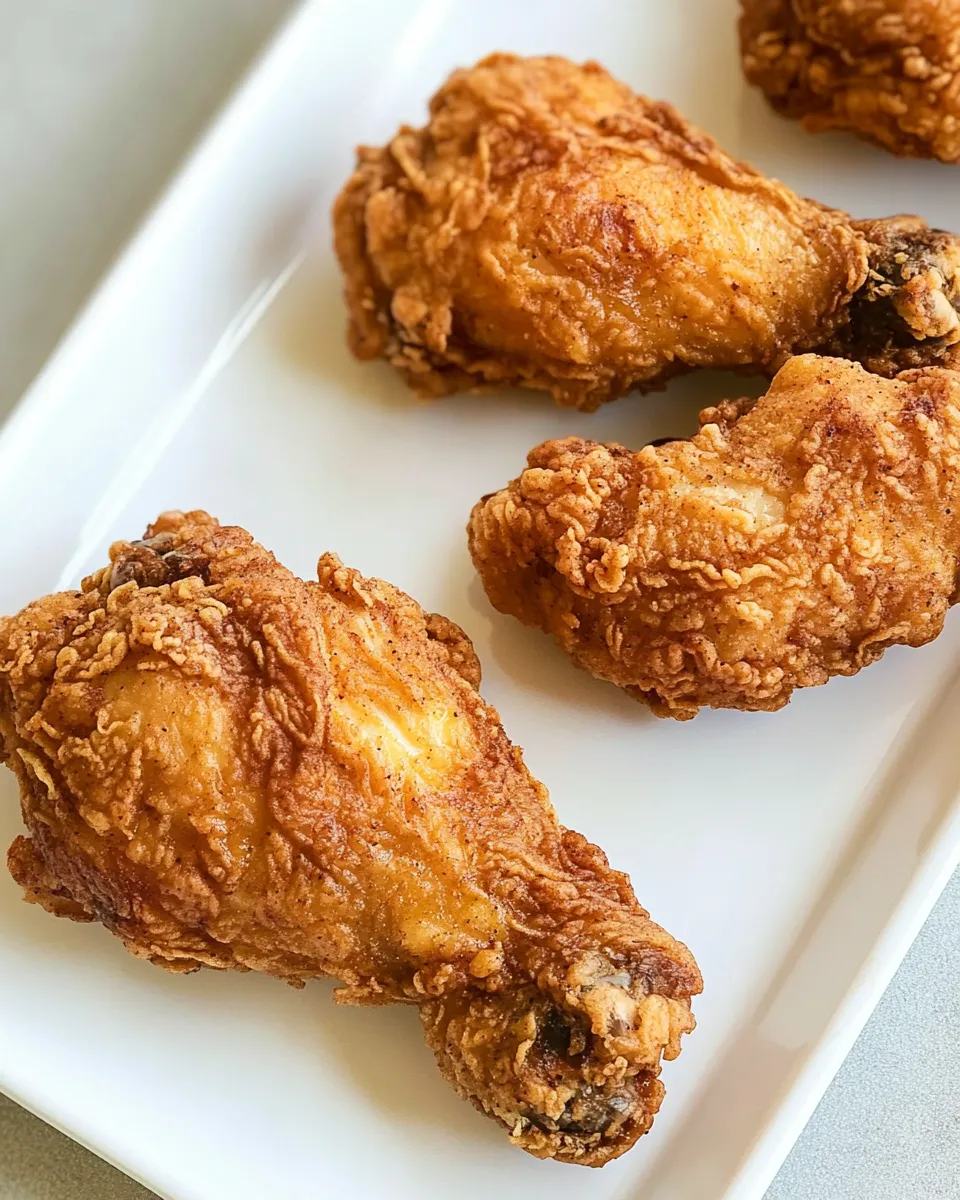
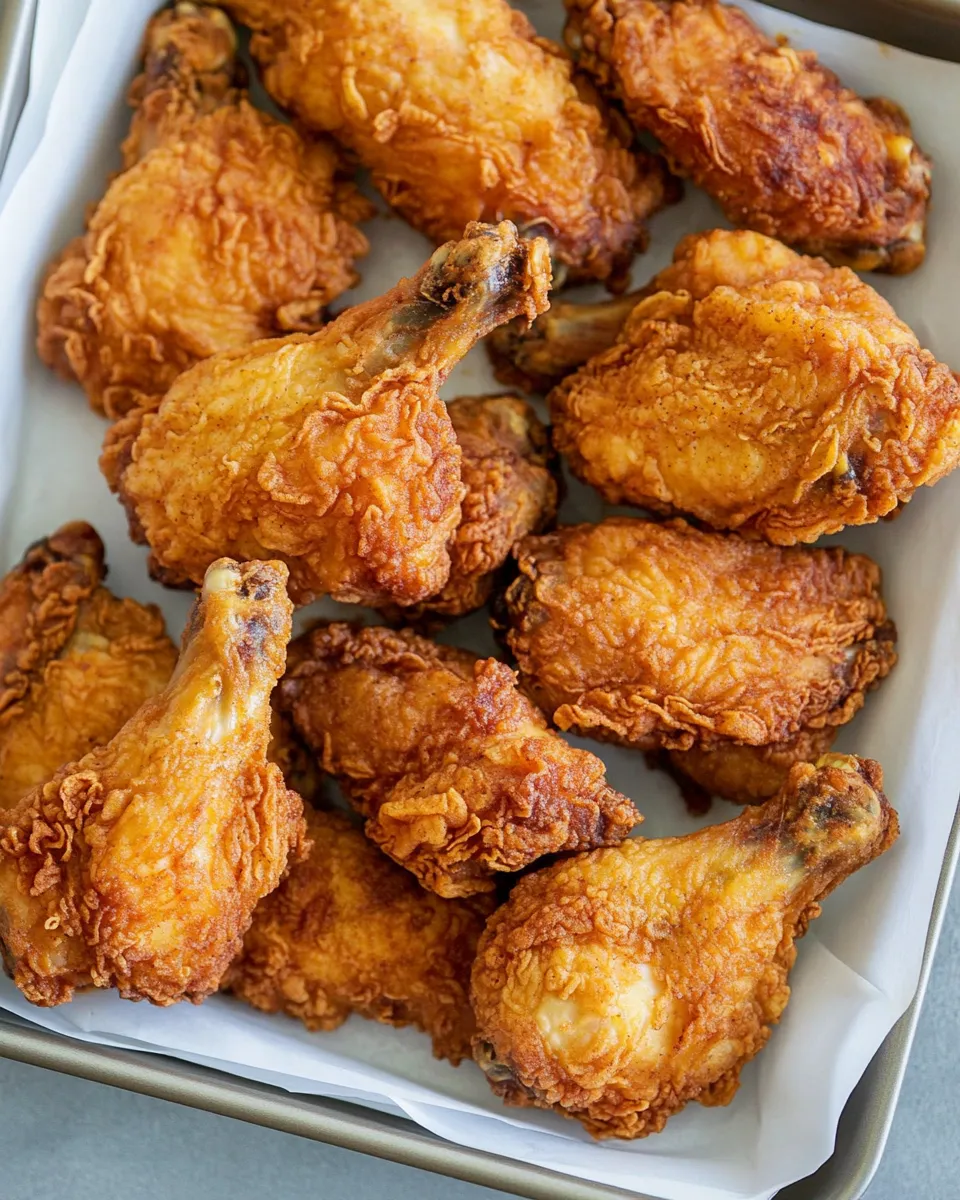
Fried Chicken Recipe
There’s something deeply comforting about a perfectly crisp exterior that gives way to tender, juicy meat. This Fried Chicken Recipe is built on classic techniques: an acidic buttermilk brine that tenderizes, a spiced flour dredge that crisps up beautifully, and a careful frying method that delivers even color and crunch. The quantities here suit a hearty crowd—4 pounds of whole chicken cut into pieces—and the flavors are straightforward but satisfying. Read through the tips and step-by-step directions so you’ll feel confident the first time you try it.
Why this Fried Chicken Recipe works
Two short baths—one in a tangy buttermilk and pickle juice soak and the other in a seasoned flour—are the backbone of this Fried Chicken Recipe. The buttermilk and pickle juice mix mildly tenderizes the chicken and infuses flavor all the way through, while the flour mixture creates a sturdy, seasoned crust that stays crisp. A touch of hot sauce in the marinade adds subtle heat, and smoked paprika lends a warm, slightly smoky depth. Simple seasoning keeps the focus on the contrast of the crunch and the juicy interior.
Ingredients
- 4 lbs whole chicken, cut into pieces
- vegetable oil for frying
- 2 cups buttermilk
- 2 cups pickle juice
- 1/4 cup hot sauce (optional)
- 2 cups all-purpose flour
- 1 tablespoon salt
- 1 teaspoon ground black pepper
- 1 tablespoon smoked paprika
- 1 tablespoon garlic powder
Equipment
- Large bowl or container for brining
- Large shallow dish or rimmed baking sheet for dredging
- Heavy-bottomed skillet, Dutch oven, or deep fryer
- Instant-read thermometer
- Wire rack set over a baking sheet
- Tongs and slotted spoon or spider for removing chicken
- Kitchen paper towels
Prep and timing
Plan ahead: the chicken benefits from at least 2 hours in the buttermilk–pickle juice soak, though an overnight soak in the refrigerator yields the most tender result. Active hands-on time is roughly 45–60 minutes, plus frying and a brief resting time. This Fried Chicken Recipe makes enough to serve 4–6 people, depending on appetite and sides.
Flavor notes and substitutions
- If you prefer no heat, omit the hot sauce entirely. It’s optional and only adds a background warmth.
- Smoked paprika gives a subtle smokiness—if you don’t have it, use regular paprika, but the final flavor will be slightly less smoky.
- Chicken pieces with skin on will give you the crispiest result; bone-in pieces hold moisture best during frying.
Step-by-step directions
Follow these clear, ordered steps to make the Fried Chicken Recipe. The directions maintain the original sequence but are rewritten for clarity and safety.
-
Prepare the chicken and brine.
Pat the 4 lbs of chicken pieces dry with paper towels. Place the chicken in a large bowl or container. In a separate bowl, whisk together 2 cups buttermilk, 2 cups pickle juice, and 1/4 cup hot sauce if using. Pour this liquid over the chicken, ensuring each piece is submerged or well coated. Cover the container and refrigerate for at least 2 hours, or up to overnight. This step tenderizes the meat and seasons it throughout.
-
Make the seasoned flour.
In a large shallow dish or rimmed baking sheet, combine 2 cups all-purpose flour, 1 tablespoon salt, 1 teaspoon ground black pepper, 1 tablespoon smoked paprika, and 1 tablespoon garlic powder. Whisk or stir the dry ingredients together until evenly distributed. This seasoned flour will form the crisp crust on your Fried Chicken Recipe.
-
Set up a dredging and resting station.
Remove the chicken from the refrigerator. Working one or two pieces at a time, lift the chicken from the brine and let excess liquid drip back into the bowl. Place the chicken into the seasoned flour and press each piece into the flour to coat thoroughly, shaking off any loose excess. Set the dredged pieces on a wire rack set over a baking sheet. Allow the coated chicken to rest for 10–15 minutes; this rest helps the coating adhere and promotes an even crust during frying.
-
Heat the oil.
Pour vegetable oil into a heavy-bottomed skillet or Dutch oven to a depth of about 1 to 1 1/2 inches. Heat the oil over medium-high heat until it reaches 325–350°F (163–177°C). If you don’t have a thermometer, test by dropping a pinch of flour into the oil; it should sizzle steadily but not burn instantly. Monitor the temperature closely—maintaining the right heat is key to making the Fried Chicken Recipe cook evenly without absorbing excess oil.
-
Fry in batches.
Carefully add chicken pieces to the hot oil in a single layer without overcrowding the pan. Fry in batches so the oil temperature doesn’t drop too much. Cook bone-in pieces for approximately 12–15 minutes, turning occasionally so all sides brown evenly; smaller pieces may take less time. The internal temperature should reach 165°F (74°C) measured at the thickest part without touching bone. Adjust the heat as needed to keep the oil temperature between 325–350°F (163–177°C) during frying.
-
Drain and rest.
Use tongs or a spider to transfer cooked pieces to the wire rack over a baking sheet. Let the chicken rest for 5–10 minutes before serving; this short rest lets juices redistribute and keeps the crust crisp. If you prefer extra-firm crust, briefly return the chicken to the 350°F (177°C) oil for 30–60 seconds after initial frying, then drain and rest again.
-
Serve.
Serve the chicken warm with sides such as mashed potatoes, coleslaw, or a simple green salad. Leftovers keep well in the refrigerator for up to 3 days; reheat in a hot oven (375°F / 190°C) on a wire rack to restore crispness.
Chef tips for success
- Keep an accurate thermometer nearby. Managing oil temperature is the most important variable for consistent results with this Fried Chicken Recipe.
- Don’t overcrowd the pan. New pieces should go into the oil only when there’s enough room for them to fry without lowering the oil temperature too much.
- Let the chicken sit after dredging. The brief rest helps the seasoned flour adhere and avoids losing coating when the chicken hits the oil.
- Use a wire rack for draining. Paper towels will absorb oil but can cause the underside of the chicken to steam and soften. A rack allows airflow and keeps the crust crisp.
- If the crust is browning too quickly before the meat reaches temperature, lower the heat slightly and finish cooking a bit longer at a lower oil temperature.
Serving suggestions
This Fried Chicken Recipe pairs beautifully with classic sides. Try a bowl of creamy mashed potatoes with chives, a bright vinegar-based coleslaw to cut the richness, buttery cornbread, or roasted vegetables. For a picnic-style spread, add pickles, biscuits, and a honey-mustard dipping sauce for contrast. A simple squeeze of lemon over the finished chicken adds a clean lift if you like a bit of acidity.
Make-ahead and storage
You can brine the chicken up to 24 hours ahead and keep it refrigerated in the marinade. Once fried and cooled, store leftovers in an airtight container in the refrigerator for up to 3 days. To re-crisp, place on a wire rack set over a baking sheet and bake in a preheated 375°F (190°C) oven for about 10–15 minutes or until heated through and the crust feels crisp again.
Final notes
This Fried Chicken Recipe is approachable and reliant on technique rather than fancy ingredients. The buttermilk and pickle juice soak gives depth and tenderness, while the seasoned flour yields an even, flavorful crust. Stick to the steps, keep an eye on oil temperature, and allow the chicken to rest briefly before serving. With a little practice, you’ll consistently get that crave-worthy contrast: crunchy outside, juicy inside. Enjoy.
Fried Chicken Recipe
Ingredients
Equipment
Method
- If not already done, cut the whole chicken into pieces (about 8–10) and discard or reserve the backbone/neck for stock.
- In a large bowl, whisk together the buttermilk, pickle juice, and hot sauce (if using).
- Submerge the chicken pieces in the brine, cover, and let sit at room temperature for 30 minutes or refrigerate up to 24 hours.
- In a medium shallow bowl, combine the flour, salt, black pepper, smoked paprika, and garlic powder; mix thoroughly.
- Line a baking sheet with a wire rack. Remove chicken pieces from the brine one at a time, letting excess drip off, then dredge each piece in the flour mixture until well coated and place on the wire rack.
- Let the coated chicken rest on the rack for 10–30 minutes to help the coating adhere while you heat the oil.
- Fill a large, deep frying pan or Dutch oven halfway with vegetable oil and heat to about 365°F (185°C). Use a thermometer or test with the tip of a wooden spoon—small bubbles should form.
- Fry the chicken in batches without overcrowding, cooking each piece about 10 minutes or until the exterior is golden brown and a thermometer reads 155°F (68°C) when inserted into the thickest part; it will rise to 165°F while resting.
- Transfer fried chicken to a wire rack set over paper towels to drain excess oil, then let rest a few minutes before serving.
- Serve with your favorite sauce and enjoy.
Notes
- Reserve backbone and neck for stock if desired.
- Bring chicken to room temperature before frying for even cooking.
- Test oil temperature with a wooden spoon tip—small bubbles indicate readiness.
- Remove chicken at 155°F; it will reach 165°F while resting.
- Drain on a wire rack over paper towels to keep coating crisp.
- Let dredged chicken rest 10+ minutes before frying to help the coating stick.