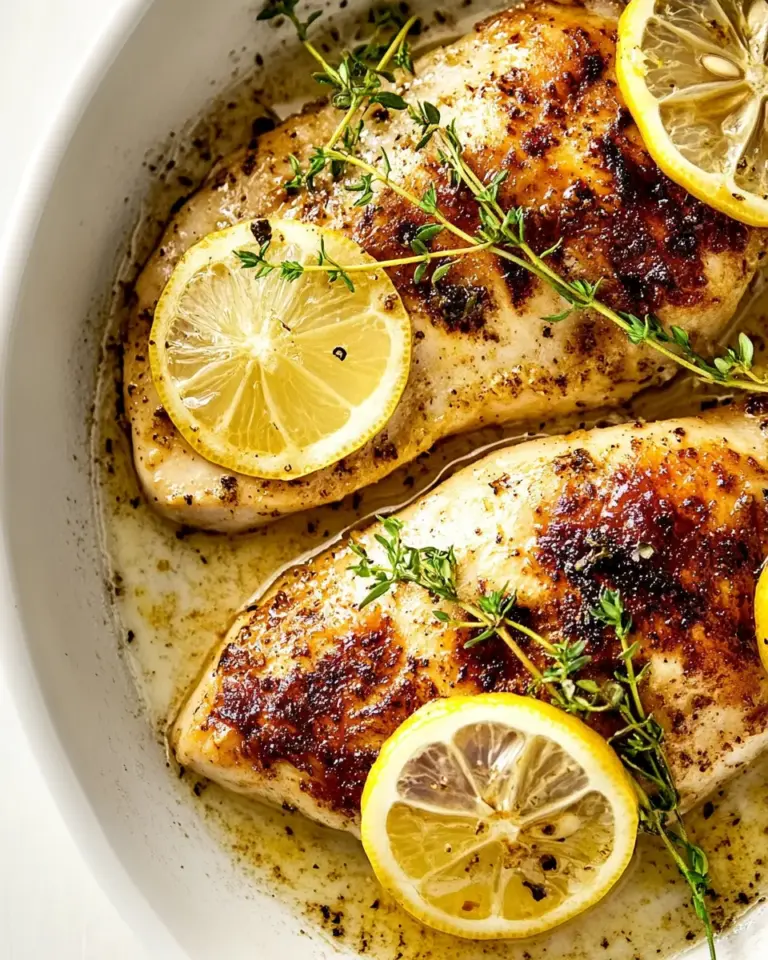
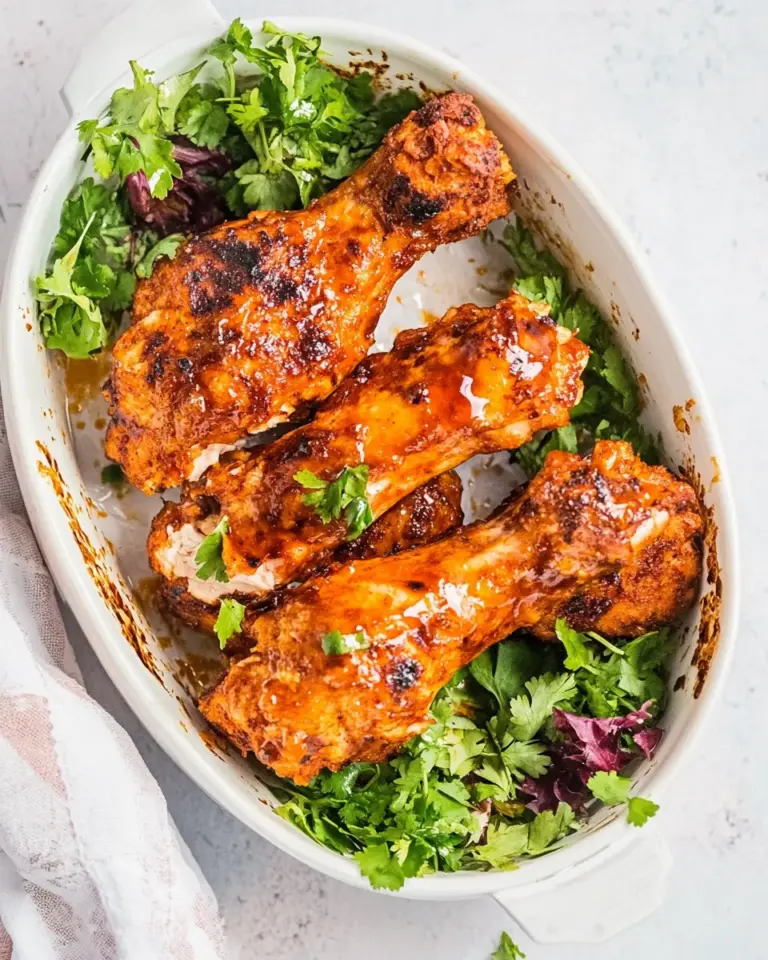
Homemade Greek Yogurt Recipe by Chef Maria Loi
If you’ve ever wanted a thick, tangy, spoon-stoppingly creamy batch of yogurt that tastes better than store-bought, you’re in the right place. Homemade Greek Yogurt Recipe by Chef Maria Loi is an approachable, fuss-free method that delivers rich results with just two simple ingredients: milk and a touch of starter yogurt. This version uses 2 liters of organic 2% or whole milk and 245 g of yogurt (2% or full fat) — both chosen to create a luxuriously smooth texture and a clean flavor profile that suits breakfasts, baking, and savory applications alike.
This is the kind of kitchen project that’s quietly satisfying. You’ll heat the milk gently, cool it to the right temperature, stir in your starter, incubate until set, and then strain to achieve that concentrated Greek-style thickness. The whole process takes a few hours plus chilling time, but the hands-on time is minimal. Along the way I’ll share little tips Chef Maria Loi swears by: using a thermometer for consistency, keeping the incubation steady, and how long to strain for different textures.
Homemade Greek Yogurt Recipe by Chef Maria Loi is perfect for layering with fruit and honey, stirring into soups for creaminess, or swapping for sour cream in dips. If you’re aiming for a richer result, choose whole milk; for a slightly lighter yet still creamy finish, 2% works beautifully. Either way, the results are deeply satisfying and fully customizable.
Why make yogurt at home?
Making yogurt at home gives you control over fat content, texture, and flavor. No stabilizers, no mystery additives, and you can decide how tangy you want it by adjusting the incubation time. When strained to Greek thickness, it becomes a versatile kitchen MVP — spreadable, spoonable, and endlessly adaptable.
Ingredients
- 2 litre organic milk 2% or whole
- 245 g yogurt 2% or full fat
Equipment
- Large heavy-bottomed saucepan
- Instant-read thermometer or candy thermometer
- Whisk or spoon
- Large bowl
- Fine-mesh sieve or cheesecloth lined colander for straining
- Containers for incubating (glass jars or a covered bowl)
- Cool place or an oven with a light or a yogurt maker for incubation
Prep and flavor notes

Use pasteurized milk for safety and predictability. The starter yogurt should be plain and contain live active cultures; the amount listed (245 g yogurt 2% or full fat) is perfect to inoculate the two liters of milk. If you prefer an extra-rich mouthfeel, choose whole milk; if you want a lighter option, 2% is excellent. Avoid flavored or sweetened starter yogurts because added ingredients can influence texture and flavor.
Optional flavors and uses after the yogurt is ready: honey and walnuts, chopped fresh fruit, a swirl of jam, or a spoonful of olive oil with za’atar for a savory twist. The concentrated yogurt also works beautifully in baking and as a creamy base for smoothies or marinades.
Step-by-step directions
Below are the rewritten, clear steps to make Homemade Greek Yogurt Recipe by Chef Maria Loi. These steps follow the original sequence while using the ingredient list as the source of truth and clarifying each action so any home cook can follow along confidently.
-
Sanitize and prepare equipment.
Before you start, rinse your saucepan, thermometer, whisk, jars, and strainer with hot water to ensure everything is clean. This reduces the chance of unwanted bacteria and helps the yogurt cultures thrive.
-
Pour the milk into the saucepan and heat.
Measure 2 litre organic milk 2% or whole into a large heavy-bottomed saucepan. Heat the milk over medium heat, stirring occasionally to prevent a skin from forming and to stop any milk from scorching on the bottom. Bring the milk up until it reaches 85°C (185°F). If you don’t have a thermometer, bring it to a gentle simmer and let it steam — you’re looking for it to be hot and steamy but not boiling vigorously.
-
Hold the milk at 85°C (185°F) briefly.
Once the milk reaches 85°C (185°F), reduce the heat and hold it there for 2 to 5 minutes. This step changes the milk proteins so the final yogurt will be creamier and set with a better texture.
-
Cool the milk to the proper inoculation temperature.
Remove the saucepan from the heat and allow the milk to cool to about 43–46°C (110–115°F). Stir occasionally to distribute the heat evenly. This is the range where the live cultures in the starter yogurt perform best.
-
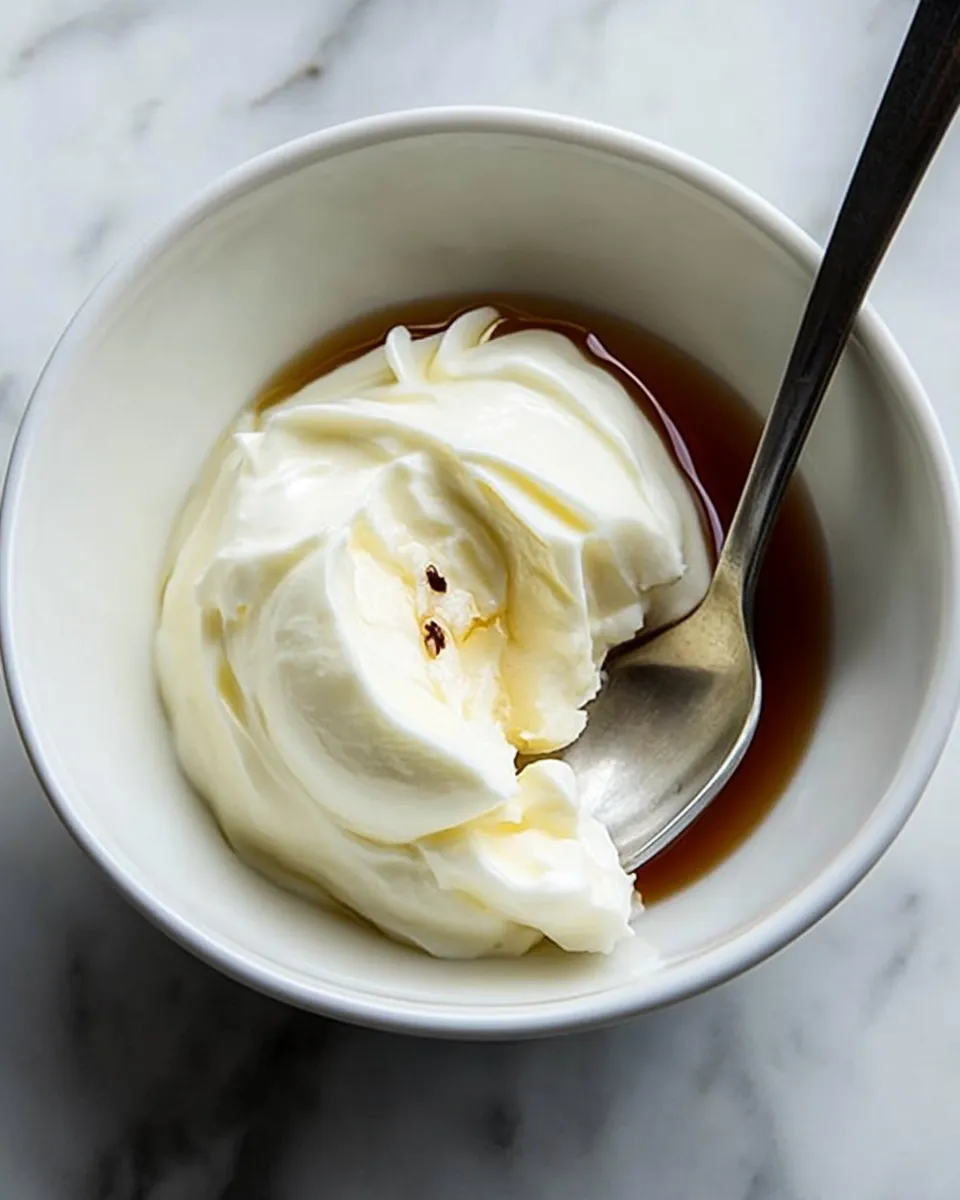
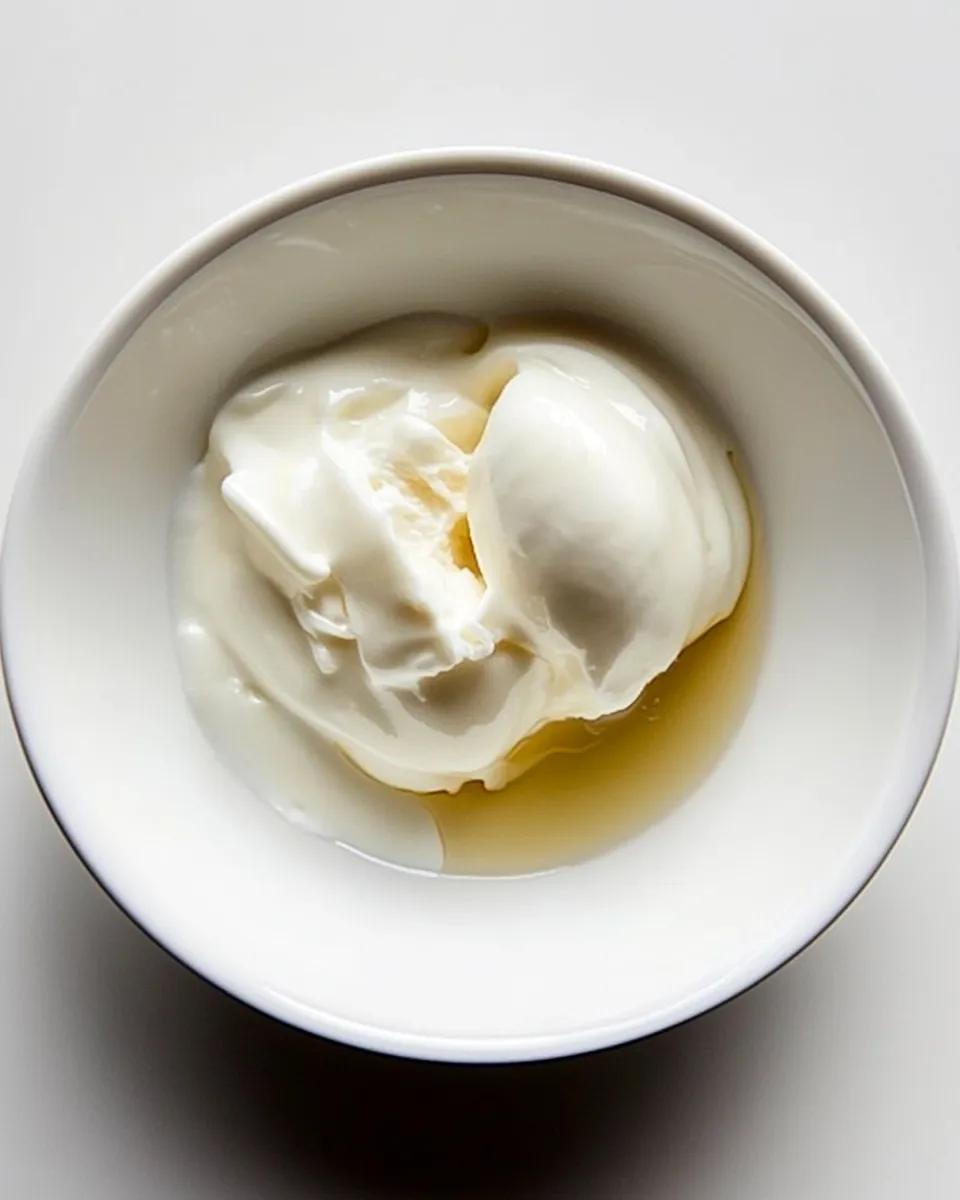
Prepare the starter yogurt.
Place 245 g yogurt 2% or full fat in a small bowl and let it smooth out. If your starter yogurt is very thick, you can thin it with a tablespoon or two of the warm milk until it’s pourable; this helps it disperse evenly when added to the larger batch.
-
Inoculate the cooled milk with the starter.
When the milk has cooled to 43–46°C (110–115°F), stir a small amount of the warm milk into the bowl with 245 g yogurt 2% or full fat to temper it. Then whisk the tempered yogurt back into the pot of milk until it is evenly combined. Be gentle but thorough so the cultures distribute evenly throughout the milk.
-
Transfer to containers for incubation.
Pour the milk-and-yogurt mixture into clean jars or a covered bowl. Cover them loosely with lids or clean cloths. The mixture needs to be kept warm and undisturbed to set.
-
Incubate until set.
Keep the jars in a warm place where the temperature remains stable around 43°C (110°F). You can place them in an oven with the light on, a warm turned-off oven, a cooler with warm water jars, or a yogurt maker. Incubate for 6 to 8 hours for a mild flavor and softer set, or up to 10–12 hours for tangier, firmer yogurt. Check after 6 hours; when the yogurt is set it should hold its shape with a slight jiggle.
-
Cool the yogurt in the refrigerator.
Once the yogurt has set to your taste, transfer the jars to the refrigerator and chill for at least 4 hours to stop fermentation and fully develop flavor. Chilling also helps the yogurt firm up before straining.
-
Strain for Greek-style thickness.
Place a fine-mesh sieve or a colander lined with cheesecloth over a large bowl. Pour the chilled yogurt into the lined sieve and allow it to drain in the refrigerator until it reaches your desired thickness. For a creamy, spoonable Greek yogurt, strain for about 1 to 2 hours. For very thick, almost cream-cheese-like yogurt, strain for 4 hours or longer. Save the liquid whey for smoothies, baking, or as a nourishing addition to soups.
-
Transfer and store.
Once strained, transfer the Greek-style yogurt into airtight containers. Refrigerate and use within 5 to 7 days. If you want to save some of the strained whey to use as a starter for your next batch, do so sparingly — it’s milder than store-bought starter and can work in a pinch, but fresh yogurt as listed is ideal for consistent results.
Serving suggestions
- Spoon over fresh berries and drizzle with honey for a classic breakfast.
- Mix into smoothies for extra creaminess and protein.
- Use as a tangy base for sauces, tzatziki, or creamy dressings.
- Substitute for sour cream in baked potatoes, tacos, or dolloped on soups.
- Fold into baked goods for moist muffins and tender cakes.
Tips from Chef Maria Loi
- Accuracy matters: a thermometer prevents overheating or underheating, which can affect your set.
- Keep incubation temperatures steady. A fluctuating environment can yield uneven texture.
- Use full-fat yogurt and whole milk for the creamiest outcome, although 2% milk and 2% starter will still produce excellent results.
- Strain longer for thicker Greek-style yogurt. The longer it drains, the more concentrated the flavors and texture become.
- Reserve a small amount of your finished yogurt to use as the starter for the next batch when you want to be completely self-sufficient.
Troubleshooting
If your yogurt didn’t set: check that the milk reached and held near 85°C (185°F) briefly and that it cooled to 43–46°C (110–115°F) before adding the starter. If the incubation environment was too cool, the cultures may not have worked effectively. Try again with a steady warm setting.
If your yogurt is too tart: shorten the incubation time next batch. Longer incubation produces tangier yogurt. Also, ensure your starter yogurt’s cultures are fresh; expired or heat-damaged starters can produce off flavors.
Nutritional notes
The nutrition of your final product will depend on whether you choose 2% or whole milk, and how much whey you strain off. Greek-style yogurt is higher in protein per serving than unstrained yogurt due to the concentration step. Use it to boost protein in breakfasts and snacks while keeping sugar low by avoiding flavored additions.
Storage and shelf life
Store the finished Greek-style yogurt in airtight containers in the refrigerator and use within 5 to 7 days for best flavor and texture. Discard if you notice unusual smells, colors, or mold. The strained whey keeps for about a week in the fridge and can be frozen if you want to keep it longer for baking or smoothies.
Final thoughts
Homemade Greek Yogurt Recipe by Chef Maria Loi is a simple kitchen ritual that rewards patience with a luxury-quality product. With 2 litre organic milk 2% or whole and 245 g yogurt 2% or full fat as your only ingredients, you’ll produce thick, tangy, and versatile yogurt that feels ten times more satisfying than anything off the supermarket shelf. Follow the clear, step-by-step directions above, and you’ll have a reliable method you can return to again and again. Enjoy it plain, dress it up, or transform it into sauces and baked goods — once you taste homemade, store-bought yogurt will feel like an option rather than the default.
If you give this Homemade Greek Yogurt Recipe by Chef Maria Loi a try, I’d love to hear how it turned out and what you made with your first jar. Happy cooking!
Homemade Greek Yogurt Recipe by Chef Maria Loi
Ingredients
Equipment
Method
- Pour the milk into a heavy pot and heat it gently until it reaches 90°C (195°F), stirring occasionally to prevent a skin from forming.
- Remove the pot from heat and let the milk cool to about 43°C (110°F). If you don’t have a thermometer, test by dipping a cleaned pinky—if it’s comfortably warm (not scalding) after a quick count to 20, it’s close.
- Dilute the 245 g (1 cup) of yogurt starter in a small amount of the lukewarm milk, then stir the mixture back into the pot until evenly combined.
- Cover the pot and wrap it in a blanket or towel to keep it warm and undisturbed; leave it for at least 6 hours to incubate.
- After incubation, transfer the covered pot to the refrigerator and chill without moving for 24 hours to set.
- For traditional Greek yogurt, line a strainer with cheesecloth and strain the chilled yogurt for several hours until the whey stops draining; discard the whey or save for other uses.
- Store the finished yogurt refrigerated; it will keep about ten days (or about one additional week if strained into Greek-style).
Notes
- Use good-quality, full-fat or 2% milk for best texture.
- Do not disturb the pot while the milk incubates.
- If you lack a thermometer, use the pinky test to estimate temperature.
- Straining produces thicker, authentic Greek yogurt and extends shelf life.
- Keep everything clean to avoid contamination.
- Serve with honey and walnuts if desired.