How to Make Crispy Cheese Taco Shells
If you love tacos but want an easy, flavorful, and gluten-free twist, these crunchy cheese taco shells are an absolute game changer. With just 1 cup shredded cheese—try cheddar, Colby Jack, or a Mexican blend—you can make sturdy, crisp shells that hold all your favorite fillings. They’re quick to make, require minimal equipment, and add a punch of savory, melty goodness to taco night.
Why you’ll love this recipe
These shells are golden, crisp, and utterly addictive. They take the familiar taco shape and replace the traditional corn or flour shell with pure, toasted cheese. That brings a richer, saltier flavor that pairs beautifully with spiced beef, sautéed vegetables, or grilled chicken. Best of all, they’re ready in about 15 minutes and need only one main ingredient: 1 cup shredded cheese.
What you’ll need
Equipment
- Baking sheet
- Parchment paper or silicone baking mat
- Spatula
- Small bowl or taco mold (an overturned wire rack or rolling pin across a bowl works too)
- Measuring cup
- Oven or stovetop skillet
Ingredients
- 1 cup shredded cheese — try cheddar, Colby Jack, or a Mexican blend
- Optional seasonings: 1/4 teaspoon chili powder, 1/8 teaspoon ground cumin, and a pinch of smoked paprika or black pepper
- Nonstick spray or a light brush of neutral oil (optional, for easier release)
Taste and texture notes
Cheddar offers a sharper, tangy finish; Colby Jack is milder and creamier; a Mexican blend gives a complex, melty mixture of flavors. All make excellent shells, but the cheese type will subtly change the crispness and flavor profile. Mixing in a tiny pinch of chili powder or smoked paprika before baking boosts depth without overpowering the cheese.
Step-by-step instructions

Below are rewritten, clear step-by-step directions so you can follow along easily and get consistent results. The list preserves the original ingredient amounts and order while clarifying each action.
- Preheat and prep. Preheat your oven to 375°F (190°C). Line a baking sheet with parchment paper or a silicone baking mat. If you like, lightly spray the surface with nonstick spray or brush with a touch of neutral oil to help release the cheese after baking.
- Measure the cheese. Place 1 cup shredded cheese into a measuring cup and gently level it off. If you want seasoned shells, toss the cheese with 1/4 teaspoon chili powder, 1/8 teaspoon ground cumin, and a small pinch of smoked paprika or black pepper until evenly distributed.
- Make cheese rounds. Working quickly, sprinkle the shredded cheese onto the prepared baking sheet in four even mounds, each about 3 to 4 inches in diameter. Space them at least 2 inches apart so they can spread without touching.
- Melt and bubble. Place the baking sheet in the preheated oven. Bake for about 5 to 7 minutes, watching closely. The cheese will melt, spread, and begin to bubble and turn golden around the edges. Remove the tray when the centers are set but the edges are a deep golden brown.
- Shape into shells. Let the cheese sit on the baking sheet for 20 to 30 seconds to firm up a bit (too hot and it will be floppy; too cool and it will be brittle). Using a thin spatula, carefully lift one cheese round and drape it over an overturned bowl, a rolling pin, or mold to form a taco shape. You can also fold it gently over the edge of a small bowl to create a classic curved shell. Repeat with remaining rounds.
- Cool until crisp. Allow the shells to cool on the mold for 1 to 2 minutes, then transfer them to a wire rack to finish crisping. The shells will harden as they cool; handle them gently to avoid breaking.
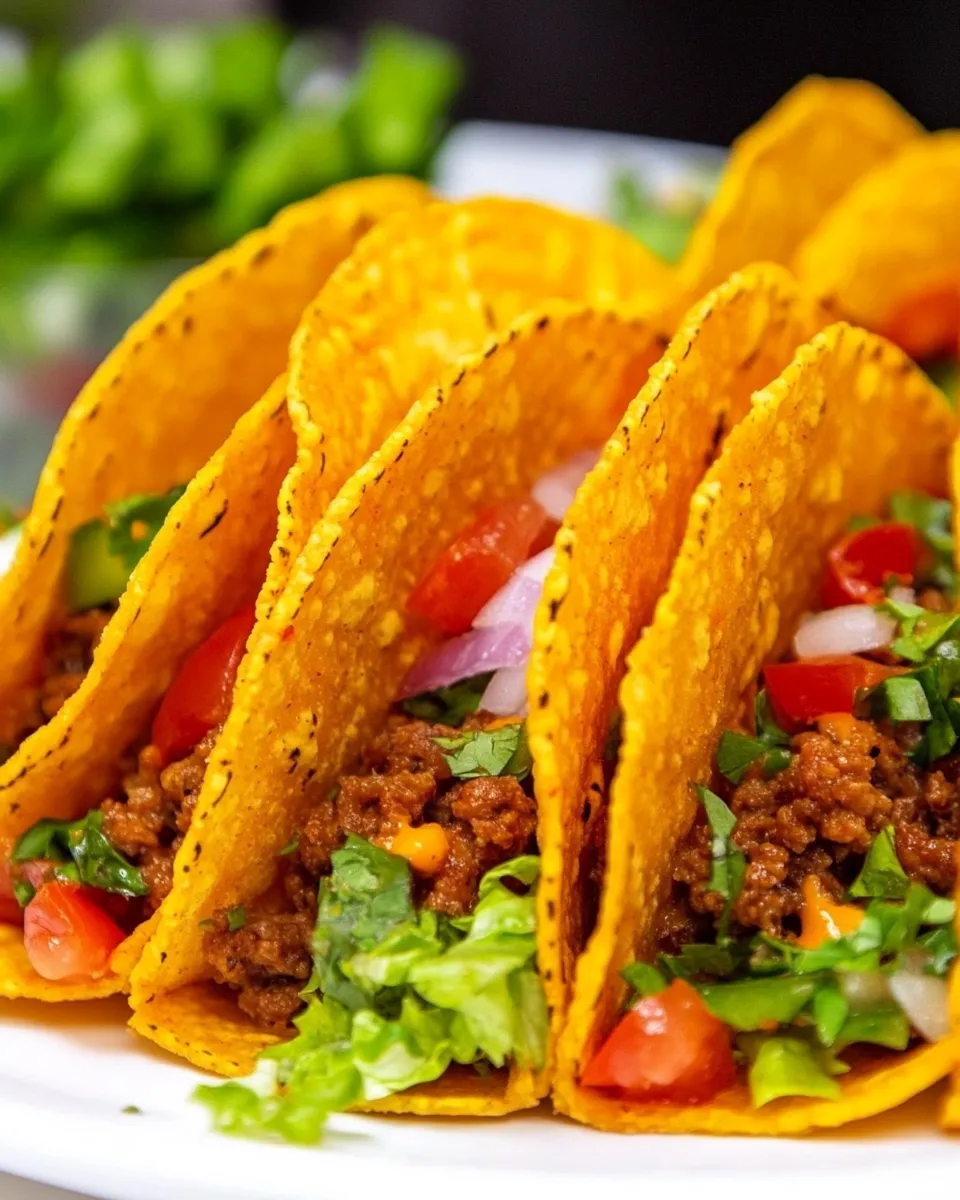
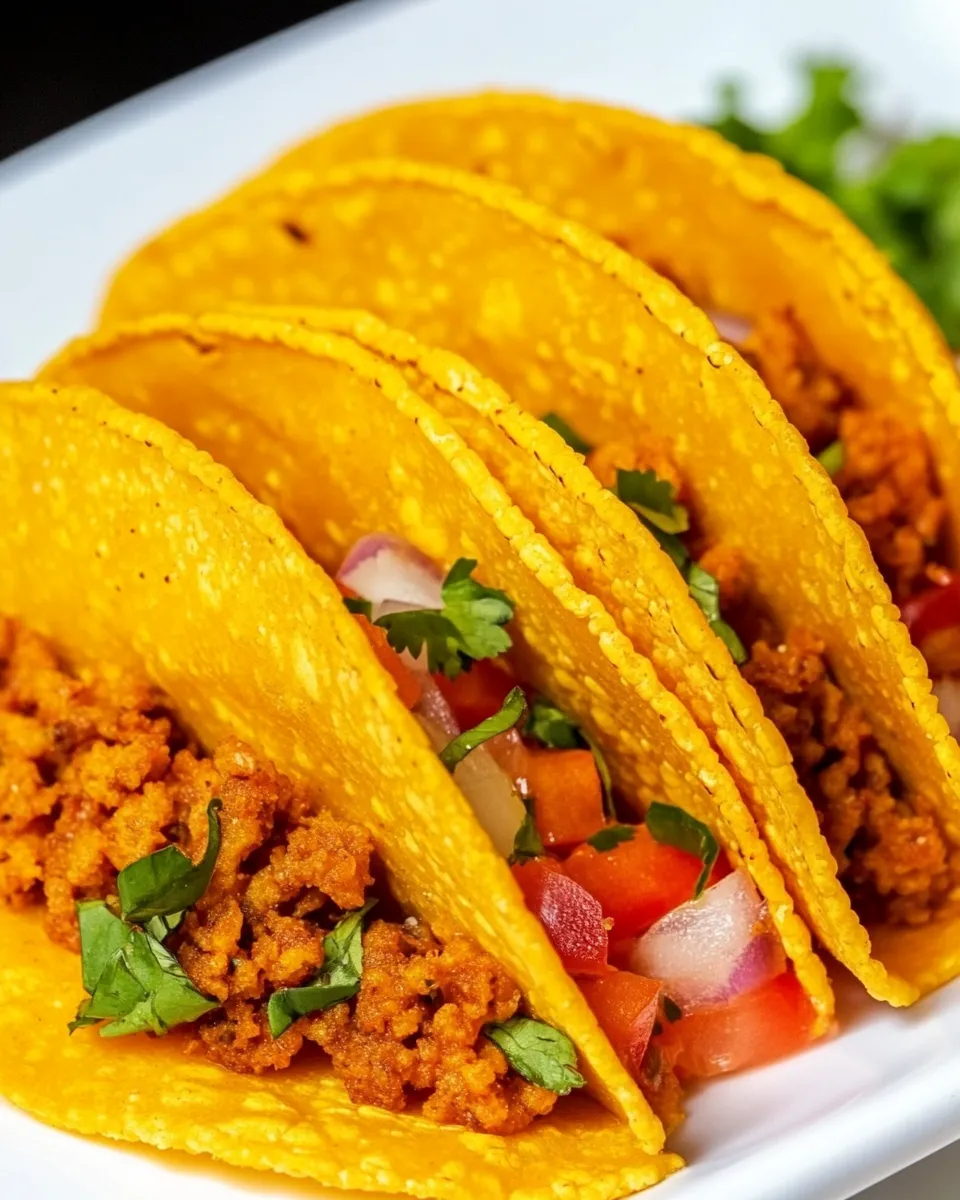
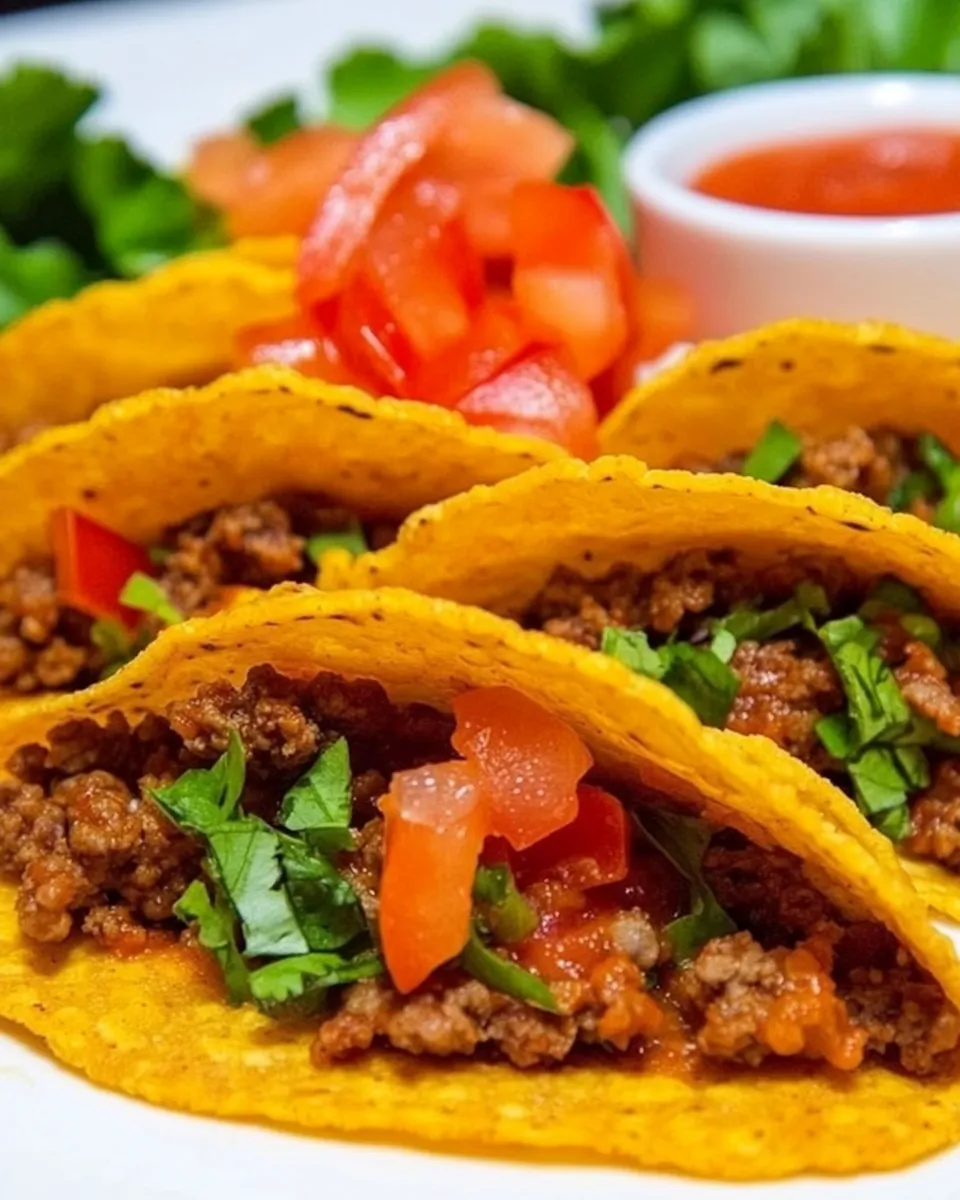
- Serve and fill. Fill the shells with your favorite ingredients: seasoned cooked meat, spiced beans, roasted vegetables, shredded lettuce, pico de gallo, sliced avocado, or a drizzle of yogurt or tahini. Serve immediately for the best crunch.
Quick stovetop method (no oven)
If you don’t want to use the oven, you can do these on the stovetop using a nonstick skillet. Heat a skillet over medium heat. Add a 3- to 4-inch mound of shredded cheese and press it gently into a thin round. Cook 2 to 3 minutes until the underside is golden and the cheese bubbles; cover the pan briefly to help the top melt if needed. Use a spatula to fold the cheese over the edge of a bowl or rolling pin to shape. Cool slightly until crisp.
Tips for perfect shells every time
- Use finely shredded cheese for even melting. Pre-shredded cheese often contains anti-caking agents that can slightly alter melting behavior, but it still works fine.
- Don’t walk away when the cheese is bubbling—watch closely. Cheese can go from golden to burned quickly.
- If the cheese spreads too thin, scoop it up and try again with a slightly larger mound next time.
- To make stronger shells for heavier fillings, use a thicker mound of cheese or double-layer two rounds and press them together while hot.
- Work quickly when lifting and shaping—the cheese needs to be pliable but not too hot to handle safely.
Flavor variations
These shells are a perfect canvas for flavor experiments. Try these simple ideas:
- Add chopped fresh herbs such as cilantro or chives to the cheese rounds before baking for a bright finish.
- Mix in a pinch of garlic powder or onion powder for savory depth.
- For a smoky touch, stir in a bit of smoked paprika or chipotle powder.
- For a tangy kick, sprinkle a few sesame seeds or everything bagel seasoning onto the cheese just before baking.
Filling ideas
These crispy shells pair well with many fillings. Here are a few favorites:
- Ground beef or lamb seasoned with taco spices
- Shredded rotisserie chicken tossed with a squeeze of lime and chopped cilantro
- Spiced black beans and roasted corn for a vegetarian option
- Grilled shrimp with a garlic-lime butter
- Simple crisp lettuce, diced tomato, and thinly sliced radish for a fresh counterpoint
Make-ahead and storage
Made shells are best eaten immediately for maximum crispness. If you need to make them ahead, store finished, fully cooled shells in an airtight container with paper towels to absorb any moisture for up to 24 hours. Re-crisp them in a 350°F (175°C) oven for 3 to 4 minutes before serving.
Common troubleshooting
Cheese stuck to the pan: Use a silicone mat or parchment to prevent sticking; a light spray of oil also helps. If some cheese sticks, let it cool completely before carefully peeling it off.
Shells break easily: The cheese may have over-cooled and become brittle before shaping. Heat the shells for a few seconds in the oven or microwave (on low) to make them pliable, then shape quickly.
Uneven browning: Rotate the baking sheet halfway through baking and make sure the cheese rounds are evenly sized.
Serving suggestions
Present these shells as part of a taco spread. Arrange them on a platter with small bowls of fillings and garnishes so everyone can build their own. They’re also excellent as a crunchy vessel for salads—try a chopped chicken salad tucked into a crispy cheese shell for a textural contrast that’s hard to beat.
Why this recipe works
The method is straightforward: melting, shaping, and cooling. Cheese contains proteins and fats that brown and crisp when heated. By controlling the heat and timing, you achieve a firm, crunchy shell without burning. Using exactly 1 cup shredded cheese yields about four small taco shells; the amount is intentionally measured so you know how many shells to expect and can multiply as needed for larger gatherings.
Nutrition snapshot
Cheese-based shells are rich and satisfying, providing protein and calcium from the cheese. Pair them with vegetables and lean protein for a balanced meal. Because they’re made of pure cheese, they’re naturally free from grains and perfect when you want to skip traditional tortillas.
Final thoughts
These cheesy taco shells are a brilliant, simple way to elevate taco night. With just 1 cup shredded cheese—cheddar, Colby Jack, or a Mexican blend—you get crunchy, flavorful shells that are quick to make and endlessly adaptable. Follow the step-by-step directions above to ensure consistent results, and don’t be afraid to experiment with seasonings and fillings to make the recipe your own.
Ready to try? Gather 1 cup shredded cheese, heat your oven, and in about 15 minutes you’ll have golden, crisp taco shells that steal the show. Happy cooking!
How to Make Crispy Cheese Taco Shells
Ingredients
Equipment
Method
- Preheat the oven to 400°F (200°C).
- Line a baking sheet with parchment paper. Use a 1/4-cup measuring cup to mound four evenly spaced circular piles of shredded cheese on the paper.
- Bake until the cheese is bubbly and lightly browned in spots, about 4–6 minutes depending on your oven.
- Remove the sheet from the oven and let the cheese cool on the parchment for 1–2 minutes so it firms slightly but is still pliable.
- Carefully lift each cheese round from the parchment and drape it over a rolling pin, small bowl, or similar curved surface to form a taco shell shape.
- Let the shells cool completely until crisp, then serve.
Notes
- Use a nonstick or well-lined baking sheet to prevent sticking.
- Make shells uniform by using a 1/4-cup scoop for each circle.
- Watch closely near the end of baking to avoid burning.
- Shape while the cheese is still warm and pliable.