Ina Gartens perfect Chicken Parmesan
There are dishes that feel like home the first time you taste them, and Ina Gartens perfect Chicken Parmesan is one of those comforting, reliable classics. Think golden, crispy chicken cutlets smothered in bright tomato sauce and bubbling cheese — straightforward to make, endlessly satisfying, and perfect for a weeknight dinner or a gathering with friends. Today, I’m walking you through the entire process in a clear, friendly way inspired by the warm, practical tones of beloved food blogs. Expect approachable tips, crisp step-by-step directions, and a plating suggestion that makes this dish dinner-party worthy.
Why this recipe works
This version of Ina Gartens perfect Chicken Parmesan stays true to the essentials: properly pounded chicken breasts, a seasoned dredge, and a quick, vibrant sauce that doesn’t overpower the chicken. The balance is simple: crunchy exterior, tender interior, tangy tomato, and melty cheese — every bite delivers contrast and comfort. The method focuses on straightforward prep techniques so you’ll spend less time guessing and more time enjoying the results.
Ingredients
- 4 boneless, skinless chicken breasts (about 6 ounces each)
- Salt and freshly ground black pepper, to taste
- 1 cup all-purpose flour
- 2 large eggs
- 2 tablespoons water
- 1 1/2 cups plain breadcrumbs
- 1/2 cup grated Parmesan cheese, plus extra for serving
- 1 teaspoon dried oregano
- 1/2 teaspoon garlic powder
- 1/4 teaspoon crushed red pepper flakes (optional)
- 1/2 cup olive oil, for frying
- 2 cups marinara sauce (homemade or store-bought)
- 8 ounces shredded mozzarella cheese
- Fresh basil leaves, for garnish
Equipment
- Meat mallet or rolling pin
- Three shallow bowls or pie plates
- Large skillet
- Baking dish
- Tongs and a wire rack
Prep and tips before you start
- Pat the chicken breasts dry with paper towels. Dry chicken yields a crisper crust.
- Set up a breading station: flour, egg wash, and seasoned breadcrumb mix in three separate shallow dishes.
- Keep the cooked cutlets on a wire rack to prevent sogginess while finishing the rest.
- For even cooking, pound the chicken breasts to an even thickness, about 1/2 inch.
Step-by-step instructions
Below are rewritten, clarified directions that follow the same order as Ina Gartens original method, but with clearer, stepwise language. Ingredient amounts remain unchanged and are used exactly as listed above.
- Prepare the chicken: Place each chicken breast between two pieces of plastic wrap or inside a resealable bag. Using a meat mallet or rolling pin, gently pound each breast to an even thickness of about 1/2 inch. This helps the chicken cook evenly and stay tender. After pounding, season both sides of each breast with salt and freshly ground black pepper.
- Set up the breading station: Place 1 cup all-purpose flour in the first shallow bowl. In the second bowl, whisk together 2 large eggs and 2 tablespoons water until combined. In the third bowl, mix 1 1/2 cups plain breadcrumbs with 1/2 cup grated Parmesan cheese, 1 teaspoon dried oregano, 1/2 teaspoon garlic powder, and 1/4 teaspoon crushed red pepper flakes if using.
- Bread the chicken: One at a time, dredge a chicken breast in the flour, shaking off any excess. Dip it into the egg wash, allowing excess to drip off. Finally, press the chicken firmly into the breadcrumb mixture so it adheres evenly, coating both sides. Place each breaded breast on a plate or baking sheet while you bread the rest.
- Fry until golden: In a large skillet, pour in 1/2 cup olive oil and heat over medium heat until shimmering but not smoking. Working in batches if necessary, add the breaded chicken breasts to the skillet. Fry each side for about 3 to 4 minutes, or until each side is deep golden brown and the crust is crisp. Use tongs to flip the cutlets gently. If the cutlets brown too quickly, reduce the heat slightly.
- Drain and rest: Transfer the fried cutlets to a wire rack set over a baking sheet to drain any excess oil and preserve crispness. Let them rest for a few minutes while you preheat the oven and prepare the sauce and cheese.
- Assemble for baking: Preheat your oven to 375°F (190°C). Spoon about 2 tablespoons of marinara sauce into the bottom of a baking dish to prevent sticking. Place the fried chicken cutlets in the baking dish in a single layer. Spoon additional marinara sauce over each cutlet — use roughly 1/4 to 1/3 cup sauce per cutlet, depending on how saucy you like it.
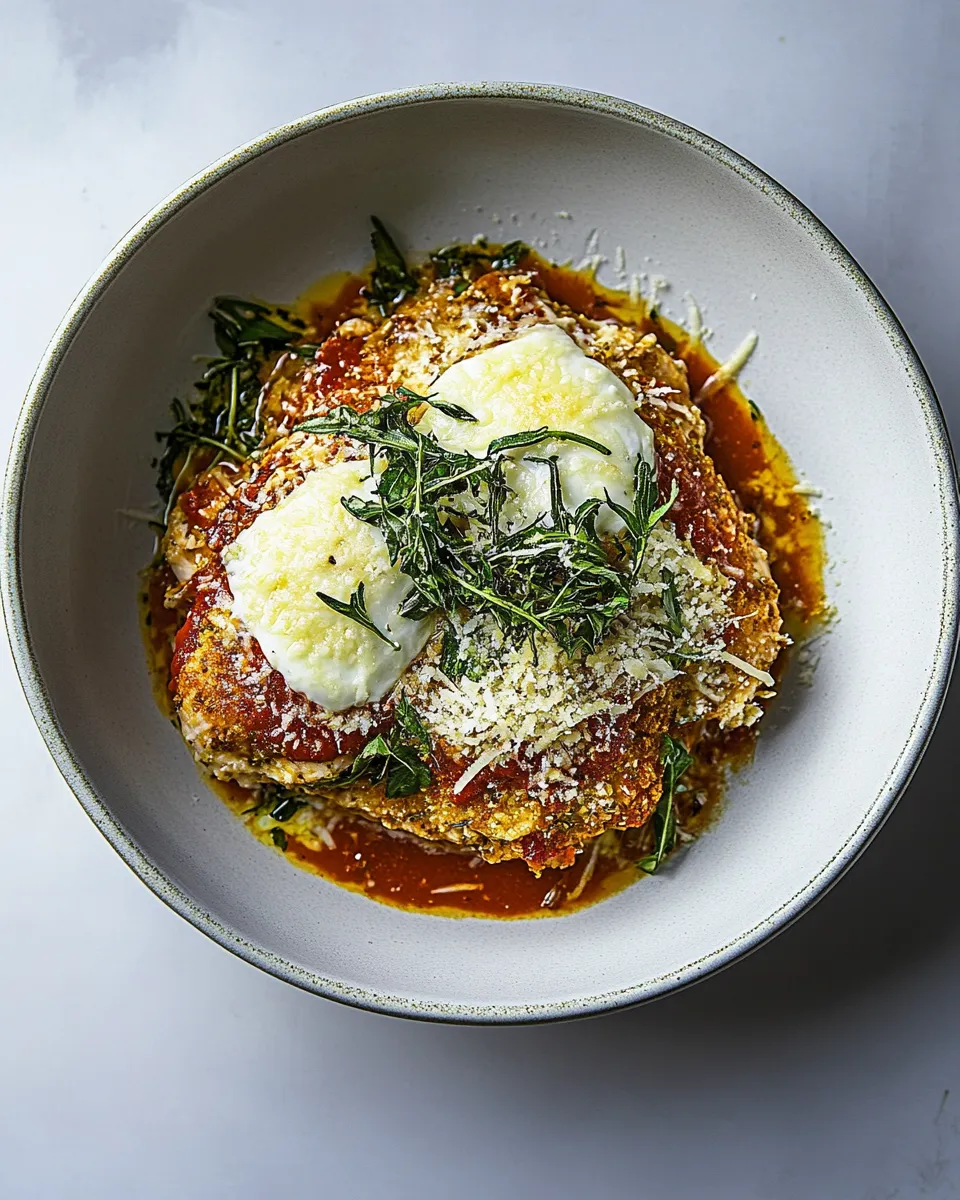
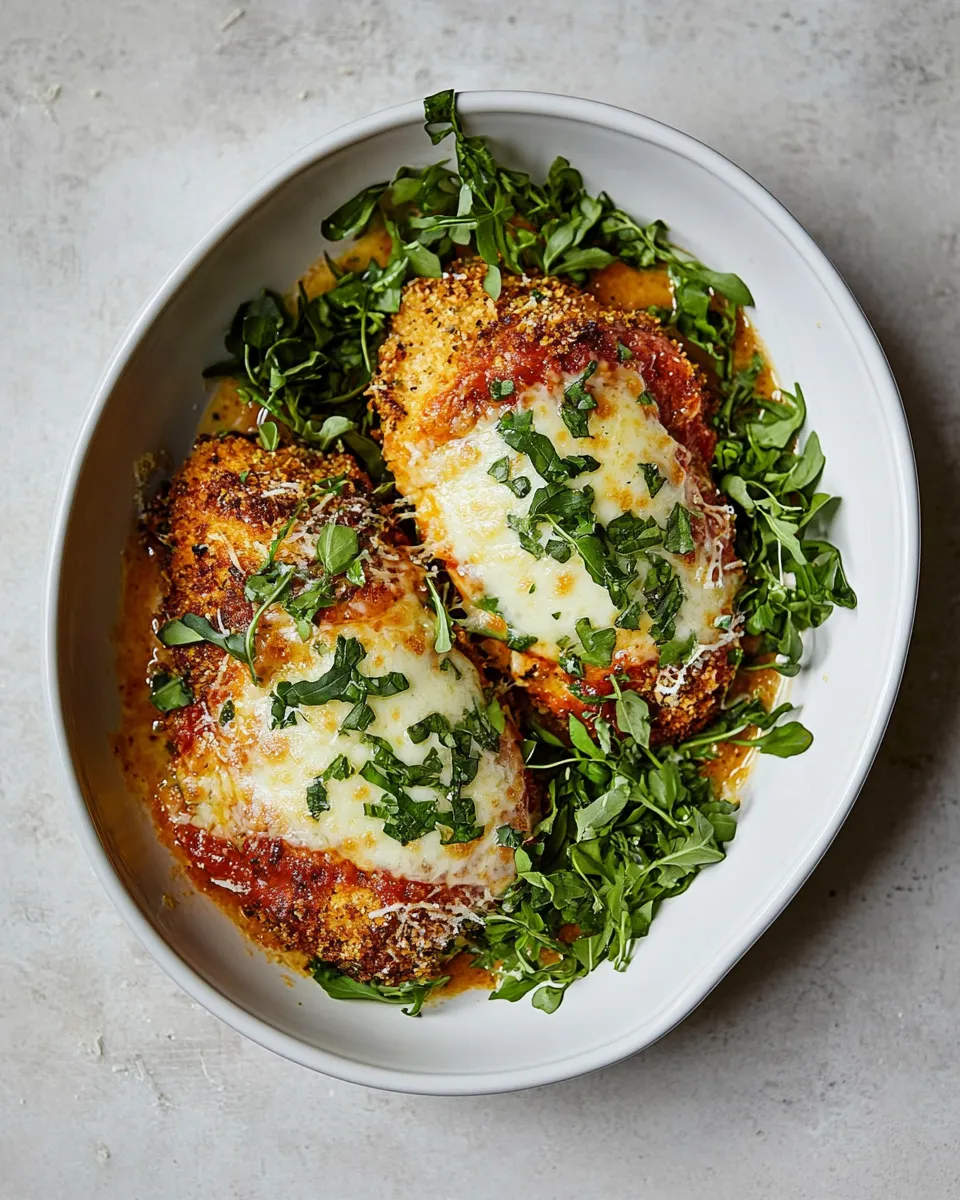
- Add the cheese: Sprinkle shredded mozzarella evenly over the sauced cutlets, dividing the 8 ounces among the four pieces. If you like extra cheesiness, add a light dusting of the reserved Parmesan on top as well.
- Bake until bubbly: Place the baking dish in the preheated oven and bake for 15 to 20 minutes, or until the cheese is melted, bubbling, and lightly golden. The internal temperature of the chicken should reach 165°F (74°C) for safe, juicy results.
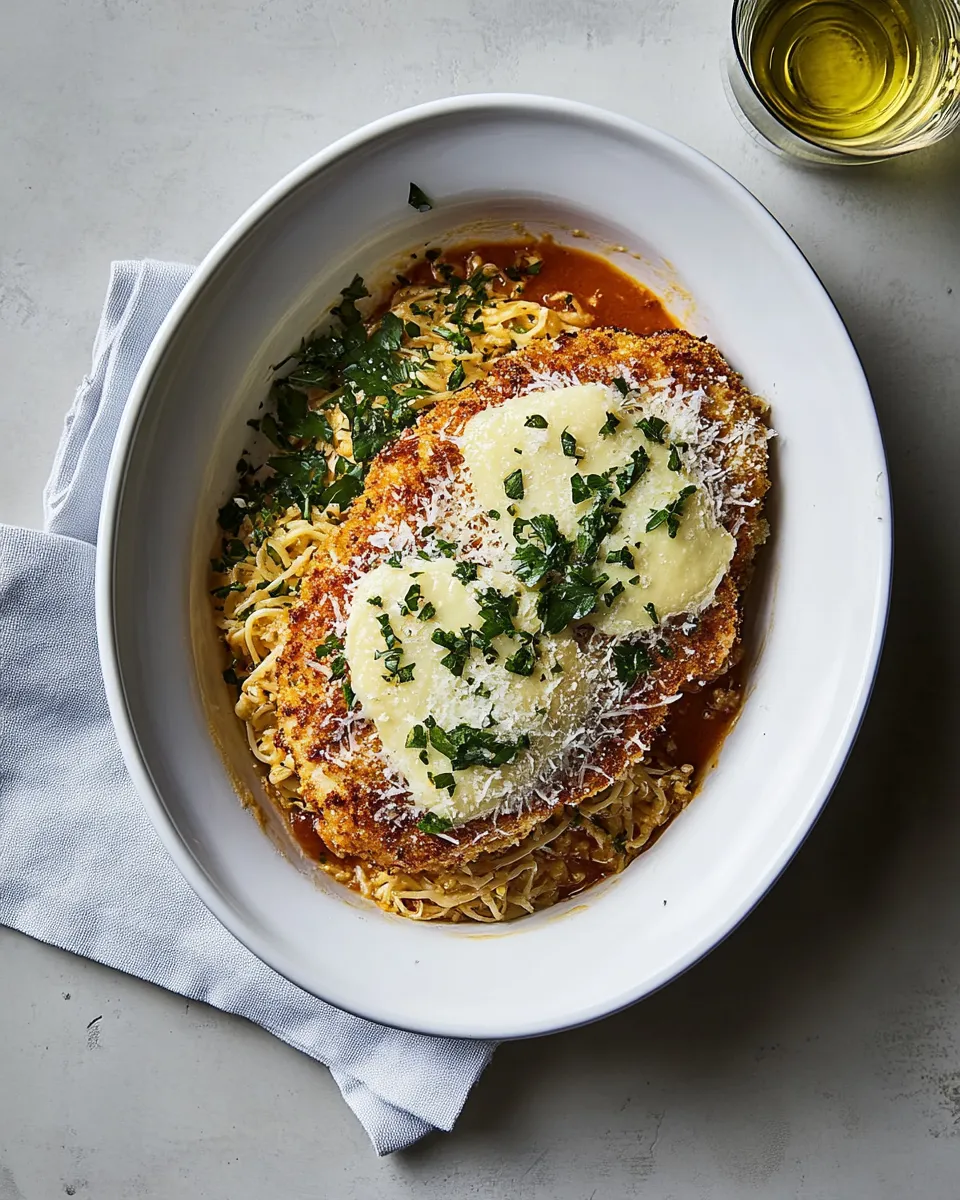
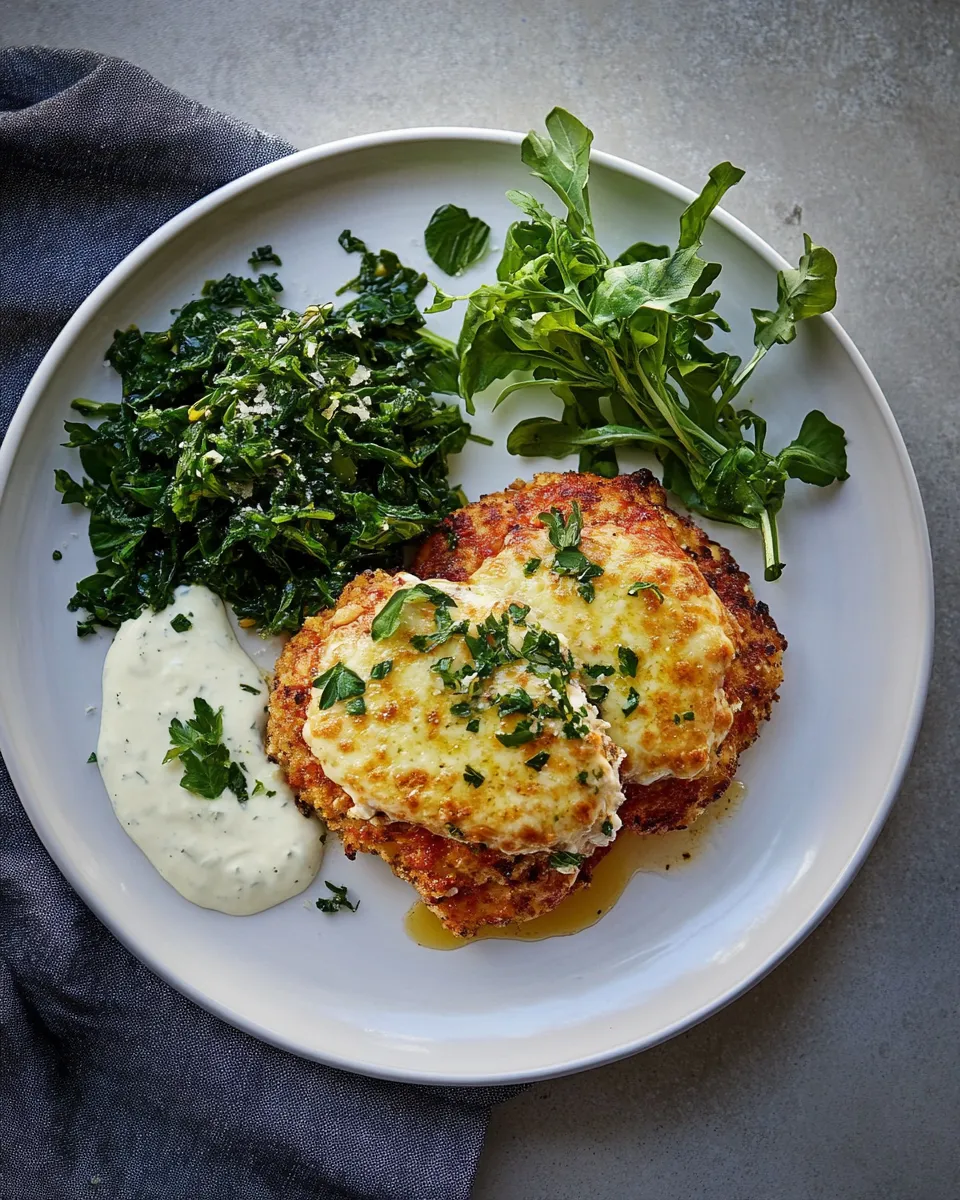
- Finish and serve: Remove the dish from the oven and let it rest for 5 minutes. Garnish with fresh basil leaves and an extra sprinkle of grated Parmesan cheese. Serve the cutlets immediately, alongside your favorite pasta, a simple green salad, or crusty bread.
Serving suggestions
Ina Gartens perfect Chicken Parmesan shines with simple sides. Toss spaghetti with a bit of the marinara and freshly torn basil, or serve the cutlets over creamy polenta for a different texture. A crisp green salad with a lemony vinaigrette or garlic-roasted vegetables keeps the meal balanced and bright.
Make-ahead and storage
- To prepare ahead, fry and bread the cutlets, then refrigerate them in an airtight container for up to 24 hours. When ready to serve, top with sauce and cheese and bake until heated through and bubbly.
- Leftovers keep well for up to 3 days in the refrigerator. Reheat in a 350°F (175°C) oven to maintain crispness; microwave reheating will soften the crust.
Common questions
Can I use chicken thighs? Yes. Boneless, skinless thighs will work; adjust the pounding step to flatten them to roughly 1/2 inch thickness so they cook evenly.
What if I don’t have a meat mallet? A rolling pin or the bottom of a heavy skillet works fine. Wrap the chicken in plastic wrap first to keep things tidy.
How can I make the crust extra crunchy? Use panko breadcrumbs in place of plain breadcrumbs for an airier, crunchier coating, or press the breadcrumbs onto the chicken firmly so they adhere well.
Troubleshooting
- If the crust burns before the chicken is cooked, reduce the heat and/or finish the pieces in the oven to reach the safe internal temperature.
- If the breading slides off while frying, ensure the chicken was patted dry, and press the breadcrumbs firmly into the surface when breading. Let the breaded pieces rest 5 minutes before frying so the coating sets.
Why this version stays true
This rendition of Ina Gartens perfect Chicken Parmesan follows the original approach: tenderized chicken, a classic three-step dredge, a quick pan fry, and finishing in the oven with sauce and cheese. The results are texturally satisfying — crisp exterior, moist interior, and a balanced sauce-to-cheese ratio that complements rather than overwhelms. The instructions here have been rewritten into clear, numbered steps so you know exactly what to do and when.
Final notes
Cooking meals that bring people together is what makes food memorable. Ina Gartens perfect Chicken Parmesan delivers on flavor and comfort without complicated techniques. With a little prep and a few straightforward steps, you’ll have a dish that looks elegant and feels like a warm hug. Serve it with a glass of your favorite beverage and good company.
Happy cooking, and enjoy every golden, cheesy bite.
Ina Gartens perfect Chicken Parmesan
Ingredients
Equipment
Method
- Preheat the oven to 425°F (220°C). Place a wire rack on a baking sheet and set aside.
- Slice each chicken breast horizontally to make two thin cutlets. Pound lightly between plastic wrap to an even thickness, about 1/2 inch.
- Season both sides of the cutlets with 1 tsp kosher salt and 1/2 tsp black pepper.
- Set up a dredging station with three shallow bowls: flour in the first, beaten eggs in the second, and breadcrumbs mixed with 1/4 cup grated Parmesan and dried oregano (if using) in the third.
- Dredge each cutlet in flour, shaking off excess, dip into the beaten eggs, then coat evenly with the breadcrumb mixture. Place on the prepared rack.
- Heat olive oil in a large skillet over medium heat. Fry the cutlets in batches until golden brown, about 2–3 minutes per side. Transfer browned cutlets back to the wire rack on the baking sheet.
- Spoon about 1/4 cup marinara over each cutlet, then top with a slice of mozzarella (or shredded mozzarella) and a sprinkle of remaining Parmesan.
- Bake in the preheated oven until the cheese is melted and bubbly and the chicken is cooked through, about 10–12 minutes.
- Garnish with chopped parsley and serve immediately.
Notes
- Use thin cutlets for even cooking.
- Panko gives extra crispiness.
- Dry-bring breadcrumbs with Parmesan for more flavor.
- Cook in batches to avoid overcrowding the pan.
- Leftovers keep 2–3 days refrigerated.