Juicy Chicken 101
Welcome to Juicy Chicken 101 — a simple, reliable method for tender, flavorful chicken breasts that cooks quickly and keeps your weeknights stress-free. If you’ve ever bitten into a dry chicken breast and wondered where you went wrong, this guide breaks everything down into achievable steps with pantry-friendly ingredients: chicken breast, garlic powder, salt, black pepper, paprika, and vegetable oil. Read on for tips, troubleshooting, and an easy, step-by-step recipe that guarantees juicy results every time.
Why this method works
Chicken breasts cook fast and can dry out if handled improperly. The key is a combination of even seasoning, a quick sear to lock in juices, and a short, controlled finish. The ingredients listed here are intentionally minimal — they complement the natural flavor of the chicken without masking it. Garlic powder and paprika provide warmth and depth; salt seasons throughout, and black pepper adds a bright note. A touch of vegetable oil in the pan creates an even, golden crust that looks as good as it tastes.
What you’ll need
- ▢chicken breast
- ▢garlic powder
- ▢salt
- ▢black pepper
- ▢paprika
- ▢vegetable oil
Prep work and tips
Read these quick tips before you begin cooking. They make a big difference in the final texture and flavor.
- Bring the chicken breasts to room temperature for 15–20 minutes before cooking. This ensures even cooking from edge to center.
- Pat the chicken dry with paper towels. Moisture on the surface will steam the meat instead of allowing it to form a crust.
- Measure the seasonings beforehand. A mise en place approach keeps the process smooth and fast.
- Use a heavy-bottomed skillet for the best heat distribution. A stainless-steel or cast iron pan works great.
- Have a meat thermometer on hand if you can. The target internal temperature for tender chicken breast is 165°F (74°C).
Flavor profile
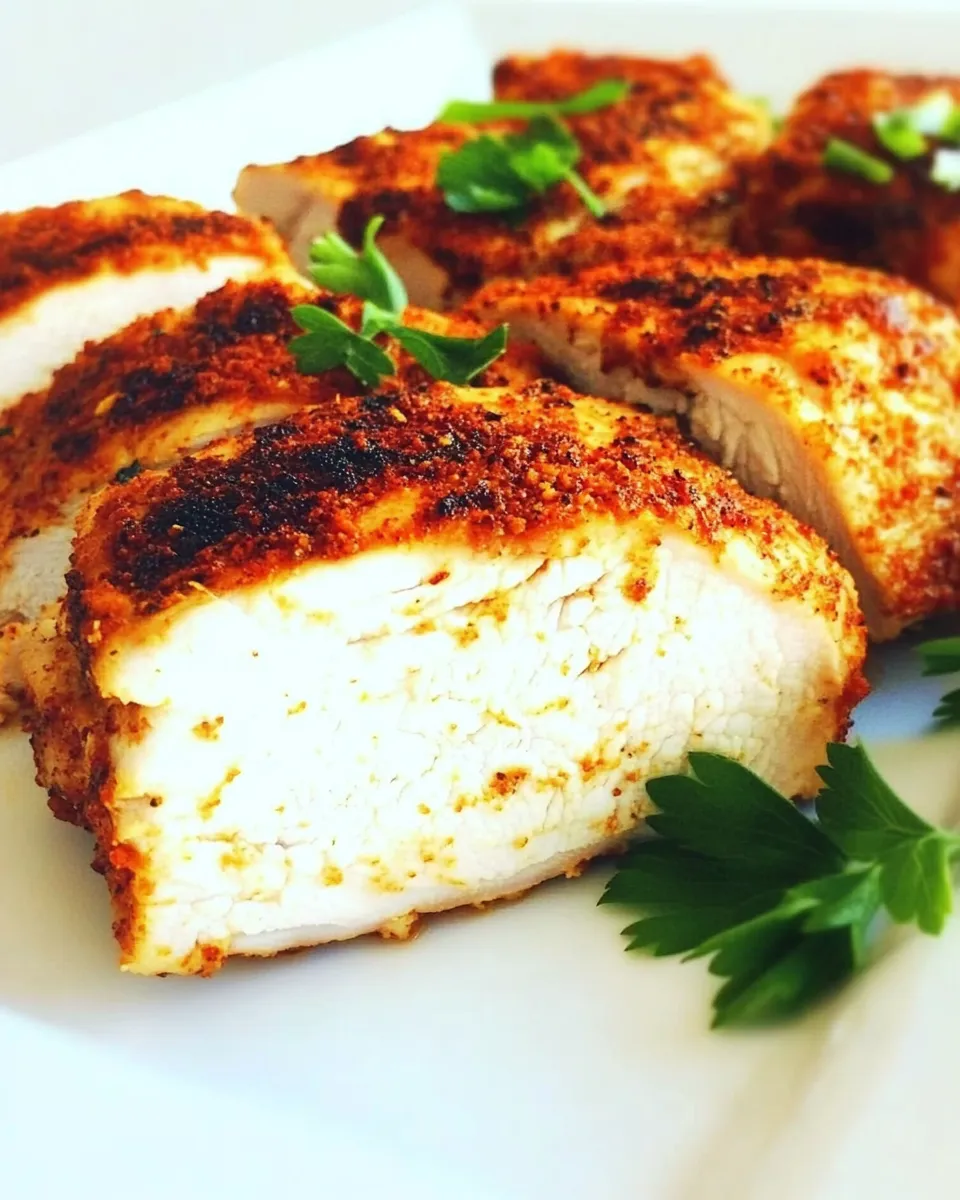
This recipe is intentionally straightforward and adaptable. The garlic powder gives a mellow aromatic base, while paprika adds color and a subtle smoky-sweet backdrop. Salt is essential for seasoning, and black pepper brings a slight bite. Together they create a balanced, approachable flavor that pairs well with rice, salad, roasted vegetables, or your favorite sauce.
Step-by-step recipe
The directions below are rewritten into clear, step-by-step wording to make Juicy Chicken 101 easy to follow. The ingredient names and amounts are taken as listed above; no changes have been made to quantities. Follow the sequence closely for consistent results.
Ingredients
- ▢chicken breast — 2 pieces (about 6–8 ounces each)
- ▢garlic powder — 1 teaspoon
- ▢salt — 1 teaspoon
- ▢black pepper — 1/2 teaspoon
- ▢paprika — 1 teaspoon
- ▢vegetable oil — 2 tablespoons
Instructions
- Prepare the chicken: Remove the two chicken breasts from the refrigerator 15–20 minutes before cooking so they come close to room temperature. Pat each breast dry with paper towels to remove excess moisture.
- Mix the seasoning: In a small bowl, combine 1 teaspoon garlic powder, 1 teaspoon salt, 1/2 teaspoon black pepper, and 1 teaspoon paprika. Stir until evenly blended.
- Season the chicken: Sprinkle the seasoning mix over both sides of each chicken breast. Press lightly with your fingertips so the spices adhere to the surface.
- Heat the pan: Place a heavy-bottomed skillet over medium-high heat. Add 2 tablespoons of vegetable oil and let it heat until it shimmers but is not smoking. The oil should coat the bottom of the pan evenly.
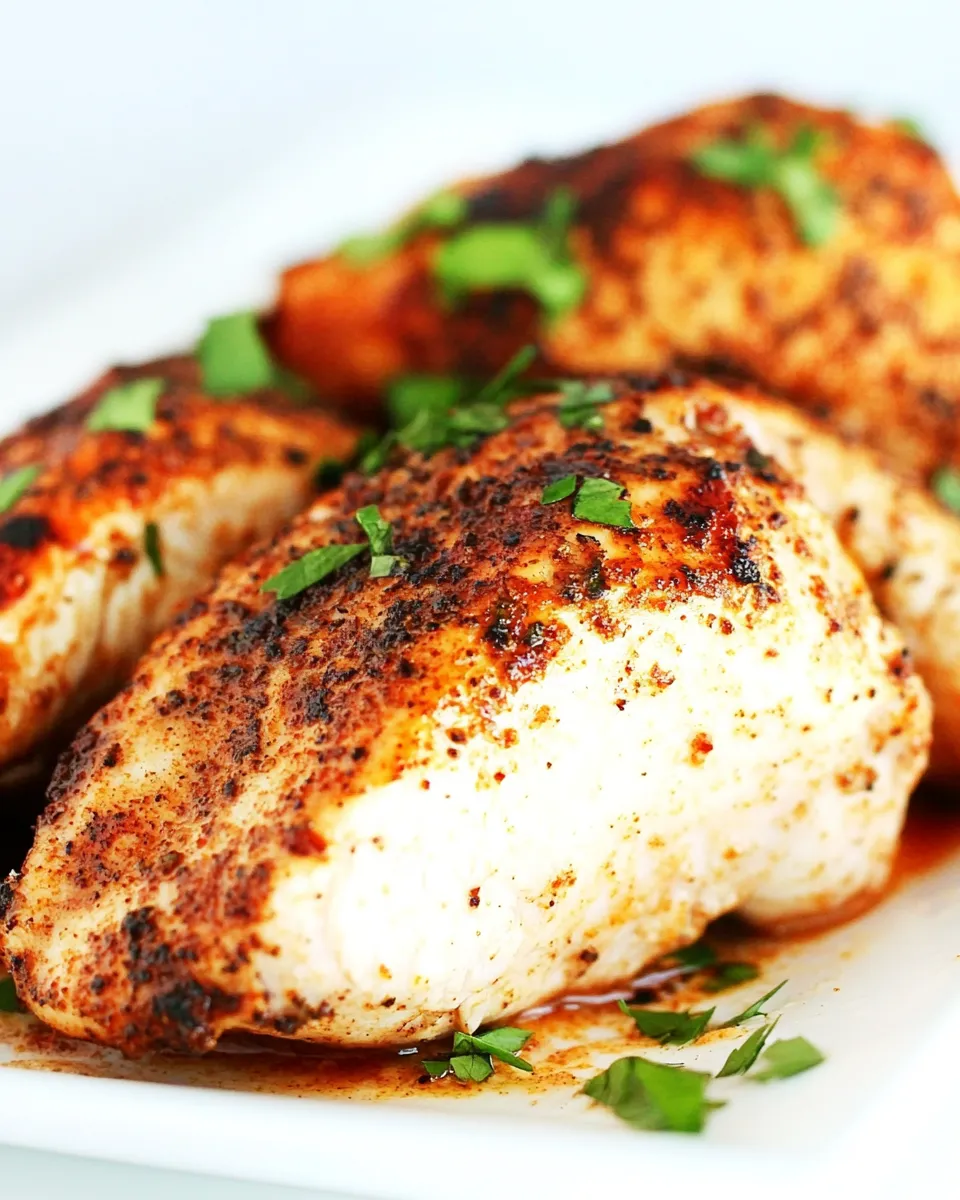
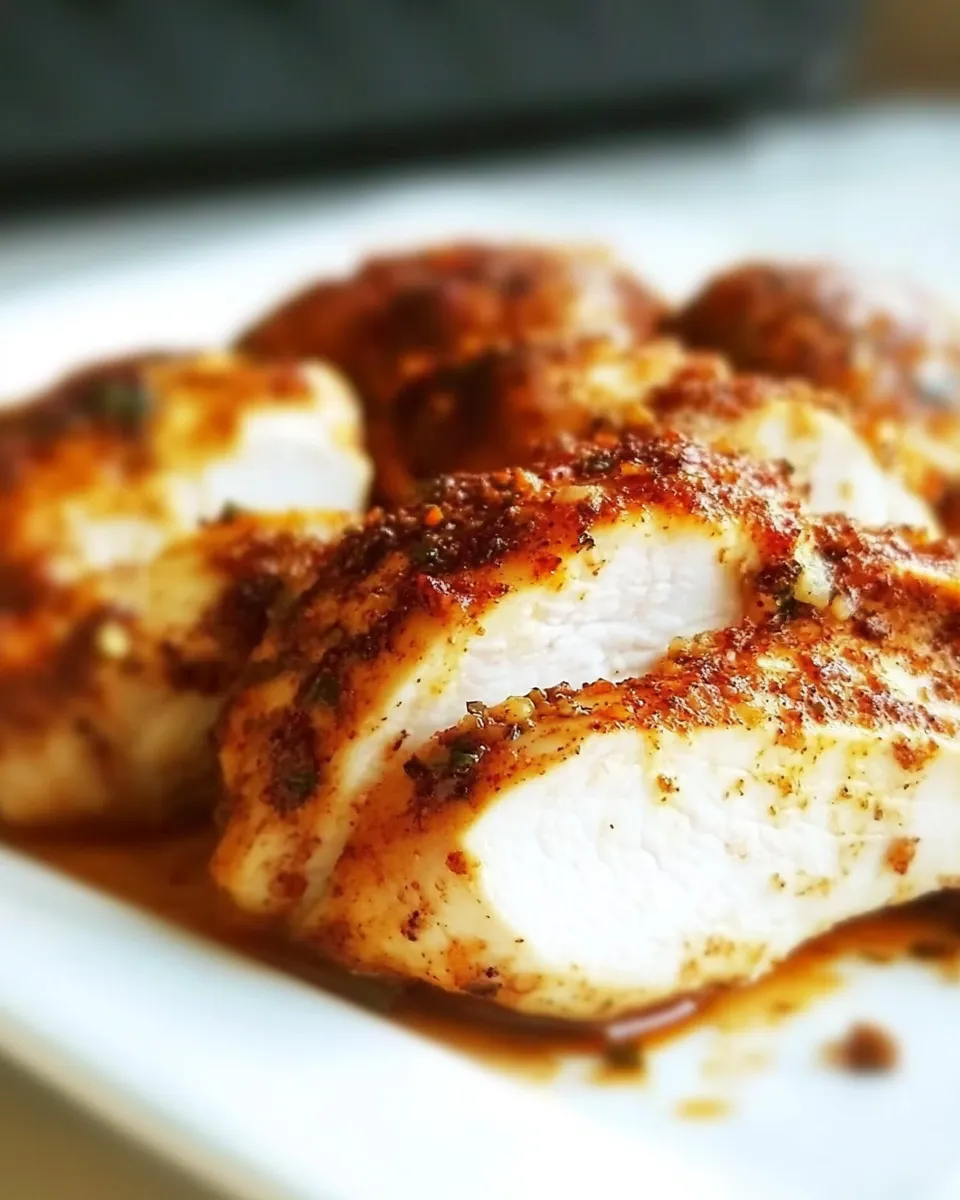
- Sear the chicken: Carefully lay the seasoned chicken breasts into the hot skillet, presentation side down first. Let them cook without moving for 3–4 minutes, until the undersides are deep golden brown.
- Flip and finish: Turn the breasts over using tongs. Reduce the heat to medium and continue to cook for another 4–6 minutes, depending on thickness, until the internal temperature reaches 165°F (74°C) when measured at the thickest point. If you don’t have a thermometer, check that the juices run clear and the center is opaque.
- Rest the chicken: Transfer the cooked chicken breasts to a cutting board and tent loosely with foil. Let them rest for 5 minutes; this allows the juices to redistribute and keeps the meat tender.
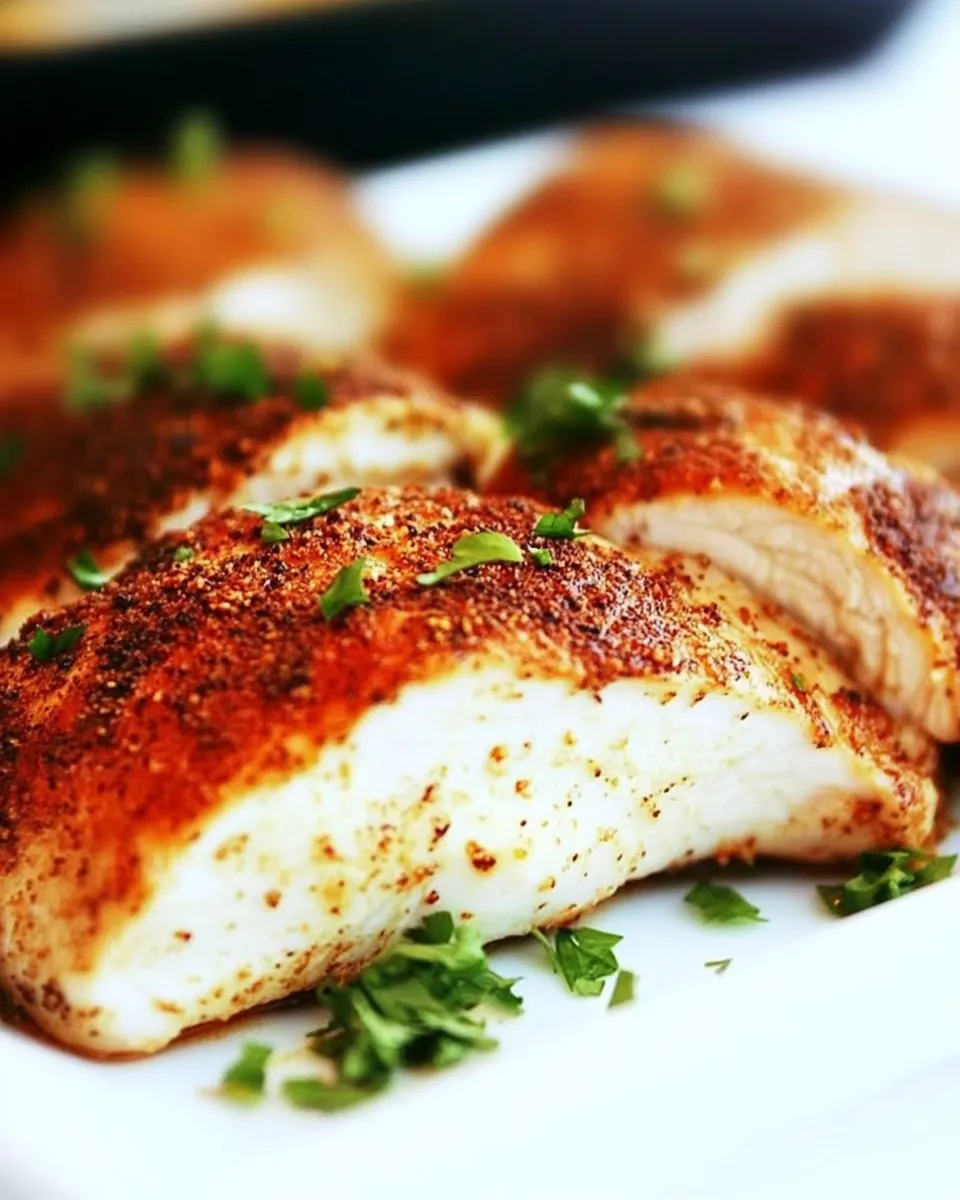
- Slice and serve: After resting, slice the breasts against the grain and serve immediately. Enjoy alongside your favorite sides or use in salads, wraps, or grain bowls.
Timing and temperature guide
Timing can vary with breast thickness. Thinner breasts (under 1 inch) will finish closer to the lower end of the range, while thicker breasts (over 1 inch) take longer. The searing step is crucial: it produces a flavorful crust and helps keep the interior juicy.
- Sear time: 3–4 minutes per side at medium-high heat for color and flavor.
- Finish time: 4–6 minutes at medium heat after flipping, or until the internal temperature reaches 165°F (74°C).
- Rest time: 5 minutes before slicing.
Common mistakes and how to avoid them
Even experienced cooks make small errors that dry out chicken. Here are the most common pitfalls and the easy fixes that will help you avoid them.
- Cooking from cold: Never cook straight from the refrigerator. Allow the chicken to come closer to room temperature so it cooks evenly.
- Crowding the pan: If you put too many pieces into the skillet at once, the temperature drops and the meat steams instead of searing. Cook in batches if needed.
- Skipping the rest: Cutting into chicken immediately after cooking releases hot juices and dries the meat. Rest for 5 minutes for juicy slices.
- Over-reliance on time: Use an instant-read thermometer whenever possible. Times are guidelines; temperature is the real deadline for doneness.
Serving ideas
These simply seasoned chicken breasts are versatile and pair well with a range of sides. Here are a few quick ideas to turn Juicy Chicken 101 into a complete meal:
- Serve sliced over a bed of mixed greens with a lemony vinaigrette for a bright salad.
- Pair with steamed rice and sautéed greens for a balanced plate.
- Add to wraps with crisp vegetables and a yogurt-based sauce for a fresh lunch option.
- Top roasted potatoes and seasonal vegetables for a cozy weeknight dinner.
Make-ahead and storage
If you want to prep ahead, cooked chicken breasts keep well in the refrigerator for up to 4 days. Slice them and store in an airtight container with a tablespoon of olive oil or a splash of broth to preserve moistness. Reheat gently in a low oven or briefly in a skillet over medium-low heat so they don’t dry out. Avoid microwaving for long stretches, which can make the meat rubbery.
Variations and swaps
Once you’re comfortable with the basic Juicy Chicken 101 technique, try these small variations to change the flavor profile without adding complexity:
- For more warmth, add 1/2 teaspoon ground cumin to the seasoning mix.
- For a touch of citrus, zest a lemon into the spice blend before seasoning the chicken.
- To make a slightly spicier version, include a pinch of cayenne pepper in the seasoning.
Troubleshooting
Here are quick answers to common questions that come up while cooking chicken breasts.
- Why is my chicken still pink in the middle? Check the temperature at the thickest point; it must reach 165°F (74°C). Pink hue alone isn’t always unsafe if the temperature is met, but undercooked meat will be soft and glossy.
- Why did the chicken stick to the pan? The pan needs to be adequately preheated and the oil should shimmer before the chicken goes in. Also, don’t move the breast in the first 3–4 minutes; a proper sear will release cleanly.
- How do I get a crispier crust? Increase the heat slightly during the sear, but watch closely to avoid burning. A heavier pan like cast iron helps achieve a crisp exterior.
Why this recipe belongs in your weeknight rotation
Juicy Chicken 101 is straightforward, pantry-friendly, and dependable. It uses only a handful of seasonings and a common cooking fat, which means you can make it any night of the week without an extra grocery run. The method scales up easily and lends itself to meal prep, lunches, and last-minute dinners. Most importantly, it reliably delivers juicy, flavorful chicken every time.
Final notes
Respect the simple steps: bring to room temperature, pat dry, season, sear, finish, and rest. Those six actions are the essence of Juicy Chicken 101 and the reason this recipe performs well. The minimal ingredient list keeps the natural flavor front and center while the technique does the heavy lifting.
If you try the recipe, note any small adjustments you make for your stovetop and the thickness of your chicken breasts. Little tweaks will help you dial in perfect timing for your kitchen. Happy cooking, and enjoy a reliably juicy chicken breast every time.
Juicy Chicken 101
Ingredients
Equipment
Method
- Preheat the oven to 400°F (204°C).
- Pour about 1/2 inch of vegetable oil into a large ovenproof or cast-iron pan and heat it over medium until shimmering.
- Rinse the chicken breasts under cold water and pat them completely dry with paper towels.
- Season both sides of each chicken breast generously with garlic powder, paprika, salt, and black pepper.
- Carefully add the seasoned chicken breasts to the hot pan and cook on one side for 5 minutes without moving to brown.
- Flip the chicken breasts, then immediately transfer the pan to the preheated oven and bake for 10–15 minutes until an instant-read thermometer inserted into the thickest part reads 165°F (74°C). About 13 minutes is typical.
- Remove the pan from the oven and let the chicken rest for a few minutes before slicing and serving hot.
Notes
- A meat mallet can help pound oversized breasts for even cooking.
- Use a meat thermometer to ensure the internal temperature reaches 165°F (74°C).
- Use a cast iron pan for best searing and oven transfer.
- Let the chicken rest a few minutes before slicing.