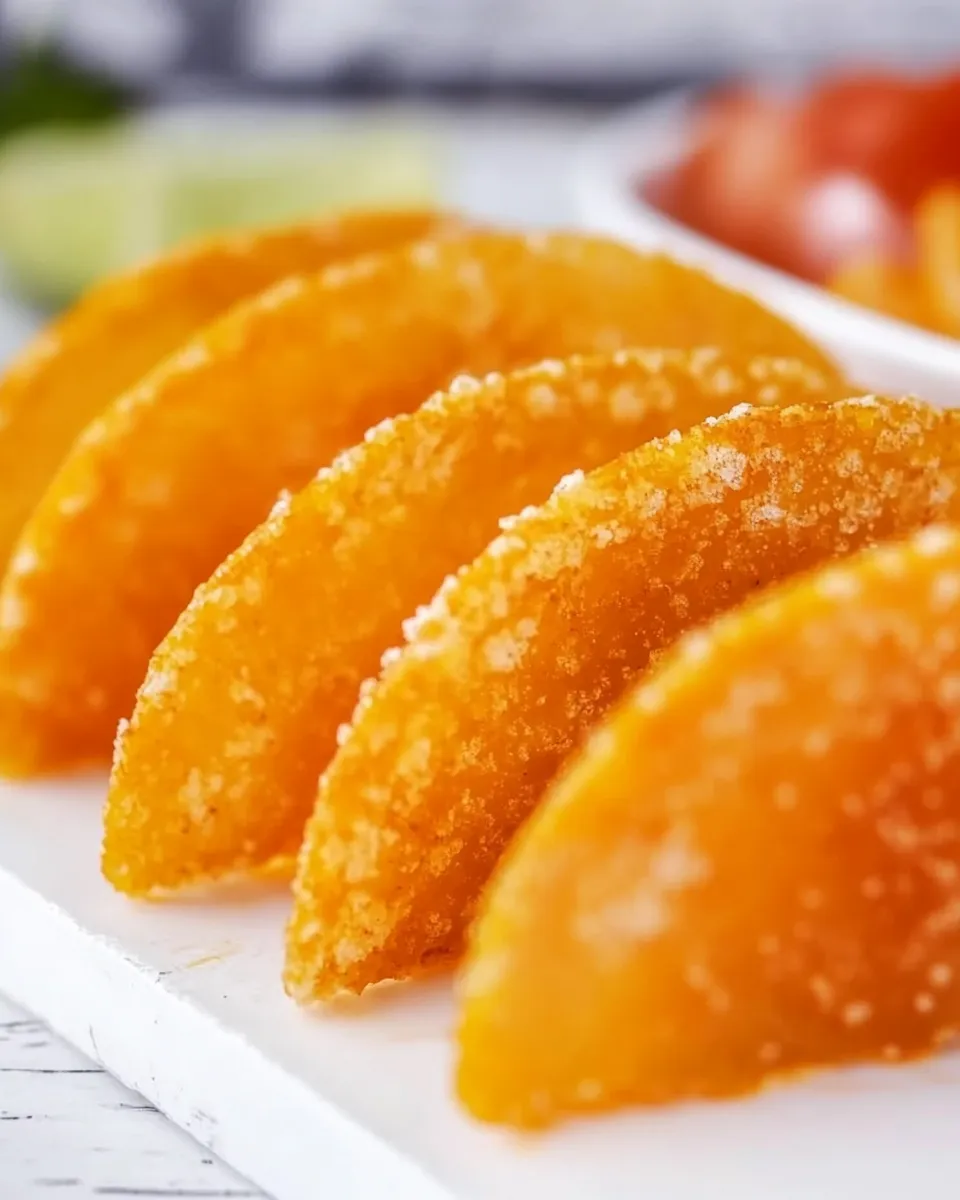
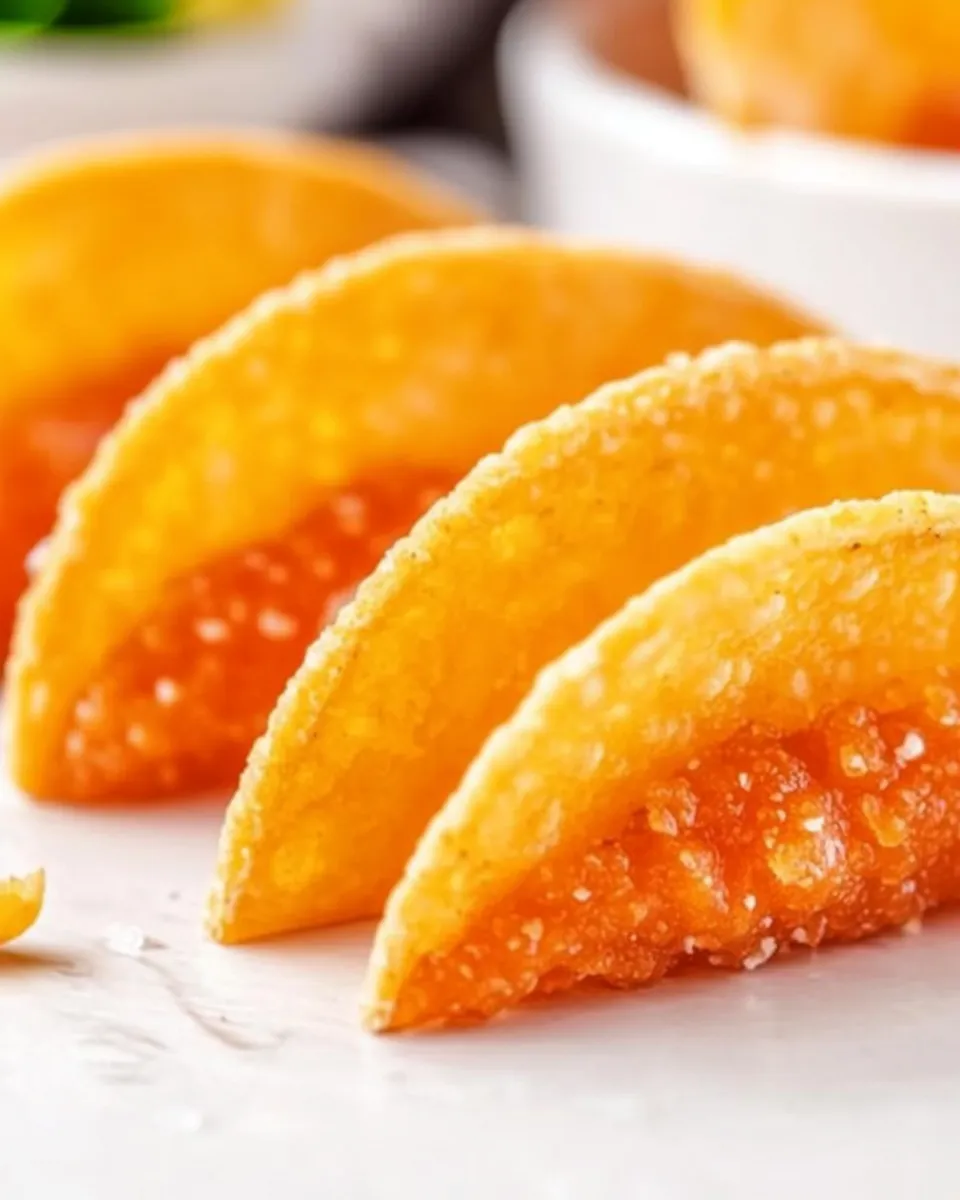
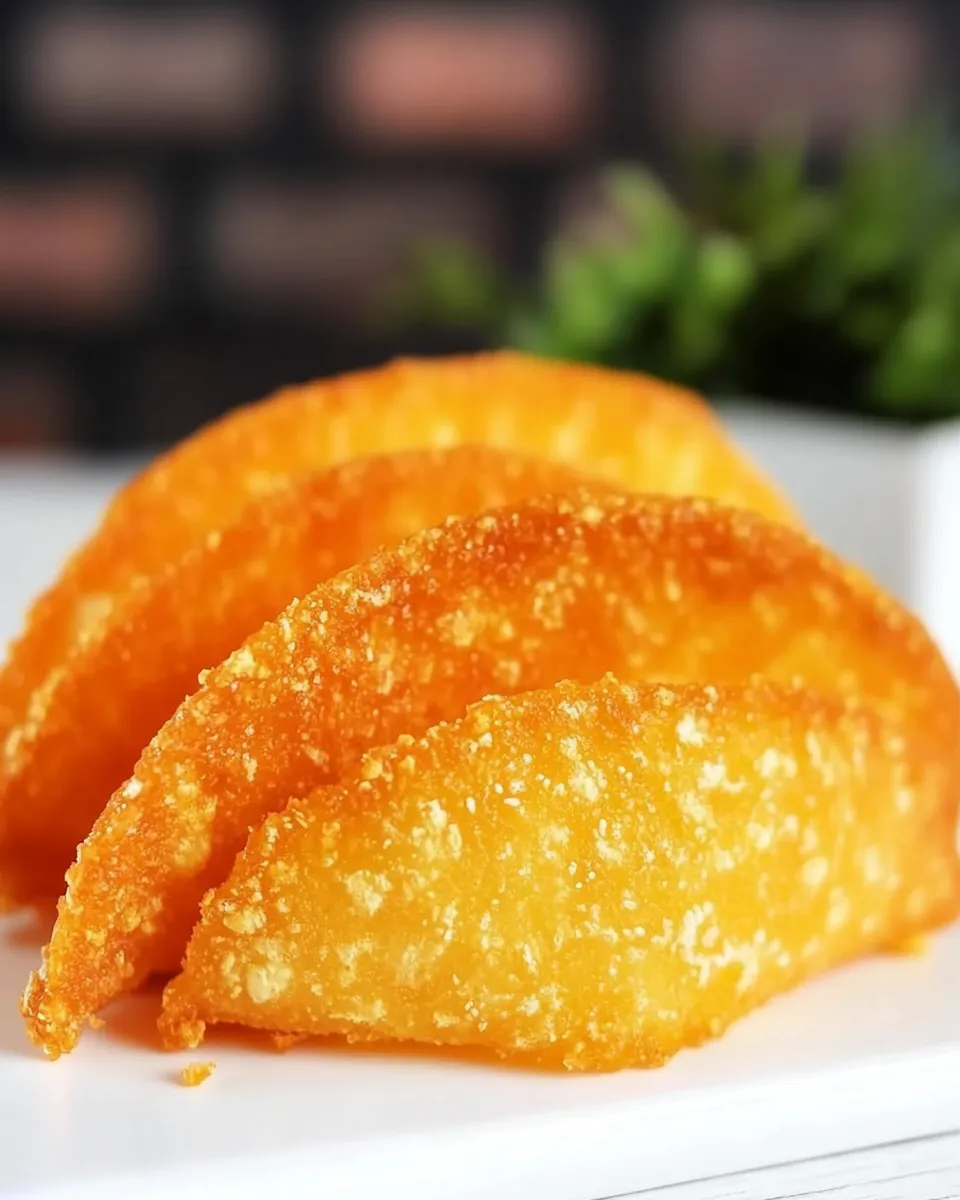
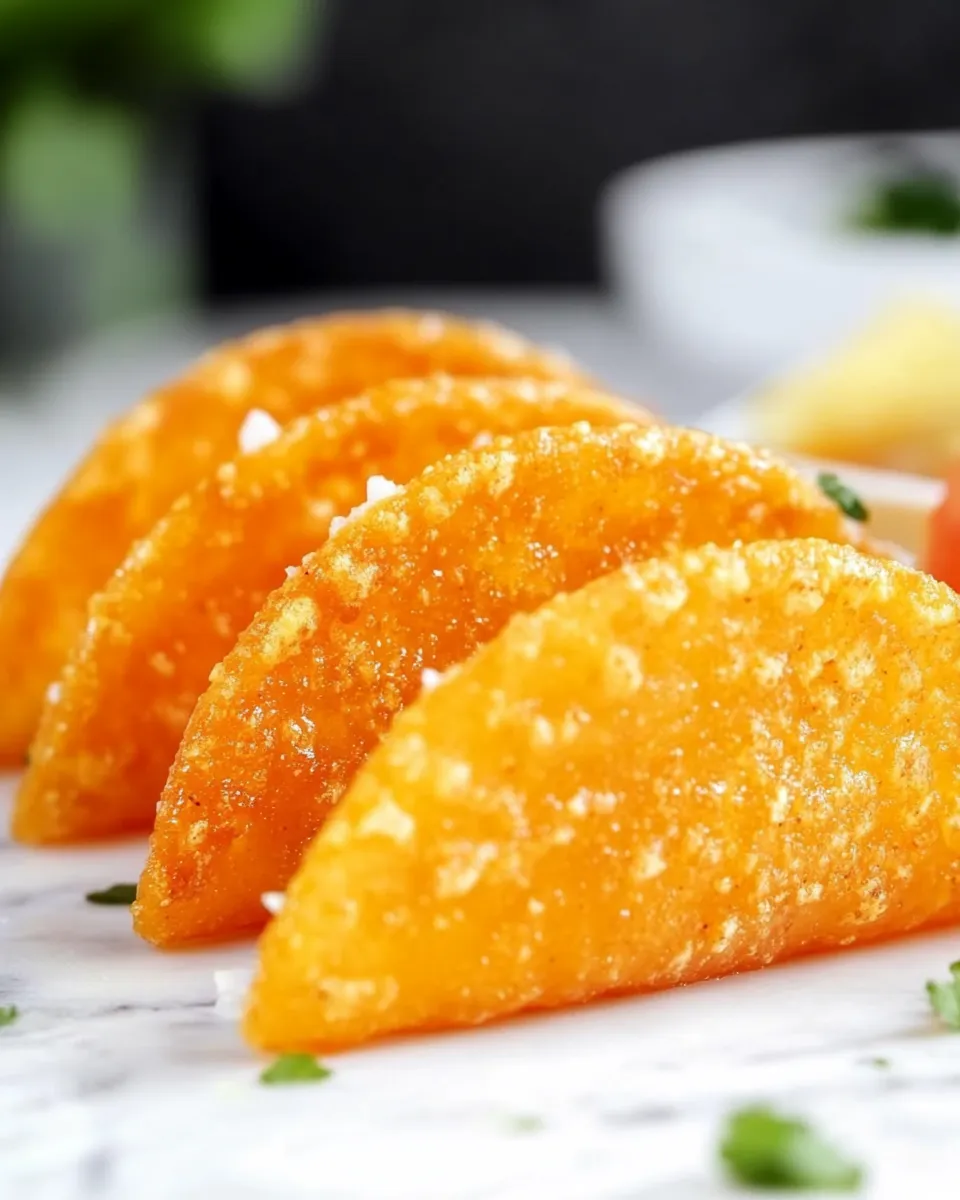
Keto Taco Shells
These crunchy, cheesy shells are the kind of recipe that makes low-carb dinners feel indulgent and fun. Made with just a few simple ingredients — including ▢2cupscheddar cheesefreshly grated — they crisp up perfectly in a skillet or oven. Whether you fill them with seasoned ground turkey, spiced cauliflower, or a pile of fresh vegetables, these Keto Taco Shells are quick, satisfying, and built to hold up to generous fillings without falling apart.
Why you’ll love this recipe
There are three reasons this recipe keeps showing up on weeknight tables: the texture, the ease, and the flavor. The shells turn golden and crisp on the edges while remaining slightly pliant in the center, so they mimic the experience of a fried tortilla without the carbs. Cooking them takes minutes, and the ingredient list is a pantry-friendly mix that’s pantry to fridge to table in under 30 minutes. Plus, the cheddar gives an unmistakable savory note that plays well with smoky, spicy, and bright toppings.
Ingredients
- ▢2cupscheddar cheesefreshly grated
- 1 large egg
- 1/2 teaspoon garlic powder
- 1/2 teaspoon onion powder
- 1/2 teaspoon ground cumin
- 1/4 teaspoon smoked paprika
- Salt and pepper, to taste
- Nonstick spray or a small amount of neutral oil for cooking
Notes on ingredients
The recipe calls for ▢2cupscheddar cheesefreshly grated, which is the backbone of these shells. Freshly grating your cheddar helps it melt evenly and form a uniform lace that crisps nicely. If you prefer a sharper flavor, use a mature cheddar; for milder notes, pick a young cheddar. The single egg acts as a binder and helps the shells hold together. The spices—garlic powder, onion powder, cumin, and smoked paprika—bring warmth and a subtle smokiness that complements savory fillings.
Equipment
- Nonstick skillet or well-seasoned cast-iron pan
- Mixing bowl
- Spatula
- Paper towels
- Tongs
- Optional: baking sheet and parchment paper if you prefer oven-baked shells
Flavor variations and serving ideas
These Keto Taco Shells are a blank canvas. Try them with any of the following filling ideas:
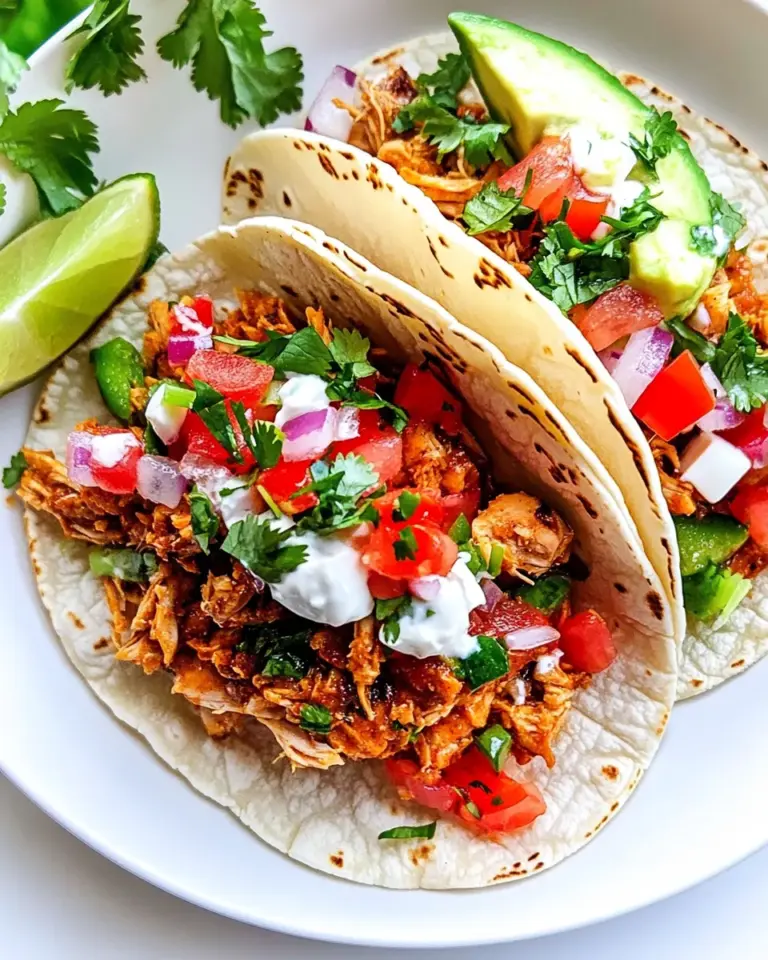
- Spiced ground turkey with chopped cilantro, diced tomatoes, and a squeeze of lime.
- Grilled chicken, avocado slices, shredded lettuce, and a dollop of yogurt-based sauce.
- Roasted cauliflower tossed with chili powder and lime, topped with pickled onions.
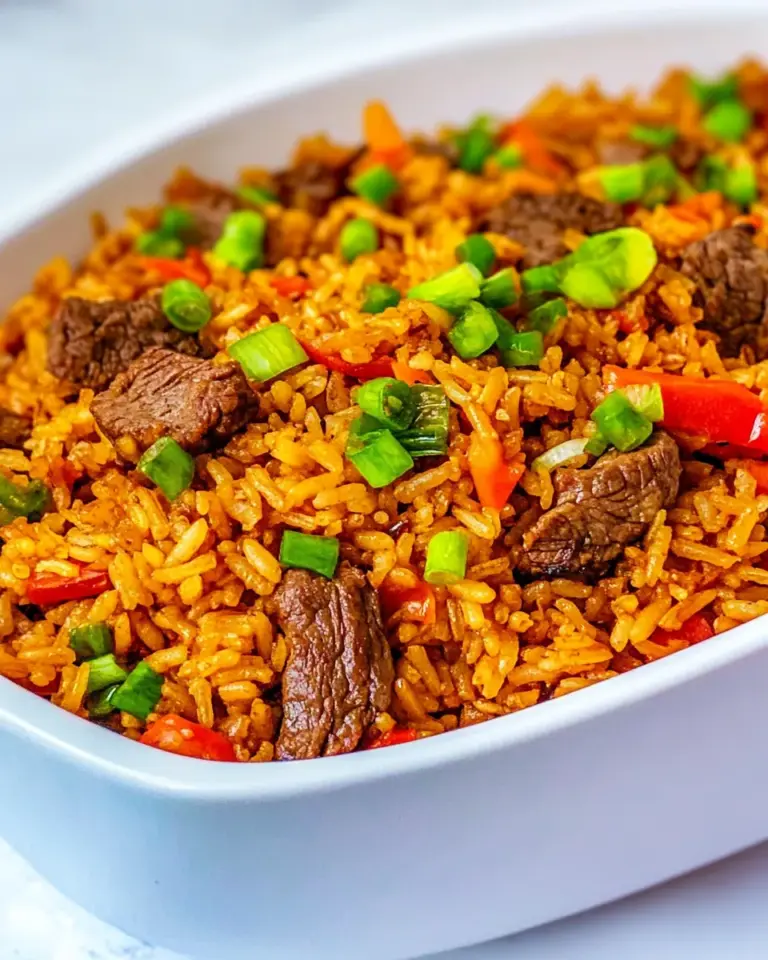
- Shredded beef and a sprinkle of extra cheddar for double-cheese decadence.
Garnish with fresh herbs, chopped onions, and hot sauce for extra brightness. The shells can be made ahead and warmed briefly before serving, or cooked right before you assemble for maximum crispness.
Step-by-step instructions
Below are clear, rewritten directions to make the process easy to follow. The order follows the original method, and ingredient amounts are preserved exactly as listed.
- Prepare your workstation. Grate ▢2cupscheddar cheesefreshly grated and set it in a mixing bowl. Crack in the large egg and add the garlic powder, onion powder, ground cumin, smoked paprika, and a pinch of salt and pepper.
- Mix until combined. Use a fork or small whisk to stir the egg into the grated cheddar and spices until everything is evenly distributed and a sticky, cohesive mixture forms.
- Heat the pan. Place a nonstick skillet or cast-iron pan over medium heat. Allow it to warm for about 2 minutes so the surface is evenly hot. If you prefer, lightly grease the pan with a spray of nonstick cooking spray or wipe it with a thin film of neutral oil using a paper towel.
- Form the shells. Spoon about 1/4 cup of the cheese mixture into the hot pan for each shell, spacing them so they do not touch. Use the back of the spoon to gently spread each mound into a circle about 5 to 6 inches across; the layer should be thin and even so it crisps well.
- Cook until edges brown. Let the cheese cook undisturbed for 2 to 3 minutes. You will notice the cheese melting and the edges turning golden brown and lacy. When the center appears set and the edges have browned, the shells are ready to flip.
- Flip carefully. Use a spatula to flip each cheese circle and cook the second side for an additional 30 to 45 seconds, just long enough to crisp the underside. Avoid overcooking, which can make the shells brittle.
- Shape while warm. Immediately after flipping and crisping the second side, use tongs or the spatula to lift a shell from the pan and drape it over the handle of a wooden spoon, an inverted bowl rim, or fold it over gently into a taco shape. Work quickly while the cheese is still pliable so it sets into the taco curve as it cools.
- Drain and cool. Transfer the formed shells to a paper towel-lined plate to absorb any excess oil and to cool completely. The shells will crisp further as they cool and hold their shape well once cooled.
- Repeat with remaining mixture. Continue cooking the rest of the cheese mixture in batches, making sure the pan reheats between batches so each shell cooks evenly. If the pan shows bits of cheese residue between batches, wipe it clean with a paper towel and reheat briefly before adding the next round.
- Assemble and serve. Fill each cooled shell with your desired fillings and toppings. Serve immediately so the contrast between the crunchy shell and warm fillings is at its best.
Oven method (optional)
If you prefer to bake these shells rather than cook them on the stovetop, follow these steps, still using the same ingredient amounts:
- Preheat your oven to 400°F (204°C) and line a baking sheet with parchment paper.
- Place spoonfuls of the cheese mixture onto the parchment, spreading each into a 5 to 6-inch circle.
- Bake for 6 to 8 minutes, or until the edges turn golden brown and the center is set.
- Shape the baked circles into taco shells while warm by draping them over the handle of a wooden spoon or folding them gently into a taco form. Let them cool to crisp.
Tips for success
- Use freshly grated cheese. Pre-shredded cheese contains anti-caking agents that change how it melts. Freshly grated cheddar yields the best texture.
- Keep the layer thin and even. A thin layer crisps quickly and forms a delicate lace; a thick layer may stay chewy in the center.
- Work quickly when shaping. The cheese becomes brittle as it cools, so shape it while it’s still warm and flexible.
- Clean the pan between batches if needed. Small burnt bits can interfere with even cooking; a quick wipe keeps each batch turning out the same.
- Adjust cook time to your stove. Some stovetops run hotter, so watch the first batch closely to dial in the right time and temperature.
Storage and make-ahead
Once cooled, these shells can be stored in an airtight container at room temperature for a day or in the refrigerator for up to three days. To refresh them and restore crispness, reheat briefly in a 350°F (177°C) oven for 3 to 5 minutes or pop them back into a hot skillet for 30 seconds per side. Do not microwave, as that will make them soft and chewy.
Nutrition and portioning
Cheese-forward shells are calorie-dense and high in fat, which is ideal for low-carbohydrate meals. Because the recipe is concentrated, you can make a small batch and pair each shell with lean proteins and plenty of vegetables to balance the plate. If you need to scale the recipe, double or halve it while keeping ingredient ratios the same.
Common questions
Can I use other cheeses? Yes. Cheeses that melt well, such as Monterey Jack, Colby, or a mild mozzarella-blend, can be substituted, keeping the same amount. Mixing a sharper cheese with a milder melting cheese can create depth with good meltability.
Will the shells hold saucy fillings? They’re sturdy for typical taco fillings—spiced meats, shredded vegetables, and chunky salsas. Very wet sauces can soften them over time, so either serve those on the side or spoon them sparingly into the shell right before eating.
Can I make them crispy without oil? Yes. Using a good nonstick pan and cooking over medium heat without added oil works well because the cheese releases its own fat as it melts.
Final thoughts
These Keto Taco Shells transform a handful of ingredients into something crispy, satisfying, and versatile. The simple technique—melt, brown, and shape—opens up endless possibilities for toppings and meal ideas. They’re quick enough for busy weeknights and impressive enough to bring to a casual weekend gathering. Make a batch, load them up with your favorite fillings, and enjoy a low-carb taco experience that doesn’t sacrifice texture or flavor.
Ready to make them? Gather ▢2cupscheddar cheesefreshly grated and the other ingredients, warm a skillet, and in under 30 minutes you’ll have a stack of shells ready for filling. Happy cooking!
Keto Taco Shells
Ingredients
Equipment
Method
- Preheat the oven to 200°C / 400°F and line a large baking sheet with parchment paper.
- Using a 1/4-cup measuring cup, scoop portions of the freshly grated cheddar onto the prepared sheet, spacing them apart; gently spread each into a 4-inch circle.
- Bake for 8–10 minutes, until the cheese is fully melted and golden brown at the edges.
- Remove from the oven and let cool for a few minutes until safe to handle but still pliable.
- Use a spatula to lift each cheese circle and drape it over a greased rolling pin or glass jar to form a taco shell; cool completely before removing and serving.
Notes
- Store leftover shells at room temperature, covered, for up to seven days.
- Freeze cooled shells in a zip-top bag for up to two months.