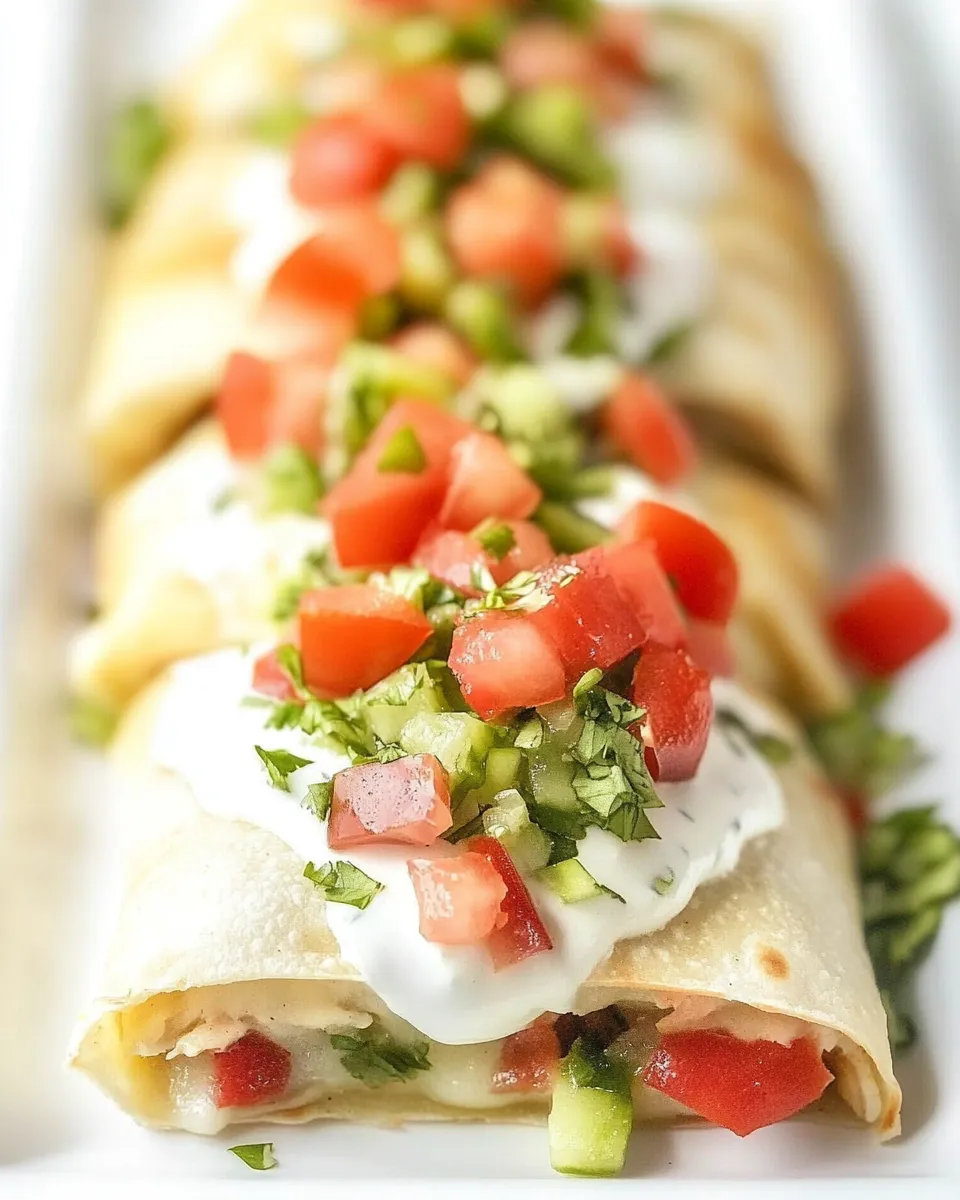
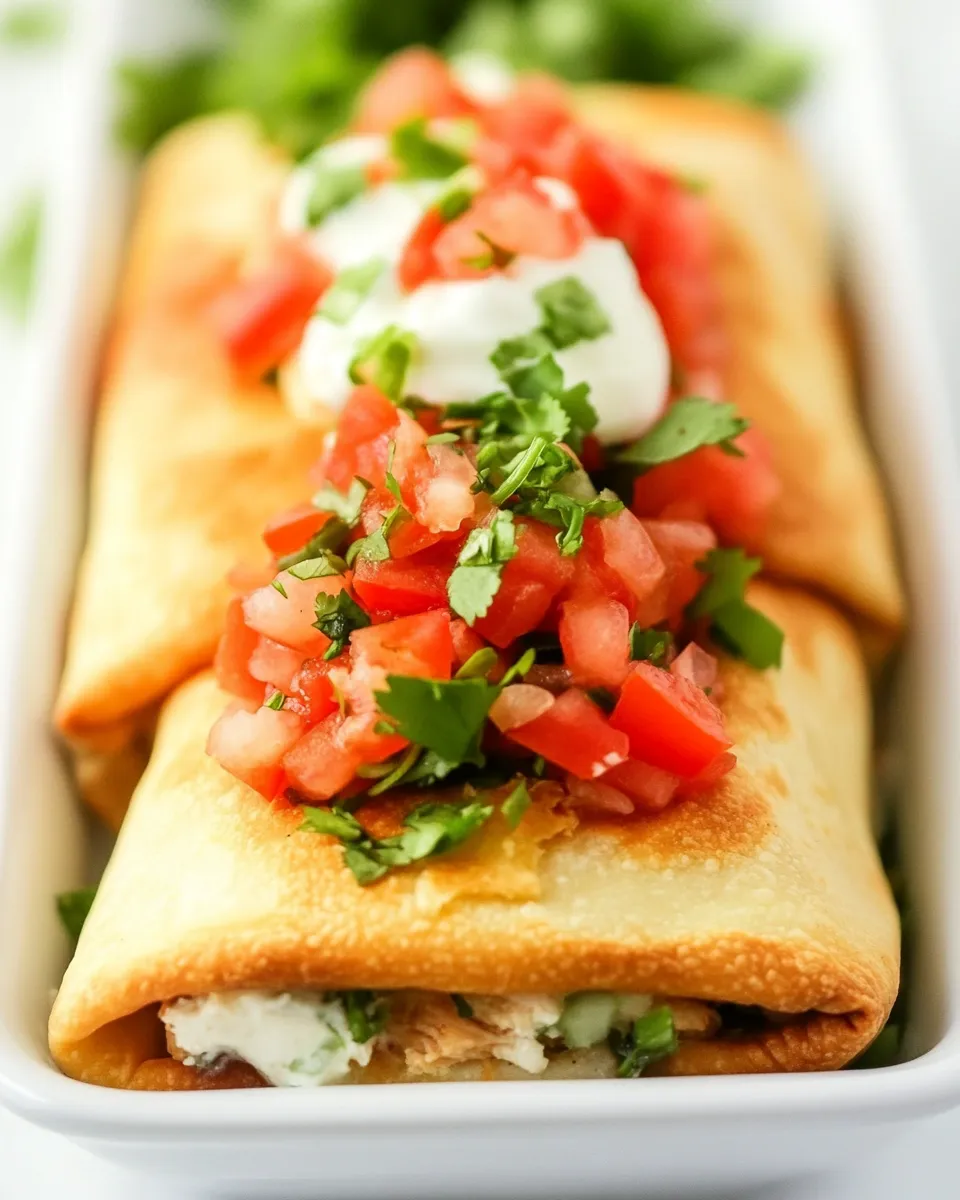
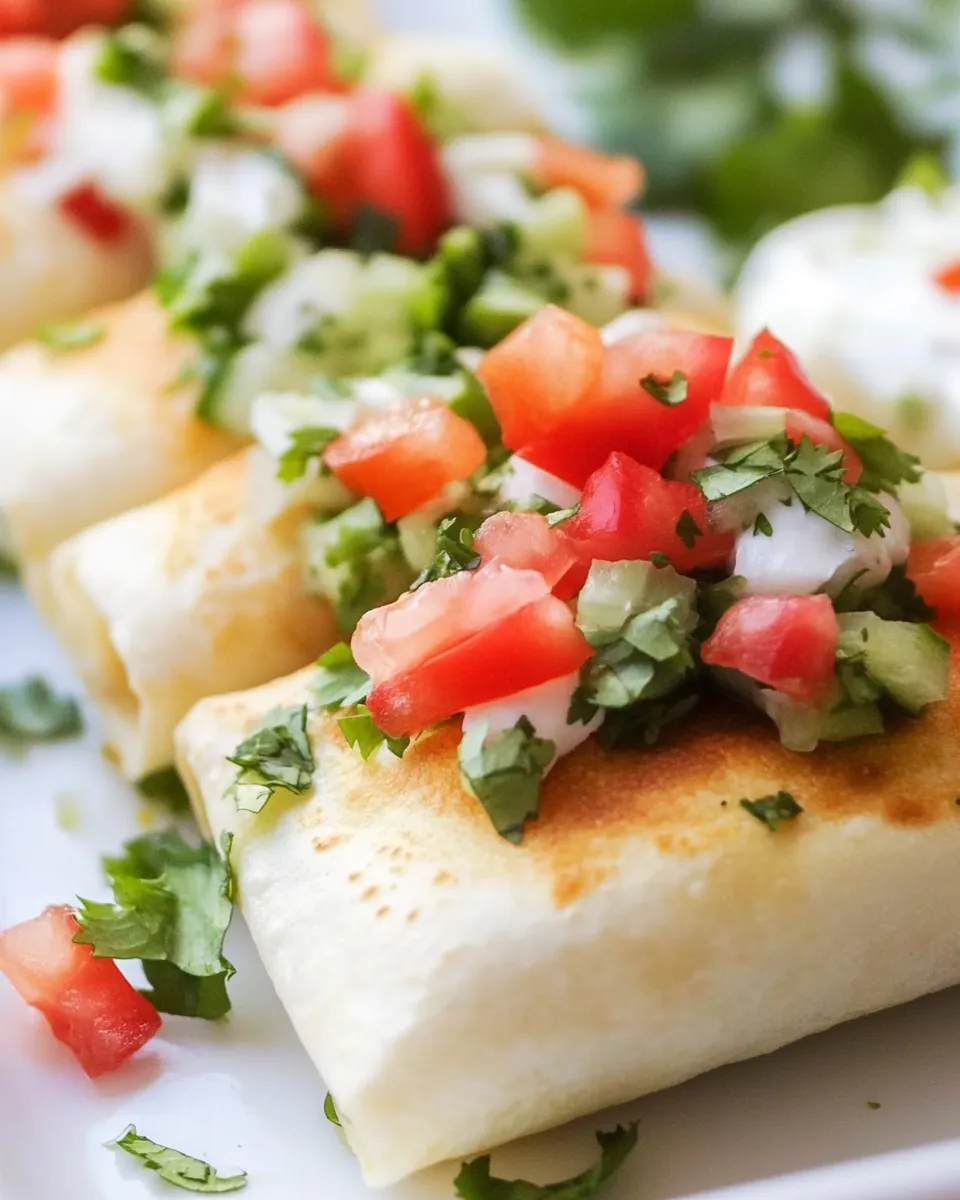
Mini Chicken Chimichangas
I’m so excited to share these little pockets of melty, spicy comfort that disappeared in minutes at my last weeknight dinner. Think crispy, golden tortillas hugging a creamy, cheesy, shredded chicken filling with a kick from taco seasoning and a mellow heat from pepper jack cheese. They’re perfect for family dinners, game nights, or any time you want a handheld meal that feels special without fuss. These Mini Chicken Chimichangas are quick to assemble, bake until perfectly crisp, and topped with sour cream, guacamole, and pico de gallo for bright contrast.
Why you’ll love these Mini Chicken Chimichangas

- Little bites of creamy, cheesy chicken encased in a crunchy tortilla shell.
- Uses simple pantry staples and shredded cooked chicken—rotisserie works wonderfully for speed.
- Baked instead of deep-fried for a lighter finish that’s still satisfyingly crisp.
- Perfectly portioned for kids and grown-ups alike, and easy to customize with toppings.
Ingredients
- 1 (8 ounce) package cream cheese, room temperature
- 1 Tablespoon taco seasoning
- 8 ounces Pepper Jack, shredded (about 2 cups)
- 3 cups shredded cooked chicken, (rotisserie works well)
- 16-20 soft taco tortillas
- 1 tablespoon butter, melted
- Toppings: sour cream, guacamole, and pico de gallo
Notes before you begin
Bring the cream cheese to room temperature so it blends smoothly with the taco seasoning and cheese. If your tortillas are large, you can cut them down to make smaller chimichangas; the recipe is written for 16–20 soft taco tortillas, which will yield a nice batch of mini chimichangas depending on how much filling you use per tortilla. The shredded cooked chicken can be from a store-bought rotisserie bird or any leftover roasted or poached chicken—just remove any skin and bones before shredding so every bite is easy to eat.
Step-by-step directions
- Preheat the oven and prepare the pan. Set your oven to 400°F (200°C). Line a baking sheet with parchment paper or lightly spray it with cooking spray so the chimichangas won’t stick.
- Make the creamy filling. In a medium bowl, add the room-temperature cream cheese and the 1 Tablespoon taco seasoning. Use a rubber spatula or a hand mixer on low speed to combine until smooth and evenly seasoned.
- Add the cheese and chicken. Stir in the 8 ounces (about 2 cups) of shredded Pepper Jack cheese and the 3 cups shredded cooked chicken until everything is uniformly mixed. The mixture should be thick but spreadable; the warmth of slightly-warm chicken can make the filling easier to work with, but it’s fine if the chicken is fully cooled.
- Warm the tortillas. To prevent cracking when you roll the chimichangas, warm the tortillas so they are pliable. Wrap them in a clean kitchen towel and microwave in 30-second intervals for 30–60 seconds total, or heat them briefly in a dry skillet over medium heat. Keep them covered so they stay soft.
- Assemble the chimichangas. Lay a warmed tortilla flat on your work surface. Spoon about 2–3 tablespoons of the chicken and cheese mixture near the center of the tortilla, slightly offset toward you. Fold the sides of the tortilla inward to enclose the filling, then roll away from you, tucking as you go to create a tight cylinder. Place the rolled chimichanga seam-side down on the prepared baking sheet. Repeat with the remaining tortillas and filling. Depending on how full you fill them, you should yield roughly 16–20 mini chimichangas.
- Brush with butter. Lightly brush each chimichanga with the melted 1 tablespoon butter. This helps them turn golden and crisp in the oven. If you prefer, you can use a little cooking spray instead, but the butter adds a lovely flavor.
- Bake until crisp and golden. Place the baking sheet in the preheated oven and bake for 12–16 minutes, or until the tortillas are golden brown and crisp. Keep an eye on them toward the end of baking so they don’t over-brown. If some chimichangas are larger, they may need an extra minute or two.
- Rest briefly, then plate. Remove the pan from the oven and let the chimichangas rest for 1–2 minutes. This brief rest helps the filling set slightly so the chimichangas hold their shape when you transfer them to a platter.
- Serve with toppings. Arrange the mini chimichangas on a serving platter and offer bowls of sour cream, guacamole, and pico de gallo for topping. Encourage guests to spoon on a little pico for brightness, add a dab of guacamole for creaminess, and finish with a swirl of sour cream if desired.
Make-ahead and storage tips
If you want to assemble these ahead of time, roll the chimichangas and place them seam-side down on the baking sheet. Cover loosely with plastic wrap and refrigerate for up to 24 hours before brushing with butter and baking. After baking, cooled chimichangas will keep in an airtight container in the refrigerator for up to 3 days. Reheat in a 350°F (175°C) oven for 8–10 minutes to restore crispness, or pop them in an air fryer at 350°F for 4–6 minutes.
Variations and add-ins
- Add a handful of chopped fresh cilantro to the filling for a herby lift.
- Stir in a few tablespoons of salsa to the filling for extra moisture and flavor.
- Use Monterey Jack or a mild cheddar if you prefer less spice than Pepper Jack.
- For a vegetarian twist, swap the shredded chicken for black beans and corn and increase the cheese slightly.
Serving suggestions
These mini chimichangas pair beautifully with a simple green salad, Mexican-style rice, or a bowl of tortilla chips. They make a fun appetizer or party food, too—serve with toothpicks and small bowls of pico de gallo and guacamole for dipping.
Why this version works
The cream cheese binds the filling and adds a luscious creaminess that contrasts with the crisp tortilla exterior. Taco seasoning brings familiar, balanced spices without overpowering the cheese and chicken. Pepper Jack contributes both melt and a gentle spicy kick that wakes up each bite. Baking them keeps cleanup simple and produces a satisfyingly crunchy shell without the extra oil of deep frying.
Frequently asked questions
Can I freeze these? Yes. Place rolled, unbaked chimichangas on a baking sheet and freeze until solid, then transfer to a freezer-safe bag for up to 1 month. Bake from frozen; add a few extra minutes to the baking time and watch for a golden exterior.
How do I prevent the tortillas from splitting? Warming them briefly until pliable is key. If they’re still cracking, try slightly smaller fillings so the tortilla doesn’t stretch as much when rolled.
Can I air-fry them? Absolutely. Arrange chimichangas seam-side down in a single layer in the air fryer basket, brush with a bit of butter or spray, and air-fry at 375°F for 6–8 minutes until golden and crisp, flipping halfway if your basket requires it.
Final thoughts
These Mini Chicken Chimichangas are one of those recipes that strikes a satisfying balance: cozy and comforting, but easy enough for a busy weeknight. They’re crisp on the outside and creamy on the inside, with bright accompaniments that keep each bite lively. Whether you make a tray for a casual dinner or a party, they’re guaranteed to be a crowd pleaser.
Happy cooking—and enjoy every gooey, crunchy bite!
Mini Chicken Chimichangas
Ingredients
Equipment
Method
- Preheat the oven to 350°F (175°C). Line a baking sheet with parchment paper or lightly grease it with cooking spray.
- In a large bowl, combine the room-temperature cream cheese, taco seasoning, shredded Pepper Jack, and shredded cooked chicken; stir until evenly mixed.
- Place about 1/4 cup of the chicken mixture in the center of each tortilla.
- Fold the two sides of the tortilla over the filling, then roll from one open end to the other to enclose the filling and place seam-side down on the prepared baking sheet.
- Repeat with remaining tortillas and filling, arranging chimichangas on the sheet so they are not touching. Brush each chimichanga with melted butter.
- Bake for 15–20 minutes, or until the chimichangas are golden brown and crispy.
- Remove from the oven and top with sour cream, guacamole, and pico de gallo as desired before serving.
Notes
- Use rotisserie chicken to save time.
- Room-temperature cream cheese mixes more easily.
- Brush with butter for a crisp, golden exterior.
- Adjust taco seasoning to taste for more or less spice.