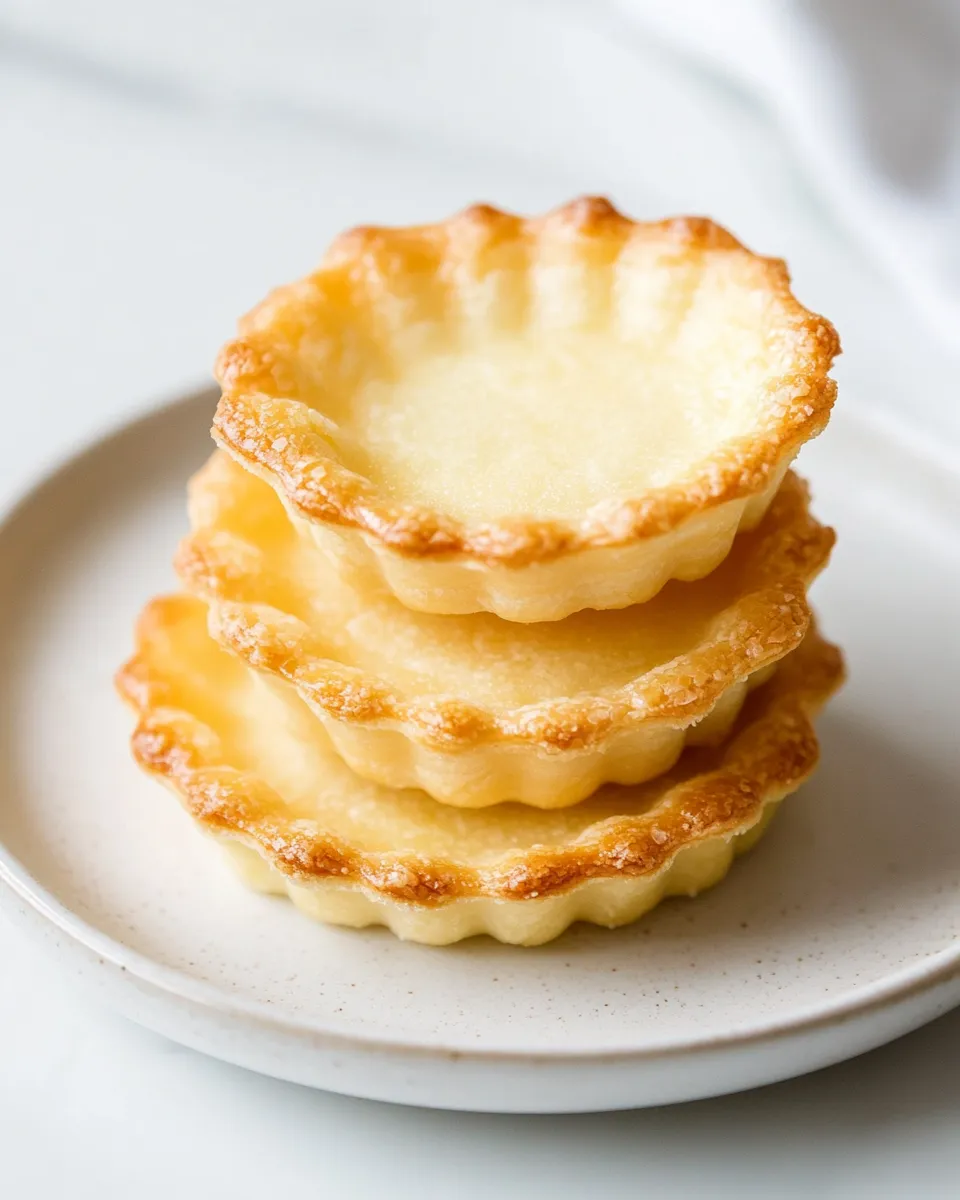
Mini Tart Shells
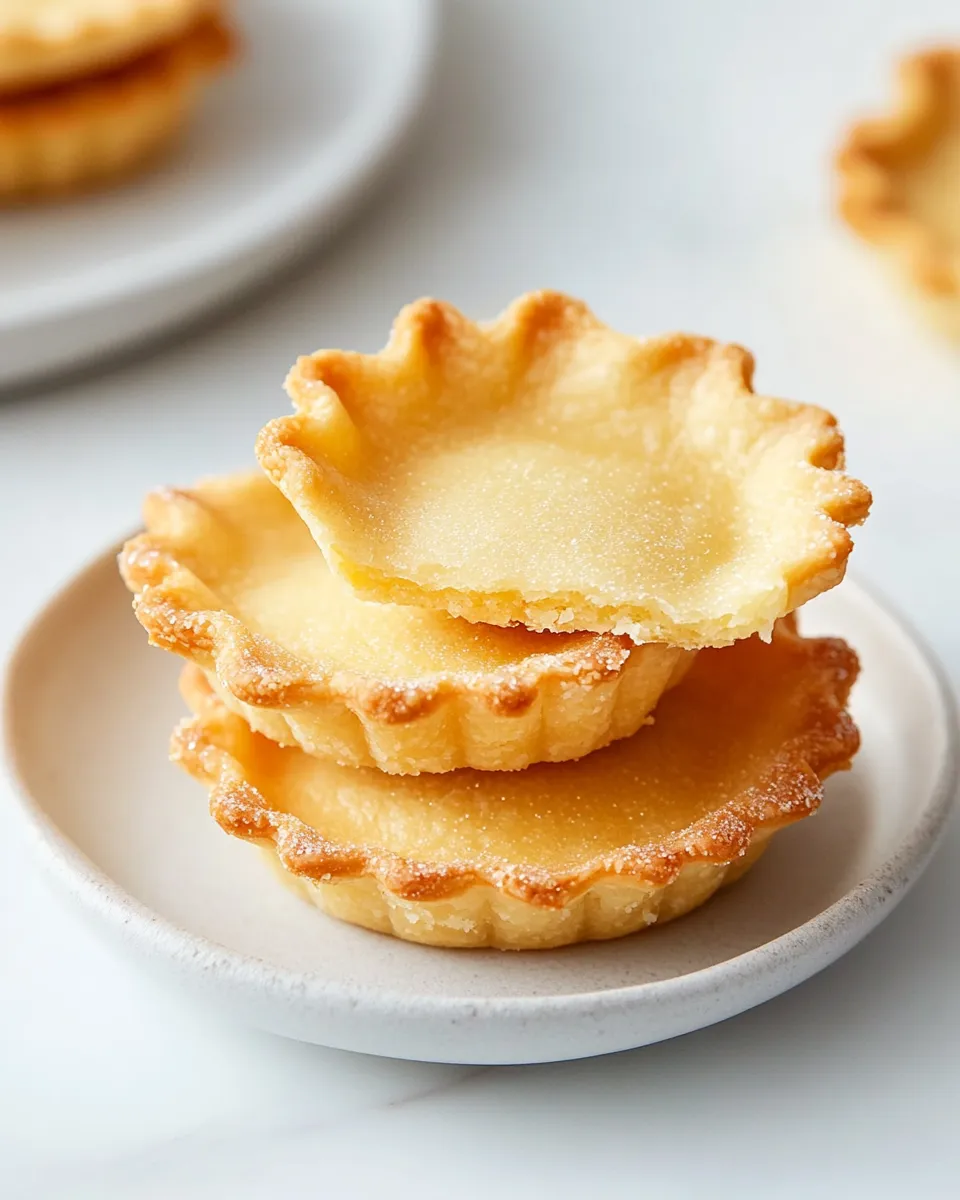
I’ve always believed that tiny pastries carry enormous joy. These Mini Tart Shells are buttery, tender, and pleasantly crisp—perfect for fruit tarts, lemon curd, or a dollop of chocolate ganache. The dough is straightforward to make, folds together in minutes, and keeps its shape beautifully in the oven so you end up with neat little cups ready to be filled with whatever your heart (and pantry) desires.
Before we dive in, a quick note on texture: these shells balance a flaky crumb with a shortbread-like richness. The combination of granulated and powdered sugar gives them subtle sweetness without being overly sugary, while the egg yolks and a touch of milk provide structure and tenderness. If you’re making these for a party, they’re ideal because you can bake the shells ahead of time and fill them just before serving.
Why you’ll love these Mini Tart Shells
- Simple pantry ingredients that come together quickly.
- Great make-ahead pastry that stays crisp when filled correctly.
- Flexible: fill with curds, custards, fruit, or chocolate.
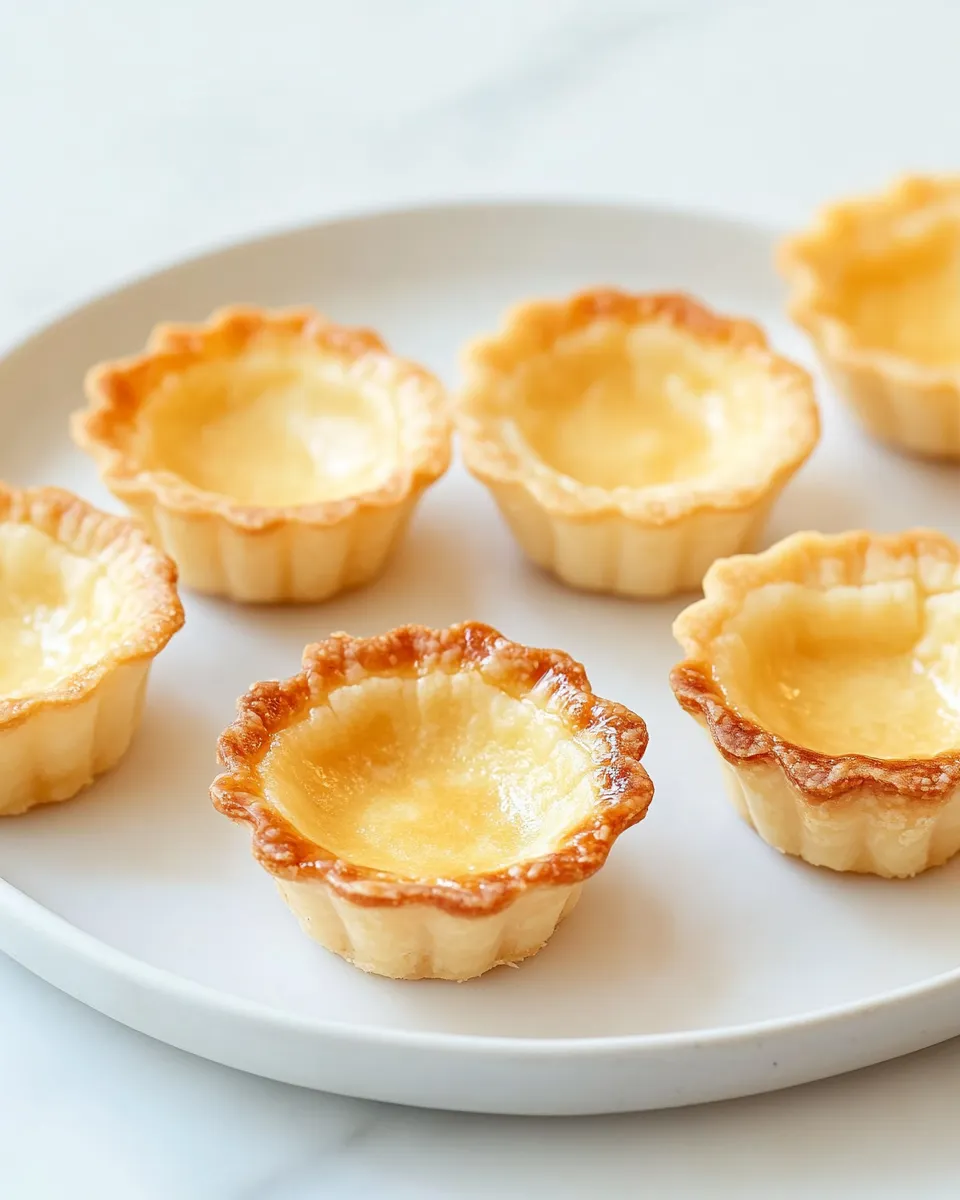
- Consistent shape and texture—every tart looks like it came from a bakery.
Ingredients
- 3 cups all-purpose flour
- 1 pinch kosher salt
- 1 cup unsalted butter, room temperature
- 1/4 cup granulated sugar
- 1 cup powdered sugar
- 3 egg yolks
- 1 teaspoon whole milk
- 1 1/2 teaspoons vanilla extract
Equipment
- Mixing bowl
- Electric mixer or sturdy wooden spoon
- Measuring cups and spoons
- Plastic wrap
- Rolling pin
- Mini tart pans or a mini muffin tin
- Baking weights or dried beans (optional)
- Pastry brush
Tips before you begin
- Bring your unsalted butter to room temperature so it blends smoothly without leaving lumps.
- Separate eggs carefully so you get three clean yolks—no whites needed.
- If you plan to make shells ahead, cool completely, then store in an airtight container to keep them crisp.
- For perfectly even dough thickness, roll between two sheets of parchment or plastic wrap.
Step-by-step instructions
The following directions are rewritten for clarity while preserving the original ingredient amounts and the order of steps. Read through once before starting so you know the sequence.
- Prepare the dry mix. In a large bowl, combine 3 cups all-purpose flour and 1 pinch kosher salt. Stir briefly to distribute the salt evenly through the flour.
- Soften the butter. Ensure 1 cup unsalted butter is at room temperature so it will cream smoothly. Cut it into a few pieces so it mixes more quickly.
- Cream butter and sugars. In a separate large bowl, add the room-temperature butter, 1/4 cup granulated sugar, and 1 cup powdered sugar. Using an electric mixer on medium speed or a sturdy spoon, beat until the mixture is light and slightly fluffy, about 2 to 3 minutes. Scrape down the sides of the bowl as needed.
- Add egg yolks, milk, and vanilla. Add 3 egg yolks to the creamed butter and sugars, then pour in 1 teaspoon whole milk and 1 1/2 teaspoons vanilla extract. Mix just until combined and the batter is uniform in color. Avoid over-mixing.
- Combine wet and dry ingredients. Add the flour and salt mixture to the butter mixture in two additions. Fold gently with a spatula or mix on very low speed until a cohesive dough forms. Do not overwork; stop mixing as soon as the dough holds together.
- Shape and chill the dough. Turn the dough out onto a lightly floured surface and press it into a flat disk. Wrap tightly in plastic wrap and chill in the refrigerator for at least 30 minutes. Chilling firms the butter and makes the dough easier to roll.
- Preheat the oven and prepare pans. Preheat your oven to 350°F (175°C). Lightly grease mini tart pans or a mini muffin tin, or use a light spray so the shells release cleanly after baking.
- Roll and cut the dough. On a lightly floured surface, roll the chilled dough to about 1/8-inch thickness. Use a round cutter slightly larger than the tart pan cavities to cut circles. Re-roll scraps as needed until all dough is used.
- Fit dough into pans. Gently press each dough circle into the tart pan cavity, smoothing the dough into the corners and up the sides. Trim any excess with a knife or your fingers for neat edges.
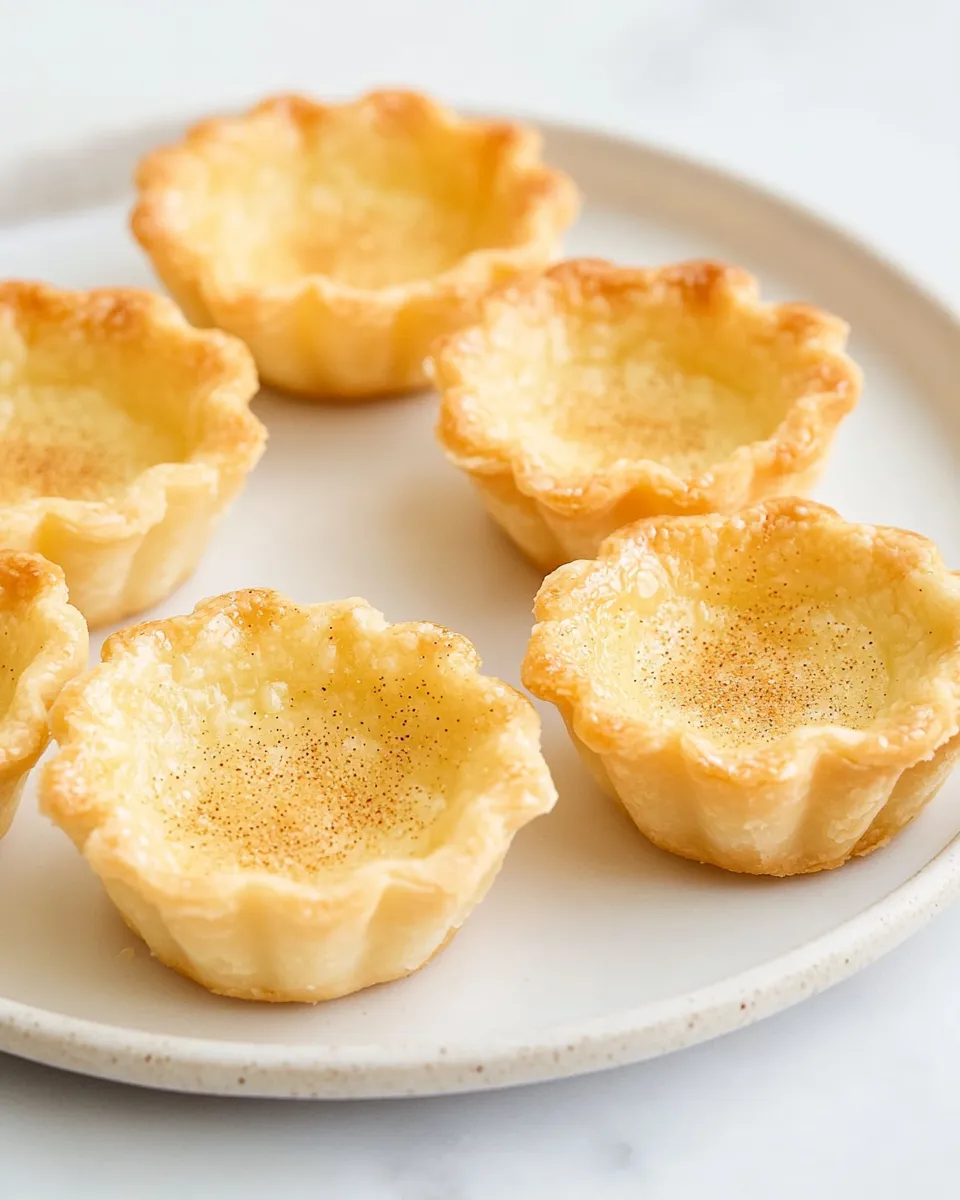
- Dock or blind-bake (optional for filled tarts). If you want a crisper bottom, prick the base of each shell lightly with a fork. For a fully crisp shell, line each tart with parchment and baking weights or dried beans and blind-bake 8 to 10 minutes, remove weights, then bake an additional 5 to 7 minutes until edges are lightly golden. If you prefer a slightly softer base for very wet fillings, bake the shells 12 to 15 minutes until set and golden.
- Cool and remove from pans. Let the tart shells cool in the pan for 5 to 10 minutes, then transfer to a wire rack to cool completely before filling. Use a small offset spatula or the tip of a butter knife to loosen and lift shells out of the cavities without tearing.
- Fill and serve. Once cooled, fill the Mini Tart Shells with your chosen filling—pastry cream, lemon curd, jam, whipped cream with fresh berries, or chocolate ganache. Serve at room temperature or slightly chilled, depending on the filling.
Filling ideas
One of the best things about Mini Tart Shells is how versatile they are. Here are a few ideas to inspire you:
- Vanilla pastry cream and fresh berries for a classic dessert.
- Lemon curd topped with a small swirl of whipped cream for bright, zesty bites.
- Chocolate ganache with a sprinkle of flaky salt for an indulgent treat.
- Fruit compote or jam with a thin layer of mascarpone for a rustic, homey option.
Make-ahead and storage
You can bake the tart shells up to three days ahead and keep them in an airtight container at room temperature. If you live in a humid climate, store them with a silica packet or in a slightly airtight container with a paper towel to help absorb moisture so the shells stay crisp. Fill them within a few hours of serving when using juicy fillings like fresh fruit to prevent sogginess.
Common troubleshooting
- If your dough is crumbly and won’t come together, add a teaspoon of cold milk at a time and gently knead until it holds.
- If the pastry shrinks in the pan while baking, it may have been overworked during mixing or rolling. Chill the shaped shells for 10 minutes before baking to help them hold their shape.
- For too-dark edges, reduce oven temperature by 10 to 15 degrees or tent the shells with foil partway through baking.
Serving suggestions
Mini Tart Shells are ideal as party finger food, plated desserts, or a sweet finish to brunch. Arrange an assortment—some filled with citrus curd, some with cream and berries, and a few chocolate ones—to offer variety. Garnish with finely grated zest, a dusting of powdered sugar, or edible flowers for an elegant touch.
Nutritional note
These tart shells are rich due to butter and egg yolks, so a small portion goes a long way. Pair them with fresh fruit or a light filling if you want to balance richness with brightness.
Final thoughts
These Mini Tart Shells are a reliable base for nearly any miniature dessert you can imagine. They’re lovely to make when you want something that looks impressive but doesn’t require complicated techniques. The dough is forgiving, and once you’ve made a batch, you’ll find yourself reaching for it whenever there’s an occasion that calls for tiny, perfect pastries.
Happy baking—and enjoy filling every one of those delicate little cups.
Mini Tart Shells
Ingredients
Equipment
Method
- Sift together the all-purpose flour and kosher salt into a bowl and set aside.
- In a stand mixer fitted with the paddle (or using a hand mixer), beat the room-temperature unsalted butter with the granulated and powdered sugars until smooth and creamy.
- Whisk the egg yolks with the whole milk and vanilla extract in a small bowl, then gradually add to the creamed butter while mixing, scraping the bowl as needed.
- On low speed, add the flour mixture gradually and mix until the dough just comes together; if it seems dry, add additional milk 1/2 teaspoon at a time until cohesive.
- Form the dough into a disk, wrap in plastic wrap, and chill in the refrigerator for 1 hour.
- Preheat the oven to 350°F (175°C).
- Roll the chilled dough on a lightly floured surface and cut into rounds sized for your mini tart pans or muffin tin; press each round into the molds and prick the bottoms with a fork.
- Chill the lined tart shells for 15 minutes, then bake for 12–15 minutes until the edges are golden; cool in the pans briefly before removing.
Notes
- Chill the dough to make it easier to roll.
- Use a light dusting of flour to prevent sticking when rolling.
- Press dough gently into molds to avoid stretching thin.
- Prickting the bottoms prevents puffing during baking.