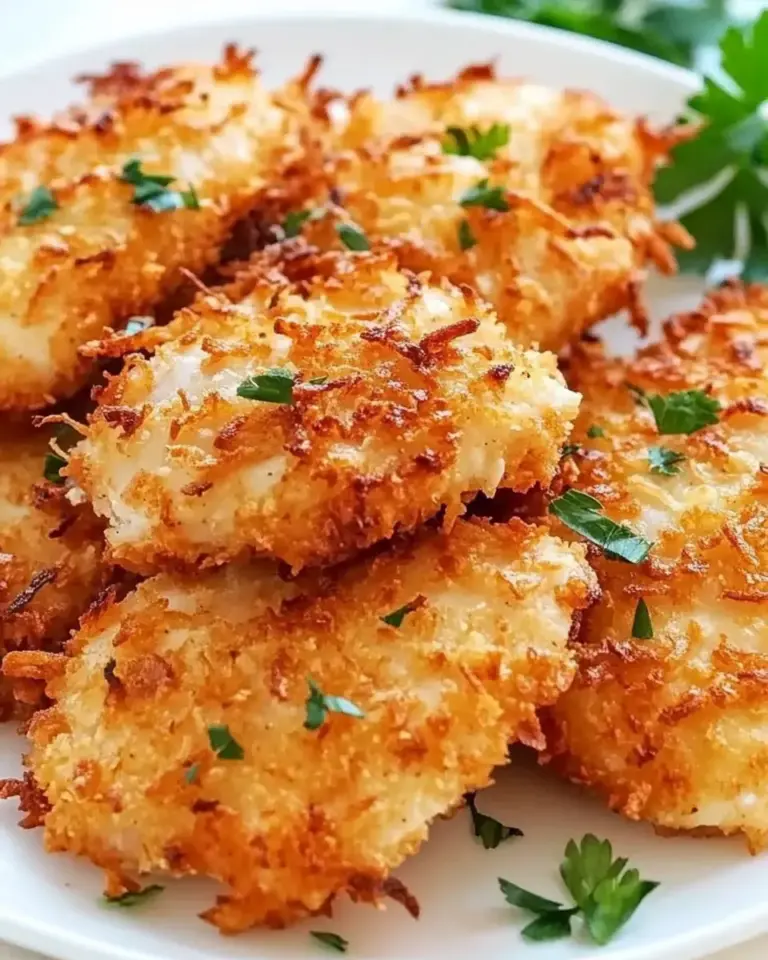
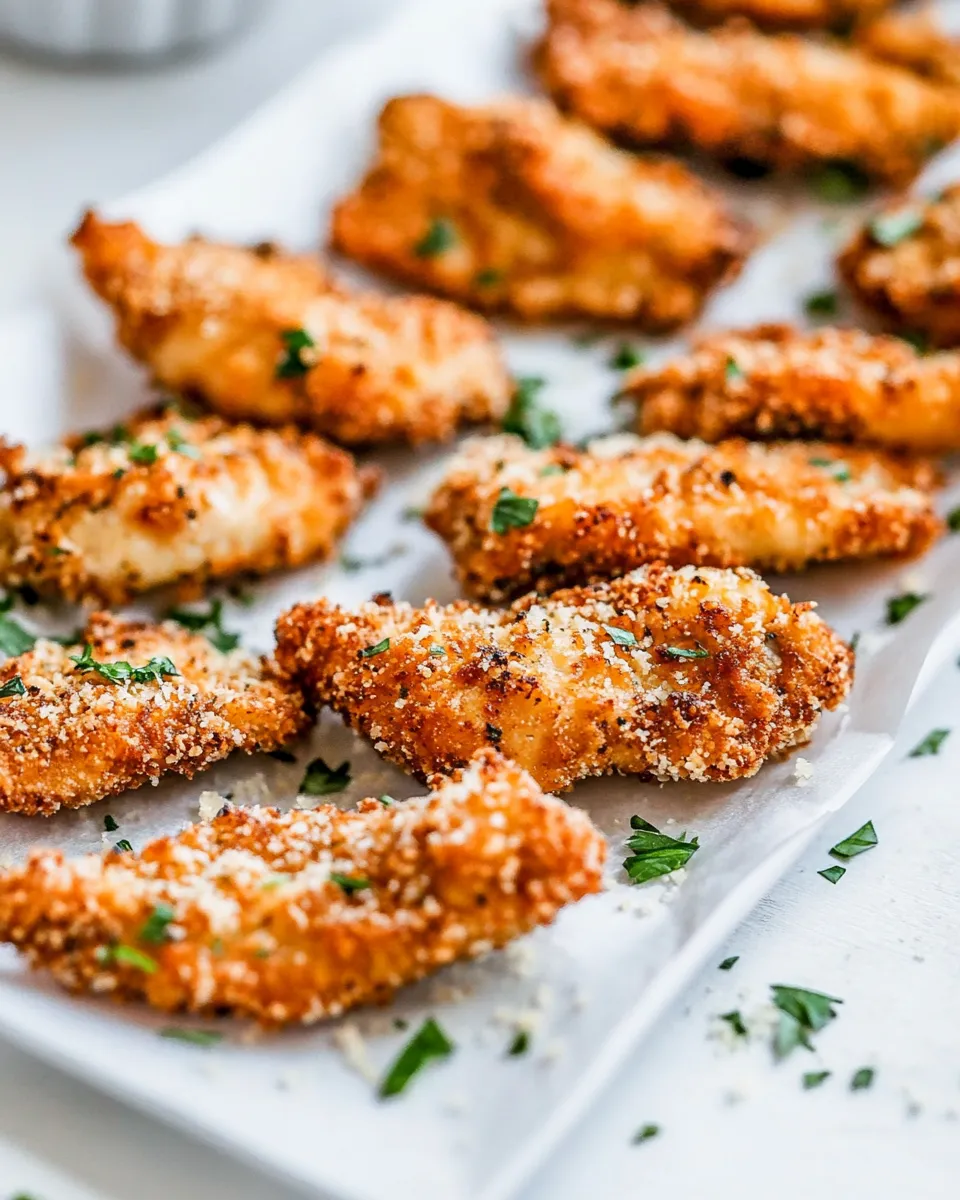
Parmesan Chicken Strips
There’s something irresistible about a crunchy, golden chicken strip: the first bite gives you that satisfying crackle, followed by tender, juicy chicken and a savory hit of cheese and herbs. These Parmesan Chicken Strips are exactly that — comfort food with a little bit of finesse. Crisp panko crumbs studded with grated Parmesan and fresh parsley coat long, juicy strips of chicken breast. They fry up in a shallow pan of vegetable oil until perfectly golden, then get a quick dunk in a cool, creamy dressing that balances the salty, nutty crust. This recipe is straightforward, fast, and perfect for weeknight dinners, game day, or a casual gathering.
Why you’ll love these Parmesan Chicken Strips
- Crunchy exterior with an herbaceous, cheesy flavor from the Parmesan and parsley.
- Simple ingredients you likely already have on hand.
- Quick to make: the strips take just minutes to fry and are great for serving with a simple salad or fries.
- Flexible: you can make them ahead and reheat in the oven, or keep warm in a low oven while finishing the rest.
Ingredients
Use the exact amounts below for best results.
- 1 cup Parmesan cheese (grated)
- 1 cup breadcrumbs (I used Panko)
- ¼ cup parsley (chopped)
- 1 cup all-purpose flour
- ½ teaspoon cayenne pepper
- ½ teaspoon salt
- ¼ teaspoon pepper
- 3 eggs
- vegetable oil (for frying)
- 2 pound chicken breasts (boneless and skinless, cut into long strips)
- ½ cup ranch dressing
Equipment
- Three shallow bowls or pie plates for dredging
- Large skillet or frying pan
- Tongs or a fork for turning the strips
- Paper towels
- Thermometer (optional) to check oil or chicken temperature
- Wire rack and baking sheet (optional) to keep finished strips crispy
Prep and tips before you start

Make sure the chicken is cut into evenly sized long strips so they cook at the same rate. Pat the strips dry with paper towels — less surface moisture helps the coating adhere and fry up crispier. Use a neutral vegetable oil with a high smoke point and make sure the oil is hot enough before you start frying; a small drop of bread or batter should sizzle immediately. If you prefer less heat, reduce or omit the cayenne pepper.
Step-by-step instructions

The directions below are rewritten clearly and split into steps so you can follow along easily. They keep the same order as the original recipe and use the ingredient list as the source of truth.
- Make the Parmesan breadcrumb mixture: In a shallow bowl, combine 1 cup grated Parmesan cheese, 1 cup breadcrumbs (Panko recommended for extra crunch), and ¼ cup chopped parsley. Mix these until evenly distributed.
- Prepare the flour mixture: In a second shallow bowl, whisk together 1 cup all-purpose flour, ½ teaspoon cayenne pepper, ½ teaspoon salt, and ¼ teaspoon pepper so the spices are evenly blended into the flour.
- Beat the eggs: In a third shallow bowl, crack and beat 3 eggs until the yolks and whites are fully combined.
- Trim and cut the chicken: If not already done, trim any excess fat from 2 pound chicken breasts and slice them into long, even strips. Aim for strips about ½ to 1 inch wide so they cook quickly and evenly. Pat the strips dry with paper towels.
- Set up dredging station: Arrange the three shallow bowls in a line: flour mixture first, beaten eggs second, and the Parmesan-breadcrumb mixture last. This order makes it easy to dredge without creating lumps in the flour or breadcrumbs.
- Dredge the chicken strips: Working one strip at a time, dredge a chicken strip in the flour mixture, shaking off excess. Next, dip it into the beaten eggs, allowing any excess to drip back into the bowl. Finally, press the strip into the Parmesan-breadcrumb mixture, coating all sides well. Place the coated strip on a plate or wire rack and repeat with the remaining chicken strips.
- Heat the oil: Pour enough vegetable oil into a large skillet to create a ¼- to ½-inch layer on the bottom. Heat the oil over medium-high heat until it shimmers and a small piece of bread dropped in sizzles immediately. If you have a thermometer, aim for oil around 350°F (175°C).
- Fry the strips in batches: Working in batches to avoid crowding, carefully add several coated chicken strips to the hot oil. Fry for about 2 to 3 minutes per side, or until they are golden brown and cooked through. Use tongs or a fork to turn strips halfway through cooking so both sides are evenly browned. Adjust the heat as needed to prevent over-browning; medium to medium-high usually works well.
- Drain and keep warm: Transfer fried strips to a paper towel-lined plate or a wire rack set over a baking sheet to drain excess oil. If frying multiple batches, you can keep finished strips warm in a low oven (about 200°F / 95°C) while you finish the rest.
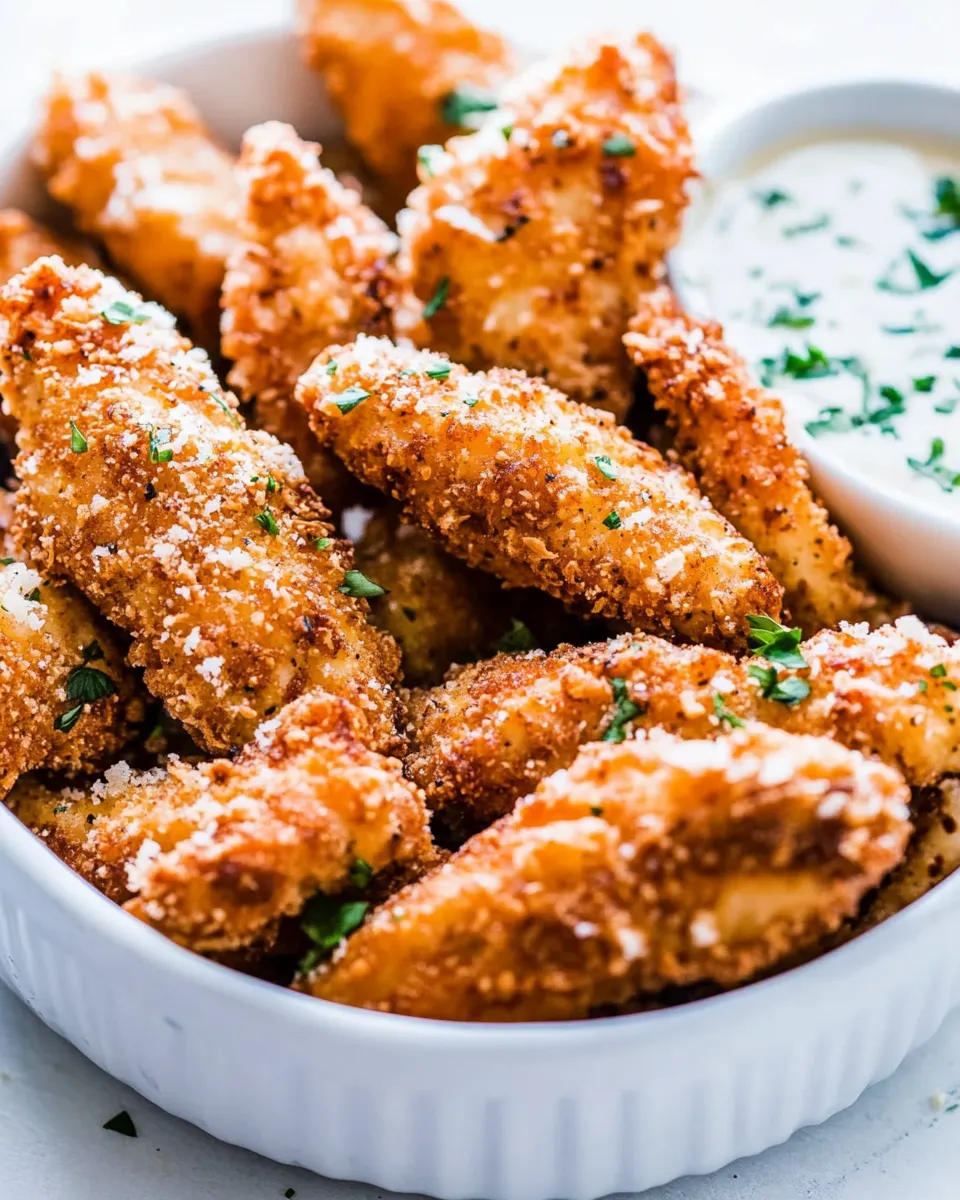
- Serve with ranch: Serve the finished Parmesan Chicken Strips hot with ½ cup ranch dressing for dipping. The cool, creamy dressing complements the crunchy, cheesy coating perfectly.
Serving suggestions
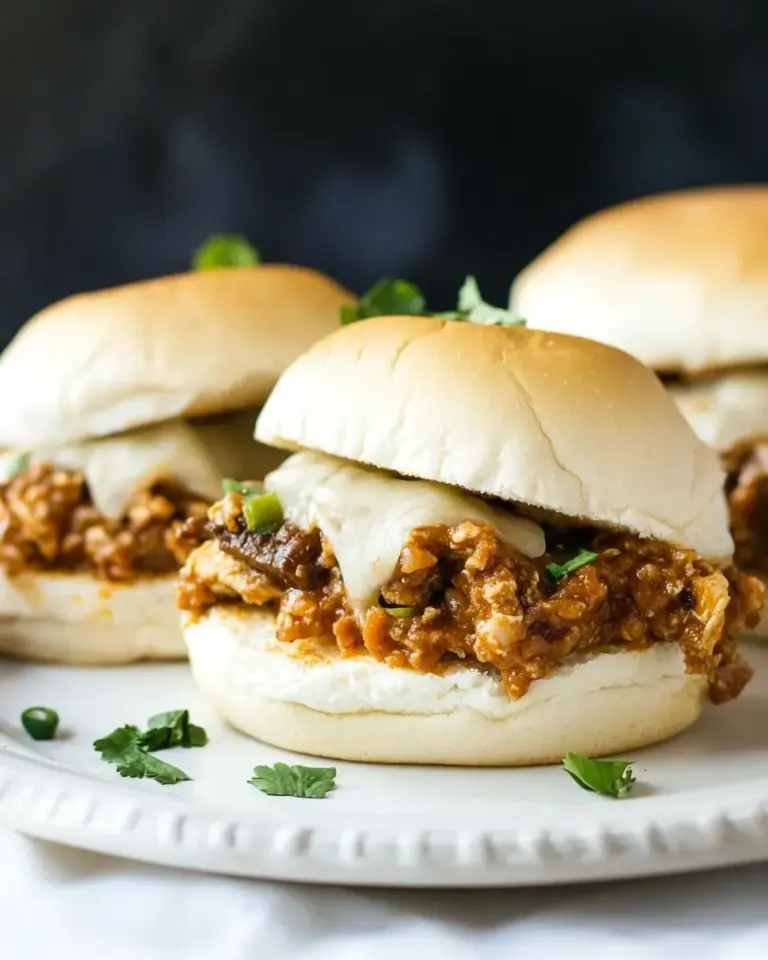
These Parmesan Chicken Strips are excellent on their own with ranch, but they also shine as part of a bigger spread. Try them with sweet potato fries and a green salad for a balanced weeknight meal, or stack them on soft rolls with a smear of extra ranch and crisp lettuce for a fun sandwich. For a lighter option, serve with lemon wedges and a simple arugula salad dressed with olive oil and vinegar.
Make-ahead and storage
- To prepare ahead: coat the chicken strips and place them on a baking sheet, then cover and refrigerate for up to 8 hours before frying. Bring them to room temperature for 15 minutes before frying for even cooking.
- Reheating: Place strips on a wire rack over a baking sheet and heat in a 375°F (190°C) oven for 8–10 minutes, or until warmed through and crisp. Avoid microwaving, which makes the coating soggy.
- Storage: Store leftover cooked strips in an airtight container in the refrigerator for up to 3 days.
Tips for perfect crispy chicken strips
- Keep pieces uniform in size so they cook evenly.
- Dry the chicken well before dredging to help the coating stick.
- Don’t overcrowd the pan; the oil temperature will drop and the coating will absorb more oil instead of crisping.
- Press the breadcrumb mixture onto the strip when coating to form a good crust that won’t fall off in the oil.
- If you want an extra-cheesy finish, sprinkle a tablespoon of additional grated Parmesan over the strips as they come out of the oil.
Nutritional notes (approximate)
Nutrition will vary based on oil absorption, chicken size, and exact brands used. These are indulgent, fried strips, so serve with fresh vegetables or a salad to round out the meal.
Frequently asked questions
Can I bake these instead of frying? Yes. For a baked version, preheat your oven to 425°F (220°C). Place coated strips on a parchment-lined baking sheet and spray lightly with oil. Bake for 12–18 minutes, flipping once halfway, until golden and cooked through. The texture will be slightly different from deep frying but still delicious.
Can I use a different cheese? Parmesan gives a salty, nutty bite. If you want a milder flavor, you could try a hard, aged cheese similar in texture, but keep the same amount for best results.
How spicy are these? The recipe uses ½ teaspoon cayenne pepper, which adds a gentle warmth to the crust. Reduce or omit it if you prefer no heat, or increase slightly for more kick.
Final thoughts
These Parmesan Chicken Strips strike that perfect balance between crispy exterior and tender interior. They’re an easy, crowd-pleasing recipe that feels special enough for guests yet simple enough for a busy weeknight. With a crunchy Parmesan-panko coating and a quick fry, you’ll have golden, flavorful strips that pair beautifully with cool ranch dressing. Keep the steps straightforward, stick to the ingredient amounts, and enjoy the satisfying crunch on every bite.
Parmesan Chicken Strips
Ingredients
Equipment
Method
- In a shallow bowl, mix the grated Parmesan, breadcrumbs and chopped parsley until combined.
- In a second shallow bowl, whisk together the flour, cayenne pepper, salt and black pepper.
- Beat the eggs in a third shallow bowl until smooth.
- Pour vegetable oil into a 12-inch skillet to about 1/2 inch depth and heat over medium-high until shimmering and hot (about 350°F or a drop of batter sizzles immediately).
- Working with one piece at a time, dredge a chicken strip in the egg, then coat with the flour mixture, dip back into the egg, and finally press into the Parmesan-breadcrumb mixture to fully coat.
- Carefully add coated strips to the hot oil in a single layer and fry until golden brown and cooked through, about 2–3 minutes per side. Do not overcrowd the pan.
- Transfer cooked strips to paper towels to drain and repeat with remaining chicken, refreshing the oil if it becomes too dark between batches.
- Serve the hot Parmesan chicken strips with ranch dressing for dipping.
Notes
- To bake, preheat oven to 400°F and bake on a parchment-lined sheet for about 30 minutes until browned and cooked through.
- Store fully cooked strips in an airtight container in the fridge for 3–4 days.
- Freeze uncooked coated strips on a baking sheet, then transfer to an airtight container for up to 1 month.
- To cook from frozen, bake at 425°F for 20–25 minutes.