Perfect Hard-Boiled Eggs
There’s something quietly satisfying about a batch of eggs cooked just right: firm whites, creamy yolks, and shells that slip off without a fight. Whether you’re prepping meal-prep snacks, picnic fare, or the base for salads and deviled eggs, mastering the technique for Perfect Hard-Boiled Eggs is a kitchen superpower. Today we’re doing a 12-egg batch, and I’ll walk you through every step so your eggs come out consistent and delicious every time.
Why this method works
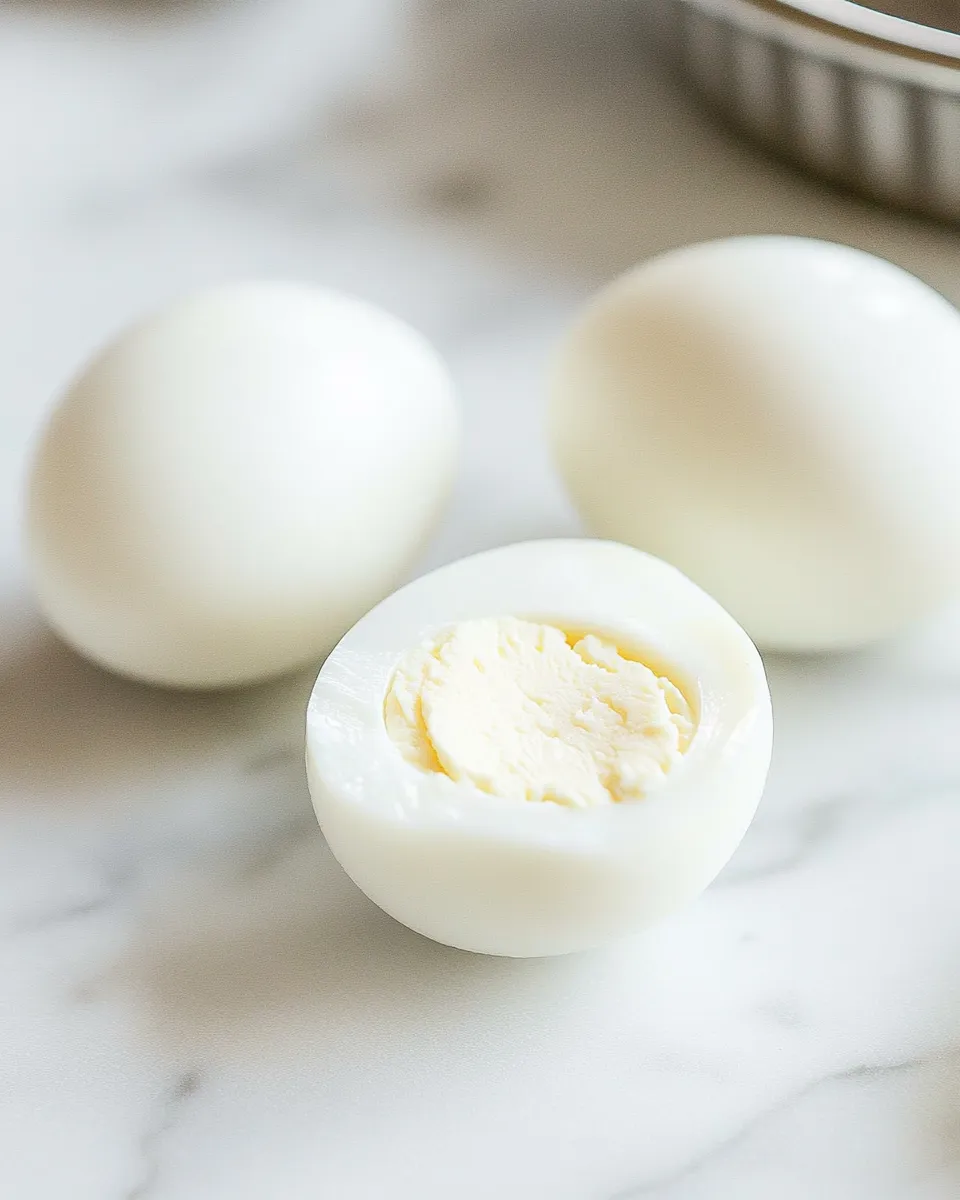
We’re combining gentle simmering with an ice bath. The gentle heat cooks the eggs evenly while the ice water stops the cooking immediately, preventing that overcooked green ring and creating a silky, pale-yellow yolk. Using the exact timing and a quick shock in ice water will make shell removal easier, too—especially helpful when you’re working with a dozen eggs at once.
Ingredients
- 12 eggs
- 1-2 cups water
- Medium bowl filled with ice water
Equipment
- Large saucepan or pot with a lid
- Slotted spoon or tongs
- Medium bowl filled with ice water (prepare ahead)
- Timer
- Kitchen towel or paper towels
Prep tips before you start
Bring your eggs to room temperature if you can. If they’re straight from the fridge, they still work fine, but room-temperature eggs are less likely to crack when added to hot water. Have a medium bowl with ice and cold water ready to receive the eggs as soon as the cooking time is done. This is crucial for stopping the carryover cooking and ensuring the yolks stay a soft, golden color rather than developing that gray-green ring.
Step-by-step directions for Perfect Hard-Boiled Eggs
- Place the 12 eggs in a single layer at the bottom of a large saucepan or pot. They should sit snug but not piled on top of each other.
- Add just enough water to the pot to cover the eggs by about 1-2 inches. This usually means adding between 1-2 cups of water in addition to the water already in the pot, depending on the pot size. The top of each egg should be covered by water at all times during cooking.
- Set the pot over medium-high heat and bring the water to a gentle boil. Keep an eye on it so it doesn’t boil too violently; a steady, rolling simmer is ideal.
- Once the water reaches a gentle boil, cover the pot with its lid, remove it from the heat, and let it sit undisturbed for 12 minutes. The lid traps the heat for even cooking while preventing the eggs from jostling around in a full boil.
- While the eggs rest, prepare a medium bowl filled with ice water. This ice bath will halt the cooking process quickly.
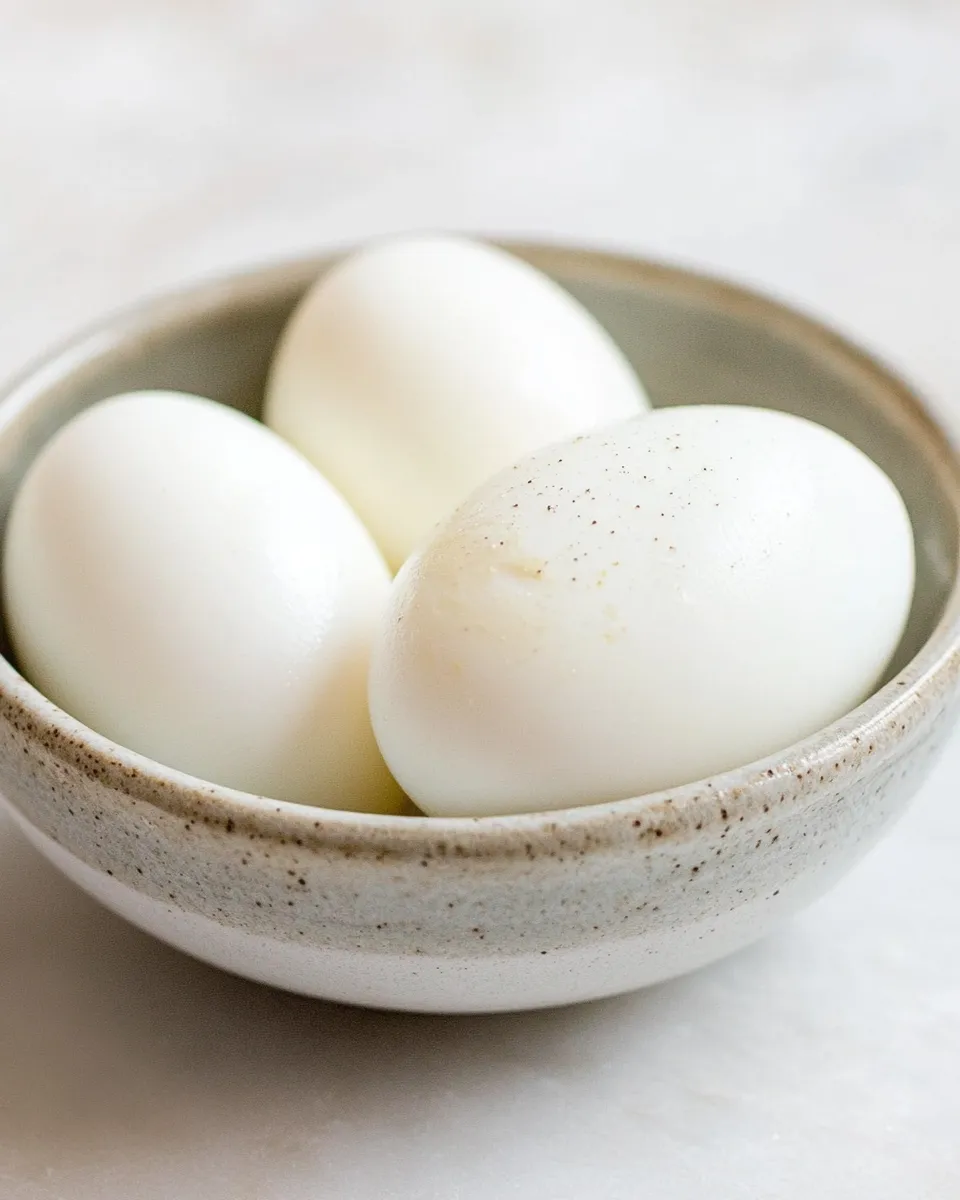
- After 12 minutes have passed, carefully transfer the eggs from the hot water into the prepared ice water using a slotted spoon or tongs. Submerge the eggs completely and let them sit in the ice bath for at least 5 minutes. This cool-down period firms the whites and makes peeling easier.
- Remove the eggs from the ice water. Gently tap each egg on a hard surface to crack the shell all over, then peel under a small stream of running water or in a bowl of cool water to help remove stubborn bits of shell.
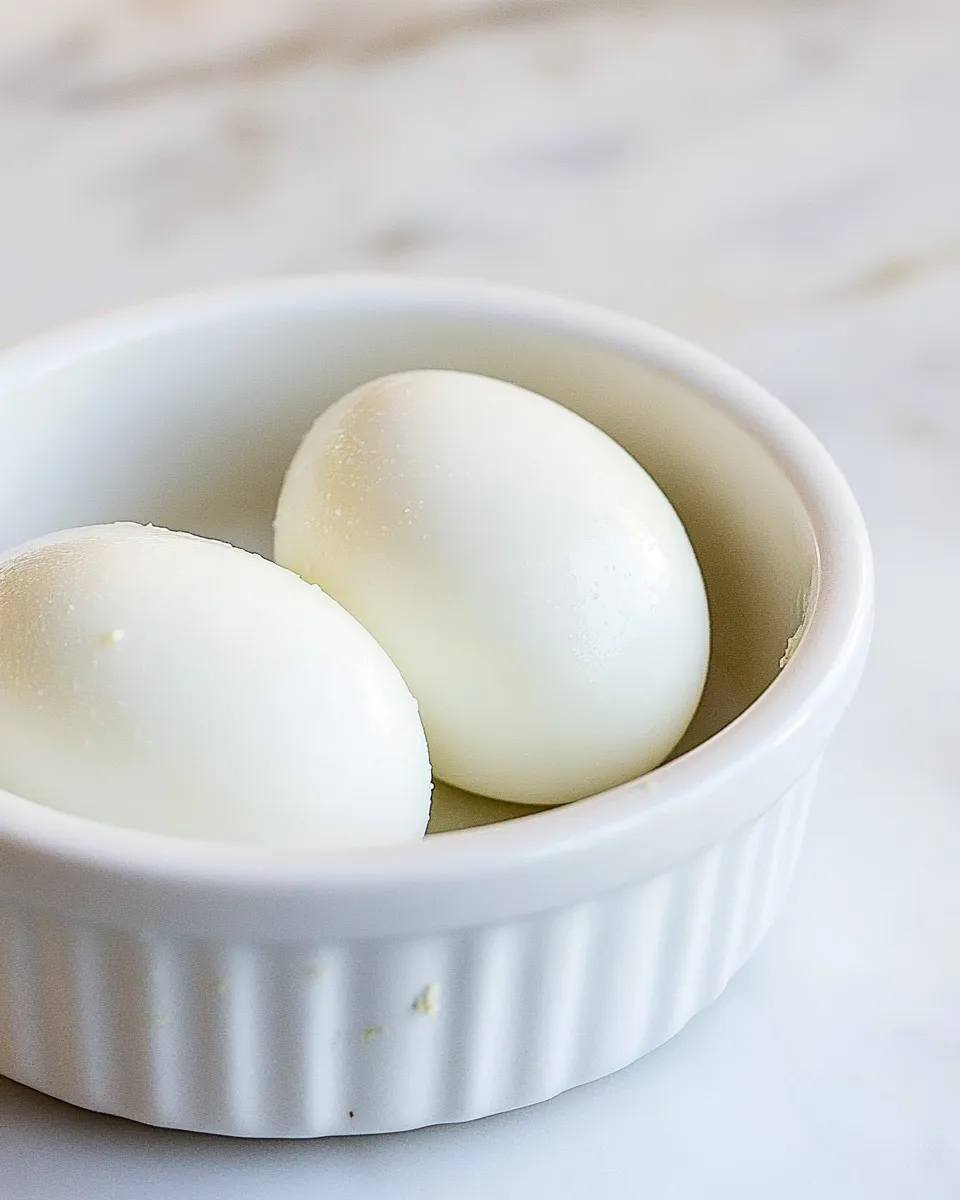
- Pat the peeled eggs dry and store them in the refrigerator if you’re not using them right away. They’ll keep well for up to one week when refrigerated.
Timing variations
If you prefer slightly softer yolks, reduce the resting time by a minute or two. For extra-firm yolks, add an additional minute. The 12-minute hold off heat is a reliable starting point for most cooks and yields that classic, creamy-yet-firm center many of us love.
Peeling secrets for smooth Perfect Hard-Boiled Eggs
Fresh eggs are delicious but can be harder to peel. If your eggs are very fresh, let them sit in the refrigerator for a few days before boiling, or be extra generous with the ice bath and peeling under running water. Tap the egg gently and roll it to create a network of fine cracks, then peel starting from the wider end where the air pocket sits—this often gives you a helpful entry point.
Flavoring and serving ideas
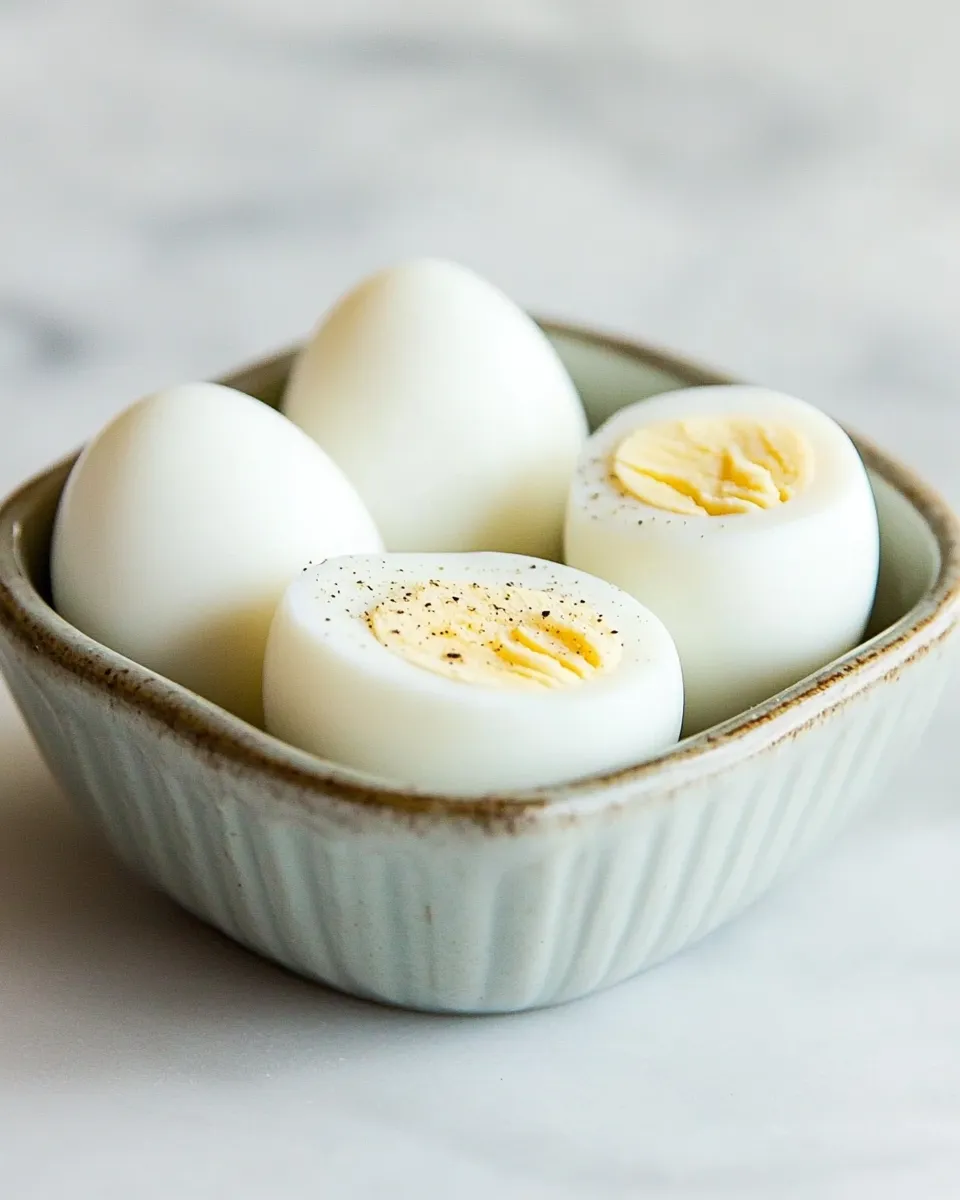
Once you’ve nailed the technique for Perfect Hard-Boiled Eggs, you can serve them in countless ways. Try halving them and sprinkling with smoked paprika and flaky salt for a simple snack. For a classic, mix yolks with a touch of mayonnaise, mustard, chopped herbs, salt, and pepper for deviled eggs. Dice them into salads, scatter them atop grain bowls, or enjoy them with a drizzle of olive oil and a pinch of za’atar for a quick Mediterranean twist.
Storage and make-ahead tips
Store unpeeled eggs in their carton in the refrigerator for up to one week. If you’ve already peeled them, place them in an airtight container lined with a damp paper towel to help keep the whites from drying out. Use peeled eggs within a few days for best texture and flavor.
Common mistakes and how to avoid them
- Boiling too hard: A vigorous boil can crack shells and create rubbery whites. Aim for a gentle simmer before covering and removing from heat.
- Skipping the ice bath: This leads to overcooked yolks and that green ring. The ice bath is non-negotiable for consistent results.
- Peeling immediately after cooking without cooling: Eggs are harder to peel when warm. Give them time in cold water at minimum.
Why the ice bath matters
The ice bath accomplishes three things: it cools eggs quickly to stop the cooking process, it firms up the whites so they separate more cleanly from the membrane, and it helps shrink the egg inside the shell slightly, making the shell easier to remove. Even a short ice bath of five minutes will make a difference; longer (up to 10–15 minutes) is fine if you need to prep other components.
Serving suggestions
Perfect Hard-Boiled Eggs are a versatile ingredient. Here are some quick ideas:
- Classic egg salad with lemon, mayo, and fresh chives on whole-grain bread
- Deviled eggs with Dijon mustard and a sprinkle of paprika
- Sliced over a Cobb or Niçoise-style salad
- Halved and topped with avocado, cherry tomatoes, and a pinch of sea salt
- Snack with a sprinkle of everything bagel seasoning
Nutrition notes
Eggs are a compact source of protein and contain a range of vitamins and minerals. They’re a fantastic staple for balanced meals and an easy go-to for high-protein snacks. Pair them with whole grains, fresh vegetables, or a handful of nuts for a satisfying, nutrient-dense bite.
Troubleshooting
If your yolks have a green ring, it usually means the eggs were either cooked too long or not cooled quickly enough. Shorten the cooking time by a minute or two, and make sure you have plenty of ice in your ice bath. If shells won’t come off cleanly, try peeling under running water to help slip pieces away.
Scaling the recipe
This approach works as well for smaller or slightly larger batches—just keep the same basic ratio of cooking time and the ice bath. If you halve the recipe, use the same method and timing; for larger batches, ensure the eggs still sit in a single layer and are fully covered by water.
Wrap-up
There’s a real joy in making something simple truly well. With a few reliable steps—covering the eggs with water, bringing them to a gentle boil, letting them rest for 12 minutes off the heat, and plunging them into an ice bath—you’ll turn out Perfect Hard-Boiled Eggs every time. Once you’ve got the technique down, they become one of the most useful, dependable ingredients in your kitchen arsenal.
Printable quick guide
- Arrange 12 eggs in a single layer in a pot.
- Cover with water so eggs sit 1-2 inches below the surface (add 1-2 cups water as needed).
- Bring to a gentle boil over medium-high heat.
- Cover, remove from heat, and let sit for 12 minutes.
- Transfer eggs to a medium bowl filled with ice water for at least 5 minutes.
- Crack, peel under running water if needed, and dry.
- Store refrigerated up to one week.
Make a batch, experiment with a minute or two of timing, and find the exact texture you love. These Perfect Hard-Boiled Eggs will become a go-to for lunches, snacks, and quick add-ons to any meal.
Perfect Hard-Boiled Eggs
Ingredients
Equipment
Method
- Preheat the oven to 350°F (175°C).
- Place one egg in each cup of a clean 12-cup muffin tin.
- Use a measuring cup to pour 1 to 2 cups of water into each muffin cup so the water reaches about one-third of the way up the egg.
- Carefully transfer the muffin tin to the preheated oven and bake for 30 minutes.
- While the eggs bake, fill a medium bowl with ice and cold water to make an ice bath.
- When the eggs are done, remove the muffin tin from the oven and immediately transfer the eggs to the ice bath using tongs or a slotted spoon.
- Let the eggs sit in the ice water for 2–3 minutes, then peel and serve.
Notes
- Use a muffin tin to keep eggs upright while baking.
- Adjust water so it reaches roughly 1/3 of the egg height in each cup.
- Cooling in an ice bath stops cooking and makes peeling easier.
- Bake time yields fully set yolks; increase time slightly for firmer yolks if desired.