Protein Cereal
There’s something deeply satisfying about a bowl of cereal that actually fuels your day instead of just filling it. This Protein Cereal is chewy, slightly sweet, and packed with protein and whole grains — perfect for mornings when you want something quick, nourishing, and a little bit indulgent. It’s inspired by simple, bakery-style flavors and made with pantry-friendly ingredients that come together fast. If you’re craving a spoonable, crunchy cereal that doubles as a snack, this recipe delivers.
Why you’ll love this recipe

This Protein Cereal hits a few sweet spots: it’s simple to make, uses minimal ingredients, and offers a balanced mix of carbs, fiber, and protein. Oat flour gives the base a gentle, toasty flavor and a tender texture. Protein powder boosts the protein content without changing the flavor too much, while peanut butter adds richness and helps bind everything together. Maple syrup brings natural sweetness and a lovely caramel note that toasts up during baking.
Ingredients
- 1 1/2 cups oat flour
- 1 cup protein powder* See notes
- 1/2 cup peanut butter or any nut or seed butter
- 1/4 cup maple syrup** See notes
Notes on ingredients
Protein powder: Choose a protein powder you enjoy—whey, plant-based, or egg white. If you prefer a neutral taste, unflavored or vanilla works best. If you use a flavored powder (chocolate, vanilla, etc.), that will subtly change the final cereal flavor.
Peanut butter: Smooth or crunchy peanut butter both work. If you prefer a different nut or seed butter, almond, cashew, or sunflower seed butter can be used interchangeably without changing the ingredient amounts.
Maple syrup: Pure maple syrup adds a natural depth of flavor. If you don’t have maple syrup, a mild liquid sweetener such as agave or brown rice syrup may be used, but the flavor will shift slightly.
Equipment
- Large mixing bowl
- Wooden spoon or spatula
- Baking sheet
- Parchment paper
- Oven
- Container for storage
Step-by-step instructions
The directions below restate and clarify the process in clear, ordered steps so you can make this Protein Cereal with confidence. The ingredient list above is the source of truth for quantities and names, and the steps follow the same order as the original instructions while making each action easy to follow.
- Preheat the oven to 325°F (160°C). Line a baking sheet with parchment paper and set it aside so everything is ready when the mixture is combined.
- Place 1 1/2 cups oat flour and 1 cup protein powder into a large mixing bowl. Stir them together briefly to distribute the protein powder evenly through the oat flour.
- In the same bowl, add 1/2 cup peanut butter (or another nut or seed butter). Use a spatula or wooden spoon to press and mix the peanut butter into the dry ingredients until the mixture starts to clump. It will be thick and slightly sticky.
- Pour 1/4 cup maple syrup over the mixture. Fold the syrup in thoroughly so it coats the flour and protein powder and helps bind the mixture. Continue stirring until the mixture forms a cohesive, slightly sticky dough-like texture. If needed, use the back of the spoon to press and work the mixture together.
- Turn the mixture out onto the prepared parchment-lined baking sheet. Using a spoon or your hands, spread the mixture into a roughly even layer, about 1/4- to 1/2-inch thick. Pat it down firmly so the mixture holds together; this helps it bake into clumps that resemble cereal clusters.
- Bake in the preheated oven for 12–18 minutes, watching closely near the end. You want the cereal to become lightly golden and set but not burn. The exact time depends on your oven and how thinly you spread the mixture. Start checking at 12 minutes.
- Remove the baking sheet from the oven and allow the cereal to cool on the sheet for at least 15 minutes. Cooling helps the clusters firm up and crisp. Once lukewarm, use a spatula or your hands to break the baked slab into bite-size clusters.
- Transfer the cooled cereal clusters to an airtight container. Store at room temperature for up to one week, or refrigerate for longer shelf life. Enjoy with milk, yogurt, or as a crunchy topping on smoothie bowls.
Serving suggestions
This Protein Cereal is versatile. Here are a few ways to enjoy it:
- Pour it over your favorite milk—dairy or plant-based—for a hearty morning bowl.
- Sprinkle it on yogurt with fresh fruit and a drizzle of extra maple syrup for a quick parfait.
- Use it as a crunchy topping for smoothie bowls or baked fruit.
- Snack on it straight from the jar when you need a protein-packed nibble.
Flavor variations
Customize the recipe to suit your tastes by swapping a few ingredients or adding extras:
- Add 1/2 teaspoon ground cinnamon or a pinch of cardamom to the dry mix for warm spices.
- Fold in 1/4 cup mini chocolate chips, dried fruit, or chopped nuts after baking and cooling for texture and flavor contrast.
- Use a flavored protein powder (vanilla, chocolate, or honey-based blends) to change the cereal’s profile without adding extra ingredients.
- For a seed-forward version, replace the peanut butter with sunflower seed butter and stir in 2 tablespoons of chia or flax seeds.
Texture tips
For chunkier clusters, spread the mixture thicker on the baking sheet and press it firmly before baking. For finer, crispier bits, spread the mixture more thinly and bake a few minutes longer, watching carefully to prevent burning. Cooling time is crucial: the cereal will firm up as it comes to room temperature, so resist breaking it apart while it’s still hot.
Nutritional notes
This recipe balances whole-grain oat flour with protein powder and nut butter for a satisfying macronutrient blend. Because protein powders vary widely in composition, exact nutrition will depend on your choice. Using natural nut butter and pure maple syrup keeps the ingredient list clean and minimally processed.
Make-ahead and storage
This cereal stores well in an airtight container at room temperature for up to one week. If you want it to last longer, keep it in the refrigerator for up to three weeks. Avoid storing it in a humid environment, as moisture will soften the clusters. If your cereal does lose its crunch, refresh it in a 300°F (150°C) oven for 5–7 minutes, then cool completely before storing.
Common questions
Can I use regular flour instead of oat flour?
You can, but the flavor and texture will change. Oat flour gives a tender, slightly chewy texture and mild nutty flavor that works especially well here. If you use all-purpose flour, reduce the baking time slightly and expect a different mouthfeel.
My mixture was dry — what should I do?
If the mixture seems too dry to come together after combining the ingredients, add 1–2 teaspoons of water or an extra 1–2 teaspoons of maple syrup and mix until it holds together. Add the extra liquid a little at a time so you don’t over-soften the dough.
Can I make this gluten-free?
Yes. Use certified gluten-free oat flour and ensure your protein powder is labeled gluten-free. This keeps the cereal suitable for those avoiding gluten.
Why this works
This recipe is intentionally straightforward. Oat flour provides structure and a subtle toasty flavor. Protein powder increases the protein content without requiring extra eggs or dairy. Peanut butter binds the dry ingredients and contributes healthy fats and creaminess, while maple syrup lends sweetness and helps the clusters brown in the oven. Baking helps the cereal develop a toasted flavor and a satisfying crunch that makes it feel more like a treat than a purely functional snack.
Final thoughts
This Protein Cereal is one of those deceptively simple recipes that becomes a pantry staple fast. It’s customizable, quick to throw together, and holds up well as a breakfast or snack option. Make a batch on the weekend and enjoy easy, protein-forward breakfasts all week long. Whether you eat it with milk, yogurt, or by the handful between errands, it’s a flexible little recipe that’s both nourishing and delicious.
Happy baking — and enjoy your bowl!

Protein Cereal
Ingredients
Equipment
Method
- Preheat the oven to 180°C (350°F). Line a large baking tray with parchment paper and set aside.
- In a large mixing bowl, combine the oat flour and protein powder and stir to blend evenly.
- In a microwave-safe bowl, combine the peanut butter and maple syrup. Microwave briefly until the peanut butter softens and can be whisked smooth with the maple syrup.
- Pour the wet mixture into the dry ingredients and mix until a thick, workable dough forms.
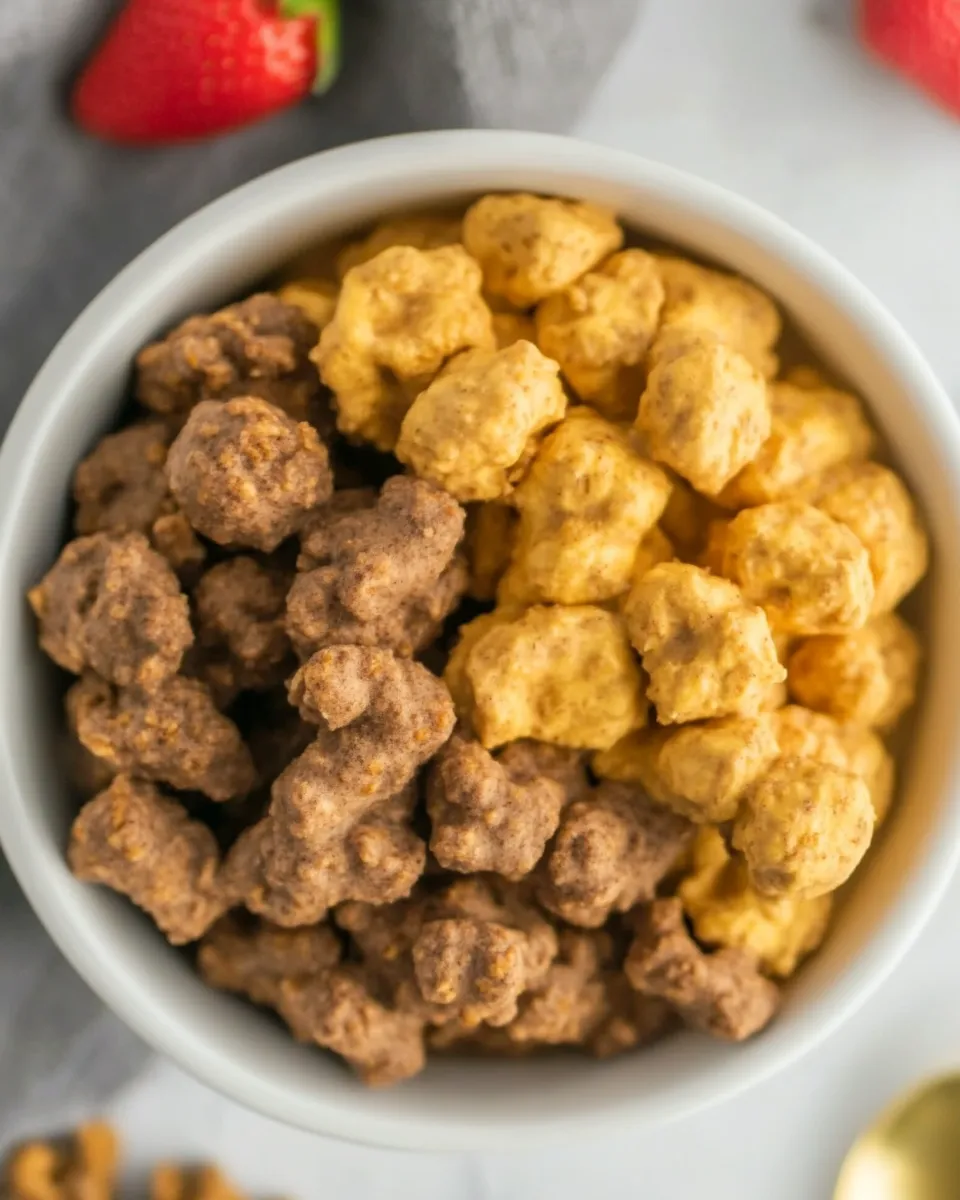
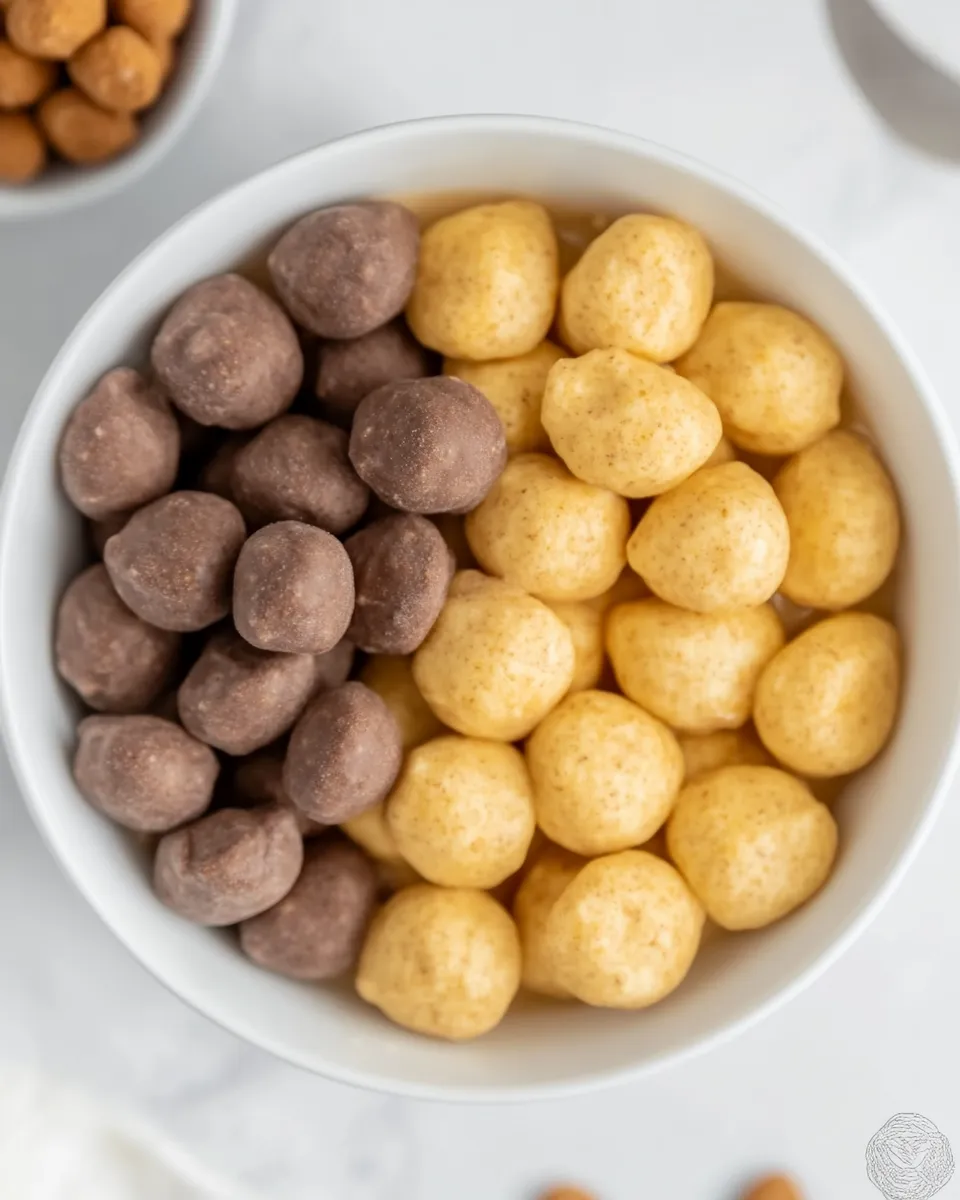
- If making chocolate cereal, divide the dough in two and stir about 1/4 cup cocoa powder into one portion until fully combined.
- Roll small balls of dough with your hands and place them on the prepared baking tray, leaving a little space between pieces.
- Bake for 10–12 minutes, until the edges begin to firm. Remove from the oven and allow the cereal to cool completely on the tray.
Notes
- One serving is a heaping cup (240 ml).
- For chocolate cereal, fold through 1/4 cup cocoa powder.
- Casein or brown rice protein are recommended.
- For a lower-carb option, use keto maple syrup or keto honey.
- Store at room temperature in a sealed container for up to 2 weeks.
- To freeze, portion into single-serving bags and freeze for up to 6 months.