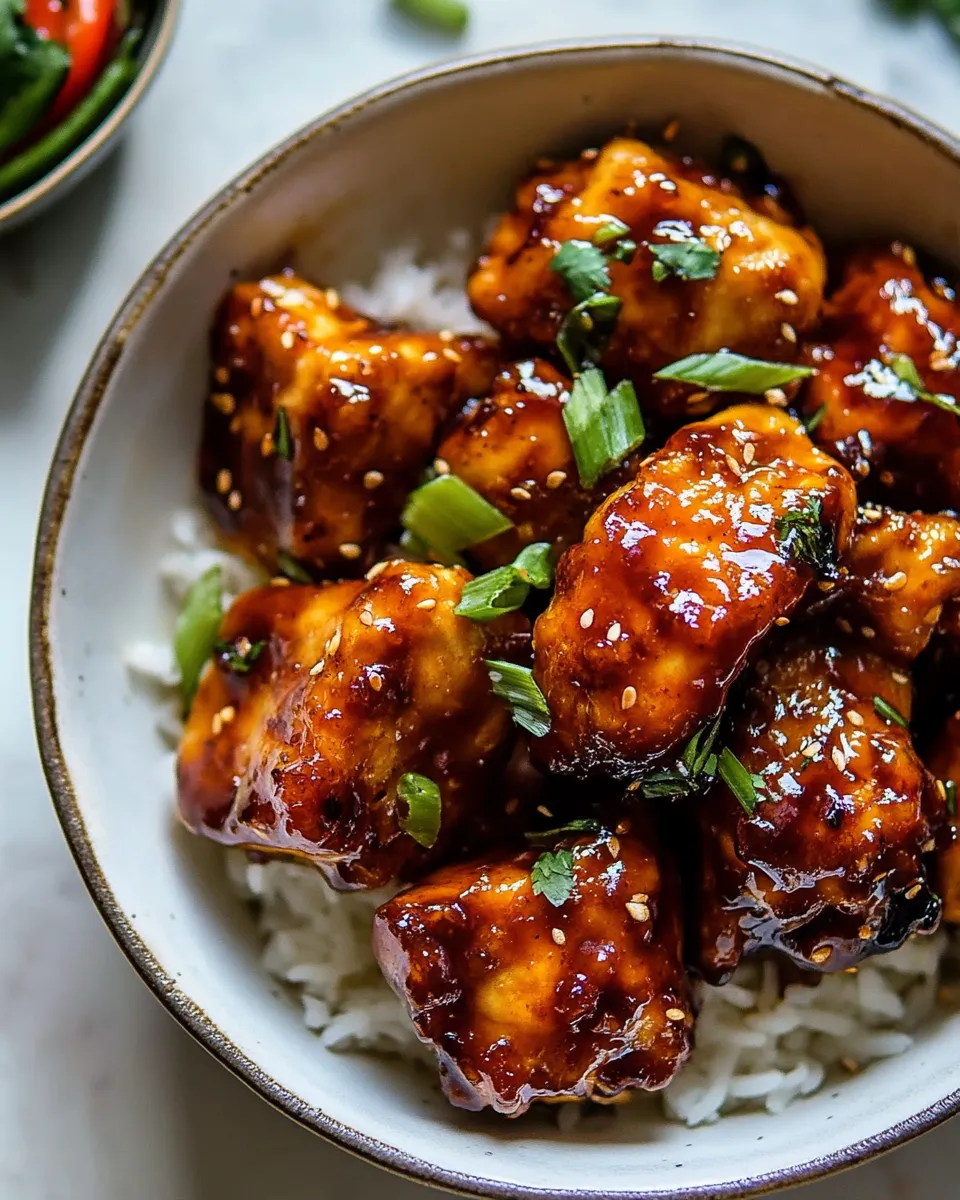
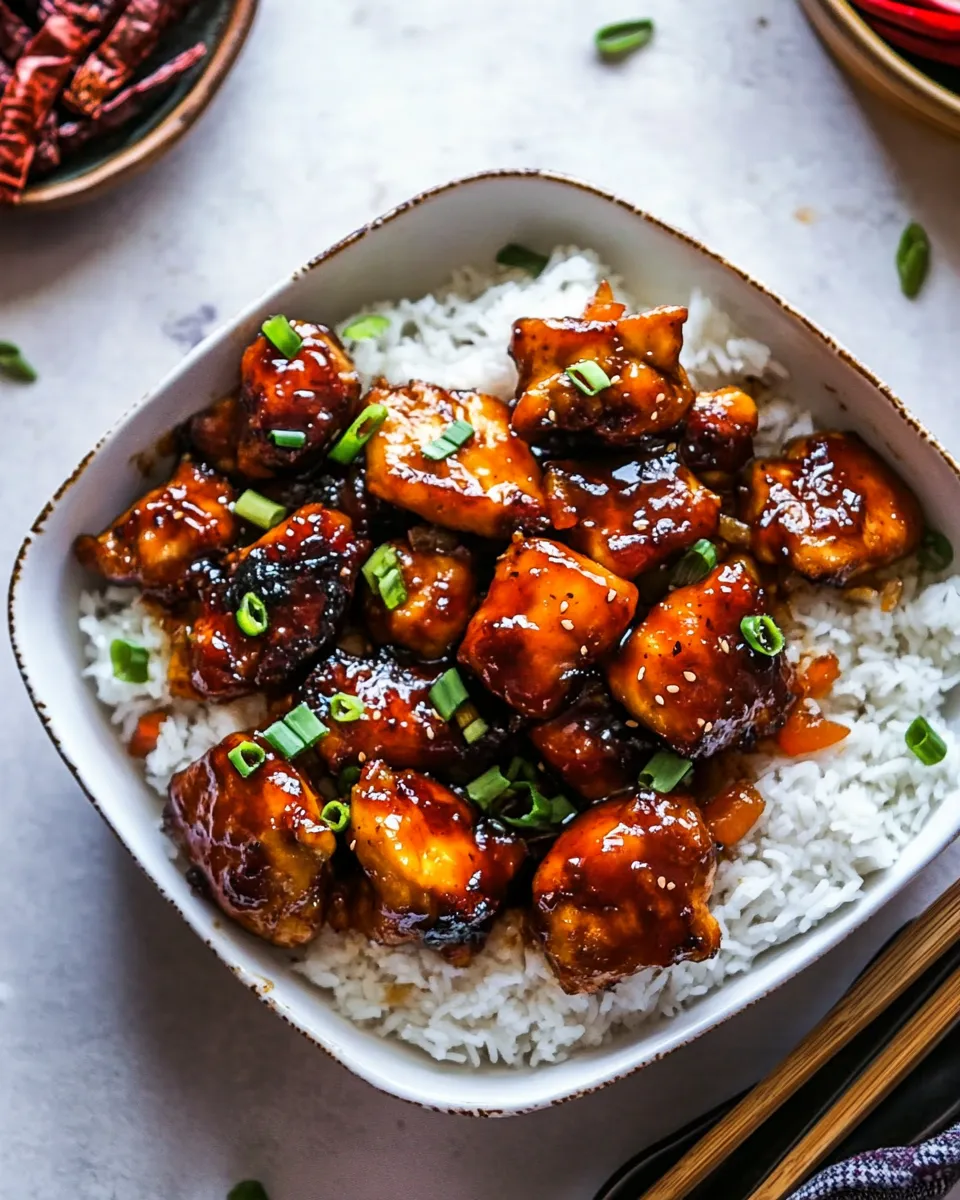
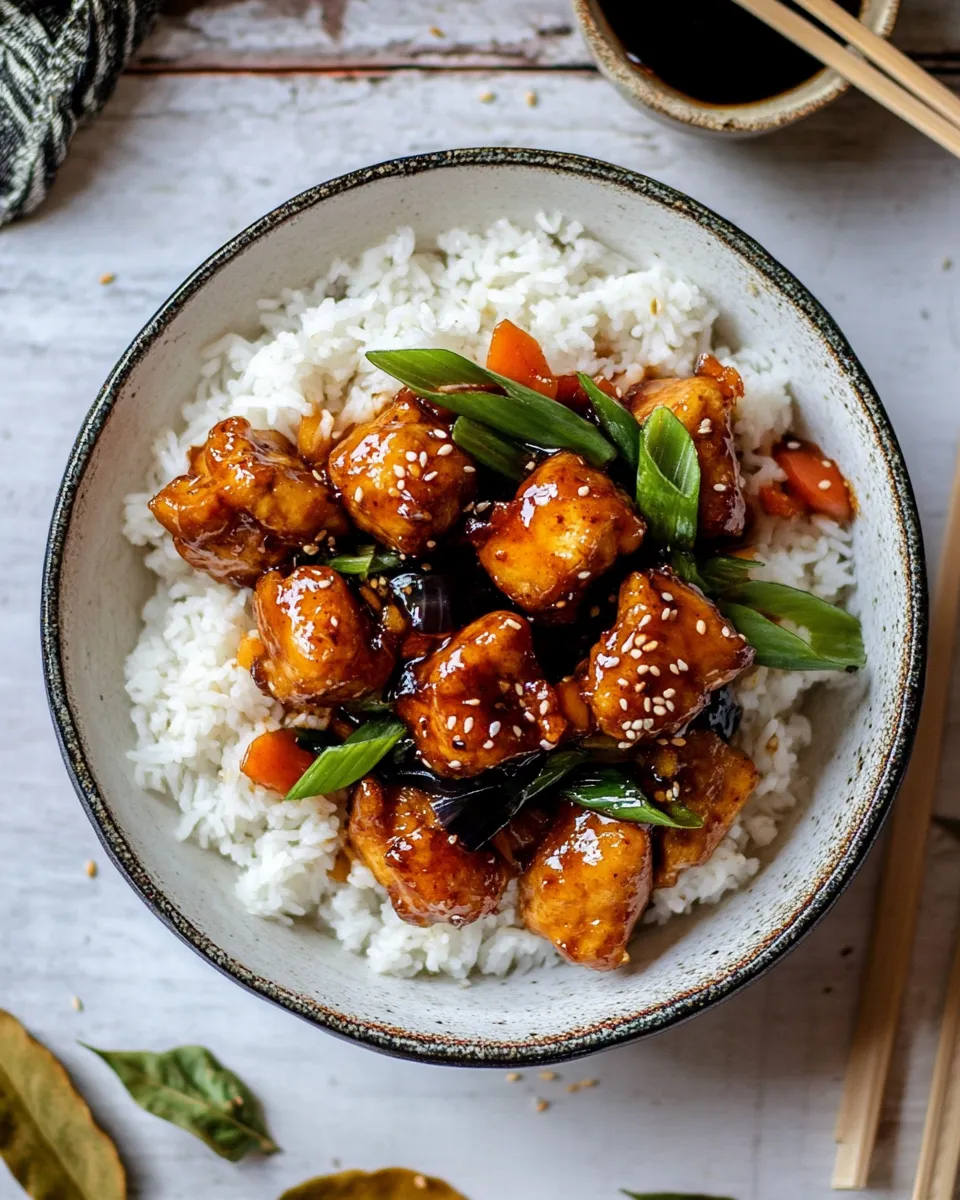
Sheet Pan Sticky Sweet and Sour Chicken.
There’s something undeniably joyful about a one-pan dinner that delivers big flavor without the fuss. This Sheet Pan Sticky Sweet and Sour Chicken is exactly that: bright, saucy, and easy to pull together on a busy weeknight. Tender cubes of chicken roast alongside crisp-tender broccoli, colorful bell peppers, and caramelized shallots while a garlicky, tangy-sweet sauce glazes everything to glossy perfection. Serve it over steaming rice and sprinkle with fresh cilantro for a full meal that feels a little special—without special effort.
Why you’ll love this recipe
- One pan, minimal cleanup—everything cooks together on a single sheet pan.
- Sweet, tangy, and savory sauce that clings to the chicken and vegetables.
- Flexible and approachable: swap vegetables, use different oils, or make it gluten-free easily.
- Bold flavor with pantry-friendly ingredients like sweet Thai chili sauce, soy sauce, and apple juice.
Ingredient notes
All measurements are listed in the recipe card below. This version uses boneless chicken breasts cut into 2-inch cubes for quick, even roasting. If you prefer darker meat, you can use boneless chicken thighs in the same quantity and cut—they’ll be just as tender and slightly richer. For oil, extra virgin olive oil or sesame oil both work; sesame oil will yield nuttier aroma. If you want this recipe without gluten, use a gluten-free all-purpose flour where noted.
Ingredients
- 1 1/2 pounds boneless chicken breasts, cut into 2 inch cubes
- 1 egg, beaten
- 1/4 cup all-purpose flour, or gluten-free all-purpose flour
- 1 teaspoon ground ginger
- 1 pinch each kosher salt and black pepper
- 1 cup broccoli florets
- 2 bell peppers, sliced
- 2 shallots, quartered
- 4 tablespoons extra virgin olive oil or sesame oil
- 1 cup sweet Thai chili sauce
- 1/3 cup low sodium soy sauce
- 1/2 cup apple juice
- 1/4 cup rice vinegar
- 1 tablespoon ketchup
- 1 tablespoon creamy peanut butter
- 1 jalapeño, sliced, and seeded if desired
- 2 cloves garlic, grated
- rice and cilantro, for serving
How to make Sheet Pan Sticky Sweet and Sour Chicken
Below is a clear, step-by-step guide that follows the ingredient list exactly and keeps the cooking order simple and efficient. Read through once before you start, then follow each numbered step while cooking.
- Preheat the oven to 425°F (220°C). Line a large sheet pan with parchment paper or lightly oil it to prevent sticking.
- Cut 1 1/2 pounds boneless chicken breasts into 2 inch cubes and transfer them to a bowl. Add 1 beaten egg and toss to coat the chicken evenly.
- Sprinkle 1/4 cup all-purpose flour (or gluten-free all-purpose flour) over the egg-coated chicken. Add 1 teaspoon ground ginger and a pinch each of kosher salt and black pepper. Toss until each piece is evenly coated in the flour and spices.
- Arrange the coated chicken cubes in a single layer on one half of the prepared sheet pan. Make sure pieces aren’t piled up so they roast rather than steam.
- On the other half of the sheet pan, spread 1 cup broccoli florets, 2 bell peppers sliced, and 2 shallots quartered. Drizzle the vegetables with 4 tablespoons extra virgin olive oil or sesame oil and toss gently to coat. Spread them in a single layer to ensure even roasting.
- Place the sheet pan in the preheated oven and roast for about 12 minutes, or until the chicken begins to cook through and the vegetables are starting to soften and brown at the edges.
- While the chicken and vegetables roast, make the sauce. In a medium bowl, whisk together 1 cup sweet Thai chili sauce, 1/3 cup low sodium soy sauce, 1/2 cup apple juice, 1/4 cup rice vinegar, 1 tablespoon ketchup, and 1 tablespoon creamy peanut butter until smooth.
- Add 1 sliced jalapeño (seeded if you prefer less heat) and 2 cloves grated garlic to the sauce mixture. Stir until the garlic and jalapeño are evenly distributed.
- After the initial roast time, remove the sheet pan from the oven. Carefully pour the sauce evenly over the chicken and vegetables on the sheet pan. Use a spatula to turn the chicken and toss the vegetables so everything gets coated in the sauce.
- Return the sheet pan to the oven and roast for an additional 8–10 minutes, or until the chicken is cooked through to an internal temperature of 165°F (74°C) and the sauce has thickened and become glossy. Keep an eye on the edges of the vegetables so they don’t burn. If the sauce is thickening too quickly, lower the oven by 25°F and continue roasting until the chicken reaches temperature.
- Once cooked, remove the sheet pan from the oven. Let it rest for 3–5 minutes—this allows the sauce to set slightly and makes it easier to serve.
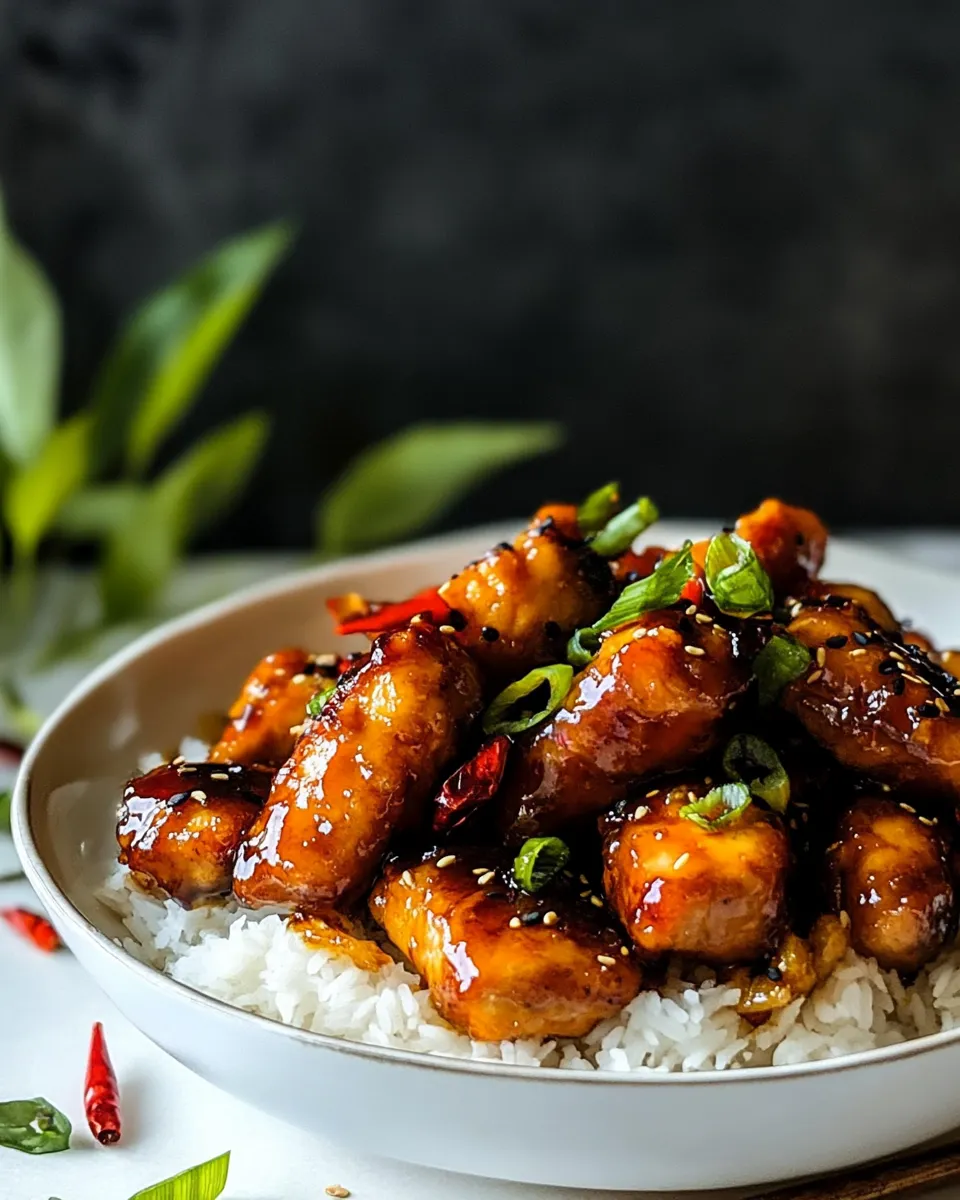
- Serve the Sheet Pan Sticky Sweet and Sour Chicken over cooked rice and garnish with chopped cilantro. Spoon any remaining pan juices over the rice for maximum flavor.
Troubleshooting and tips
- Evenly sized chicken pieces: Cut the chicken into uniform 2-inch cubes to ensure even cooking. If pieces vary widely in size, smaller ones can overcook while larger ones finish late.
- Prevent soggy veg: Arrange vegetables in a single layer with space between pieces so hot air can circulate and produce caramelized edges.
- Adjusting heat: Keep or remove the jalapeño seeds depending on your spice preference. If you want more heat, add a pinch of crushed red pepper to the sauce.
- Thicker sauce: If your sauce isn’t thickening in the oven, transfer it to a small saucepan and simmer over medium heat for a few minutes until it reaches the desired glaze-like consistency.
- Make it nut-free: If you need to avoid peanuts, omit the creamy peanut butter and add an extra tablespoon of ketchup and a splash more soy sauce to keep the sauce balanced.
- Make-ahead: The sauce can be mixed up to two days ahead and stored in the refrigerator. Bring it to room temperature before pouring it over hot chicken in the oven.
Serving suggestions
Serve this Sheet Pan Sticky Sweet and Sour Chicken over steamed jasmine or basmati rice to soak up the glossy sauce. For a lighter option, try cauliflower rice or a bed of mixed greens. Add a side of pickled cucumbers or a simple cucumber salad to cut through the sweetness and add crunch. Finish each plate with a handful of fresh cilantro for brightness.
Storage and reheating
Store leftovers in an airtight container in the fridge for up to 3 days. Reheat in a 350°F (175°C) oven for 8–12 minutes or until warmed through; this helps keep the chicken juicy and prevents the sauce from separating. Microwaving works for a quick reheat—cover the dish and heat in 60-second intervals, stirring between, until evenly warm.
Final notes
This Sheet Pan Sticky Sweet and Sour Chicken is a weeknight winner that doesn’t skimp on flavor. The combination of sweet Thai chili sauce, tangy rice vinegar, savory soy, and a hint of peanut butter creates a balanced sauce that clings to tender, roasted chicken and bright vegetables. It’s a simple, satisfying dinner that looks and tastes like you spent more time on it than you did.
Enjoy this easy sheet-pan dinner any night you want bold flavors, minimal cleanup, and a meal the whole family will reach for again and again.
Sheet Pan Sticky Sweet and Sour Chicken.
Ingredients
Equipment
Method
- Preheat the oven to 475°F and line a baking sheet with parchment paper or lightly oil it.
- In a bowl, combine the cubed chicken, beaten egg, and a pinch of black pepper; toss to coat.
- In a separate bowl, stir together the flour, ground ginger, and a pinch of salt. Working in batches, dredge the egg-coated chicken in the flour mixture until evenly coated and place the pieces on one side of the prepared baking sheet.
- Drizzle about 2 tablespoons of the oil over the chicken. On the other side of the sheet, toss the broccoli florets, sliced bell peppers, and quartered shallots with the remaining 2 tablespoons oil.
- Bake at 475°F for 15 minutes.
- While the sheet is baking, combine the sweet Thai chili sauce, soy sauce, apple juice, rice vinegar, ketchup, peanut butter, sliced jalapeño, and grated garlic in a medium saucepan. Bring to a boil over medium-high heat, then simmer and boil gently for 5–8 minutes until the sauce thickens and reduces by about one-third.
- Reduce the oven temperature to 400°F. Remove the sheet pan from the oven and pour half of the sauce over the chicken, tossing to coat; toss the vegetables as well.
- Return the sheet pan to the oven and bake at 400°F for about 3 minutes, just until the sauce is glossy and coats the chicken. Watch carefully to prevent burning.
- Serve the chicken and remaining sauce over bowls of rice with cilantro, and plate the roasted vegetables on the side.
Notes
- Use parchment or a well-oiled sheet to prevent sticking.
- Seed the jalapeño to reduce heat.
- Peanut butter adds body; use smooth for best texture.
- Watch the sauce closely when reduced to avoid burning.