Taco Shells In Oven
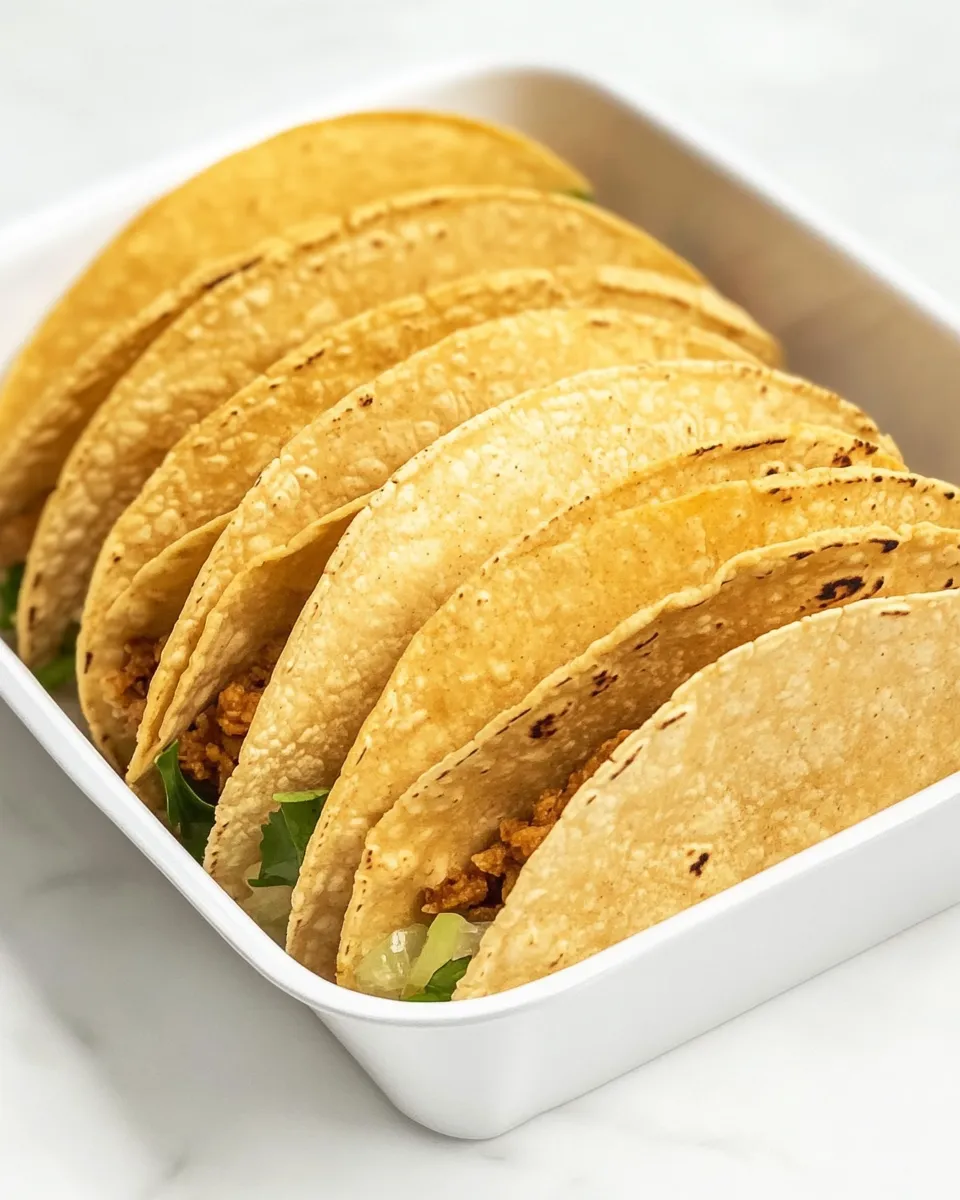
There’s something deeply satisfying about homemade taco shells — the snap when you take the first bite, the warm corn aroma that drifts through the kitchen, and the way they cradle all your favorite fillings without falling apart. This easy approach to making Taco Shells In Oven uses just a few pantry staples and yields crunchy, restaurant-worthy shells in under 20 minutes. It’s the kind of recipe that makes weeknight dinners feel a little more special and weekend gatherings effortless.
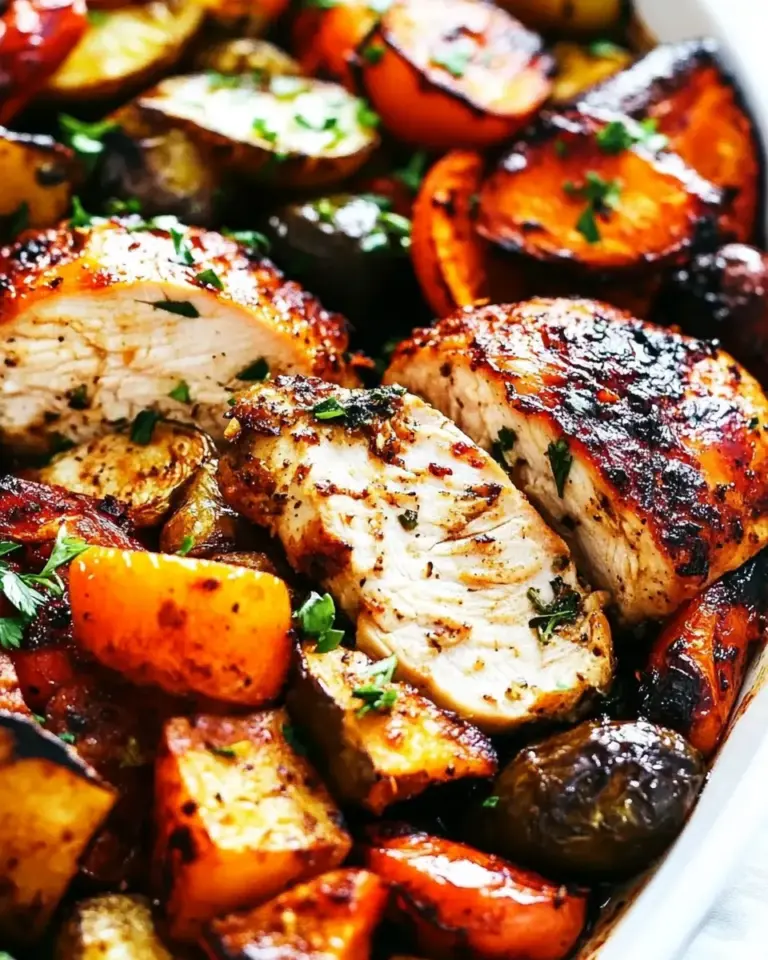
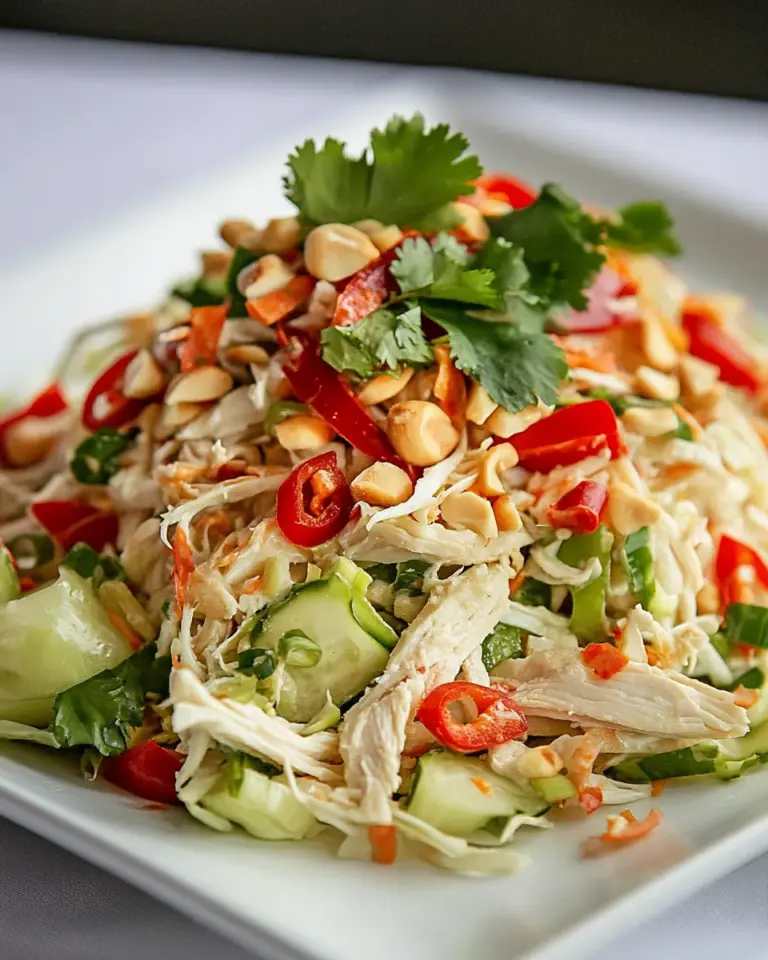
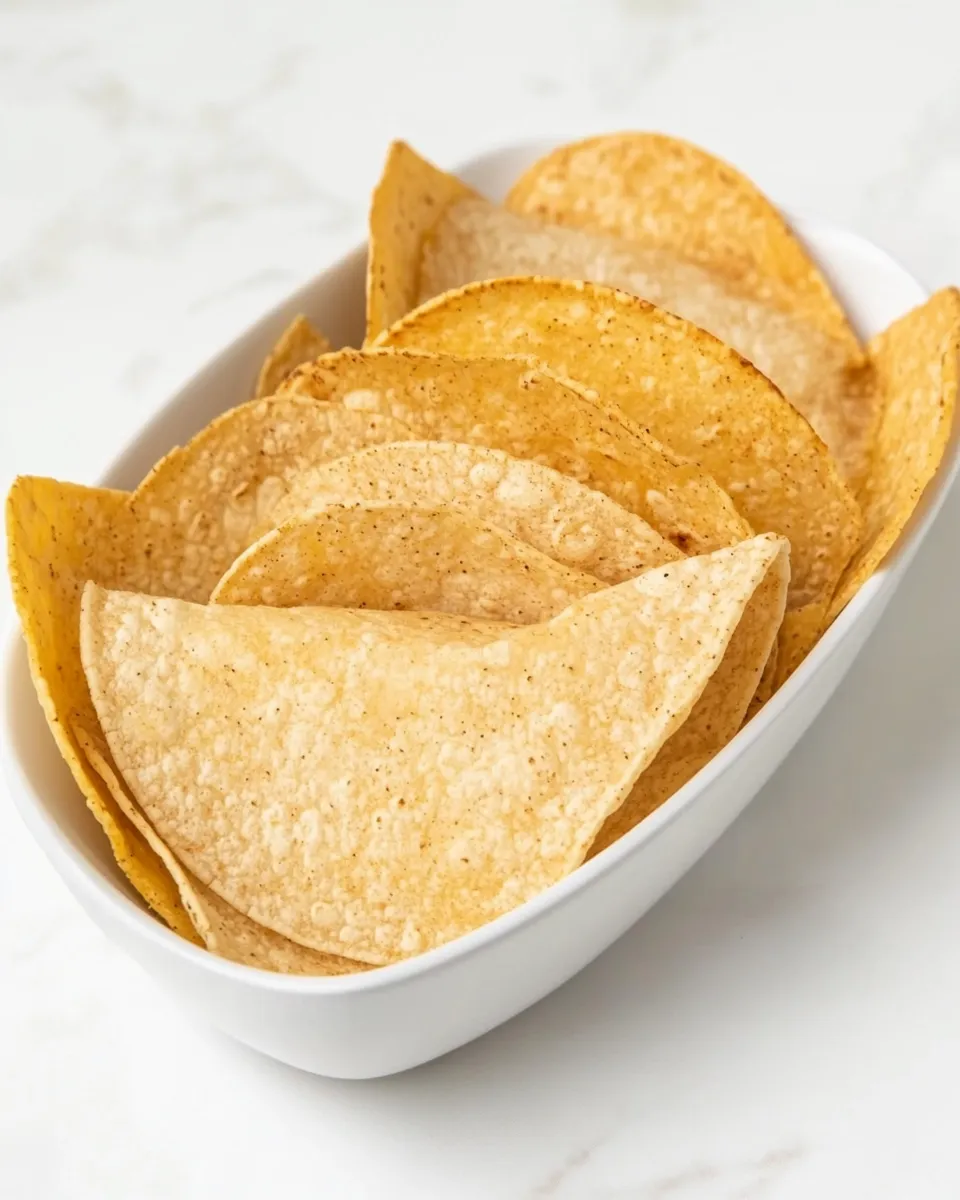
Why this method works: by baking corn tortillas at a high temperature and shaping them right in the oven, you get evenly crisp shells without the hassle and mess of frying. The result is a light, toasty shell with a satisfying crunch and authentic corn flavor. These shells are sturdy enough for hefty fillings—seasoned beans, shredded chicken, grilled vegetables, or any protein you prefer. The simple ingredient list keeps things flexible and approachable, and a sprinkle of chili powder adds a whisper of warmth if you like.
Ingredients
- 8 corn tortillas
- Cooking spray or vegetable oil
- Chili powder, optional
What you’ll need
- Baking sheet
- Wire rack or inverted muffin tin (or folded foil to create a ridge)
- Pastry brush or small bowl if using oil
- Oven mitts and tongs
Prep and timing
Total time: about 15–20 minutes, including preheating. Active time: 8–10 minutes.
Step-by-step Instructions
Follow these rewritten, clear steps to make perfect Taco Shells In Oven using your ingredient list. The directions keep the same order and amounts as the original source, tightened and clarified for smoother execution.
- Preheat the oven. Set the oven to 425°F (220°C) and allow it to reach temperature. Position a rack in the middle of the oven so heat circulates evenly around the shells.
- Prepare your tortillas. Take your 8 corn tortillas and decide whether to use cooking spray or vegetable oil. If you choose cooking spray, lightly coat both sides of each tortilla with an even mist. If you prefer vegetable oil, pour a small amount into a bowl and brush a thin layer onto both sides of each tortilla. The light coating promotes crisping and a golden color.
- Add chili powder, if using. If you want a bit of heat and extra flavor, sprinkle a light dusting of chili powder over both sides of each oiled tortilla. Keep it subtle so it complements fillings without overpowering them.
- Shape the shells on a baking surface. To give the tortillas their taco form, drape each tortilla over the bars of a wire rack placed on a baking sheet, or position them across the cups of an inverted muffin tin. If you don’t have either, fold a length of foil into a long, shallow ridge and place it on the sheet; then lay tortillas over the ridge so they keep a taco shape while baking. Arrange them so they don’t touch and have space for hot air to circulate all around.
- Bake until set and crisp. Slide the baking sheet into the oven and bake for 8–10 minutes. Keep an eye on them starting around the 7-minute mark: you want the edges to become golden and the centers to feel firm. The exact time varies with oven performance and tortilla thickness, so watch for that golden-brown color and a pronounced crispness when the shells are done.
- Flip if needed for even browning. If your oven tends to brown unevenly, pause at the halfway point (about 4–5 minutes) and, using tongs, quickly rotate the shells or flip them so both sides develop the same color and crunch. Return them to the oven to finish baking.
- Remove and drain briefly. When the shells are crisp and golden, use tongs to transfer them to a wire rack or a plate lined with paper towel for a minute to release any excess oil. They will crisp a touch more as they cool.
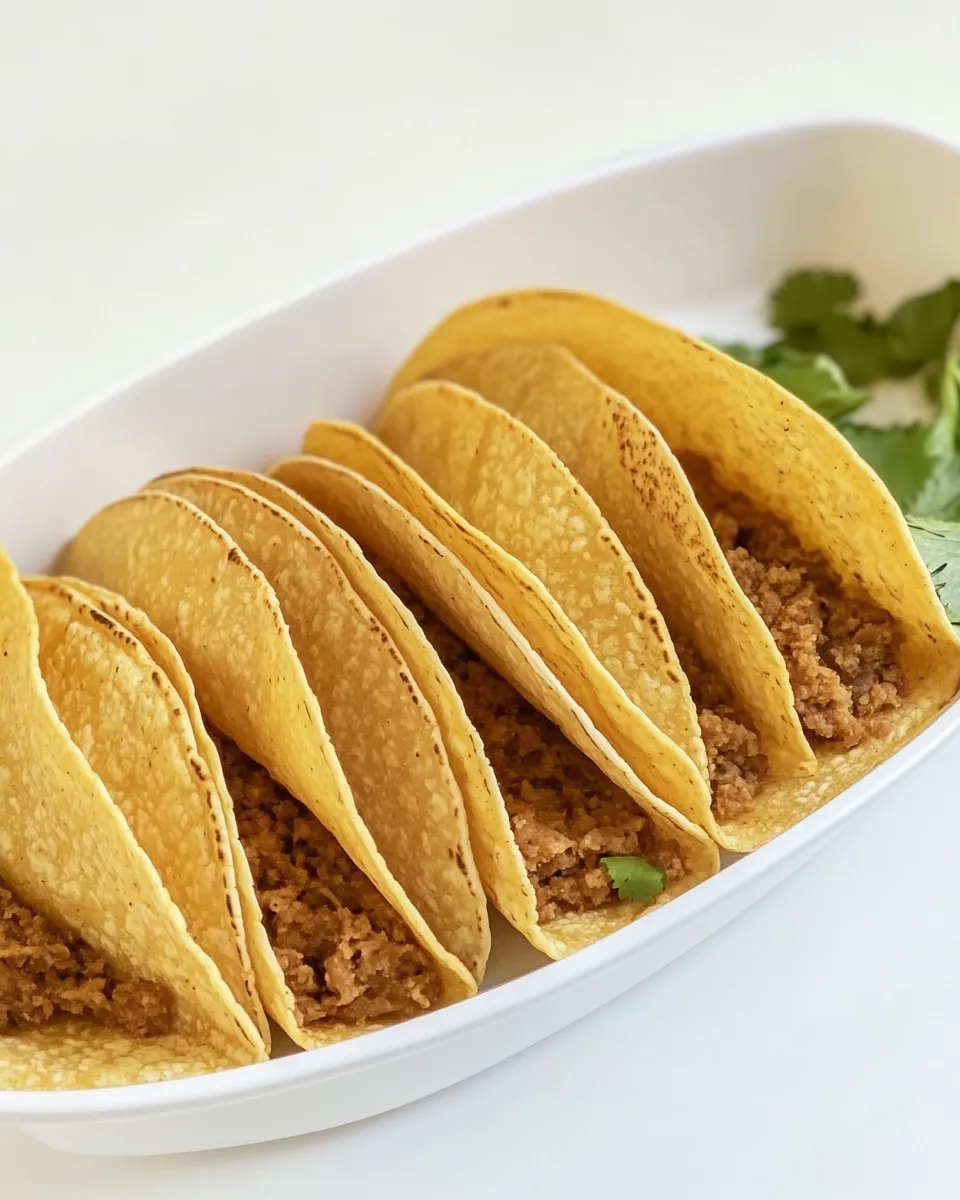
- Cool slightly, then fill and serve. Let the shells rest for 1–2 minutes to firm up. Fill them with your preferred ingredients—seasoned shredded protein, beans, rice, fresh salsa, shredded lettuce, diced tomatoes, avocado, or cheese—and serve immediately so they keep their crunch.
Troubleshooting and tips for success
- Too soggy? If your shells become limp soon after filling, they likely weren’t baked long enough or received too heavy an oil coating. Next time, reduce the oil to a thinner layer and extend baking by a minute or two to ensure they dry out fully.
- Uneven browning? Try rotating the baking sheet mid-bake or use the middle rack for the most consistent heat. Also check that tortillas are single layer and not overlapping.
- Want a milder flavor? Skip the chili powder. The shells are delicious plain and let the fillings shine.
- Make them ahead: You can bake shells up to a day in advance. Store them in an airtight container once fully cooled to maintain crispness. Re-crisp in a 350°F oven for 3–5 minutes before serving.
- For softer shells: If you prefer a pliable fold instead of a full crunch, reduce the oven temperature to 375°F and bake for 5–7 minutes, monitoring closely for the texture you like.
Filling ideas
These shells are a blank canvas—here are a few flavor combinations to inspire you. Use the fillings that suit your tastes and dietary preferences.
- Classic bean and cheese: Seasoned pinto or black beans, shredded cheese, chopped tomato, lettuce, and a squeeze of lime.
- Slow-cooked shredded protein: Use any shredded protein you enjoy with taco seasoning, topped with pickled onions and cilantro.
- Grilled veggie: Sliced bell peppers, onions, zucchini, and portobello tossed in olive oil and taco seasoning; top with avocado and a drizzle of yogurt-based sauce.
- Fish-style: Lightly seasoned and cooked fish flakes, cabbage slaw, and a tangy crema.
Why corn tortillas?
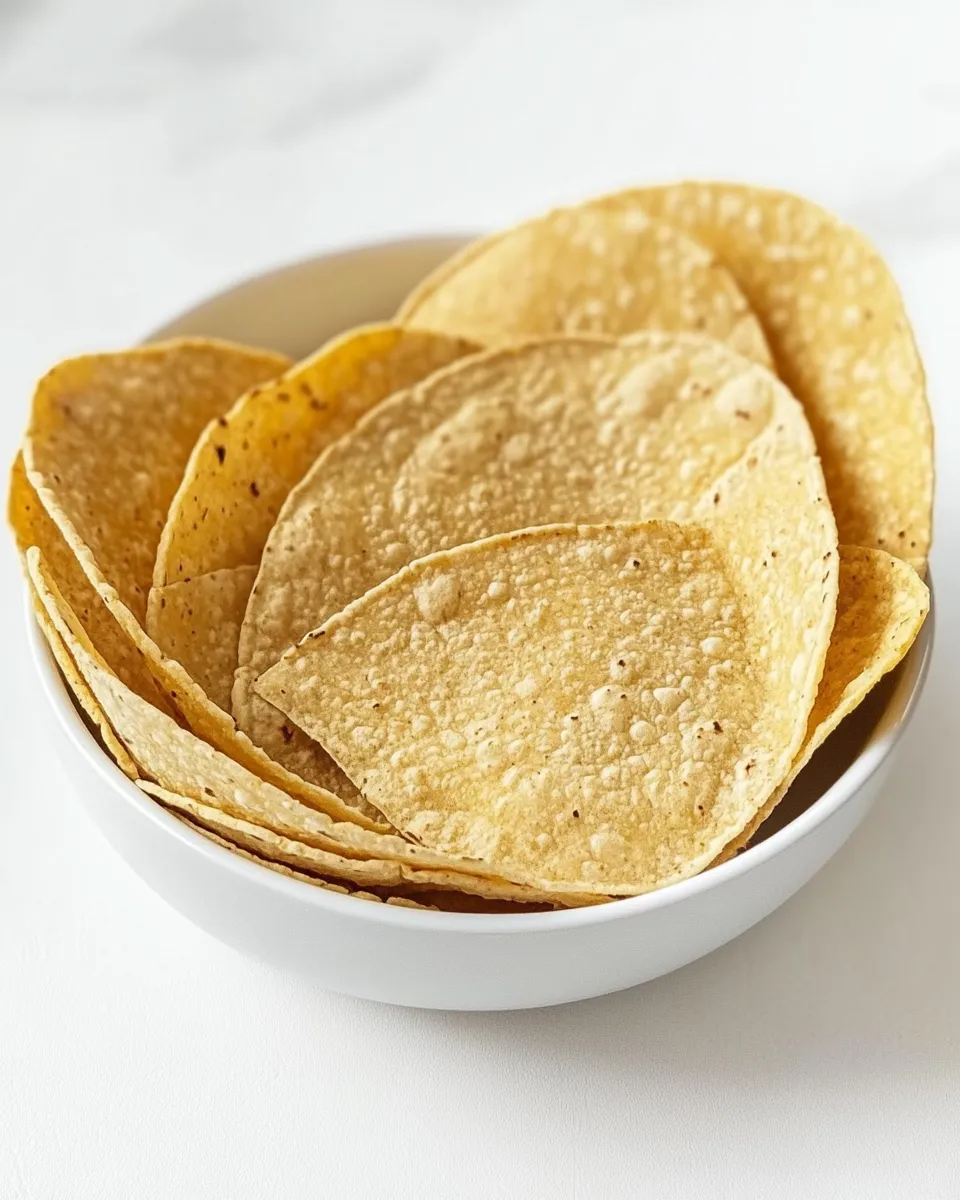
Corn tortillas bring an authentic, slightly nutty flavor that pairs beautifully with both bold and simple fillings. They tend to hold their shape better when baked for shells and crisp up quickly without soaking up excessive oil. Using corn also gives you a naturally grain-forward base that complements many traditional taco profiles.
Variations and add-ins
- Smoked paprika or cumin: Try a light dusting along with or in place of chili powder for a smoky nuance.
- Garlic oil: Mix a small amount of garlic powder into the oil for a subtle garlicky note on the shell.
- Everything bagel seeds: For a crunchier top, press a very light sprinkle onto the oiled tortillas before baking.
Serving and presentation
Serve your Taco Shells In Oven edge-up on a tray so people can assemble their tacos. Offer a variety of toppings—salsas, pickled vegetables, shredded greens, and sauces—to let guests customize. For a colorful, balanced taco spread, include both warm fillings (like roasted vegetables or spiced proteins) and fresh elements (like pico de gallo, cilantro, and lime wedges).
Storage
Cool completely, then store in an airtight container at room temperature for up to 24 hours for best crunch. If you need to keep them longer, place a paper towel in the container to absorb any residual moisture; reheat briefly at 350°F to restore crispness before serving.
Final thoughts
Homemade Taco Shells In Oven are a small change that elevates any taco night. With only three ingredients and a straightforward baking method, they’re a fast way to add a crunchy, handmade touch to your meals. Whether you’re feeding a crowd or making a quick solo dinner, these shells are reliably crisp, easy to customize, and endlessly adaptable.
Ready to bake? Preheat your oven, lightly oil eight corn tortillas, shape them on your rack or inverted muffin tin, and in about 8–10 minutes you’ll have perfectly crisp shells ready for all your favorite fillings. Enjoy the crunch.
Taco Shells In Oven
Ingredients
Equipment
Method
- Preheat the oven to 375°F (190°C). Line a baking sheet with parchment paper or foil.
- Lightly coat both sides of each corn tortilla with cooking spray or brush with a thin layer of vegetable oil.
- Sprinkle chili powder on the tortillas if using, to taste.
- Arrange the tortillas on the prepared baking sheet. For U-shaped taco shells, drape tortillas over two parallel bars of the oven rack or over a folded foil support so they hold shape; alternatively, fold each tortilla in half and press lightly while baking to form shells.
- Bake for about 8–12 minutes, flipping once with tongs halfway through, until the shells are crisp and golden at the edges.
- Remove from the oven and let the shells cool a few minutes so they firm up, then fill as desired.
Notes
- Use fresh corn tortillas for best crispness.
- Watch closely near the end of baking to avoid burning.
- Shape tortillas over oven rack bars or folded foil for U-shaped shells.
- Oil lightly to keep shells from getting greasy.