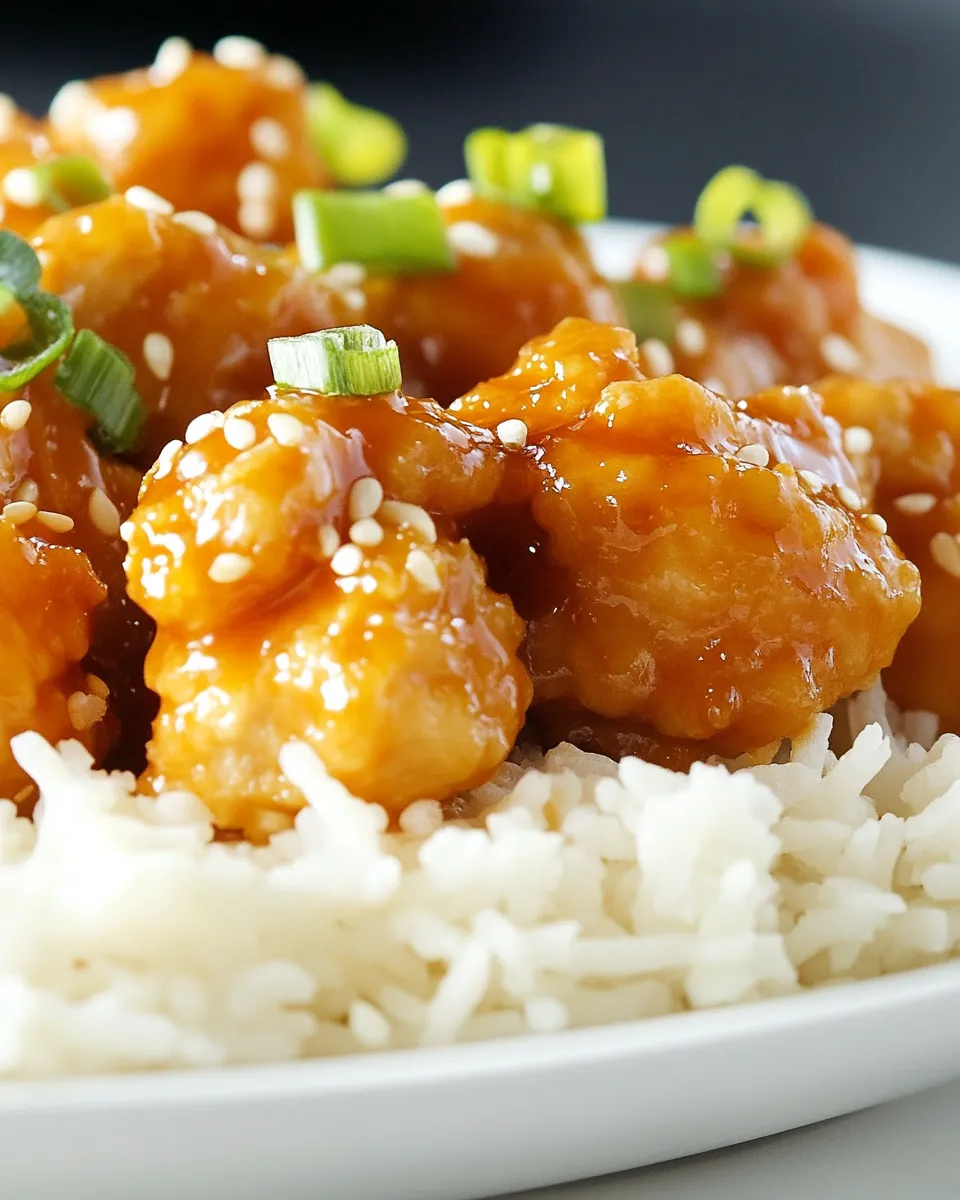
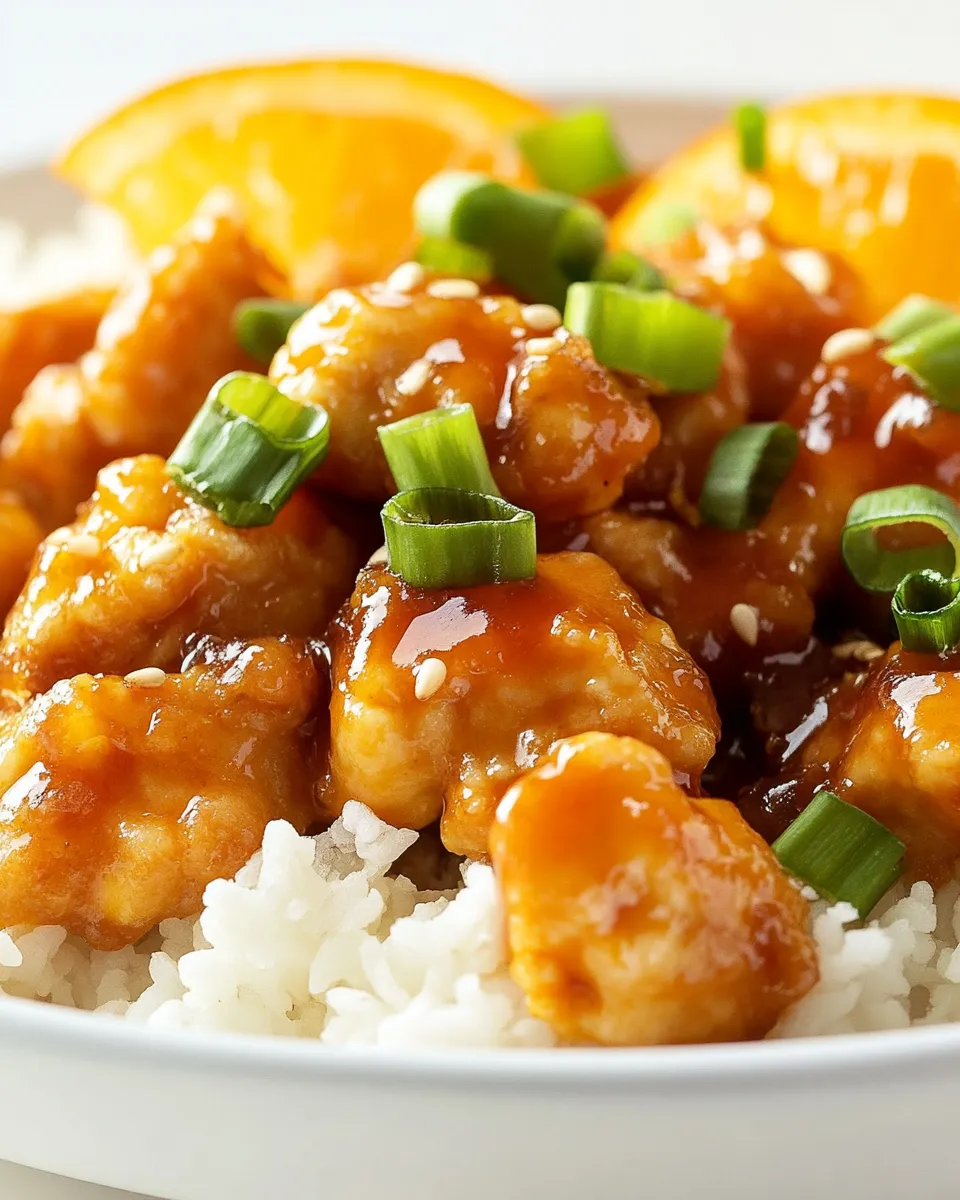
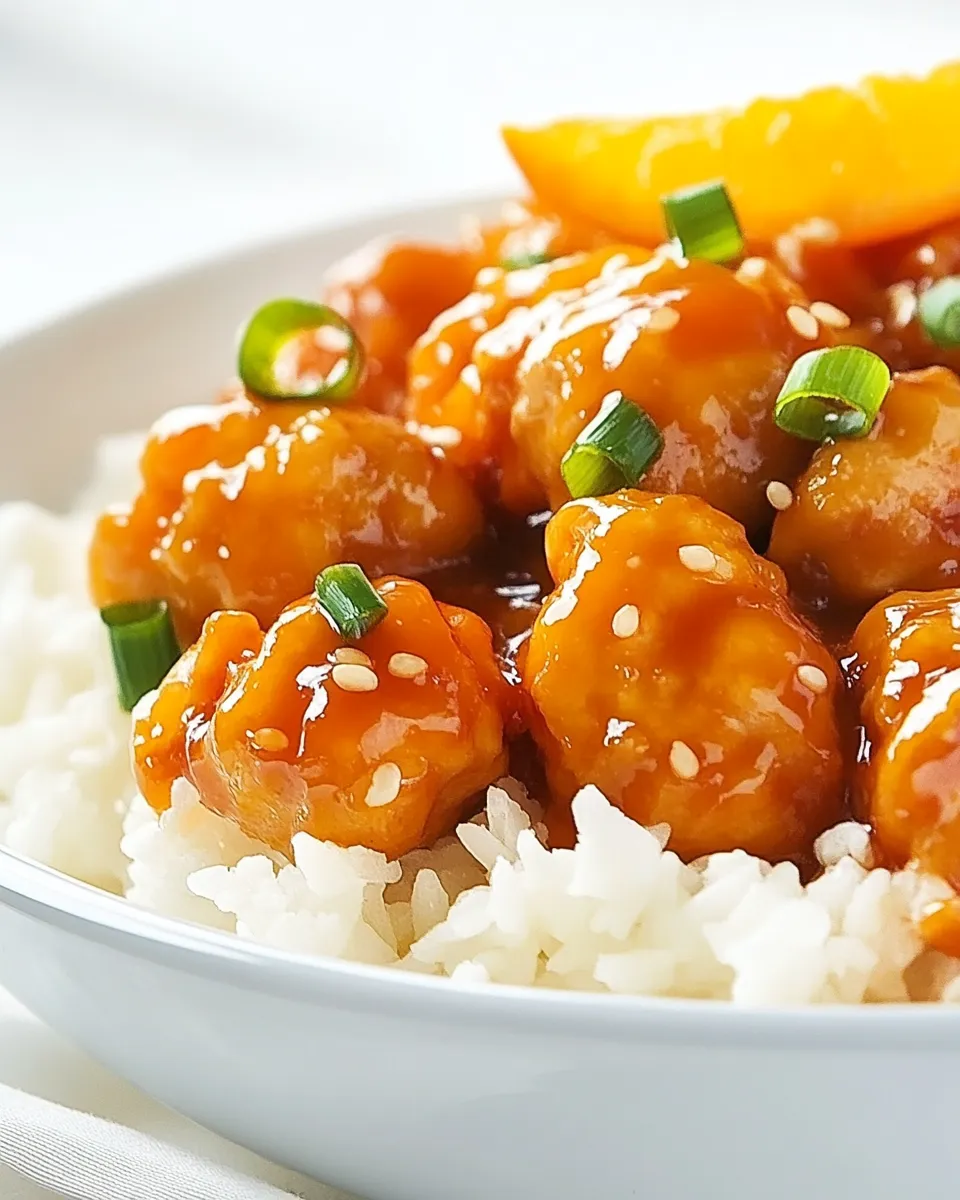
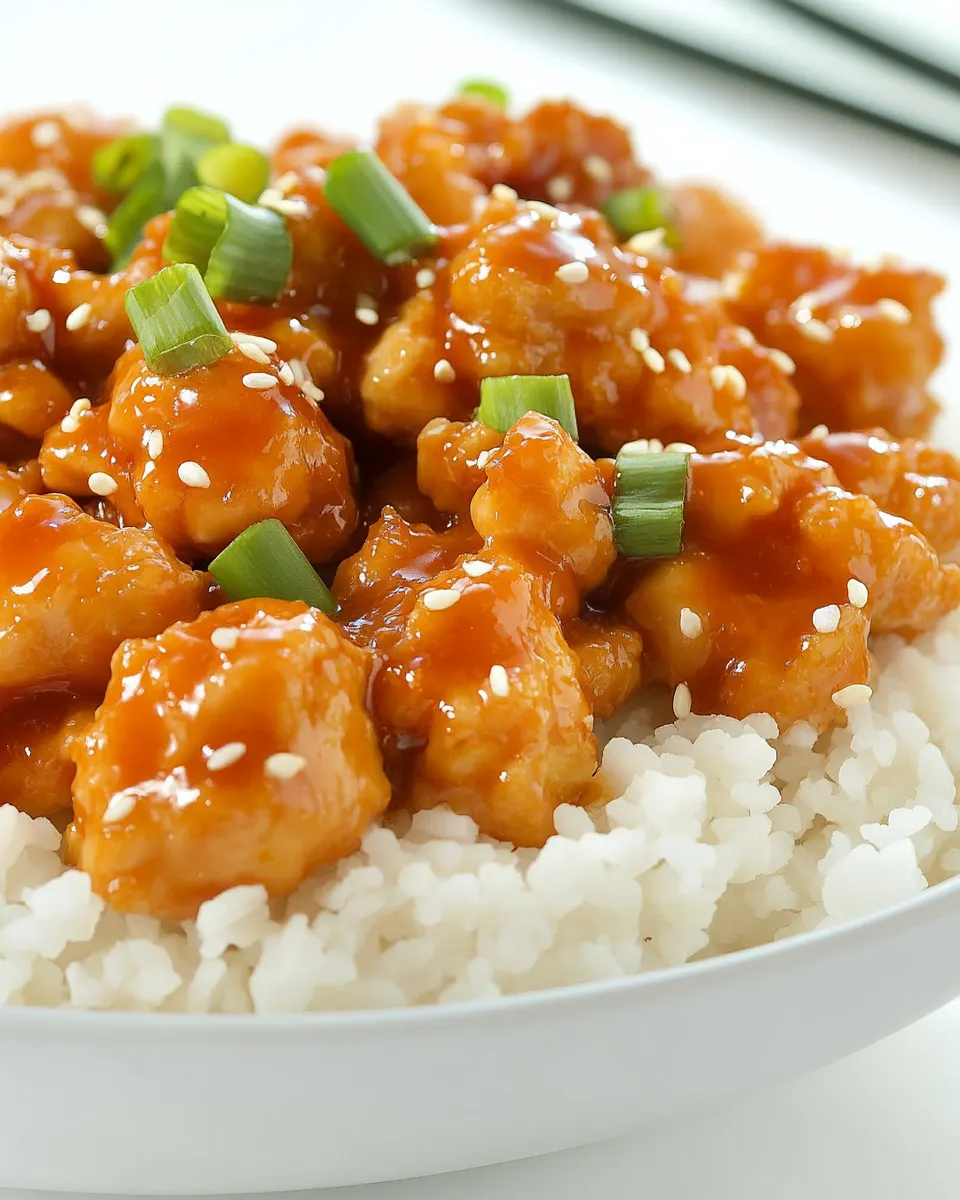
Better Than Takeout Orange Chicken
There’s a reason orange chicken shows up on every Chinese takeout menu: it’s sweet, tangy, and irresistibly saucy. This version—Better Than Takeout Orange Chicken—takes that magic into your own kitchen with straightforward ingredients and a crisp, saucy finish that rivals any delivery box. We’re using 1 1/2 lbs boneless skinless chicken breasts, cut into bite-sized pieces, a bright orange sauce made from real zest and juice, and a light, crunchy coating that soaks up sauce without turning mushy. The result is juicy, flavorful chicken with sticky orange glaze and just enough heat to keep things interesting. Serve it over steamed rice or fried rice and garnish with scallions and sesame seeds for the classic experience.
Why this recipe works
This recipe balances texture and flavor. The chicken is coated in a cornstarch layer that fries up crunchy and holds onto the sauce. The sauce itself mixes fresh orange juice and zest with a touch of vinegar and soy to create a complex sweet-and-tart profile. Freshly grated onion and minced garlic add depth while dried ginger and Sriracha give background warmth. The method keeps things simple: make the sauce, dredge and fry the chicken, thicken the sauce, and toss everything together. Little details—like using room-temperature eggs for the dredge and getting a good sear on the chicken—make a major difference.
Ingredients
- 1 1/2 lbs boneless skinless chicken breasts, cut into 1 – 1 1/2-inch pieces
- 1 cup low-sodium chicken broth
- 1 Tbsp finely grated orange zest (zest of 1 1/2 fairly large oranges)
- 1/2 cup freshly squeezed orange juice
- 1/3 cup white vinegar
- 1/4 cup soy sauce
- 1/2 cup granulated sugar
- 1/4 tsp dried ginger
- 2 Tbsp grated yellow onion (be sure to get some of the juices when measuring)
- 2 cloves garlic, finely minced
- 1 tsp Sriracha hot sauce (optional)
- Freshly ground black or white pepper, to taste
- 1 1/4 cups + 2 Tbsp cornstarch
- 2 Tbsp cold water
- 2 large eggs
- Vegetable or peanut oil, for frying
- Chopped green onions and sesame seeds, for garnish (optional)
Equipment and prep notes
- Large mixing bowls for the chicken and for the sauce
- Whisk, microplane or fine grater for orange zest, and a citrus juicer
- Large heavy skillet or wok for frying, plus a shallow pan for holding finished pieces
- Tongs or slotted spoon and paper towels for draining
- Small bowl for the cornstarch slurry
Plan for a two-phase process: first, make the sauce and set it aside; second, bread and fry the chicken, then finish everything together. Have all your ingredients ready before you start frying so you can work quickly and keep oil hot.
Step-by-step instructions
- Make the sauce: In a medium saucepan or heatproof bowl, combine 1 cup low-sodium chicken broth, 1 Tbsp finely grated orange zest, 1/2 cup freshly squeezed orange juice, 1/3 cup white vinegar, 1/4 cup soy sauce, 1/2 cup granulated sugar, 1/4 tsp dried ginger, 2 Tbsp grated yellow onion (including the juices), 2 cloves garlic (finely minced), 1 tsp Sriracha (if using), and freshly ground pepper to taste. Whisk together until the sugar is mostly dissolved.
- Heat the sauce gently: Place the saucepan over medium heat and bring the mixture to a gentle simmer, stirring occasionally so the sugar fully melts and the flavors marry. Simmer for 3 to 4 minutes, then remove from heat and keep warm while you prepare the chicken.
- Prepare the chicken: Trim any excess fat from the 1 1/2 lbs boneless skinless chicken breasts, and cut the breasts into 1 to 1 1/2-inch pieces so the pieces are uniform. Pat the chicken pieces dry with paper towels—dry surfaces will help the coating adhere.
- Set up the dredging station: Crack 2 large eggs into a medium bowl and beat lightly. In a second wide bowl, measure 1 1/4 cups + 2 Tbsp cornstarch. Have a tray or plate nearby for the dredged pieces. Working in batches will give you the crispiest results.
- Coat the chicken: Working in small batches, dip each chicken piece into the beaten eggs, allowing excess egg to drip off, then roll the piece in the cornstarch until fully coated. Shake off any loose cornstarch and place the coated pieces on the tray. Continue until all chicken is coated.
- Heat the oil: In a large heavy skillet or wok, pour about 1/2 to 1 inch of vegetable or peanut oil—enough for shallow frying. Heat the oil over medium-high heat until it reaches about 350°F (175°C) or until a pinch of cornstarch sizzles and browns quickly on contact.
- Fry the chicken in batches: Fry the coated chicken pieces in batches to avoid overcrowding. Place pieces into the hot oil carefully and fry until golden brown and cooked through, about 3 to 5 minutes per batch depending on piece size. Turn as needed for even browning. Use a slotted spoon or tongs to transfer fried pieces to a paper towel-lined plate to drain briefly. Repeat until all chicken is fried.
- Make the cornstarch slurry: In a small bowl, whisk together 2 Tbsp cold water and the remaining 2 Tbsp cornstarch from the ingredient list—this makes a smooth slurry. Set aside.
- Combine sauce and slurry: Return the warm orange sauce to medium heat. Whisk in the cornstarch slurry gradually while the sauce simmers. Continue to cook and whisk until the sauce thickens and becomes glossy—this should take 1 to 2 minutes. The sauce should coat the back of a spoon.
- Toss chicken in sauce: Once the sauce is thickened, add the fried chicken to the pan. Gently toss or stir so every piece gets evenly coated with the glossy orange sauce. Cook together for another minute just to marry the flavors and heat through.
- Adjust seasoning and finish: Taste a piece and adjust with freshly ground pepper if desired. If you like a little more tang, add a tiny splash more vinegar; for extra sweetness, add a pinch more sugar. Garnish with chopped green onions and sesame seeds if using.
- Serve: Serve the Better Than Takeout Orange Chicken hot over steamed rice, fried rice, or alongside stir-fried vegetables. Leftovers keep well in the refrigerator for 2 to 3 days—reheat gently on the stovetop over low heat to preserve the texture.
Timing and batch tips
Plan 10–15 minutes for prep and 15–20 minutes for frying and finishing, depending on how many batches you need. Don’t overcrowd the pan: crowding drops the oil temperature and leads to soggy chicken. Keep the sauce warm and ready so you can toss the chicken immediately after frying—this prevents it from getting cold and absorbs the sauce better.
Flavor variations and substitutions
- If you prefer a lighter sweetener, you can swap part of the granulated sugar for light honey, but keep the total sweet volume similar to maintain balance.
- For more heat, add an extra 1/2 tsp Sriracha or a pinch of cayenne to the sauce.
- Swap yellow onion for shallot for a milder, sweeter onion note; keep the 2 Tbsp measurement and include the juices.
- If you need a thicker crust, increase the cornstarch coating slightly, but don’t exceed the listed amounts by a large margin or the texture will become gummy.
Storage and reheating
Store cooled leftovers in an airtight container in the refrigerator for up to 3 days. To reheat while preserving crispness, spread the sauced chicken on a baking sheet and warm in a preheated 350°F oven for 8–10 minutes, turning once. For stovetop reheating, use a nonstick skillet over medium-low heat, stirring until warmed; add a teaspoon of water if the sauce has thickened too much.
Serving suggestions
Classic pairings are steamed jasmine rice or fried rice and quick sides like steamed broccoli, snap peas, or a simple cucumber salad to cut through the richness. For a bowl-style meal, layer rice, orange chicken, and a handful of shredded cabbage or carrots; drizzle extra sauce and finish with scallions and sesame seeds.
Notes on ingredients and authenticity
Real orange flavor comes from the zest as much as the juice—don’t toss the peel. Low-sodium chicken broth keeps the sauce from becoming overly salty once combined with soy sauce. Finely grating the yellow onion releases its juices and integrates its flavor seamlessly into the sauce. The cornstarch slurry is essential to getting that glossy takeout-style coating that clings to every piece.
Why this is better than takeout
Made-at-home orange chicken lets you control the balance of sweet, tangy, and spicy, and you end up with crisp chicken that doesn’t sit in a lukewarm box of sauce. Fresh orange zest and juice give brightness that bottled sauces can’t match, and frying the chicken to order ensures crunchy texture. It’s also friendly for those who like to tweak heat levels, sweetness, and sodium—so you get exactly what you crave.
Ready to make it? Gather your 1 1/2 lbs boneless skinless chicken breasts, the orange juice and zest, and the cornstarch—you’re about to enjoy Better Than Takeout Orange Chicken right from your stovetop.
Better Than Takeout Orange Chicken
Ingredients
Equipment
Method
- Place the cut chicken pieces into a gallon-size resealable bag and set aside.
- In a medium saucepan, whisk together chicken broth, orange zest, orange juice, white vinegar, soy sauce, sugar, dried ginger, grated onion, minced garlic, Sriracha (if using), and pepper until combined.
- Measure out 2/3 cup of the sauce mixture and pour it into the bag with the chicken; seal the bag, press out excess air, and press the chicken into the marinade. Refrigerate for 30 minutes.
- Meanwhile, bring the remaining sauce in the saucepan to a gentle boil over medium heat, stirring frequently.
- Whisk 2 tablespoons cornstarch with 2 tablespoons cold water in a small bowl, then stir this slurry into the simmering sauce. Reduce heat to medium-low and cook 1–2 minutes, stirring constantly, until thickened, then remove from heat.
- Pour oil into a large heavy pot or Dutch oven to a depth of 1½–2 inches and heat to 350°F (use a thermometer to check).
- Whisk the eggs in a shallow dish. Place 1¼ cups cornstarch in a separate shallow dish for dredging.
- Remove the chicken from the marinade and discard the marinade. Working in batches, dip chicken pieces into the beaten eggs, then coat evenly with cornstarch.
- Carefully add about one third of the coated chicken to the hot oil and fry 5–7 minutes until golden brown, turning once. Remove with a skimmer and drain on a paper towel–lined baking sheet. Repeat with remaining chicken in two more batches.
- Place the drained fried chicken into a large bowl and toss with the prepared orange sauce until evenly coated.
- Serve the orange chicken warm over rice and garnish with chopped green onions and sesame seeds if desired.
Notes
- Fry the chicken in batches to keep the oil temperature steady.
- Use a thermometer to maintain oil at about 350°F.
- Discard the raw marinade; do not reuse as sauce without cooking.
- Measure and zest oranges before juicing for easier prep.
- Adjust Sriracha to control heat level.