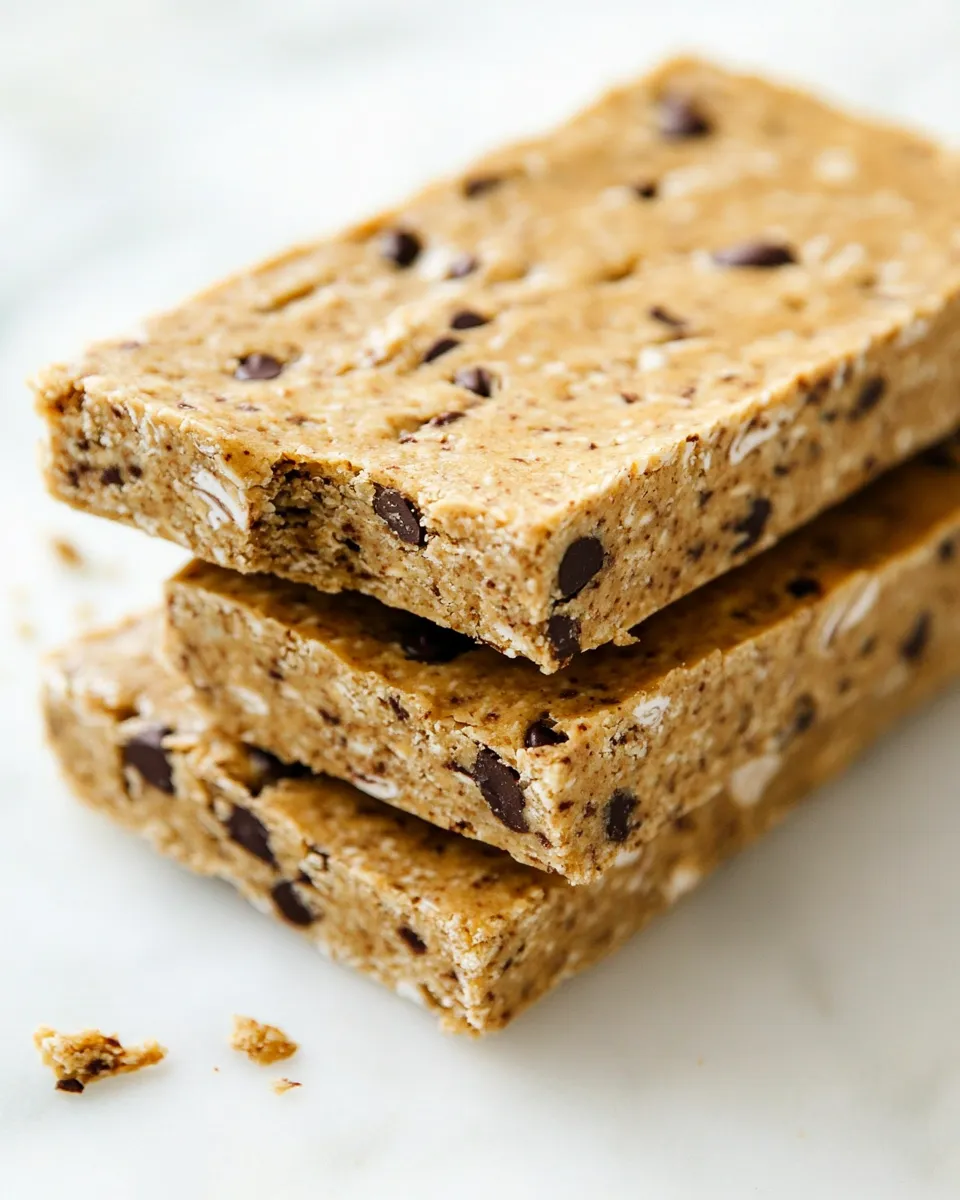
Homemade Protein Bars
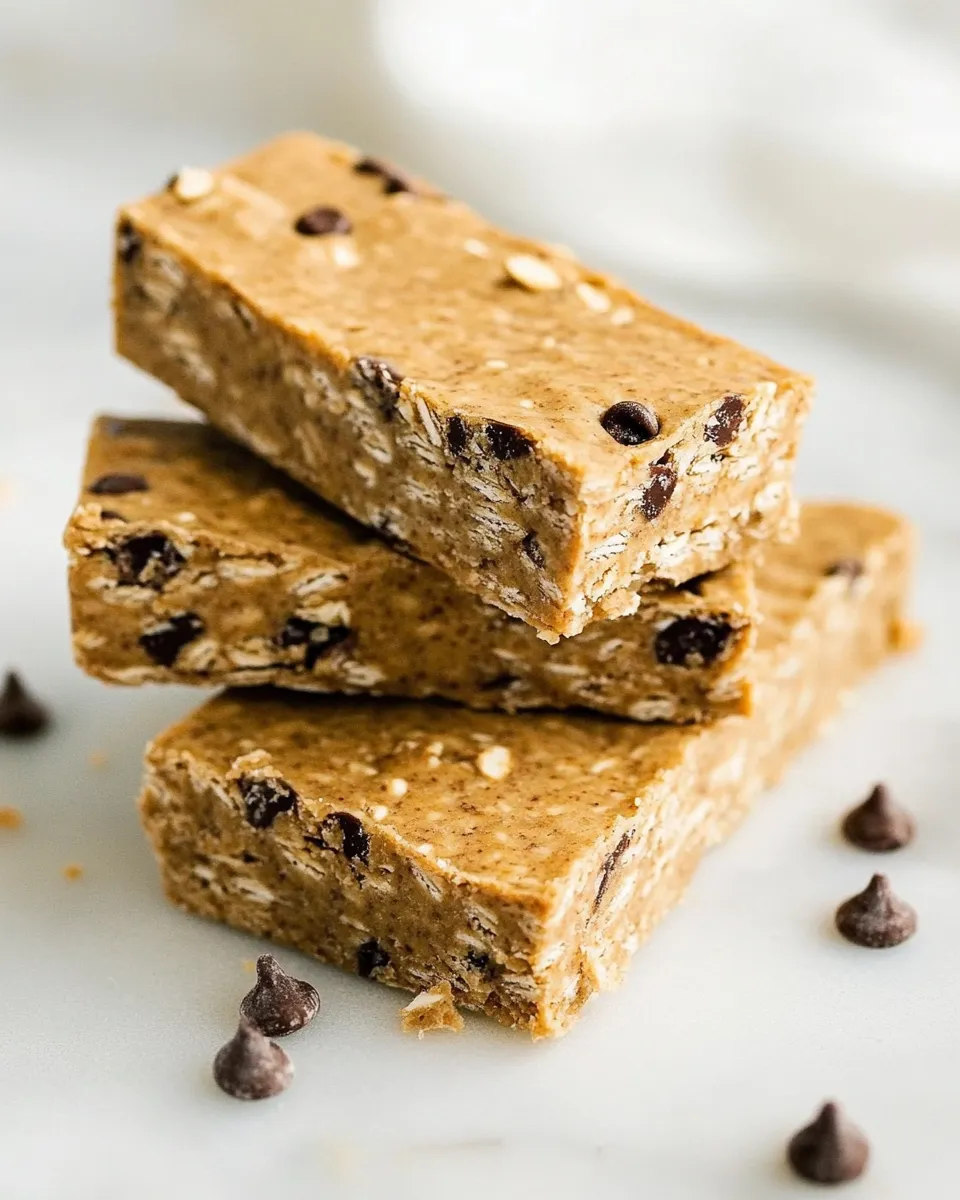
There’s something deeply satisfying about making your own snacks: you control the ingredients, the texture, and the sweetness. These Homemade Protein Bars are chewy, slightly nutty, and dotted with melty chocolate chips. They’re simple enough for a weekday prep session and sturdy enough to toss in your bag for a post-workout bite. The formula is straightforward—rolled oats, Medjool dates, almond butter, protein powder, vanilla extract, and semi-sweet chocolate chips—and the results are reliably delicious.
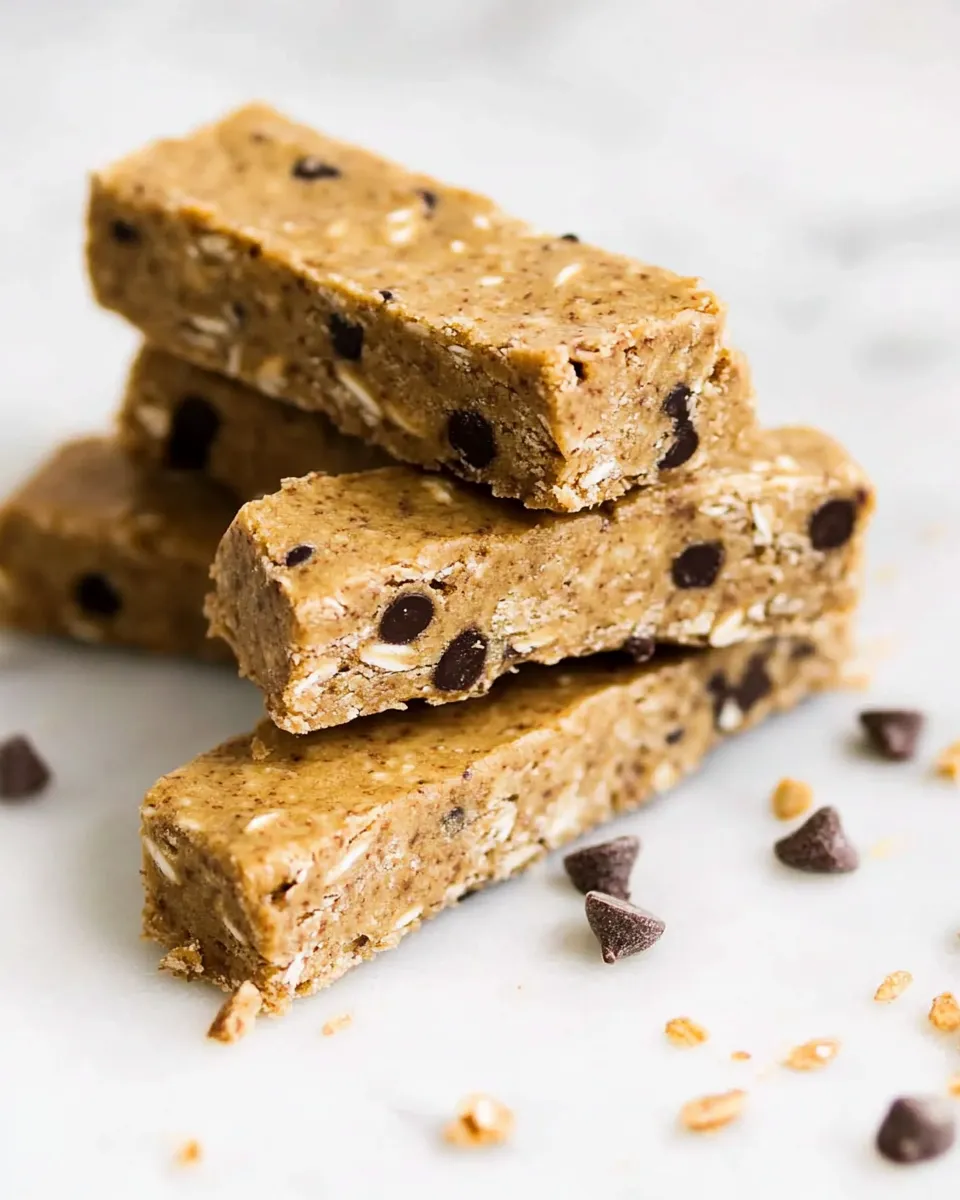
Before we dive into the how-to, a few notes on the ingredients and technique. The texture of these bars leans chewy and dense thanks to the dates and almond butter. If you like a firmer bar, chill them longer; if you prefer them softer, cut sooner. The protein powder adds structure and a subtle boost without overwhelming flavor. And the chocolate chips? They add little pockets of sweetness that keep each bite interesting.
Why you’ll love these Homemade Protein Bars
- Made with pantry-friendly ingredients that come together quickly.
- Chewy texture with melty chocolate bites in every square.
- Customizable—swap nut butter, protein powder flavor, or mix-ins to suit your taste.
- Portable and perfect for breakfast on the go, an afternoon snack, or a post-exercise nibble.
Ingredients
- 1 ½ cup old-fashioned rolled oats
- 5 Medjool dates (pitted)
- 1 cup almond butter
- ¼ cup protein powder
- 1 tsp vanilla extract
- ¼ cup semi-sweet chocolate chips
Equipment
- Food processor or high-powered blender
- Mixing bowl
- 8×8-inch (or similar) baking pan
- Parchment paper
- Spatula
- Measuring cups and spoons
Prep tips
For best results, measure the oats by gently spooning into the measuring cup and leveling off. If your dates are a bit dry, soften them by soaking in warm water for 10 minutes, then drain and pat dry before blending. Use almond butter that is smooth and pourable; if yours is very thick, a quick stir or 5–10 seconds in the microwave can help make it easier to work with. Choose a protein powder you enjoy—vanilla or unflavored work beautifully here.
Step-by-step Instructions
Below are clear, stepwise directions to make these Homemade Protein Bars. Follow them in order for the best texture and flavor.
- Prepare the pan and dates. Line an 8×8-inch baking pan with parchment paper, leaving some overhang on two sides so you can lift the bars out easily. If your Medjool dates feel dry, soak them in warm water for about 10 minutes to soften, then drain and pat them dry.
- Process the oats. Place 1 ½ cups old-fashioned rolled oats in a food processor. Pulse until the oats are broken down to a coarse flour—some small flakes are fine. This helps the mixture hold together while still providing a bit of chew.
- Add the dates and blend. Add the 5 pitted Medjool dates to the food processor with the processed oats. Process until the dates are evenly distributed and begin to form a sticky mixture, stopping to scrape down the sides as needed.
- Combine almond butter, protein powder, and vanilla. Add 1 cup almond butter, ¼ cup protein powder, and 1 tsp vanilla extract to the food processor. Process until the mixture comes together into a thick, slightly tacky dough. If the mixture seems too dry and isn’t forming a cohesive mass, add a teaspoon of warm water or a tiny drizzle more almond butter and process again, but do this sparingly to avoid making the mixture too soft.
- Fold in chocolate chips. Transfer the mixture to a mixing bowl. Gently fold in ¼ cup semi-sweet chocolate chips with a spatula. Folding by hand preserves the chips’ shape so they don’t melt completely during mixing.
- Press into the pan. Spoon the mixture into your prepared 8×8-inch pan. Press it firmly and evenly into the pan using the back of a spatula or a piece of parchment paper to smooth the surface. Firm, even compression helps the bars hold together after chilling.
- Chill until set. Place the pan in the refrigerator for at least 1 hour to let the bars firm up. For a firmer texture that slices more cleanly, chill for 2 hours.
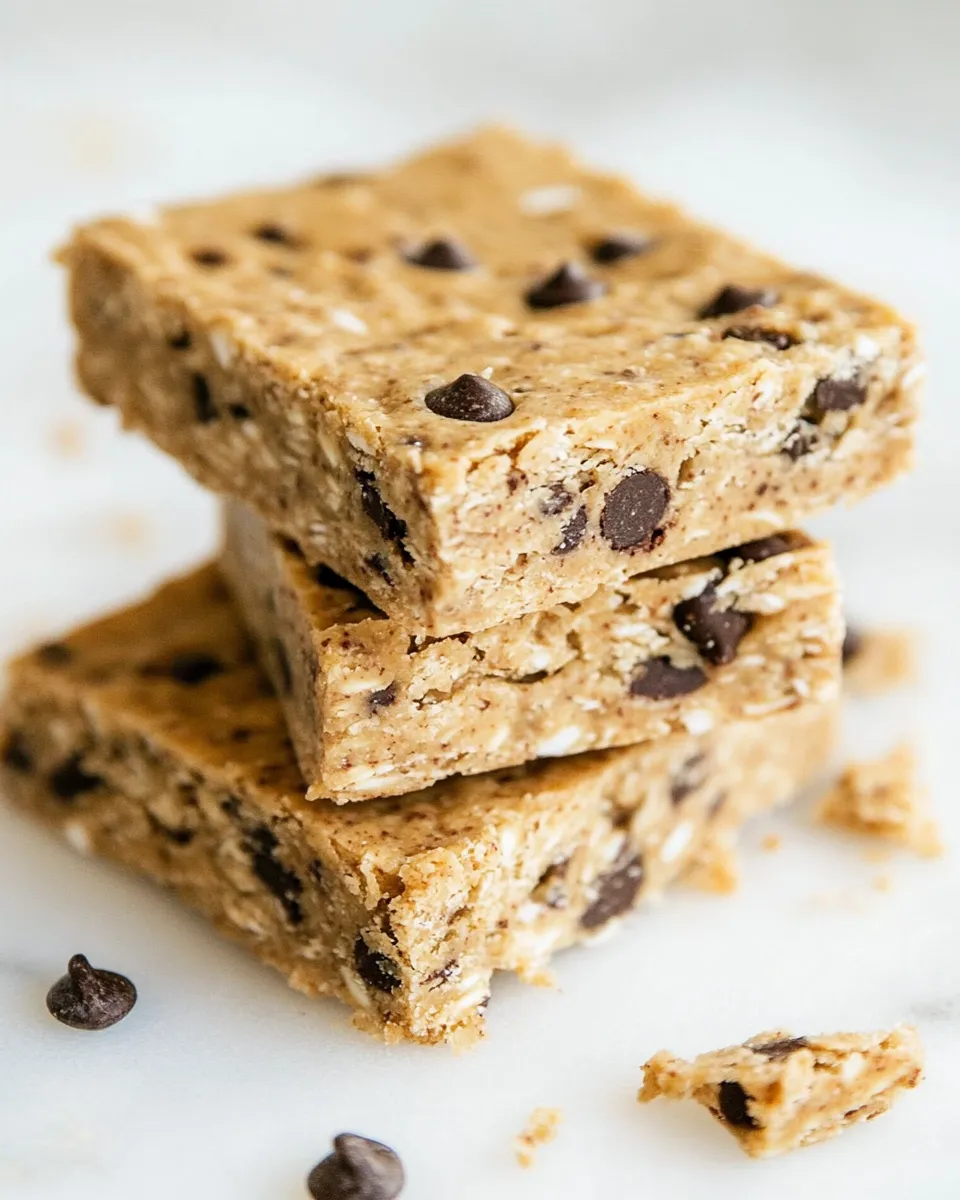
- Slice and store. Use the parchment overhang to lift the set slab from the pan. Place on a cutting board and slice into 8 or 12 bars, depending on your preferred size. Store the bars in an airtight container in the refrigerator for up to one week, or freeze for longer storage.
Variations and swaps
These bars are a great base recipe for experimenting:
- Swap the almond butter for peanut butter, cashew butter, or sunflower seed butter for a nut-free option.
- Try chocolate or vanilla protein powder depending on how much you want to lean into a chocolate flavor.
- Fold in chopped nuts, shredded coconut, or a tablespoon of chia seeds for extra texture and nutrition.
- Use dark chocolate chips or mini chips if you want smaller bursts of chocolate in every bite.
Bake-free, quick, and forgiving
One of the best things about these Homemade Protein Bars is that they require no baking. The food processor does the heavy lifting, turning simple, whole-food ingredients into a cohesive bar. If your mixture feels overly wet, add a tablespoon or two of oats or a teaspoon more protein powder and pulse again. If it’s too dry, add a little more almond butter, one teaspoon at a time.
Nutrition and portioning
Portion size affects the nutrition profile, but generally these bars offer a balanced mix of carbohydrates from oats and dates, healthy fats from almond butter, and protein from the powder and nut butter. For controlled portions, cut the slab into 8 bars; for smaller snacks, cut into 12. Keep in mind that added mix-ins will affect calorie and macronutrient counts.
Make-ahead and storage tips
- Store bars in the refrigerator in a single layer or separated by parchment to prevent sticking.
- For longer storage, wrap bars individually and freeze them for up to 2 months. Thaw in the fridge overnight or at room temperature for about 30 minutes before eating.
- If the chocolate chips are firm straight from the fridge, let the bars sit at room temperature for a few minutes before biting into them so the chips soften slightly.
Troubleshooting
- Too crumbly: The mixture needs more binding. Add a teaspoon of warm water or a touch more almond butter and process again until it holds together.
- Too sticky: Add 1 tablespoon of oats or a teaspoon of protein powder, pulse, and press again into the pan.
- Dates too dry: If your dates are stiff, soak them briefly in warm water, drain well, and pat dry before using.
Serving ideas
These bars are great on their own, but here are a few simple serving ideas to elevate them:
- Pair with a cup of milk or a plant-based latte for a quick breakfast.
- Serve alongside yogurt and fresh fruit for a balanced snack plate.
- Top a bar with a smear of almond butter and a few extra chocolate chips for a decadent treat.
Final thoughts
With just six ingredients and minimal fuss, these Homemade Protein Bars are a reliable, tasty way to keep nutritious snacks on hand. The balance of chewy oats, sticky-sweet dates, creamy almond butter, and melty chocolate makes every bite satisfying. Once you’ve tried the base recipe, feel free to experiment with flavors and mix-ins to make it your own. Make a batch at the start of the week, and you’ll have a grab-and-go option that tastes much better than store-bought alternatives.
Printable recipe
Here’s a concise recipe you can save or print for quick reference.
- Ingredients:
- 1 ½ cup old-fashioned rolled oats
- 5 Medjool dates (pitted)
- 1 cup almond butter
- ¼ cup protein powder
- 1 tsp vanilla extract
- ¼ cup semi-sweet chocolate chips
- Directions:
- Line an 8×8-inch pan with parchment. Soften dates if needed by soaking 10 minutes in warm water, then drain and dry.
- Process oats until coarse flour. Add dates and process into a sticky mix.
- Add almond butter, protein powder, and vanilla extract; process until a thick dough forms. Adjust with a teaspoon of water or a bit more almond butter if necessary.
- Transfer to a bowl and fold in chocolate chips.
- Press firmly into prepared pan, chill 1–2 hours until set.
- Lift slab from pan, slice into bars, and store chilled in an airtight container.
Enjoy these Homemade Protein Bars as a nourishing, homemade snack that’s easy to customize and ready when you are. Once you’ve made them a couple times, you’ll find your favorite tweaks—maybe a dash more vanilla, a different protein powder, or an added handful of seeds. Happy snacking!
Homemade Protein Bars
Ingredients
Equipment
Method
- Line an 8×8 inch square pan with parchment paper and set aside.
- Place the pitted Medjool dates in a food processor and pulse several times until they are broken down and slightly sticky but still a bit coarse.
- Add the rolled oats, almond butter, protein powder, and vanilla extract to the processor. Process on low, pausing to scrape down the sides with a spatula as needed, until a coarse dough forms and the mixture is evenly combined.
- Transfer the mixture to a bowl and gently fold in the semi-sweet chocolate chips by hand.
- Press the mixture firmly and evenly into the prepared pan using the back of a spatula or your hands to compact it.
- Refrigerate for about 1 hour, or until the mixture is set. Remove from the pan using the parchment and cut into 8 bars.
Notes
- Press the mixture firmly to help the bars hold together.
- Use soft Medjool dates for easier processing.
- Swap almond butter for another nut butter if needed.
- Chill until fully set before cutting to prevent crumbling.