No-Bake Cookies-And-Cream Protein Bars
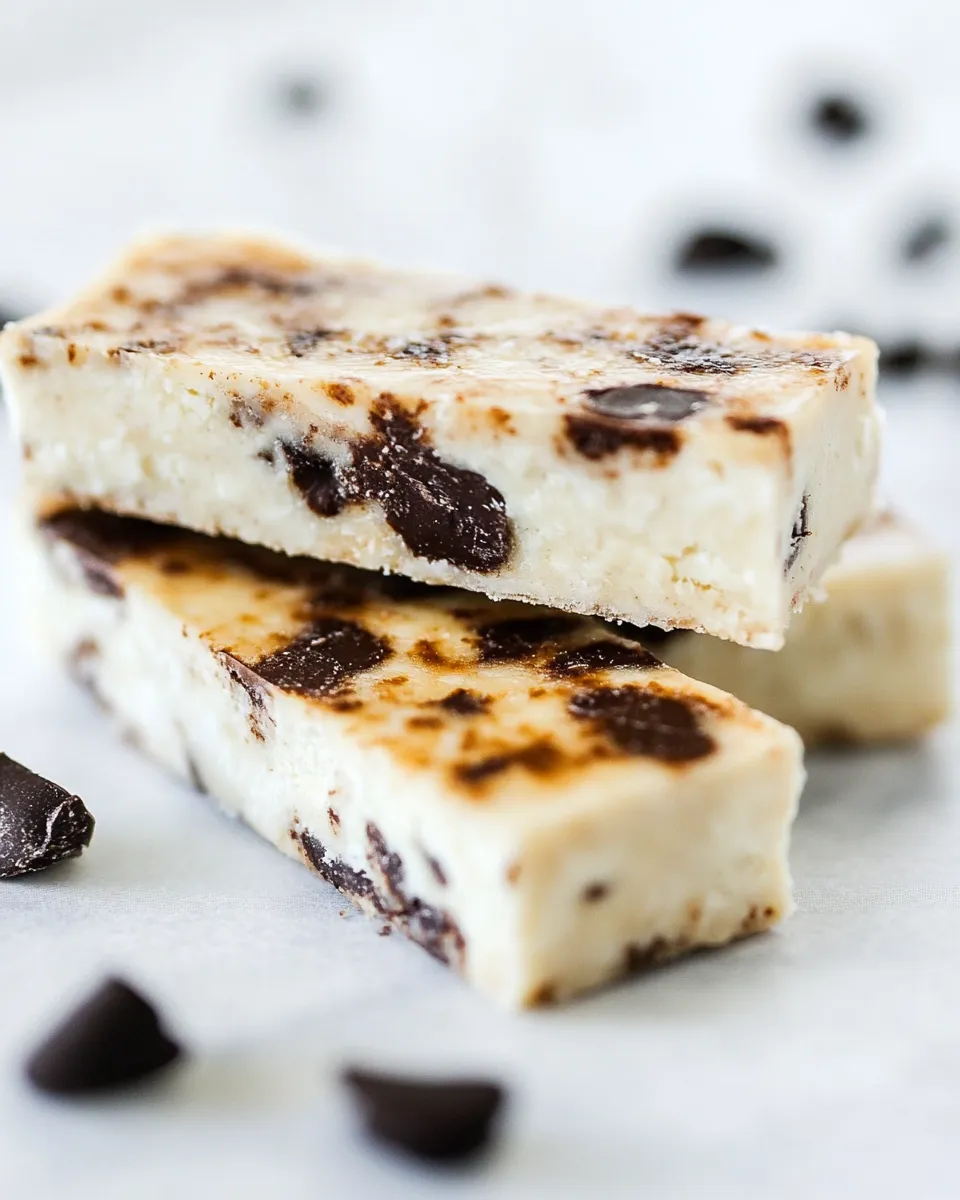
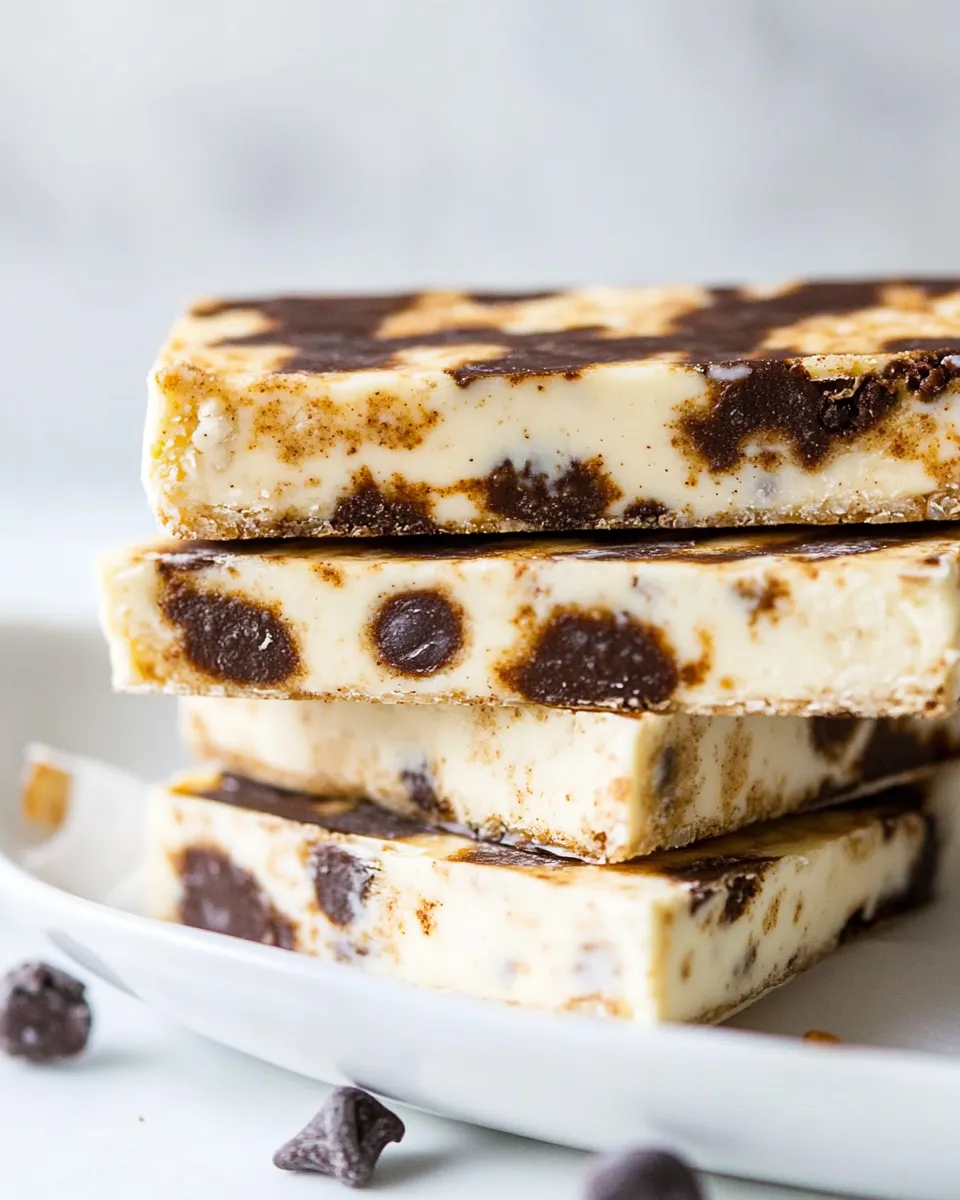
If you love snacks that feel indulgent but actually support your day, these No-Bake Cookies-And-Cream Protein Bars are the answer. They’re chewy, slightly chocolatey, and layered with a creamy cookies-and-cream-style topping that tastes like a treat but can sit in your gym bag, lunchbox, or pantry without fuss. The recipe is simple, calls for pantry-friendly ingredients, and takes just a little hands-on time. You’ll make a base, press in a protein-packed center, and finish with a soft, dreamy cream layer that sets at room temperature. Every bite has a nice balance of texture and sweetness—perfect for post-workout refueling or a midday pick-me-up.
Why you’ll love these bars
- Quick, no-bake preparation—no oven needed.
- High in protein thanks to vanilla whey protein powder for a satisfying snack.
- Chocolate notes in the base and a silky cream topping make these feel like dessert.
- Made from pantry staples and simple pantry swaps where needed.
Ingredients
Yield: About 8 bars, depending on how thick you press them.
- 1/4 cup almond flour
- 2 1/2 tablespoons coconut sugar
- 1 tablespoon coconut flour
- 1 tablespoon cocoa powder
- Pinch of salt
- 1/2 tablespoon coconut oil, melted
- 2 teaspoons unsweetened applesauce
- 3/4 cup almond flour
- 3/4 cup vanilla whey protein powder
- 3 tablespoons coconut flour
- 3/4 cup unsweetened applesauce
- 1 tablespoon coconut oil, melted
- 1/3 cup coconut cream, softened to room temperature
- 1 tablespoon coconut oil
- 1 teaspoon honey
Prep notes and ingredient tips
Read this before you begin: measure ingredients carefully—protein powders and nut flours pack differently depending on the brand. For the vanilla whey protein powder, pick a flavor you enjoy because it will dominate the middle layer. Make sure the coconut cream is at room temperature so it blends into a smooth topping. If your kitchen is warm, the bars will be slightly softer; chilling briefly will help them firm up.
Step-by-step directions
Follow these instructions in order. I rewrote the directions to be clear and stepwise while keeping all ingredient amounts exactly as listed above.
1. Make the chocolate-y base
- In a medium bowl, combine 1/4 cup almond flour, 2 1/2 tablespoons coconut sugar, 1 tablespoon coconut flour, 1 tablespoon cocoa powder, and a pinch of salt. Stir to distribute the dry ingredients evenly.
- Add 1/2 tablespoon melted coconut oil and 2 teaspoons unsweetened applesauce to the dry mix. Use a spatula or spoon to mix until a slightly sticky, evenly moistened dough forms. The texture should hold together when pressed; if it feels too dry, add a tiny bit more applesauce, 1/4 teaspoon at a time.
- Press this mixture firmly into the bottom of an 8×8-inch (or similar-sized) lined pan to form an even base layer. Use the back of a spoon or a piece of parchment to smooth and compact the layer so it’s firm and uniform. Set aside while you make the middle layer.
2. Prepare the protein-rich center
- In a clean bowl, combine 3/4 cup almond flour, 3/4 cup vanilla whey protein powder, and 3 tablespoons coconut flour. Whisk or stir the dry ingredients together to break up any lumps and blend the flours with the protein powder.
- Add 3/4 cup unsweetened applesauce and 1 tablespoon melted coconut oil to the dry mix. Stir thoroughly until the mixture becomes a thick, sticky dough. It should be pliable enough to press down but not runny—if it’s overly dry, add up to 1/2 teaspoon applesauce to adjust.
- Spread or scoop the protein mixture over the prepared base. Press down firmly and evenly with your fingers, the back of a spoon, or a small flat spatula so the center layer is compact and level. This helps the bars hold together when sliced.
3. Make the cookies-and-cream-style topping
- Place 1/3 cup coconut cream (softened to room temperature) in a small bowl. Add 1 tablespoon coconut oil and 1 teaspoon honey.
- Whisk or beat the coconut cream, coconut oil, and honey until smooth and slightly aerated. The mixture should look creamy and spreadable. If it’s too thick, warm the coconut oil slightly before mixing; if it’s too thin, chill it briefly until it firms up a touch.
- Spread the cream evenly over the pressed protein layer. Aim for a smooth, even coating that covers the entire surface.
4. Chill and cut
- Place the pan in the refrigerator for at least 30–45 minutes to allow the layers to set and meld. In a warmer kitchen, chill until firm to the touch.
- After chilling, lift the bars from the pan using the parchment paper overhang. Transfer to a cutting board and cut into 8 bars (or smaller squares if you prefer smaller portions). Use a sharp knife and wipe it clean between cuts for neat edges.
- Store the bars in an airtight container in the refrigerator for up to 5 days. For longer storage, freeze individually wrapped bars for up to 1 month; thaw in the fridge before eating.
Taste and texture notes
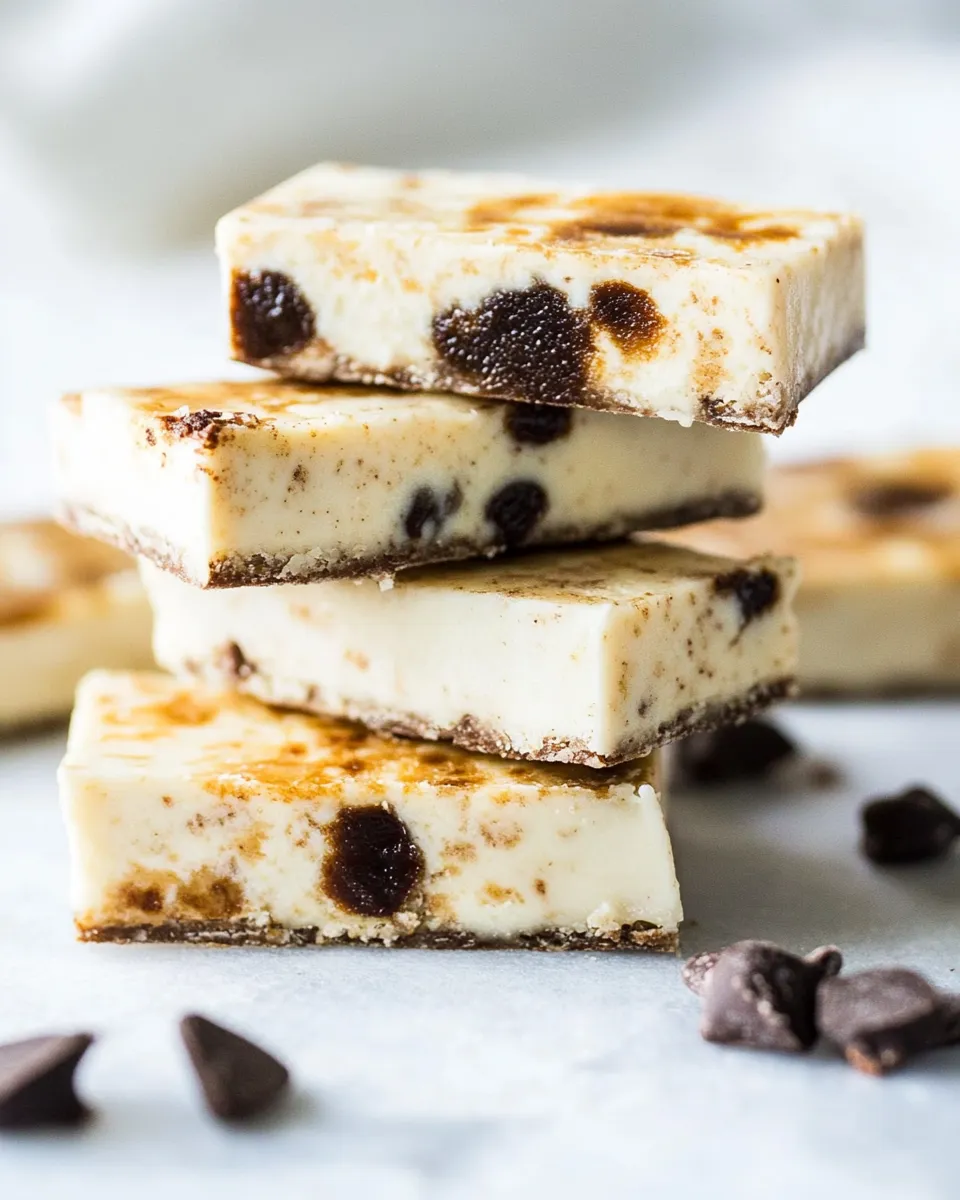
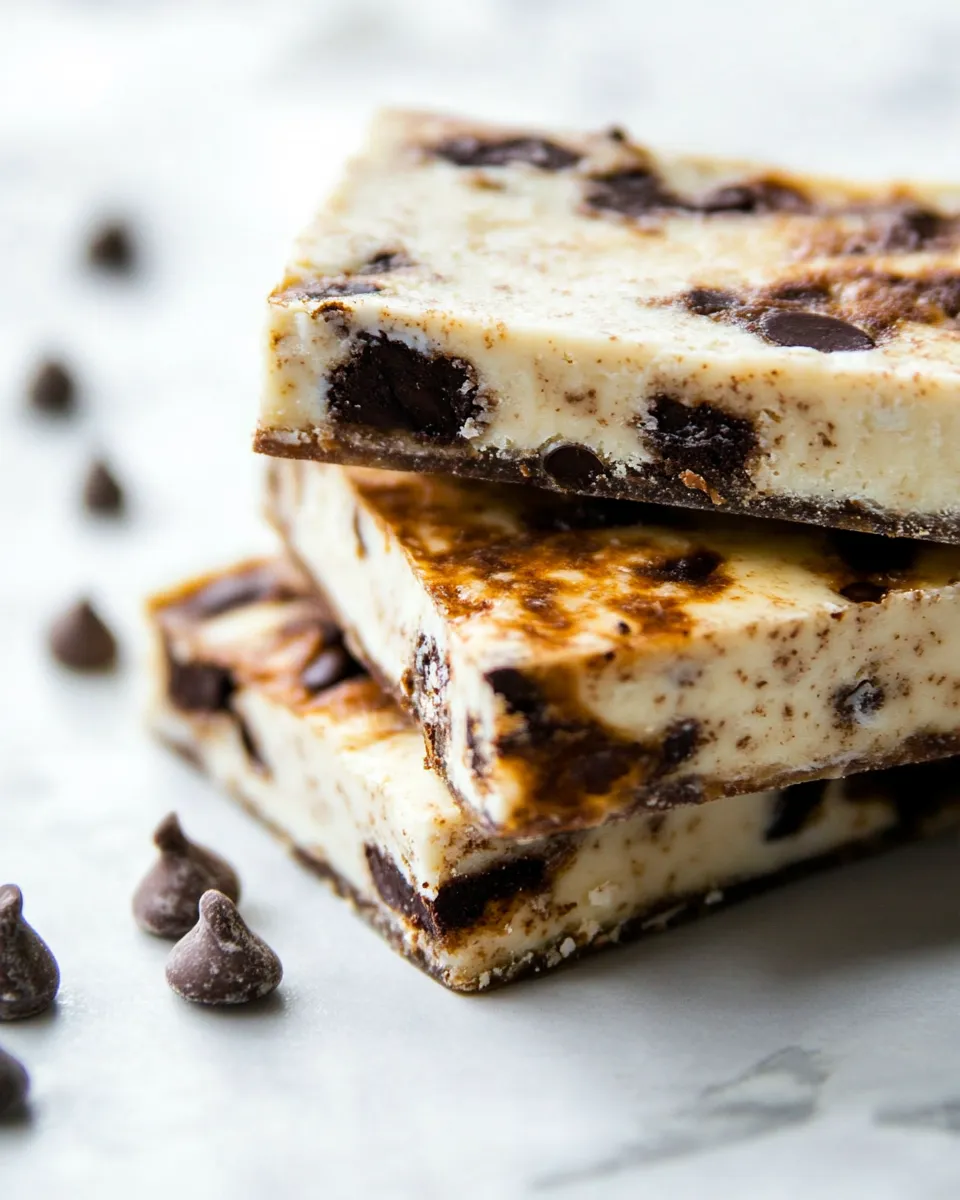
The bottom layer gives you a slightly chocolatey, nutty platform that’s not overly sweet. The center layer provides the protein-forward chew and vanilla flavor that makes this feel like a true cookies-and-cream bar. The coconut cream topping brings a silky mouthfeel with a hint of richness and sweetness from the honey. Together, they create a satisfying snack that’s balanced between indulgence and nourishment.
Variations and swaps
- Swap the vanilla whey protein for a plant-based vanilla protein powder if you avoid dairy, keeping the same 3/4 cup measurement.
- Mix in 1–2 tablespoons of crushed chocolate sandwich cookies into the cream topping for extra cookie crumbs and texture, if desired. Press them in lightly so they adhere.
- Add a tablespoon of nut butter to the middle layer for a richer mouthfeel and extra binding.
- Drizzle melted dark chocolate over the cooled bars for an extra-special finish.
Make-ahead and storage
These bars are great for prepping ahead. Keep them chilled in an airtight container and they’ll stay fresh for up to five days. For longer storage, individually wrap and freeze; they thaw in an hour or two in the fridge and are perfectly portable.
Frequently asked questions
Can I make these without whey protein? Yes—use a plant-based vanilla protein powder in the same amount if you prefer. Texture may vary slightly but the recipe will work.
Do I need a special pan? No. Any square or rectangular pan will work; adjust the thickness by using a smaller or larger pan.
Are these bars sweet enough? They’re moderately sweet because of the coconut sugar and honey; you can increase coconut sugar by a teaspoon or the honey by 1/2 teaspoon if you prefer a sweeter bar.
Final thoughts
These No-Bake Cookies-And-Cream Protein Bars strike a lovely balance between wholesome and indulgent. The no-bake method keeps things simple, and the layered construction gives a bakery-style finish without the fuss. Whether you’re packing them for a busy morning, grabbing one after the gym, or keeping them on your snack shelf, they’re an easy way to enjoy a satisfying, protein-forward treat. Make a batch this week and see how quickly they become a favorite!
No-Bake Cookies-And-Cream Protein Bars
Ingredients
Equipment
Method
- Prepare the cookie dough: in a small bowl, whisk together 1/4 cup almond flour, 2 1/2 tablespoons coconut sugar, 1 tablespoon coconut flour, 1 tablespoon cocoa powder, and a pinch of salt.
- Add 1/2 tablespoon melted coconut oil and 2 teaspoons unsweetened applesauce to the dry mix and use your hands to combine until a cookie-like dough forms.
- Line a microwave-safe plate with parchment and spread the cookie dough very thin (about 1/8 inch). If sticky, use a small piece of parchment to press it evenly.
- Microwave the dough until the edges just darken and it bubbles slightly, about 1 minute 15–20 seconds, then chill in the refrigerator 15–20 minutes until crisp.
- Line an 8×8-inch pan with parchment, leaving an overhang. In a large bowl, stir 3/4 cup almond flour, 3/4 cup vanilla whey protein powder, and 3 tablespoons coconut flour.
- Add 3/4 cup unsweetened applesauce and 1 tablespoon melted coconut oil to the dry mix and stir until a thick dough forms.
- Crumble the chilled, crispy cookie into the bar dough and stir until evenly distributed.
- Press half of the dough firmly and evenly into the prepared pan to form the bottom layer.
- Make the cream layer: whisk together 1/3 cup coconut cream (softened), 1 tablespoon coconut oil, and 1 teaspoon honey until smooth, then spread evenly over the bottom layer.
- Chill the pan in the refrigerator for 30 minutes to let the cream begin to set.
- After the cream has set, press the remaining dough on top and spread evenly. Cover and refrigerate for at least 4 hours to firm up.
- Use the parchment overhang to lift the bars from the pan and slice into 12 pieces.
Notes
- Chill times are important to achieve firm bars.
- Soften coconut cream to room temperature for an even cream layer.
- Use parchment overhang to remove bars cleanly.
- Adjust sweetness with more or less honey or coconut sugar to taste.