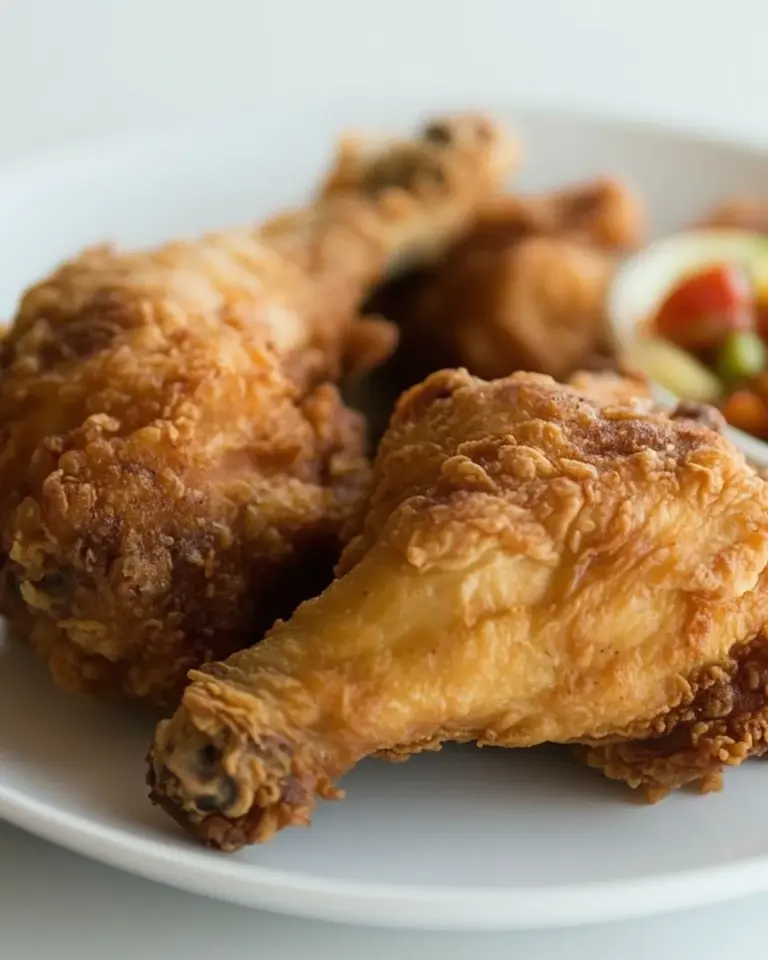
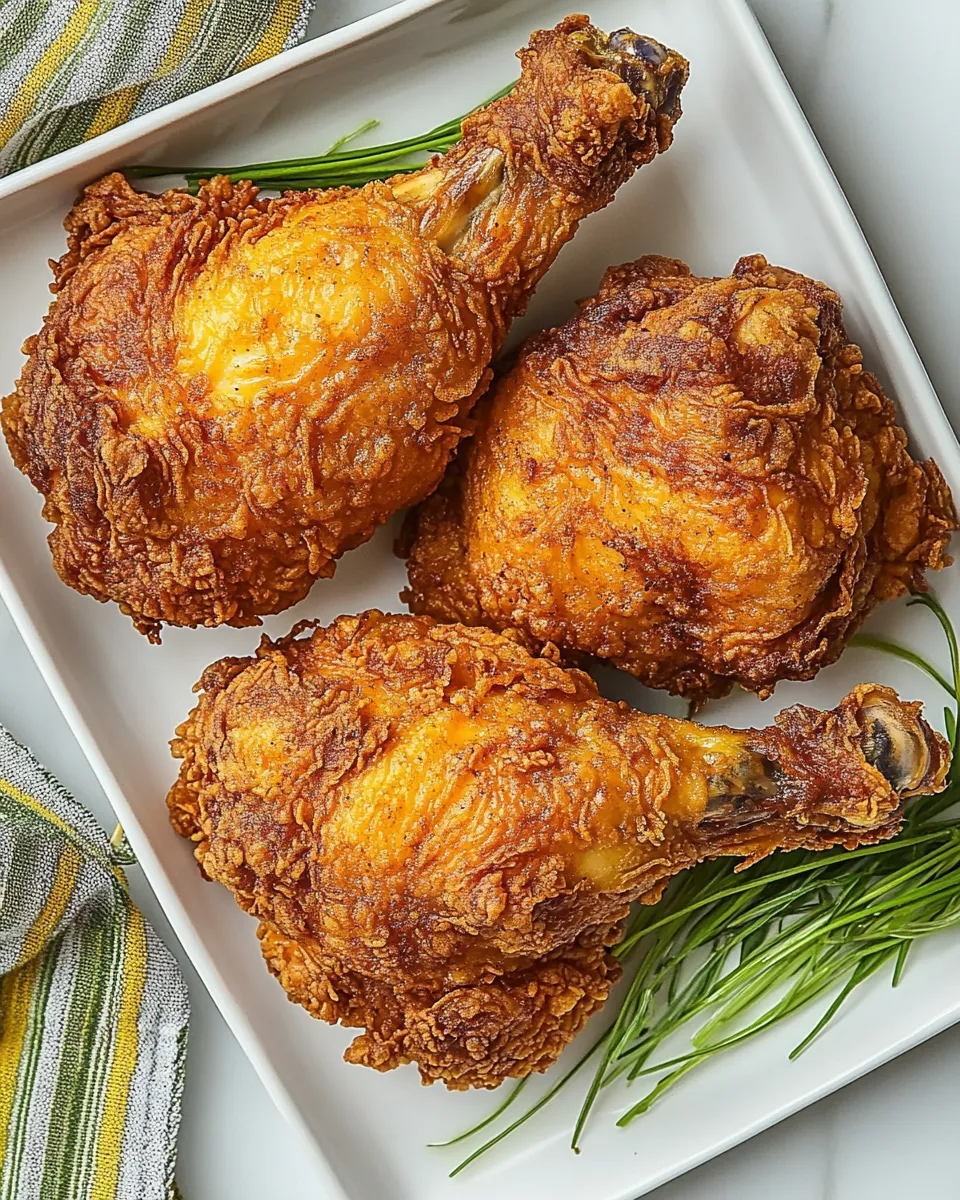
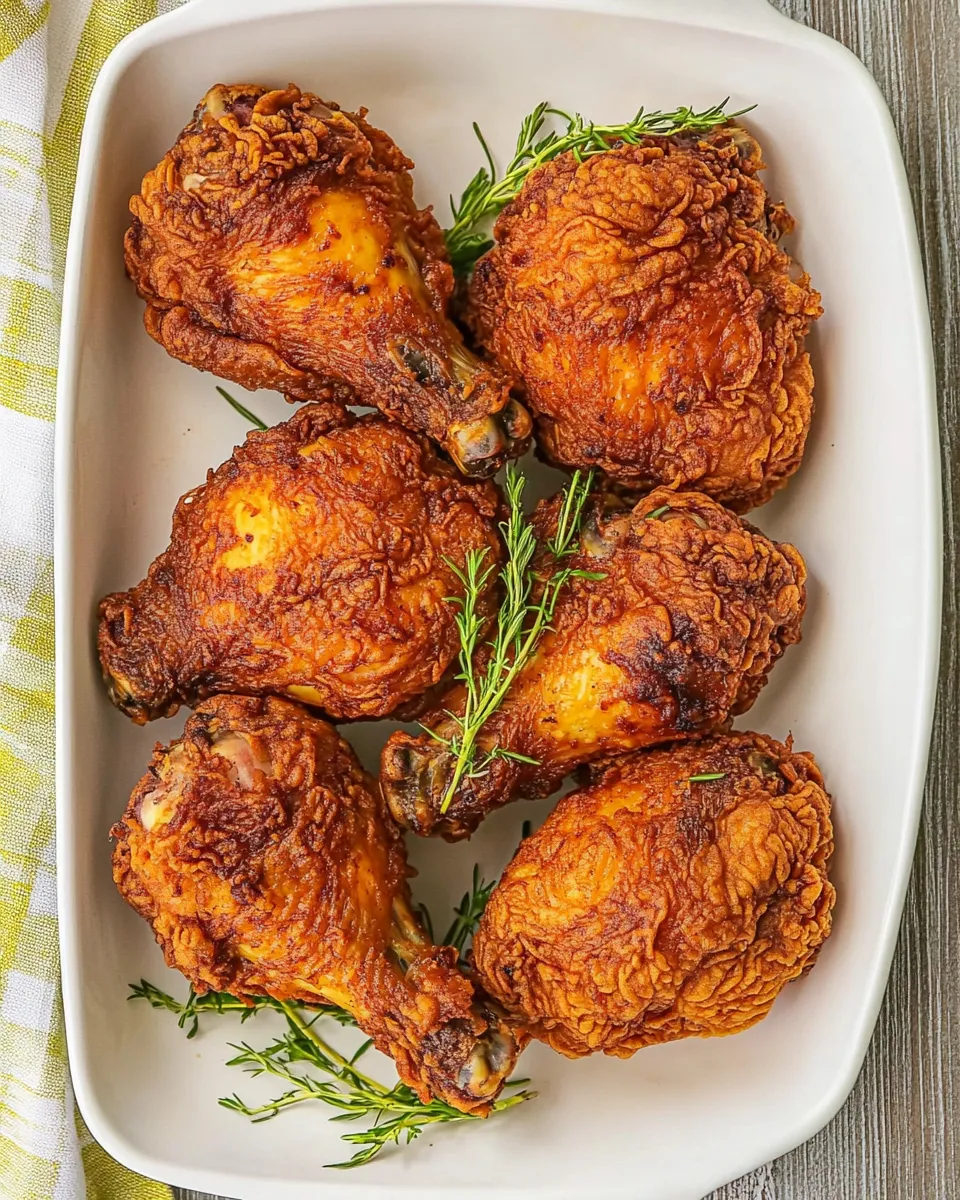
Buttermilk Fried Chicken Recipe
There’s something irresistibly nostalgic about a plate of golden, crunchy fried chicken. This Buttermilk Fried Chicken Recipe is the kind of comfort food that welcomes family to the table, makes weeknight dinners feel special, and presents beautifully for a relaxed weekend gathering. The chicken is marinated in tangy buttermilk to tenderize and infuse flavor, then coated in a seasoned flour and fried until beautifully crisp. The recipe is simple, forgiving, and delivers that crunchy exterior with juicy meat inside every time.
Why this recipe works
This Buttermilk Fried Chicken Recipe relies on two classic techniques: a buttermilk soak and a seasoned flour coating. The buttermilk acts as a tenderizer, breaking down proteins in the meat so the finished chicken stays moist. The flour, seasoned with paprika, garlic salt with parsley flakes, and black pepper, bakes into a crunchy crust when fried in hot vegetable oil. Together, they create a reliable contrast of textures and a delicious, familiar flavor profile.
Ingredients
Use the following ingredients exactly as listed for best results. The amounts are matched to the directions below.
- ▢ 4-6 pound whole chicken, cut into pieces
- ▢ 1 cup buttermilk
- ▢ 2 cups all-purpose flour, for coating chicken
- ▢ 1 teaspoon paprika
- ▢ garlic salt (with parsley flakes)
- ▢ black pepper
- ▢ vegetable oil
Equipment
- Large bowl or resealable bag for marinating
- Shallow dish for dredging (pie plate or rimmed baking sheet works)
- Large heavy skillet, cast-iron pan, or deep fryer
- Meat thermometer
- Tongs and a wire rack set over a baking sheet for draining
Prep work (time: about 15 minutes)
Before you heat the oil, do these simple prep steps so frying goes smoothly. First, cut the 4-6 pound whole chicken into pieces: thighs, drumsticks, wings, and breasts. Pat each piece dry with paper towels—this helps the buttermilk and the flour adhere evenly. Measure out 1 cup of buttermilk in a large bowl or a resealable plastic bag. In a shallow dish, combine 2 cups of all-purpose flour with 1 teaspoon paprika. Add a generous sprinkle of garlic salt (with parsley flakes) and a few twists of black pepper. These pan-seasoned aromatics will become the flavorful crust that clings to every piece of chicken.
Marinating
Place the chicken pieces into the bowl or bag with the 1 cup buttermilk, ensuring each piece is coated. Press out excess air if using a bag and seal it. Refrigerate for at least 1 hour, or up to overnight for deeper flavor and more tender meat. If you’re short on time, a 30-minute soak still improves texture and juiciness. The acid and enzymes in the buttermilk do the essential work of softening muscle fibers, so don’t skip this step if you want consistently juicy results.
Coating the chicken
When you’re ready to fry, remove the chicken from the refrigerator and let it sit at room temperature for 15–20 minutes while you heat the oil. This prevents a cold center and promotes even cooking. Stir the seasoned flour to redistribute the spices. Working with one piece at a time, lift the chicken from the buttermilk and allow excess to drip off, then press each piece into the flour mixture until thoroughly coated. Shake off any loose flour and set the piece on a wire rack while you continue with the rest. A double-dredge is optional, but the single, well-pressed coating gives an excellent balance of crunch and meatiness.
Frying (step-by-step)
Follow these steps closely for safe frying and consistent results:
- Pour enough vegetable oil into a large skillet or Dutch oven to come about 1/2 to 3/4 of the way up the sides of your chicken pieces. Avoid overfilling to prevent dangerous splashing.
- Heat the oil over medium-high heat. Use a thermometer to bring the oil to an ideal frying temperature: about 325–350°F (163–177°C). If you don’t have a thermometer, test by dropping a small pinch of flour into the oil—if it sizzles steadily and browns slowly, the oil is in the right range.
- Once the oil reaches the correct temperature, add the chicken pieces in a single layer without overcrowding the pan. Work in batches if necessary. Overcrowding will lower the oil temperature and result in greasy chicken.
- Fry the chicken, adjusting the heat to maintain the temperature in the 325–350°F range. Turn pieces occasionally so they brown evenly on all sides.
- Cooking times vary by piece size. Smaller pieces like wings will take roughly 10–12 minutes; larger pieces like thighs and breasts may take 15–20 minutes. Use a meat thermometer to check doneness: the internal temperature should reach 165°F (74°C) at the thickest point.
- When a batch is done, transfer the chicken to a wire rack set over a baking sheet to drain and stay crisp. Let the oil return to temperature before frying the next batch.
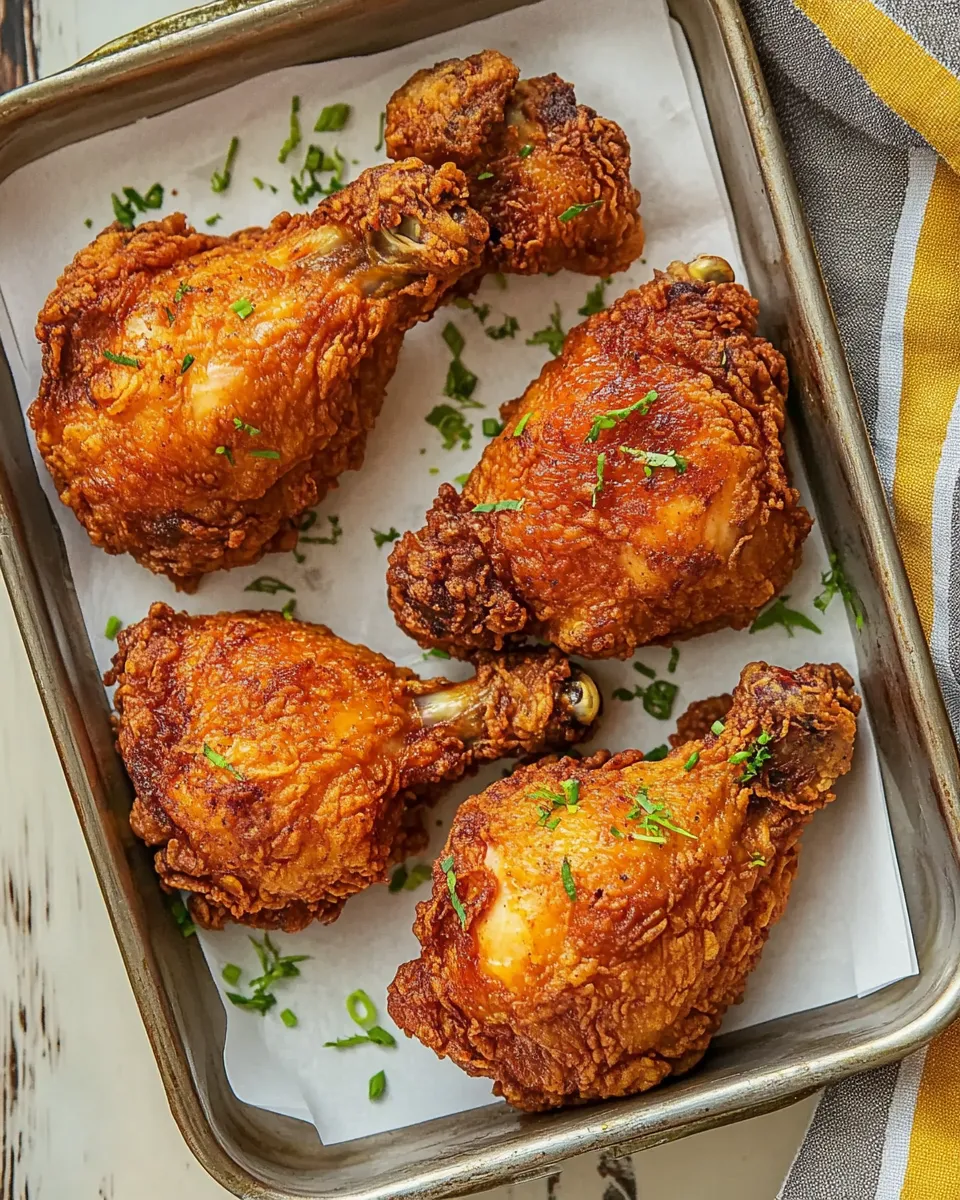
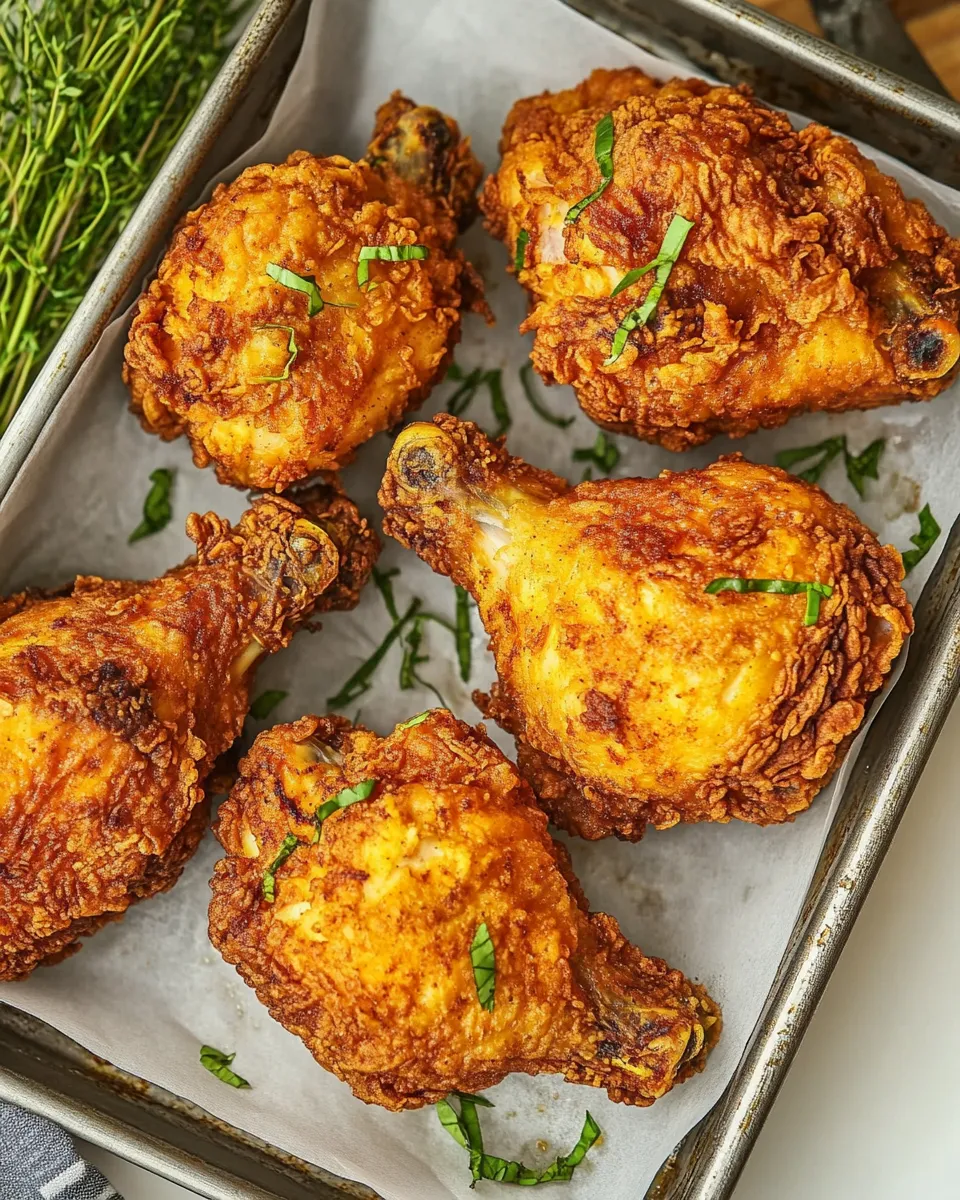
Slicing and serving
After the final batch finishes and all pieces rest for a few minutes to settle, transfer the chicken to a platter. The crust will firm up as the chicken cools slightly, giving you that satisfying crunch. Serve warm with your favorite sides—tossed salad, mashed potatoes, coleslaw, or buttery corn on the cob. Leftovers keep well in the fridge for a few days and can be reheated in a hot oven to restore crispness.
Recipe tips and variations
- Seasoning balance: Since garlic salt with parsley flakes already contains salt, season the flour sparingly at first. Taste a small pinch of the seasoned flour; you can always add more black pepper or paprika to taste.
- Extra-crispy crust: For an even crunchier crust, refrigerate the dredged pieces on a rack for 20–30 minutes before frying. This helps the coating adhere better and creates additional textural contrast.
- Spice it up: Add a dash of cayenne or smoked paprika to the flour if you prefer a smoky or spicy kick. Keep the base spices the same to preserve the core flavor of this Buttermilk Fried Chicken Recipe.
- Make-ahead marinate: The chicken can marinate safely for up to 24 hours. If you plan to marinate longer, keep it well covered and chilled.
- Frying vessel: A heavy-bottom pan, such as cast iron, holds heat well and maintains frying temperature better than thinner pans. It also encourages even browning.
Safety notes
Hot oil can be dangerous. Never leave the pan unattended while frying. Use long-handled tongs to add and remove chicken pieces, and keep a lid or large metal tray nearby to smother any flare-ups. Let the oil cool completely before disposing of it or straining it for reuse.
Step-by-step rewritten directions
The following instructions have been rewritten into a clear, sequential format to follow when making this Buttermilk Fried Chicken Recipe. They keep the original ingredient amounts and the order of preparation, while making each step easier to follow.
- Prepare the chicken: Cut the 4-6 pound whole chicken into pieces (breasts, thighs, drumsticks, wings). Pat each piece dry with paper towels.
- Make the buttermilk soak: Pour 1 cup buttermilk into a large bowl or a resealable plastic bag. Add the chicken pieces, turning them to coat fully. Cover the bowl or seal the bag and refrigerate for at least 1 hour or up to overnight.
- Mix the coating: In a shallow dish, combine 2 cups all-purpose flour with 1 teaspoon paprika. Add garlic salt (with parsley flakes) and black pepper to taste, and stir to evenly distribute the seasonings throughout the flour.
- Rest the marinated chicken: Remove the marinated chicken from the refrigerator about 15–20 minutes before frying so it can come closer to room temperature.
- Coat the chicken: One piece at a time, lift a chicken piece from the buttermilk, letting excess drip off. Press the piece firmly into the seasoned flour, ensuring it is thoroughly coated. Shake off any loose flour and set the coated piece on a wire rack. Repeat with all pieces.
- Heat the oil: Pour vegetable oil into a large, heavy skillet or Dutch oven so it reaches roughly 1/2 to 3/4 of the way up the side of the pan. Heat the oil over medium-high heat until it reaches 325–350°F (163–177°C). Use a thermometer for accuracy.
- Fry in batches: Add the coated chicken pieces to the hot oil without crowding the pan. Maintain the oil temperature between 325–350°F. Fry smaller pieces about 10–12 minutes and larger pieces about 15–20 minutes, turning occasionally for even browning.
- Check doneness: Use a meat thermometer to confirm the internal temperature reaches 165°F (74°C) at the thickest part of the chicken. If you don’t have a thermometer, ensure juices run clear when pierced.
- Drain and rest: Transfer cooked pieces to a wire rack set over a baking sheet to drain excess oil and stay crisp. Allow the oil to return to temperature before frying the next batch.
- Serve: Once all pieces are cooked and have rested for a few minutes, serve warm with sides of your choice. Store leftovers in the refrigerator and reheat in the oven to maintain crispness.
Frequently asked questions
Q: Can I use boneless pieces? A: Yes. Boneless pieces will cook faster—monitor the internal temperature closely to avoid overcooking.
Q: What if I don’t have buttermilk? A: You can make a quick substitute by adding 1 tablespoon of lemon juice or white vinegar to a cup of milk and letting it sit for 5–10 minutes. This mimics the acidity that helps tenderize the chicken.
Q: How can I keep the chicken crispy after frying? A: Drain the chicken on a wire rack rather than paper towels, and serve soon after resting. If you must hold it, keep it in a single layer in a low oven (200°F / 93°C) on a rack so steam doesn’t soften the crust.
Final thoughts
This Buttermilk Fried Chicken Recipe is approachable and reliably delicious. The buttermilk soak makes the meat tender, while the seasoned flour creates a satisfying, crunchy exterior. With straightforward steps and minimal ingredients, it’s a go-to for both special occasions and cozy weeknight dinners. Try it once and you’ll understand why this style of fried chicken has remained a beloved classic.
Buttermilk Fried Chicken Recipe
Ingredients
Equipment
Method
- Cut the 4–6 pound whole chicken into serving pieces and remove skin if you prefer; set the pieces aside.
- In a large resealable bag or bowl combine 2 cups all-purpose flour, 1 teaspoon paprika, garlic salt to taste, and black pepper to taste; shake or whisk to mix evenly.
- Dip each chicken piece into 1 cup buttermilk, then place into the seasoned flour mixture and shake or turn to coat thoroughly; transfer coated pieces to a foil-lined baking sheet and cover with wax paper; let rest until the flour forms a paste-like coating.
- Pour vegetable oil into a large skillet to reach about 1/2 to 1 inch depth and heat over medium-high until shimmering; carefully add chicken in a single layer without crowding.
- Brown the chicken on both sides, then reduce the heat and cook until the internal temperature reaches 165°F (use a meat thermometer); cook wings and legs about 15 minutes and thighs and breast halves about 20 minutes, working in batches as needed.
- If desired, increase heat to medium-high for the final few minutes to crisp the coating, then remove chicken and drain on paper towels; keep warm in the oven until serving.
Notes
- Use a thermometer to ensure chicken reaches 165°F.
- Do not overcrowd the skillet to maintain oil temperature.
- Let coated pieces rest so the flour adheres before frying.
- Adjust seasoning to taste.
- Cook in batches for even browning.